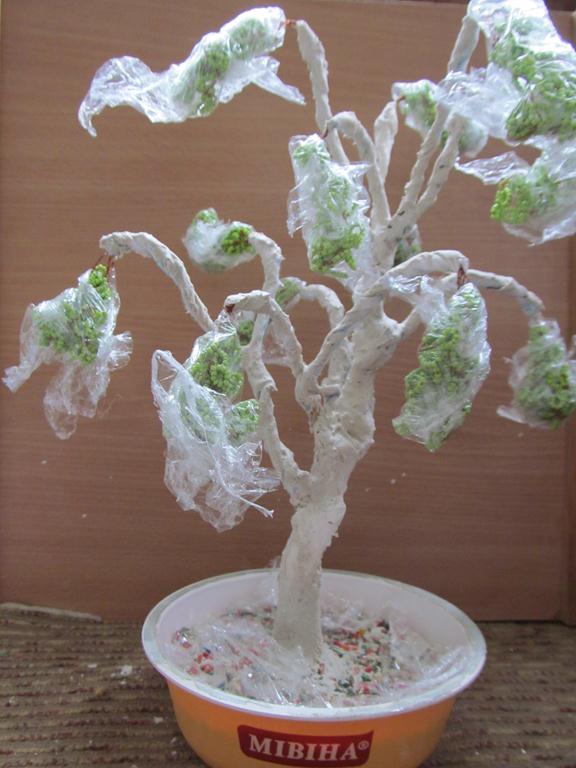
I always liked beadwork, especially admired by bonsai and beaded trees , but if we twined the twigs seemed to be easy, then the formation of the trunk frightened out in earnest. At first I made trunks, wrapped in florlent, but still it's not that - it's more difficult to think up a realistic stem from alabaster (building plaster).
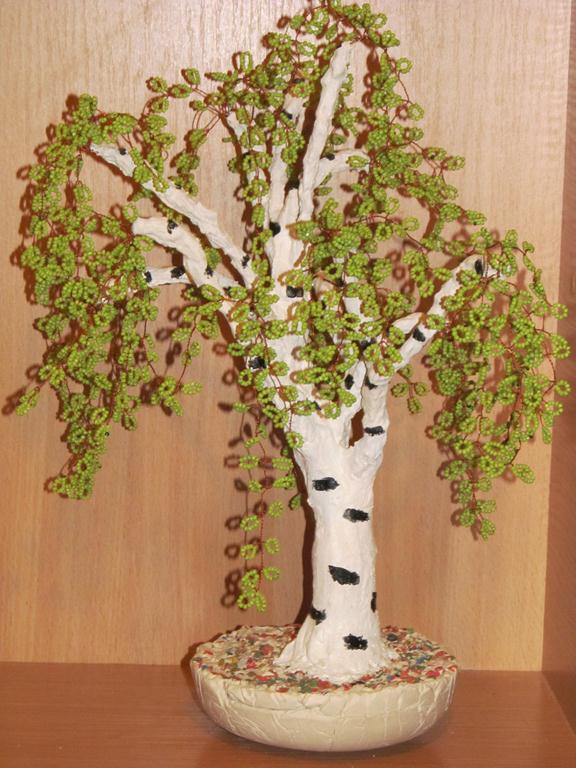
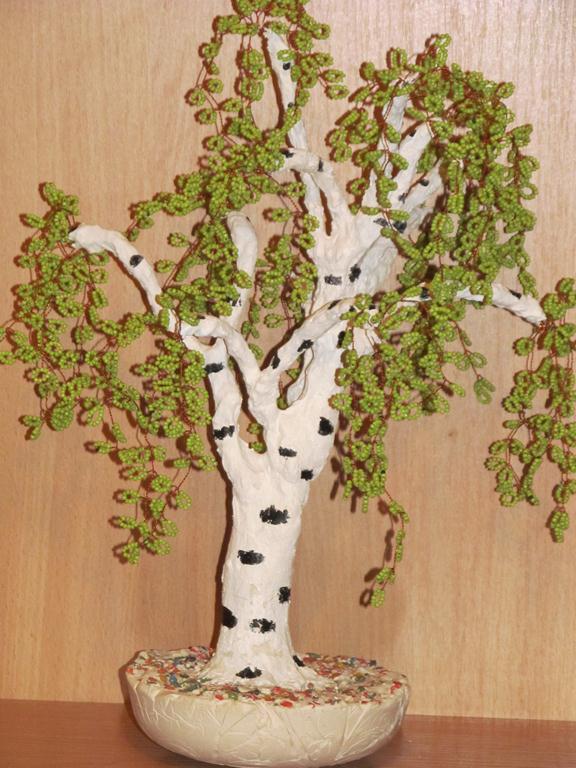
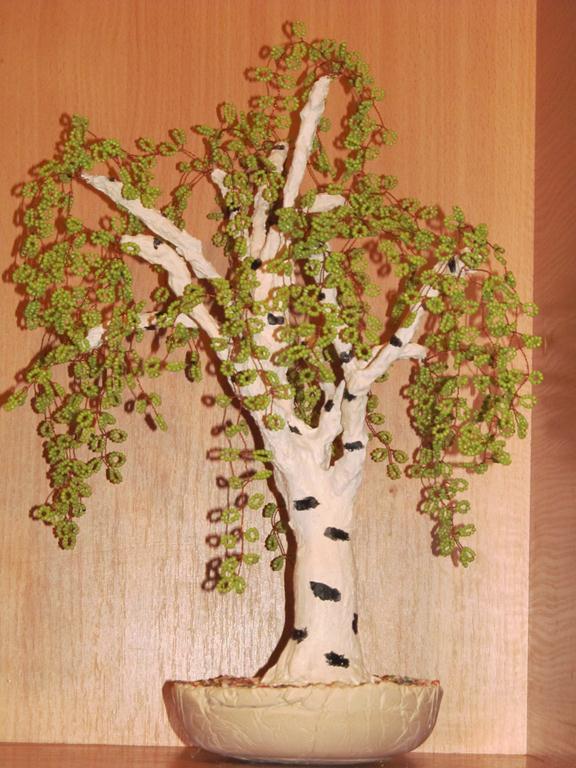
I will show an example of making a trunk of a birch tree, its height is 38 cm.
How to make a beautiful trunk for a bead tree - a master class
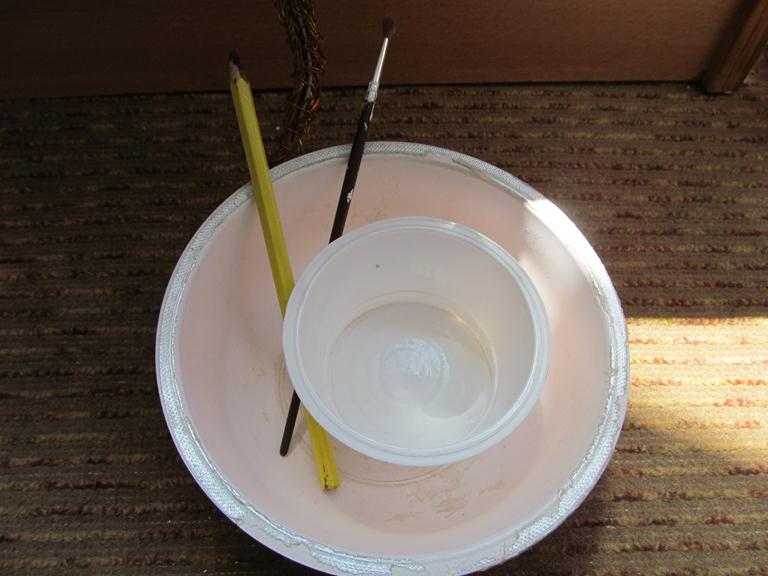
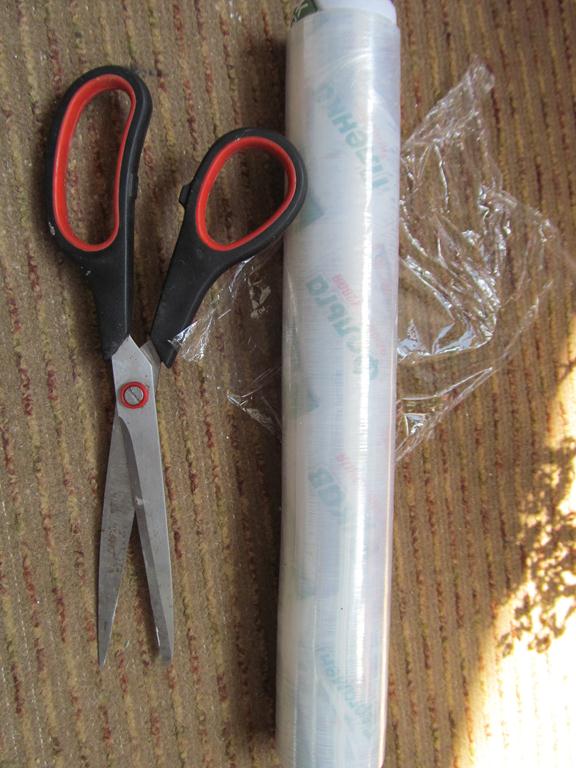
What we need:
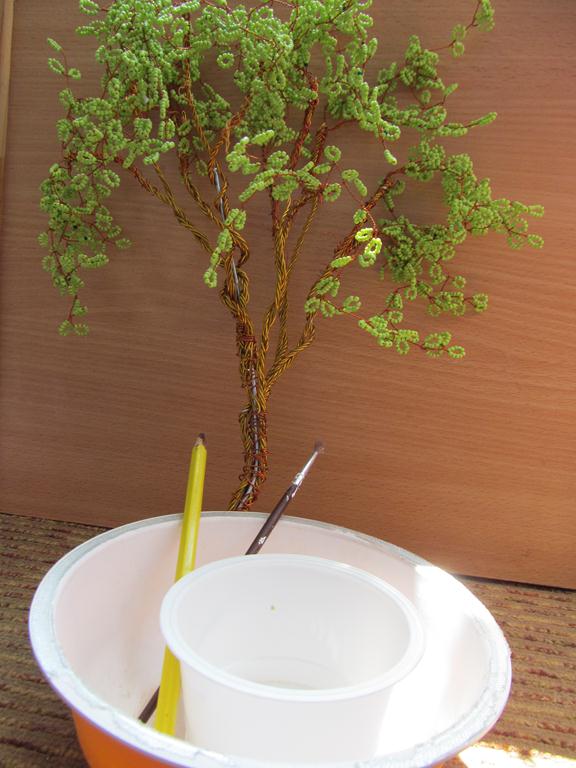
- the skeleton itself of a birch tree made of wire;
- Form, where we will fill in the gypsum for the base;
- glue PVA (I took construction, it costs 80 rubles and it will last for a long time);
- alabaster (building plaster), 2 kg costs 45 rubles - in any building store you can buy;
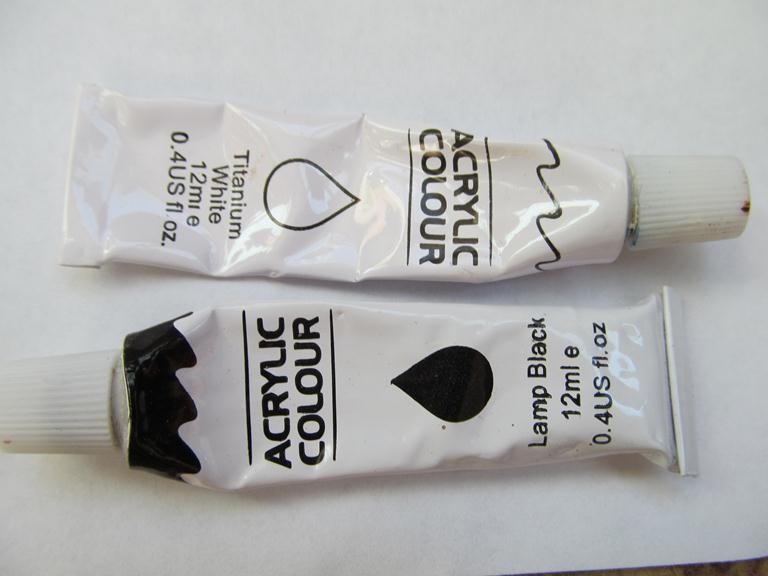
- acrylic colors, you can gouache or ordinary watercolor;
- a soft thin brush - for applying alabaster, painted the finished barrel for it;
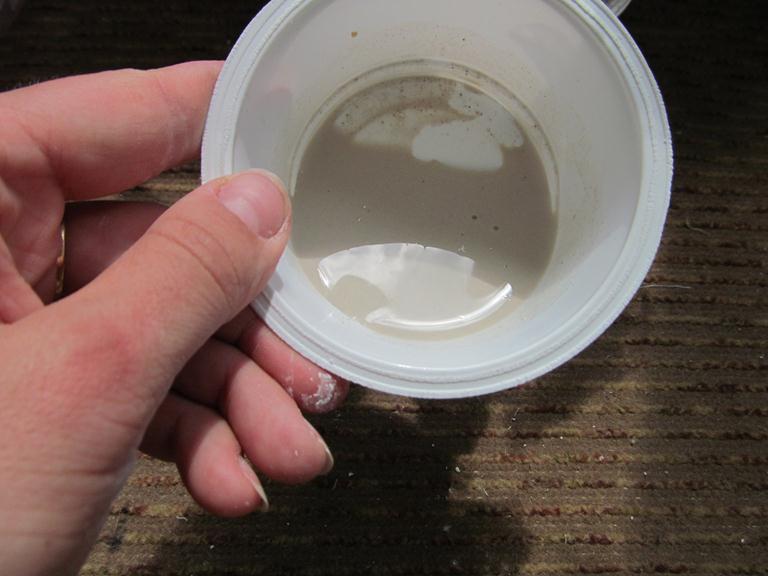
- capacity where we mix alabaster - for pouring more, for the trunk a small glass - plastic is enough. The frozen alabaster is easily cleaned.
- a small piece of cloth (I had an old blanket cover) for the winding of the trunk;
- water;
- foil or cellophane.
| | |
| | |
Next, I will show you step by step how to make a barrel for our birch bead:
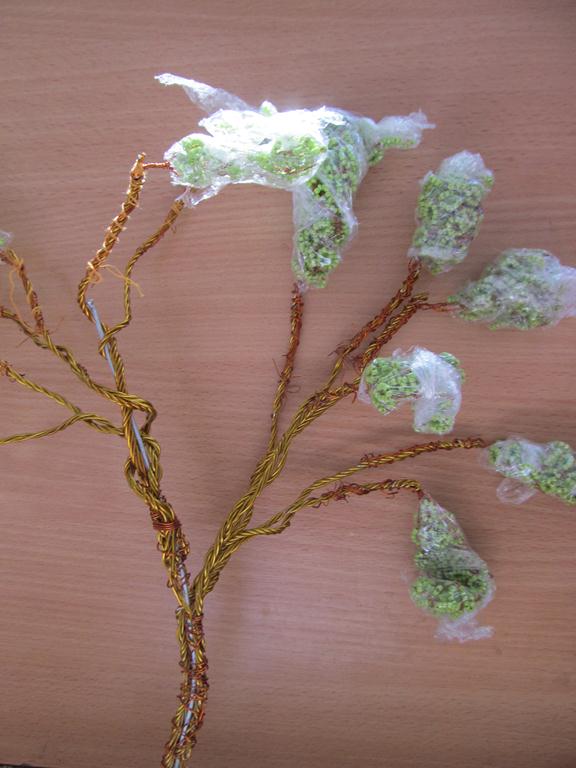
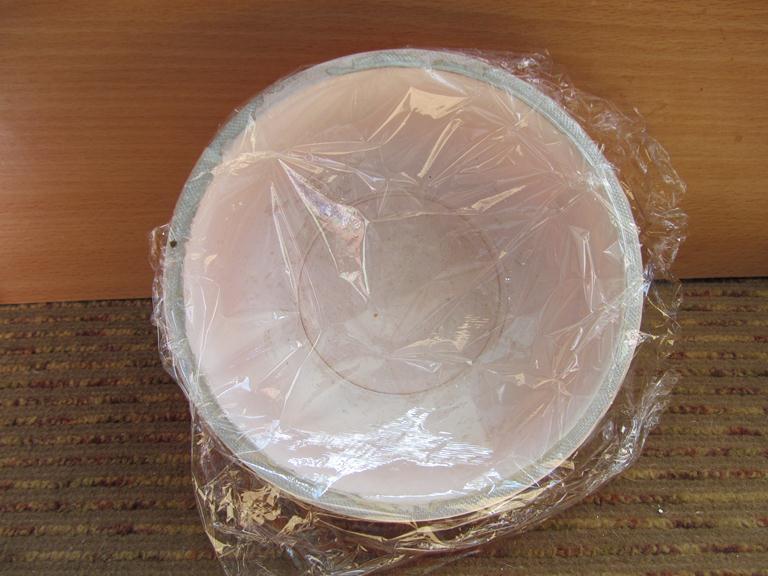
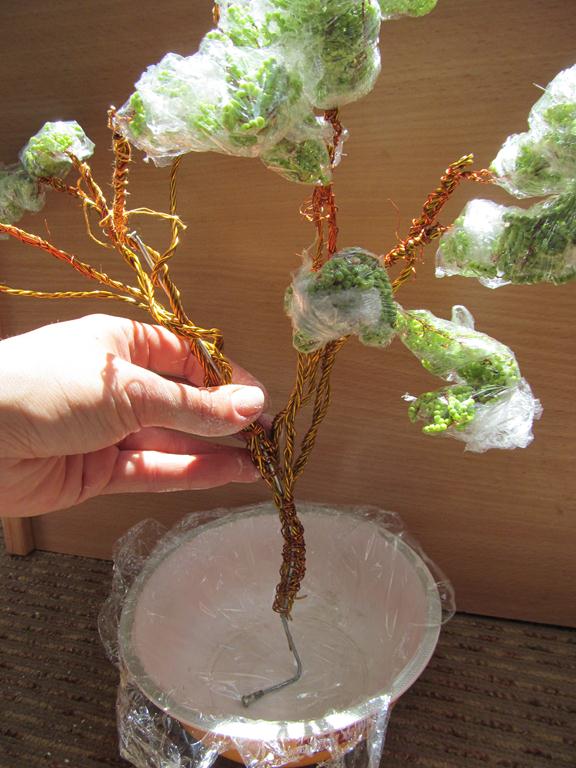
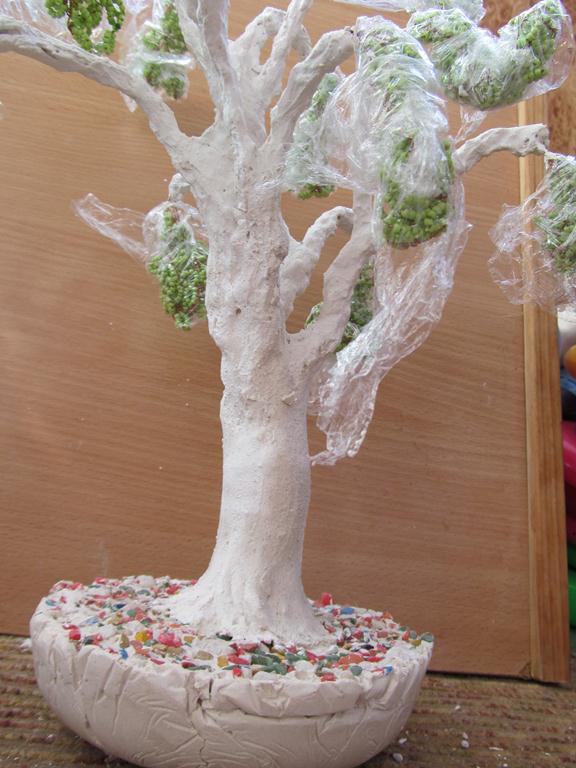
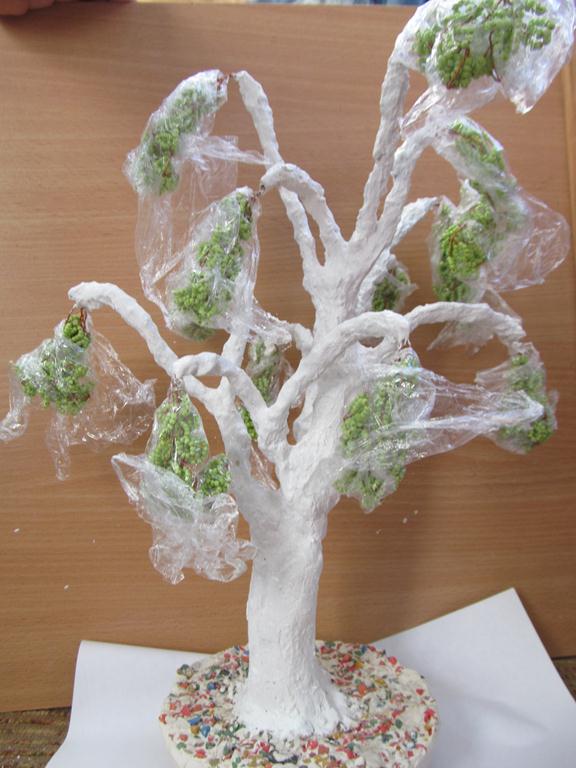
- To begin with, wrap our cellophane or foil with our twigs so that they do not get stained when painting and forming the trunk.
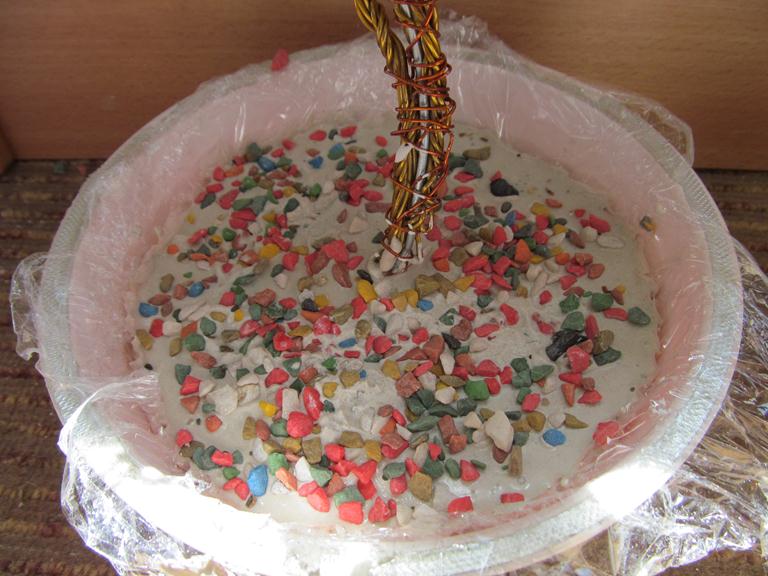
- We choose the form for the base - you can take everything you want - a box, a cup, a bowl, a pot. Just lay them before pouring cellophane.
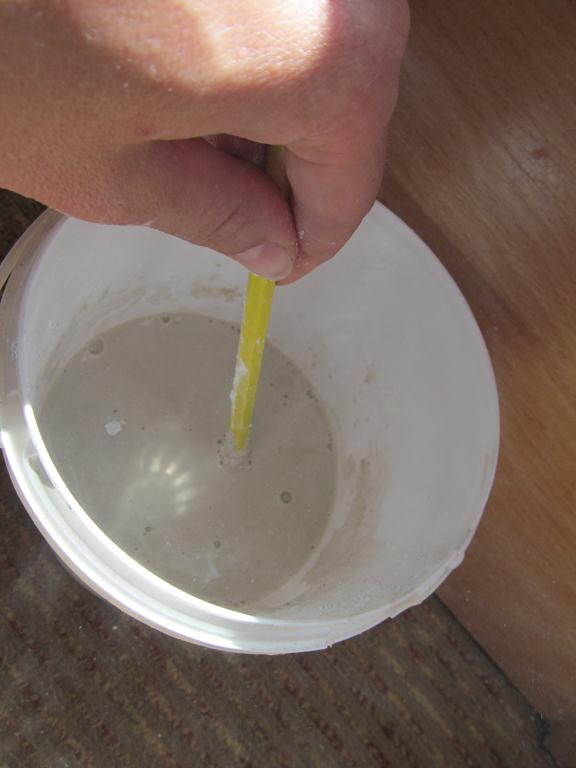
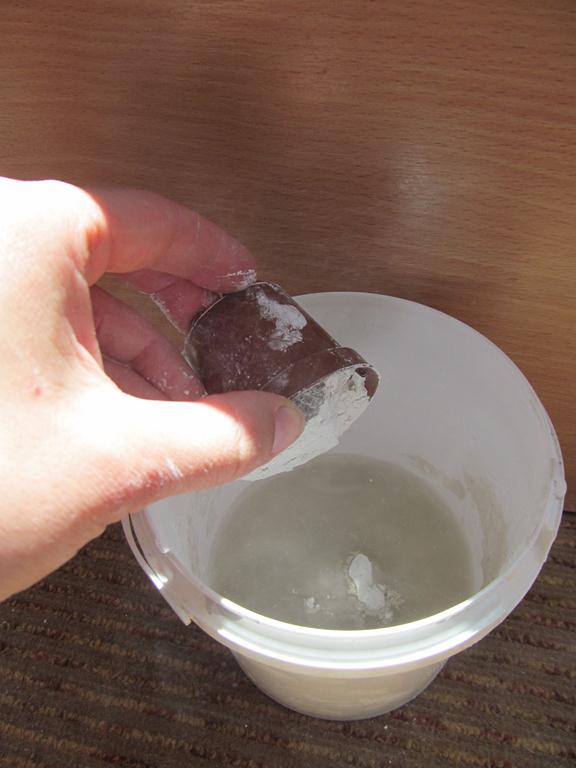
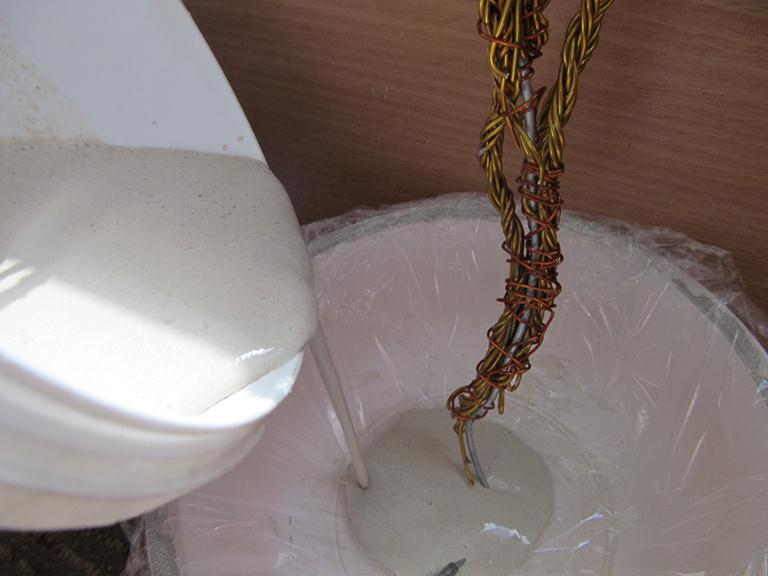
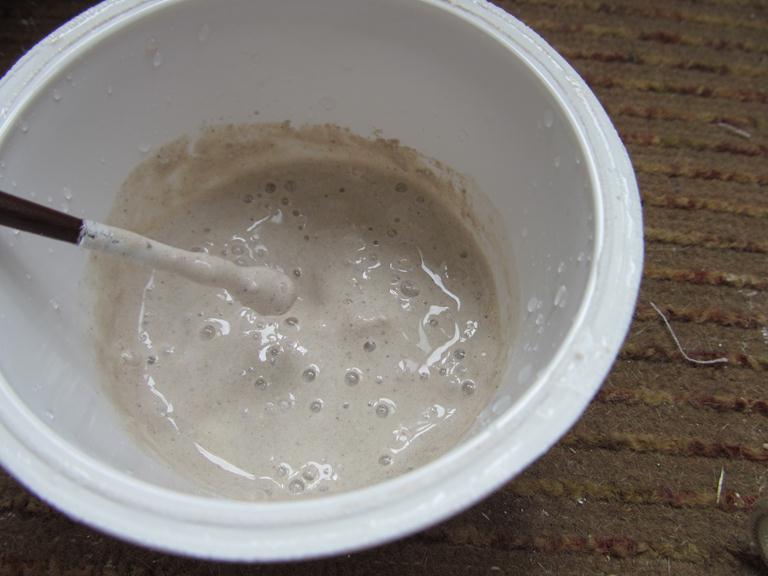
- We raise alabaster with water - I first pour the water, how much to use for the base, after pouring alabaster, do not overdo it, let it be better as a dough for pancakes.
- We put our future tree in a container for the base and fill it with our diluted alabaster.
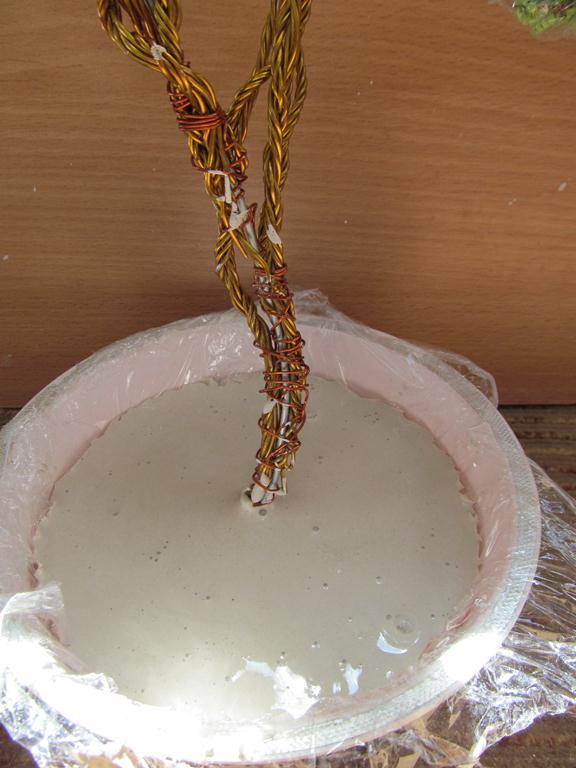
- That's what happens.
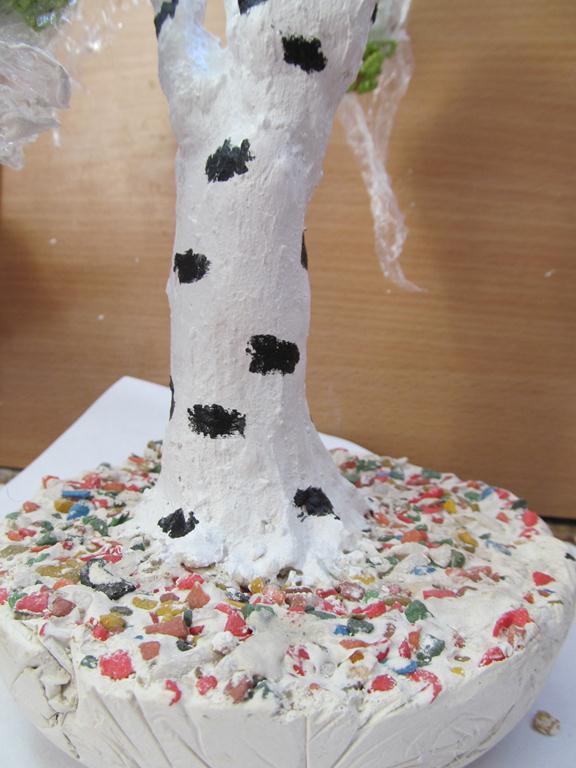
- When the base begins to thicken, you can pour decorative pebbles on the top, or pebbles and press down a bit - I like this design option.
- That the tree does not fall, while the base will solidify, it is possible to prop it up with a bottle of water or something else ... it stops quickly, 5-10 minutes, then you can proceed to the trunk itself.
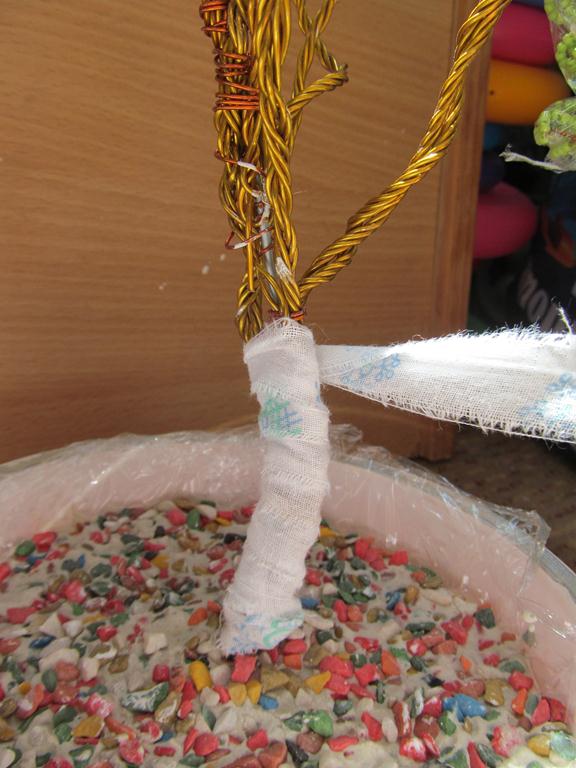
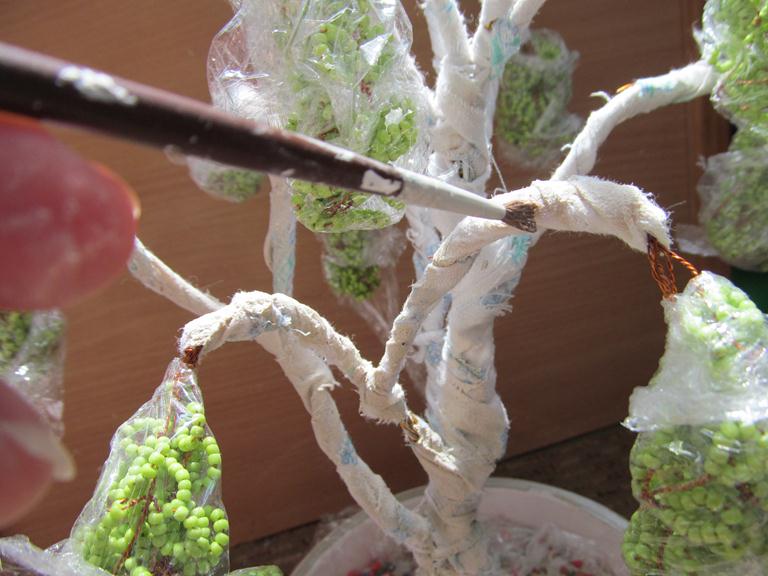
- I wrap the barrel with ribbons from ordinary cloth (the quilt is old), so the trunk will be stronger, it will be easier to apply alabaster, and most importantly, the trunk does not crack.
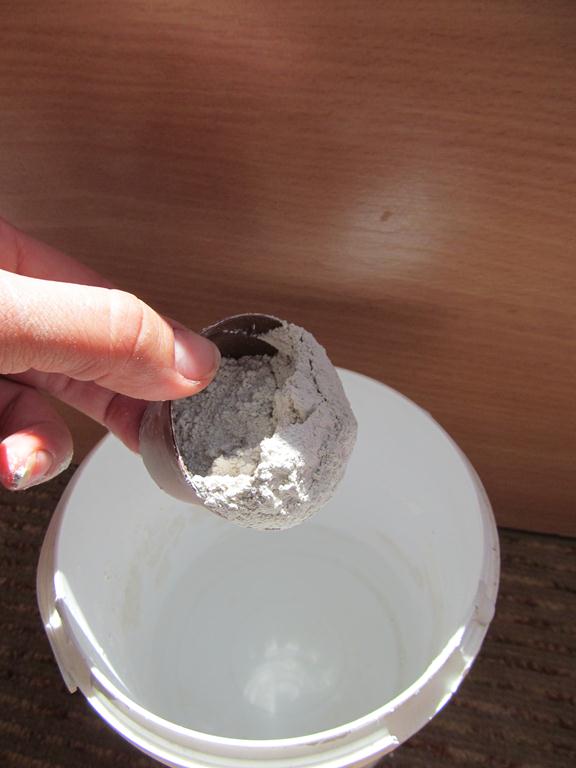
- In a small container we plant alabaster of enough liquid consistency for a couple of tablespoons of water (very quickly freezes, it is better to bring a new portion) - they will impregnate our fabric.
- For the application, I use a conventional painting brush - very convenient, with both for painting the trunk and for applying alabaster.
- Now let's dry a little, and we dilute the mixture more intensively, but we will add some PVA glue. It is needed to ensure that the trunk is more durable and does not become covered with cracks. Adhesion is sufficient for a third of the water (3 tablespoons of water, 1 PVA).
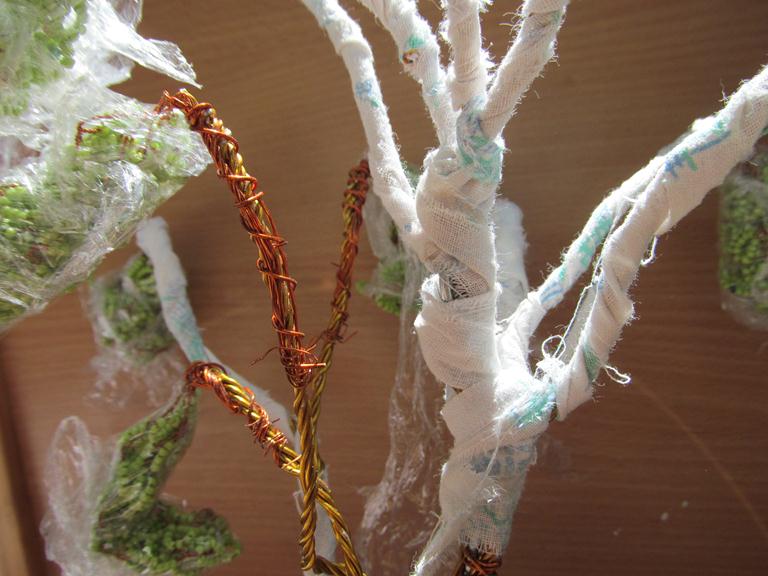
- So we put it layer by layer, letting it dry up the previous one until the result suits you. It is necessary to close all areas with a cloth and a wire, it is possible to make cuts of a bark, roughnesses as at a tree, even hollow. In the process, your imagination will definitely help.
- When the tree dries, you can start painting. Since we make a birch from a bead, the answer to the question of how to paint a trunk is very simple. I had acrylic colors and used them. Watercolor is not worse, so we use what is.
- Birch can not be imagined without black areas of the bark, so draw them.
- After our birch has dried, unwind our twigs, straighten them, ready!
| | |
| | | |
| | |
| | |
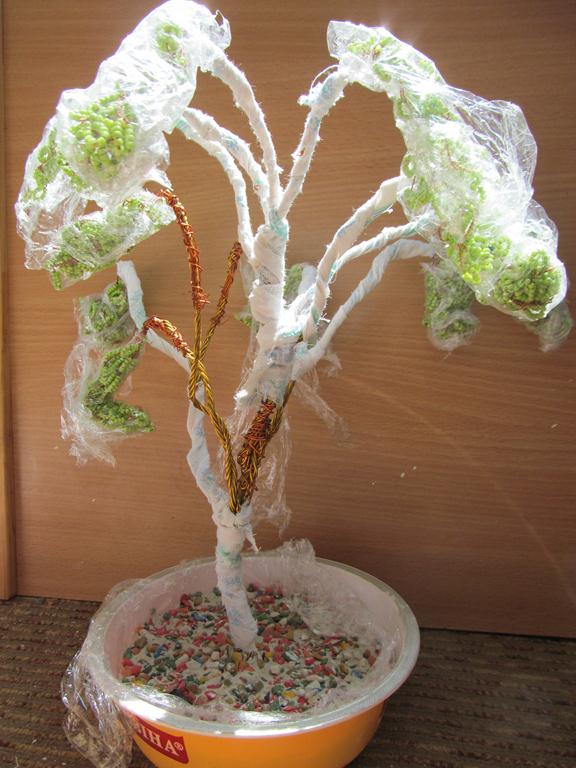
You can decorate the base (very beautifully on the birch will look kachelka, a small shop under it, or just flowers, I'll definitely think of something, but it looks great as well).
I hope this MC will help you in creating bead trees - this is a very fascinating activity, you never know what will happen and where the fantasy "turns" ;-).
The author of the work is Lelya Kozyreva.