Children are our happiness, love and hope. We want to envelop them with care and give our warmth. It's no wonder that we try to surround the children with beautiful memorabilia that will remain in memories for many years - a bright circle, a teddy bear with a bow, a favorite book ... It would seem that for the child there is nothing more boring than documents, but even they can be kept in memory as something soft and homely, the main thing is to make them suitable packaging. I suggest you make your own handsome folder for children's documents.
Folder for children's documents scrapbooking - master class
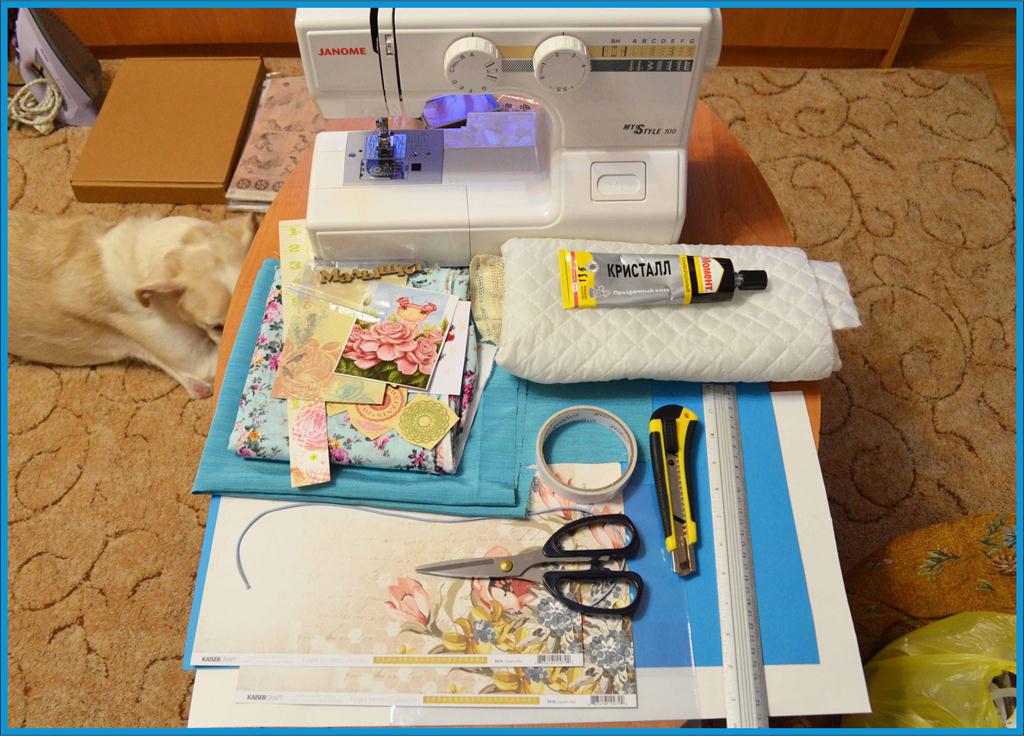
Tools and materials:
- sewing machine;
- colored and white cardboard;
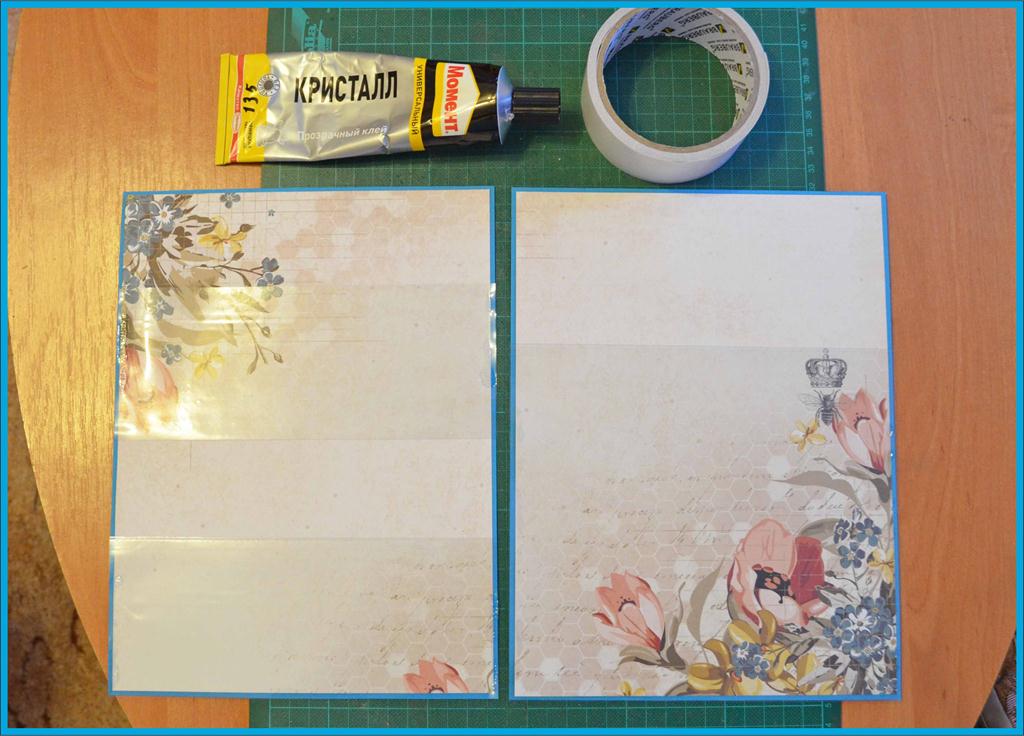
- two identical sheets of scrap paper;
- fabric of two kinds;
- sintepon;
- tetrad cover, decorative band;
- Scissors, clerical knife, ruler;
- adhesive, double-sided adhesive tape;
- decorations to taste: pictures, inscriptions, chipboards, pendants, buttons, etc.
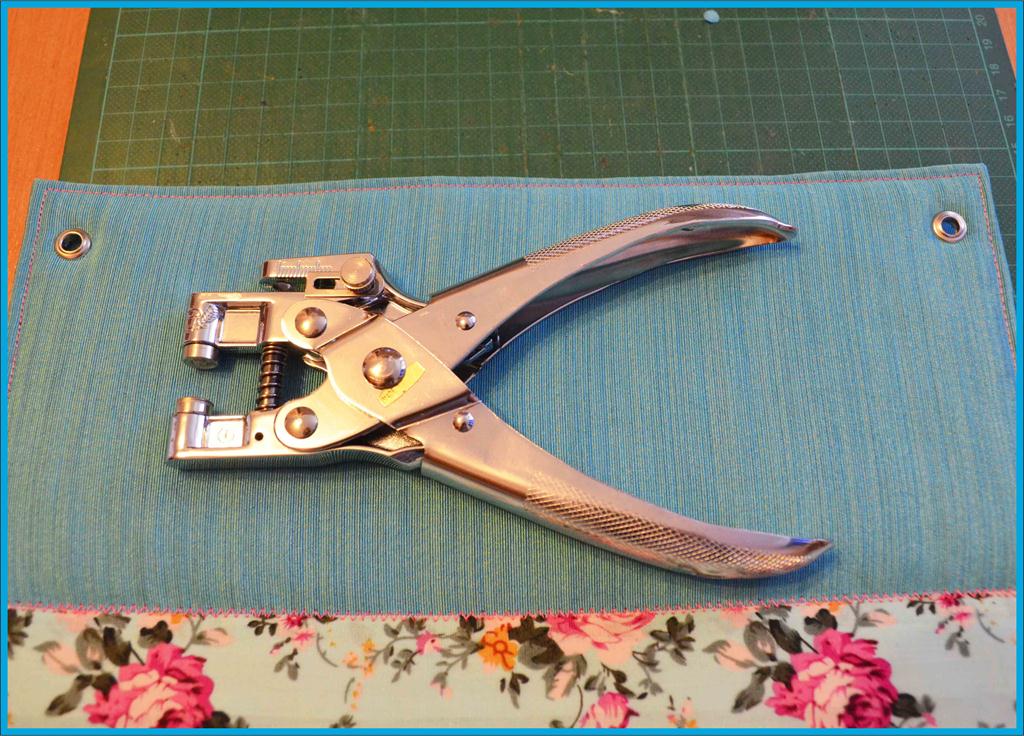
- eyelets and installer eyelets (optional).
I decided to make a cover of two types of fabric, but this is not necessary - you can just limit one.
Progress:
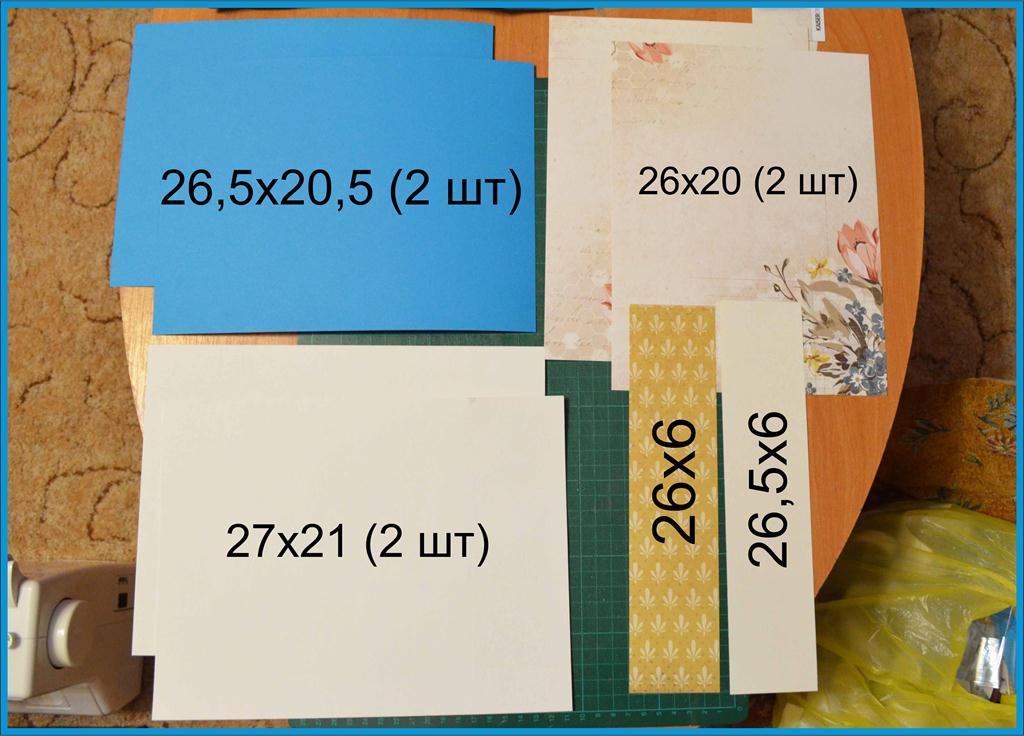
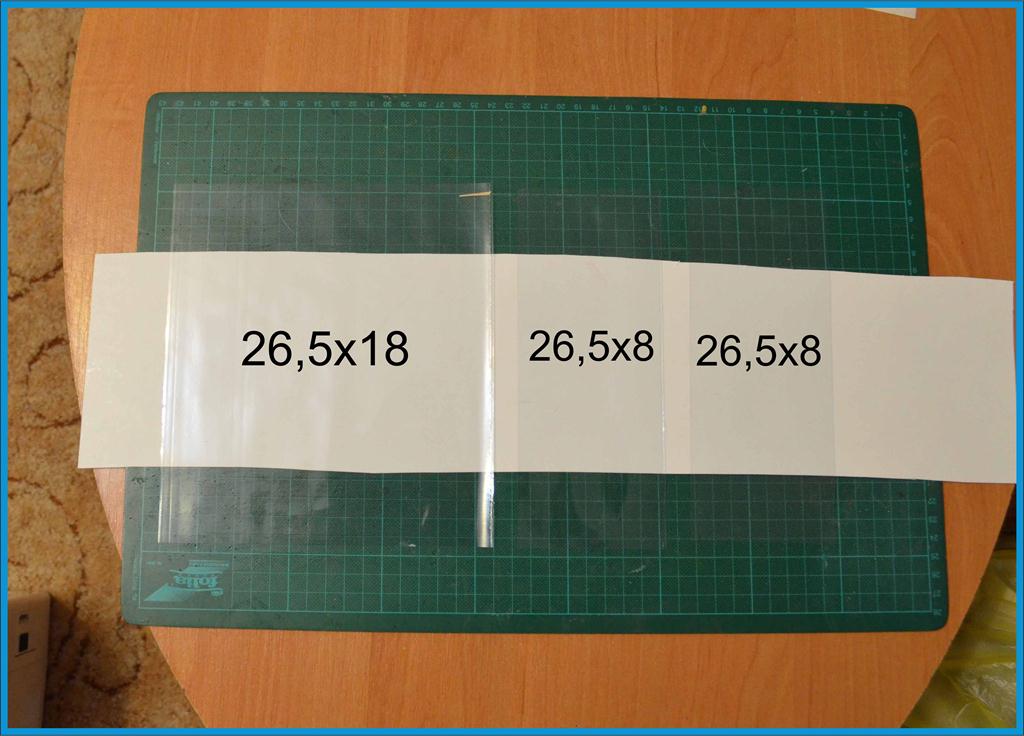
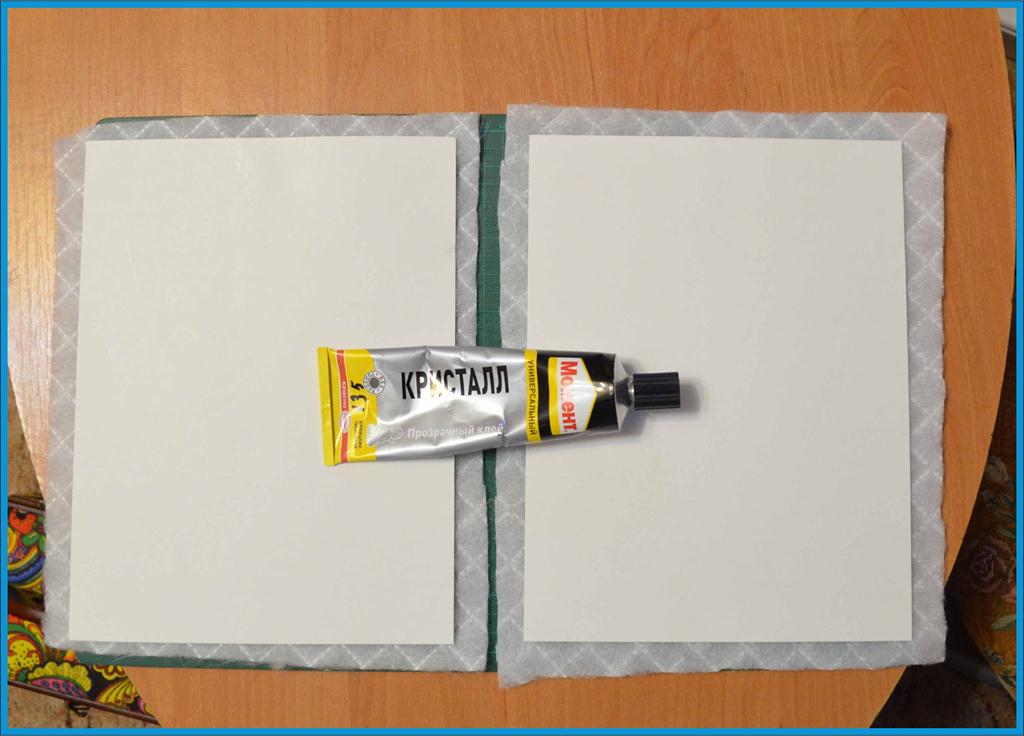
- First of all, we cut the cardboard, paper, and a tetrad cover into pieces of the right size - great pockets come out of it.
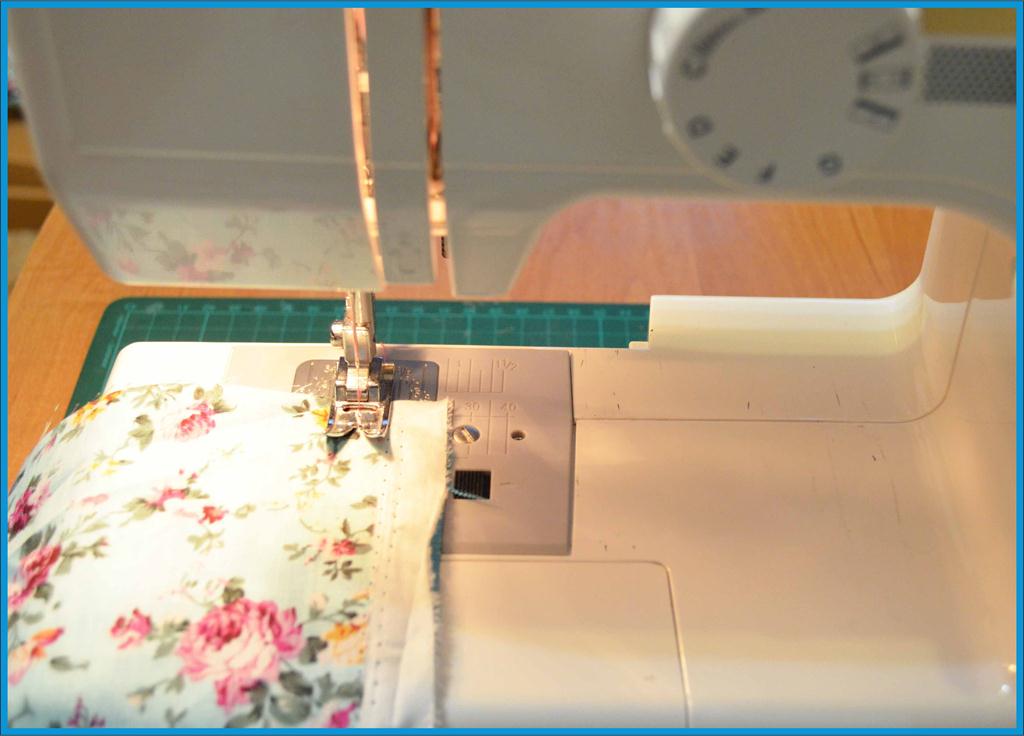
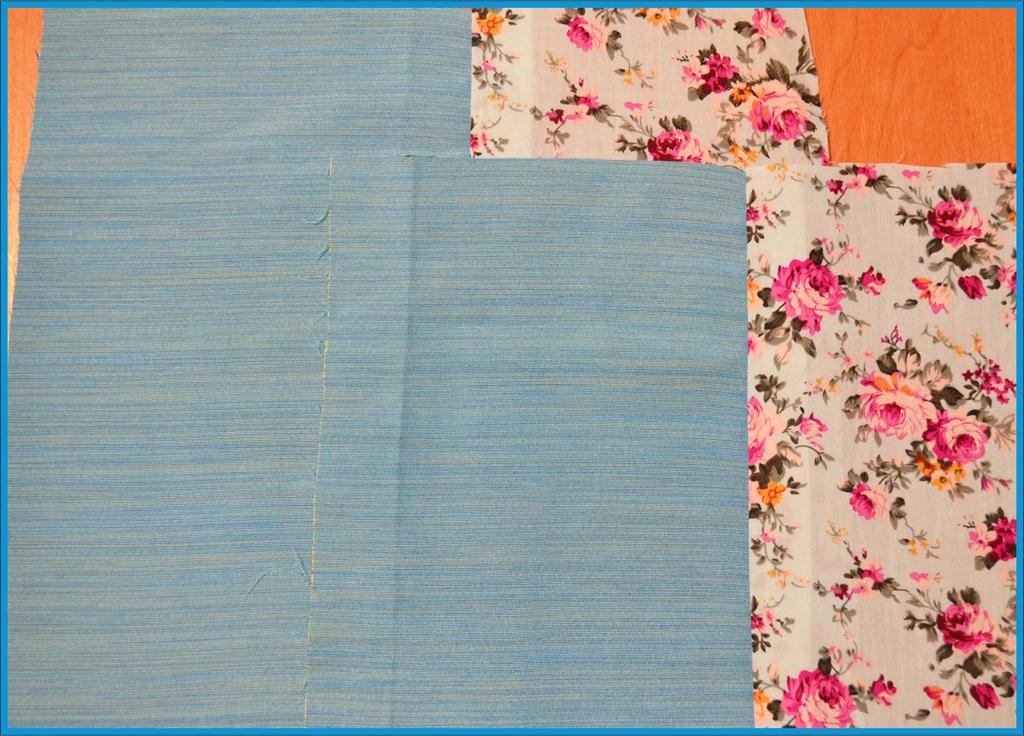
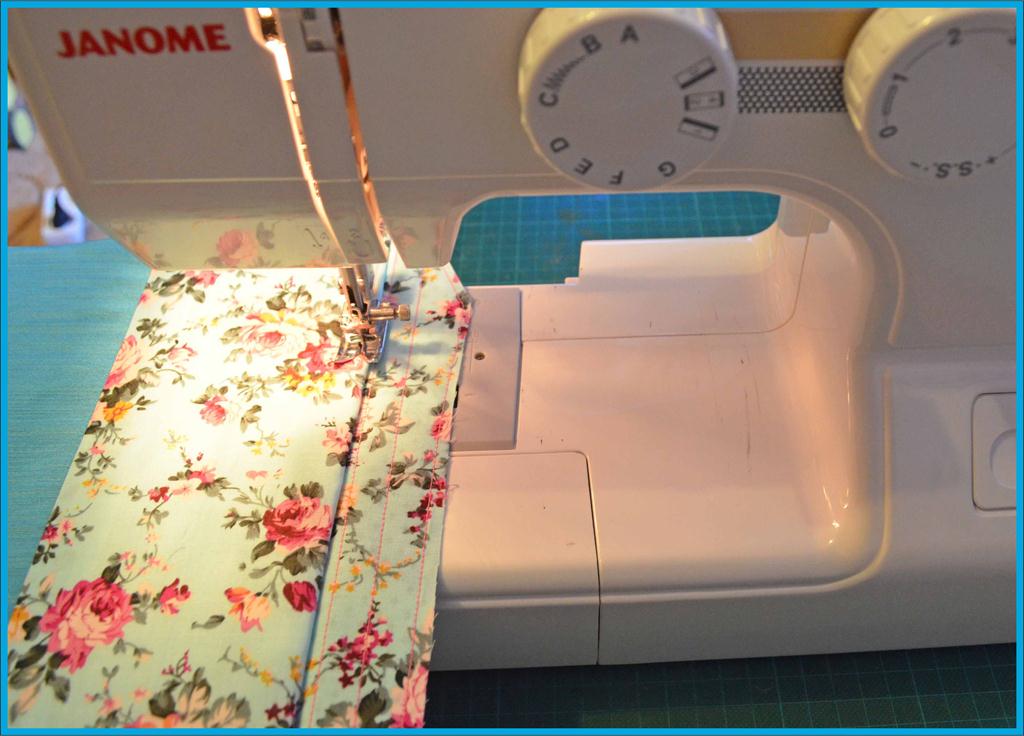
- The next step is to take a fabric of two kinds that fits the style.
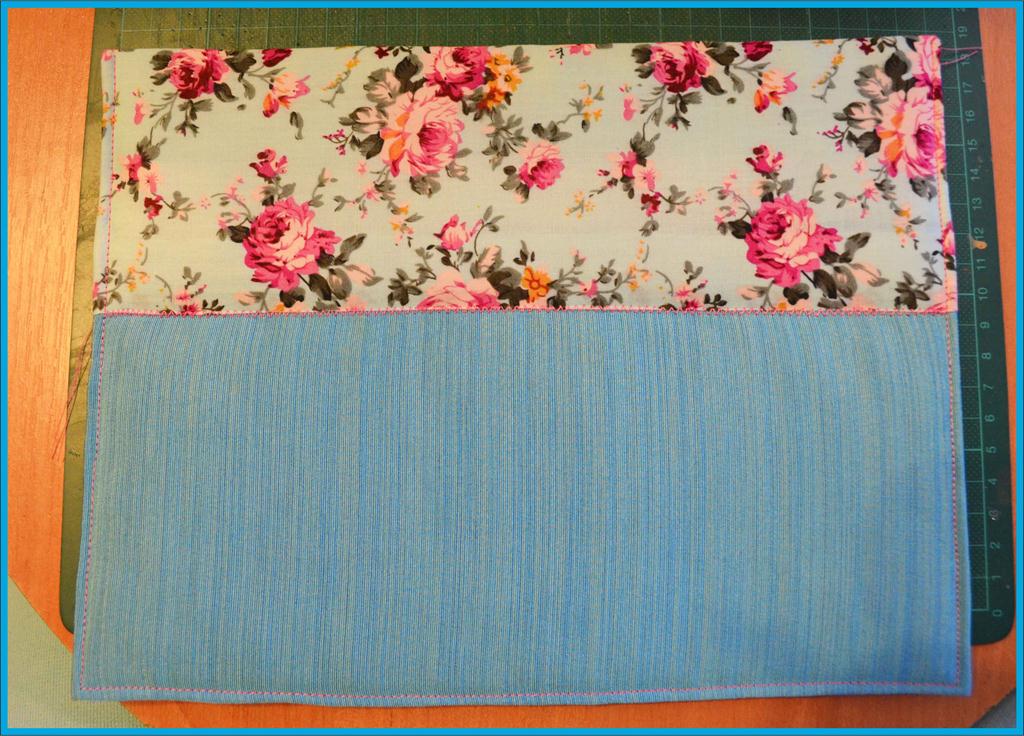
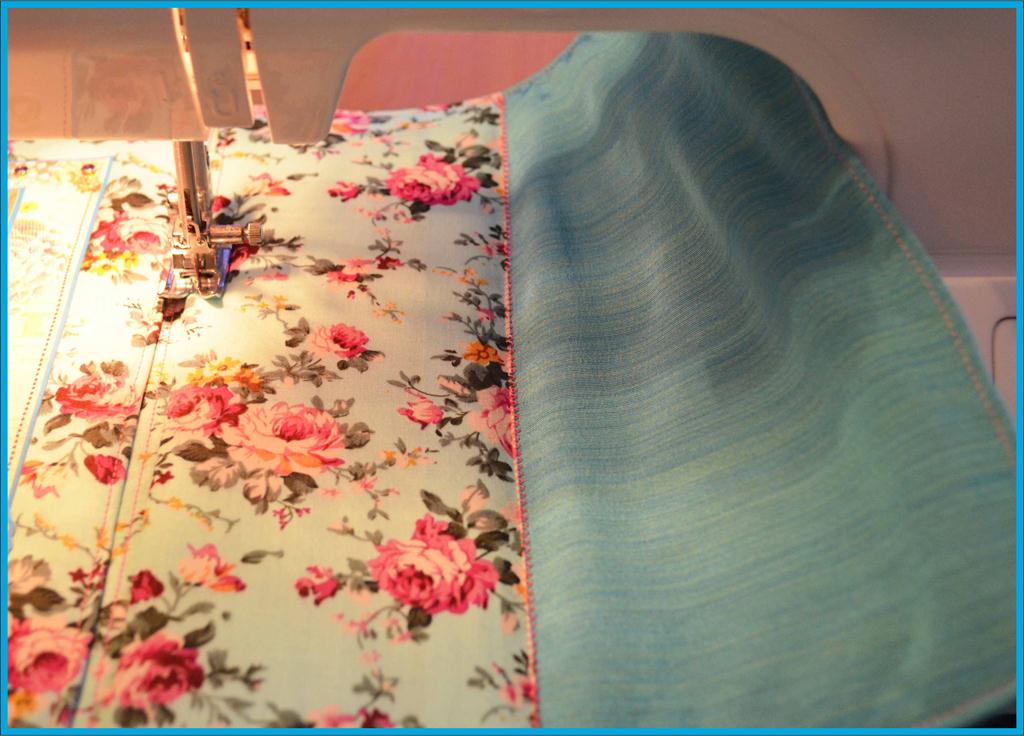
- And we sew two of the same canvases from them.
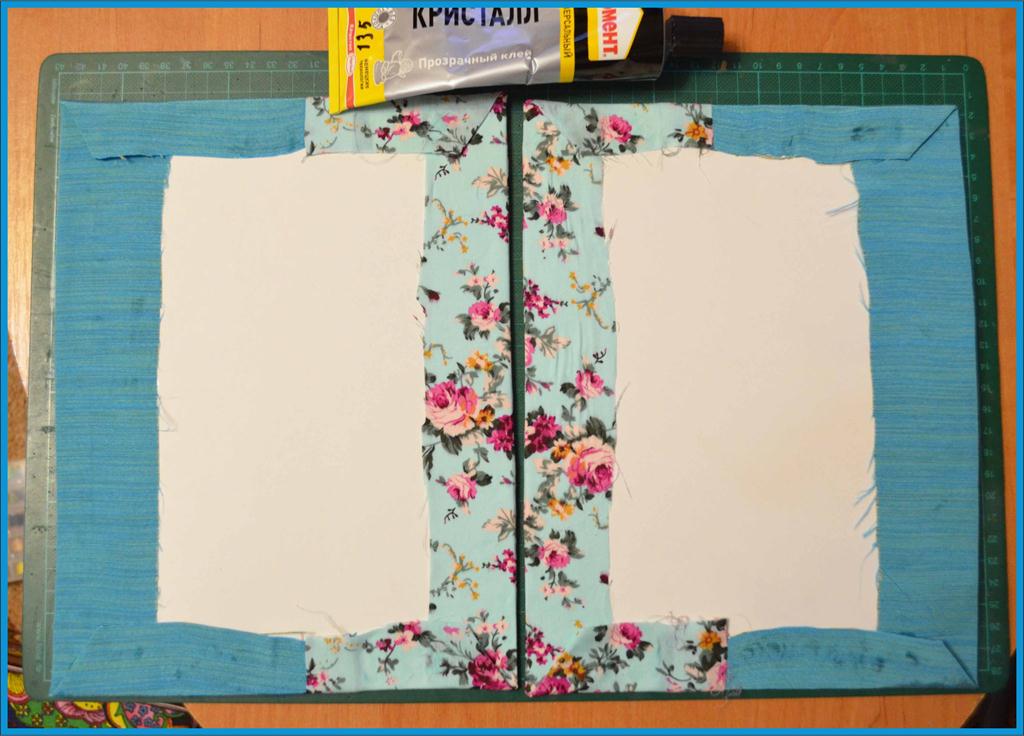
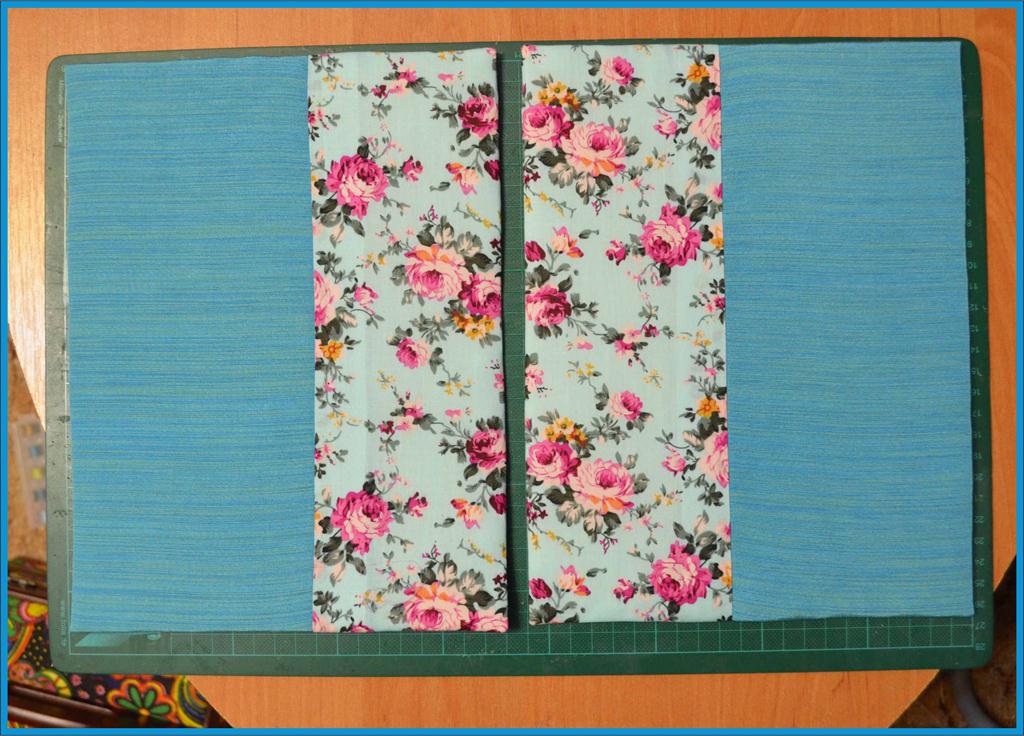
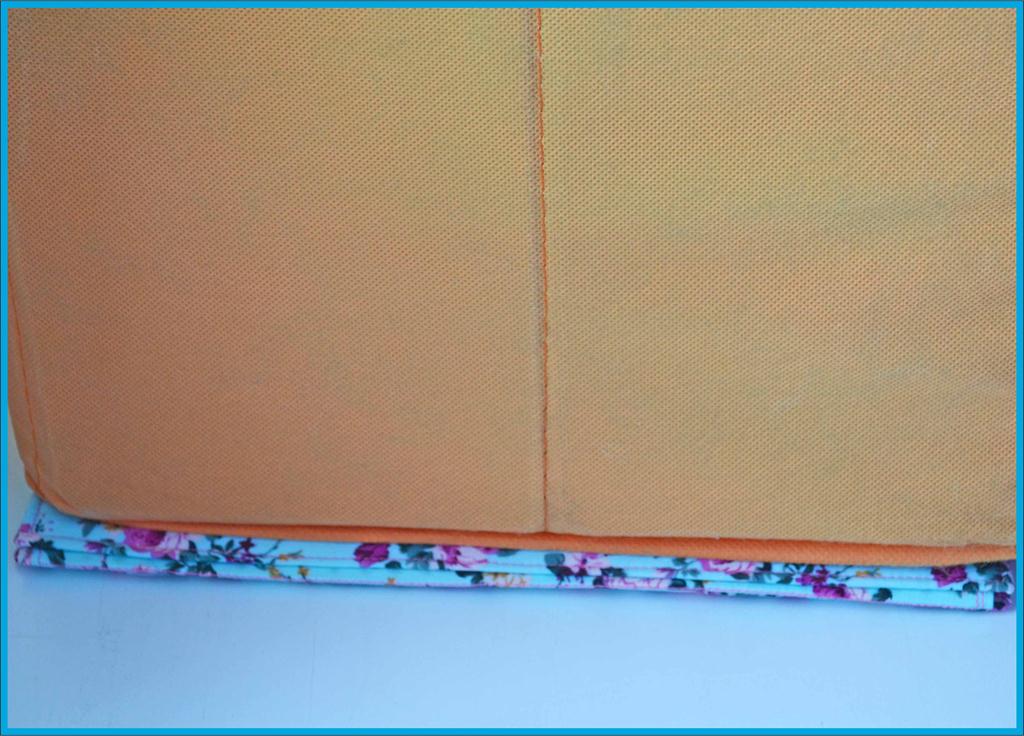
- We glue the base to the sintepon and cut off the excess.
- And then, with the help of glue, we fix the fabric on the base, gently bending the corners.
| | |
| | |
| | |
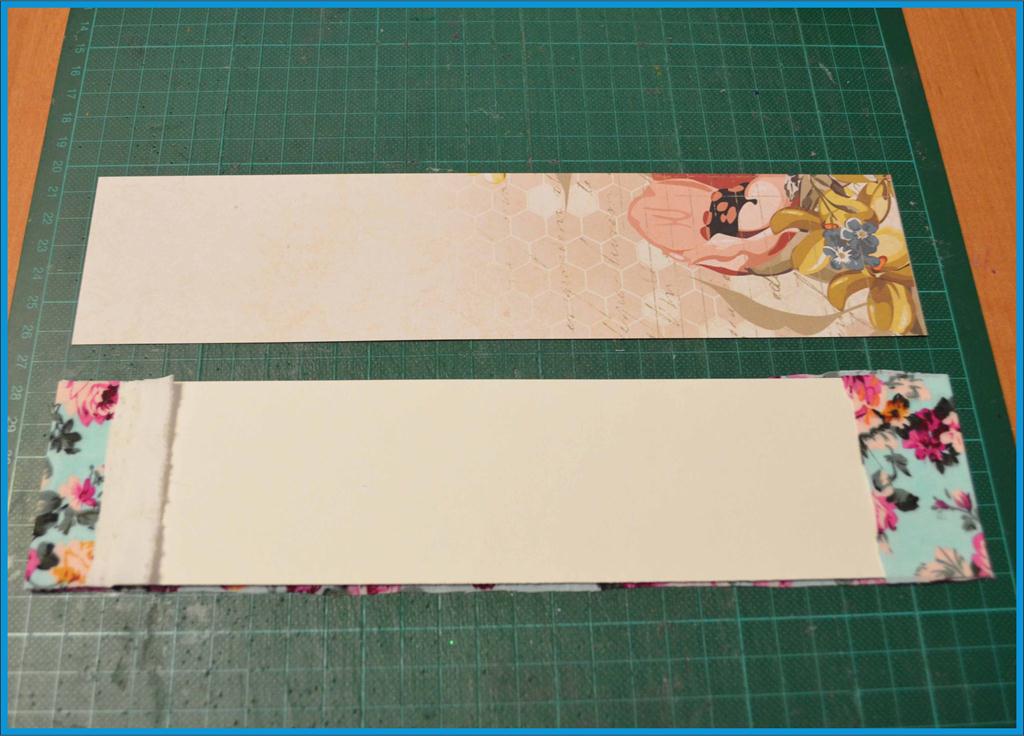
Now prepare the spine for the cover (you can make a whole folder, but I prefer the composite version):
- We glue the fabric to the white cardboard (glue only the part that will be hidden under the paper), and glue the paper on top.
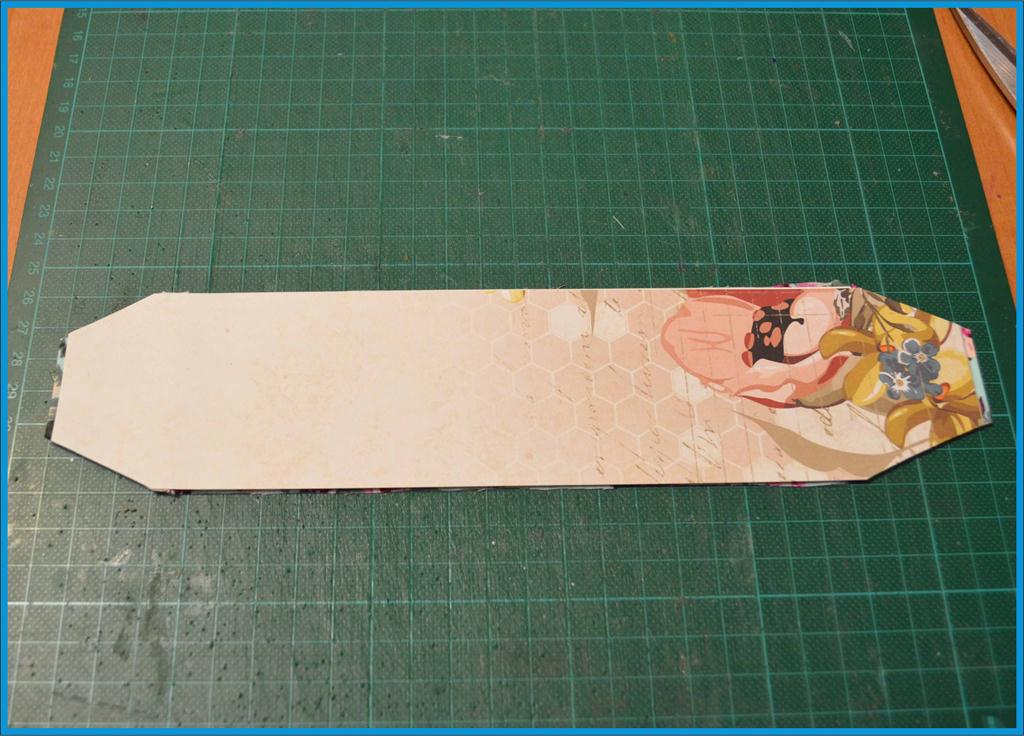
- Cut the corners.
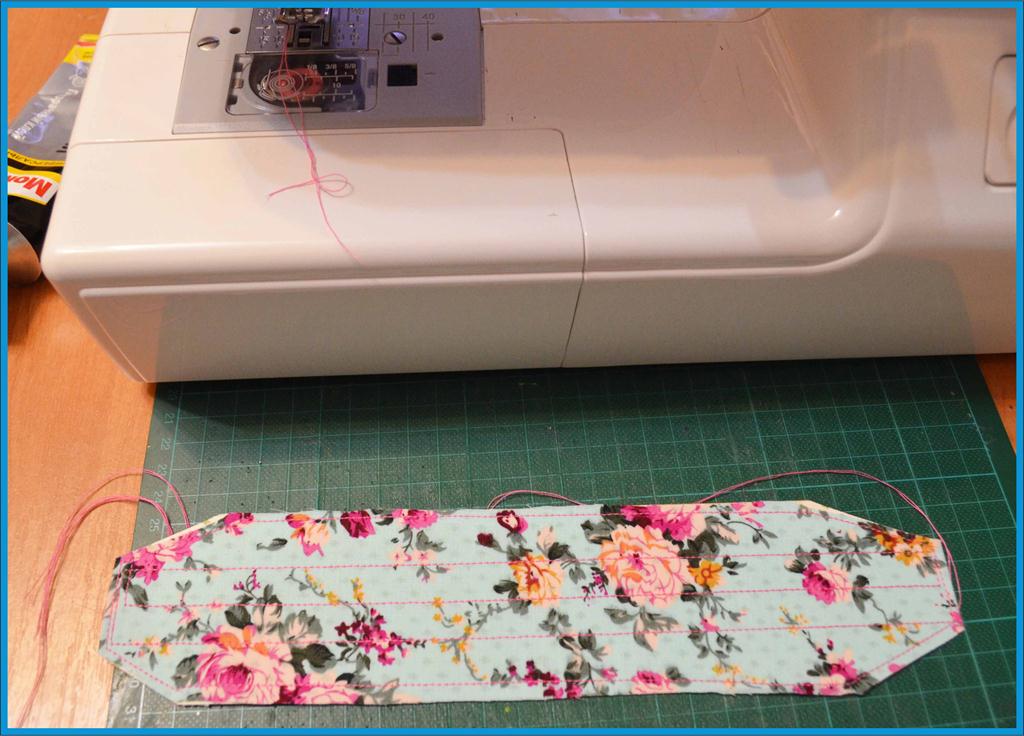
- And we sew around and along - the fabric should not stick.
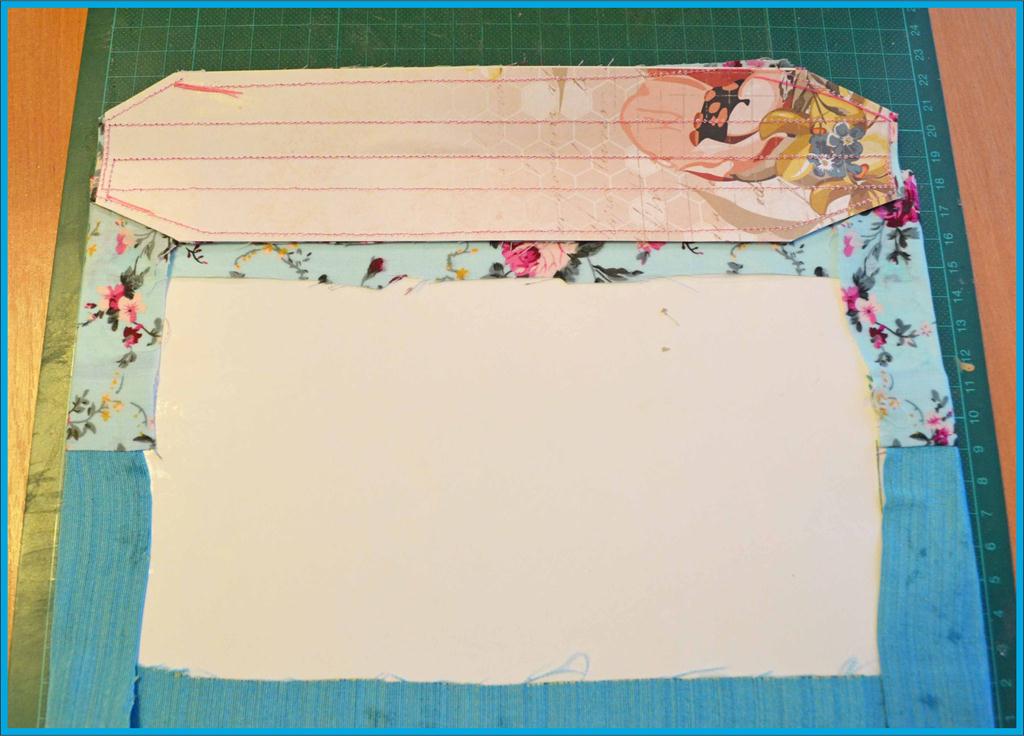
We return to the assembly:
- We glue the spine to the cover and stitch the cover around the perimeter.
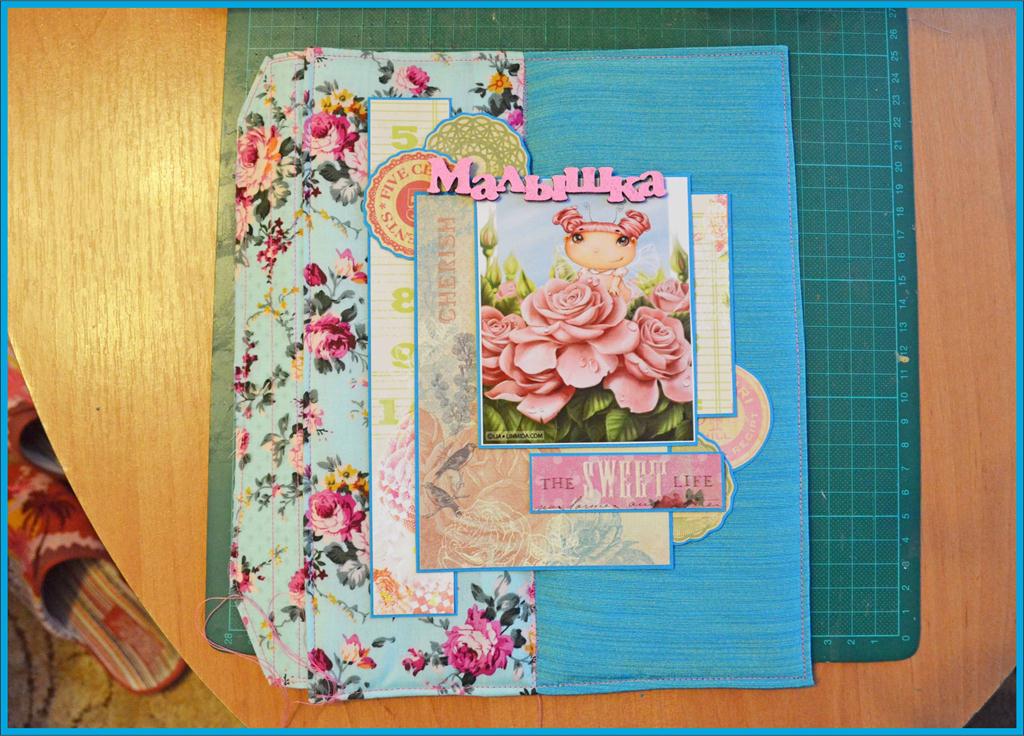
- We make layout of all paper adornments on the cover, and then step by step we sew each part.
- Also we sew the second half of the cover on three sides (except for the part where the spine will be) and decorate the joint of the fabrics with a decorative seam.
- At the end of the creation of the base, we sew the back of the cover to the spine - when trying to flash immediately along the perimeter, you can spoil the decorations on the cover.
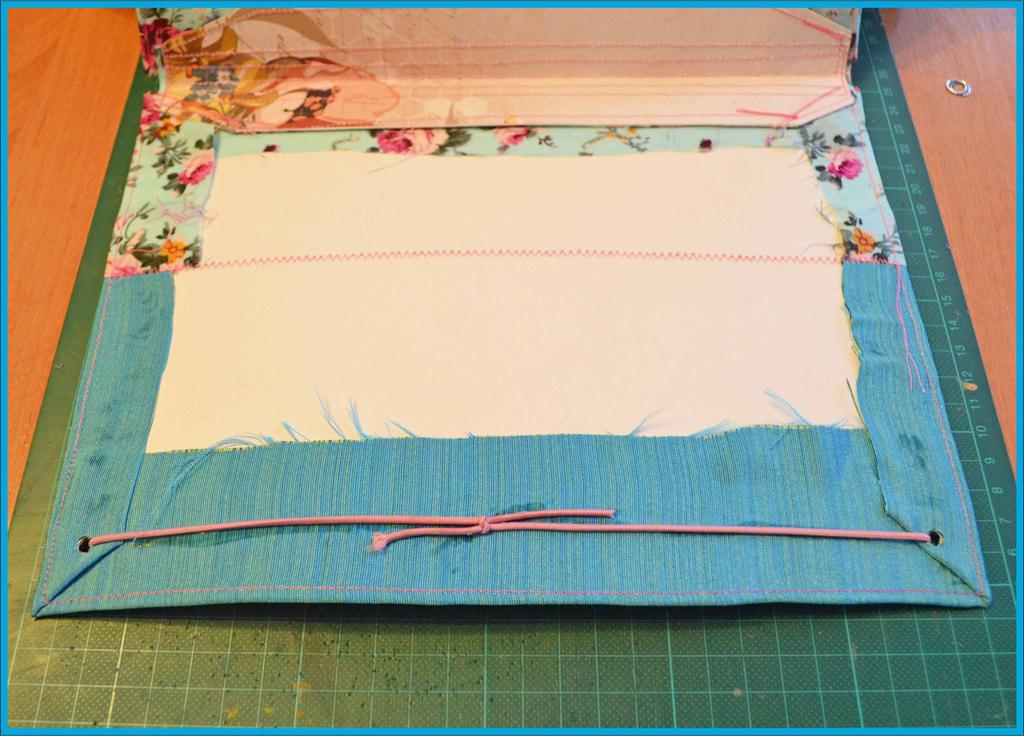
- That's how the cover looks from the wrong side.
- As a holder for the rubber band, I used the eyelet installer, but in its absence, the elastic band can be sewn, and the extra one can be hidden under the paper.
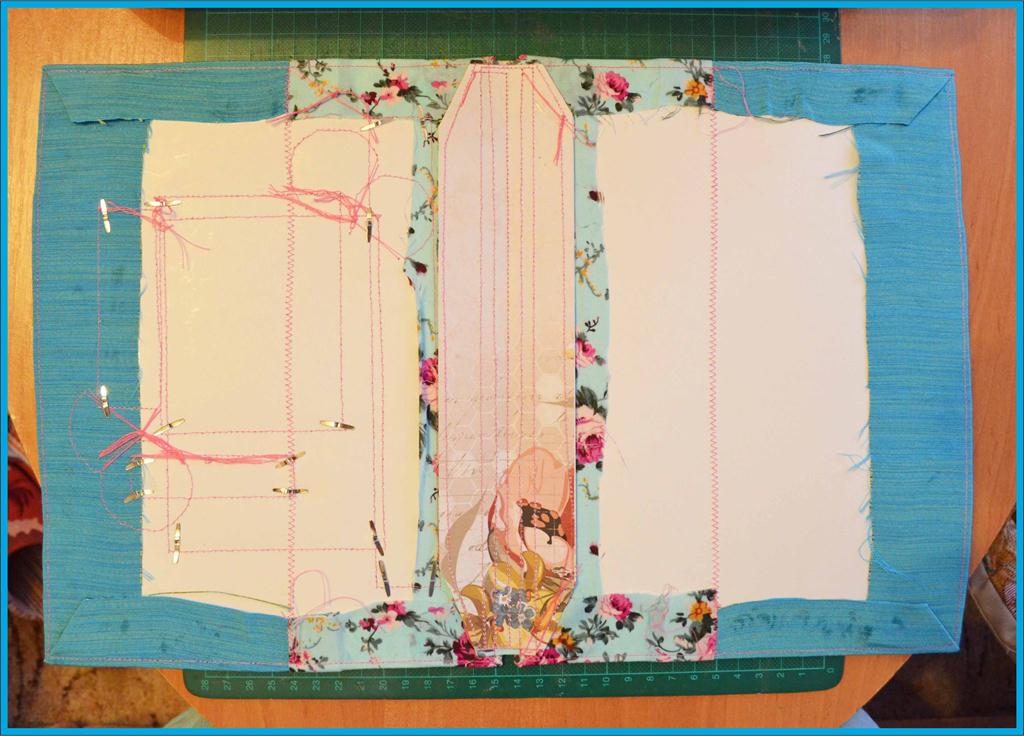
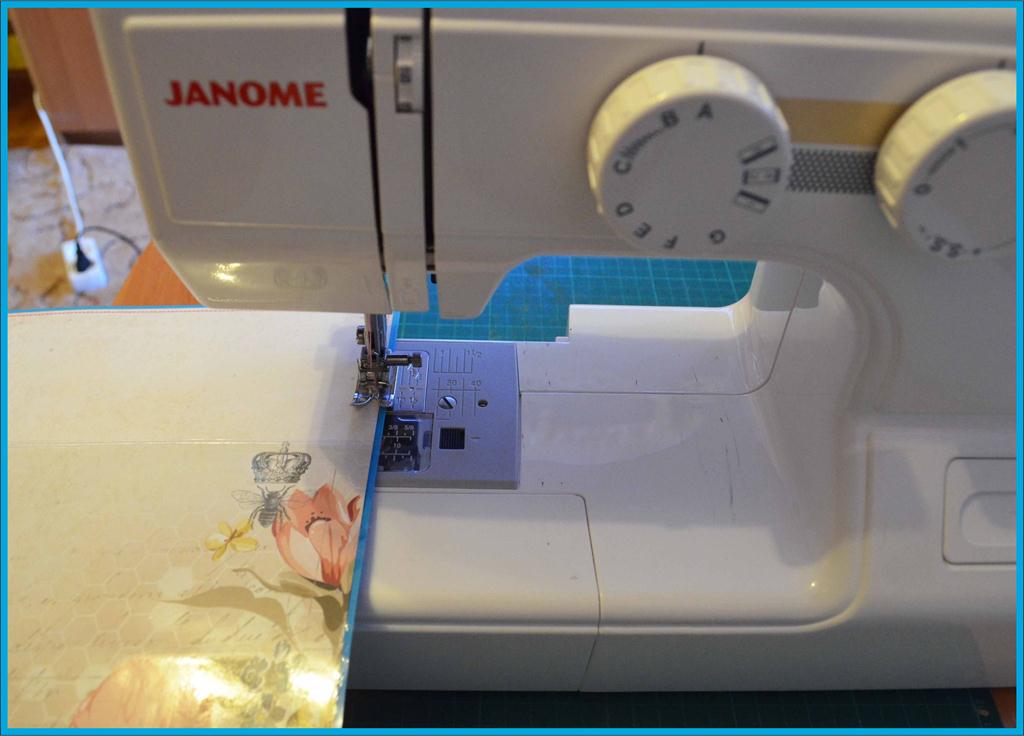
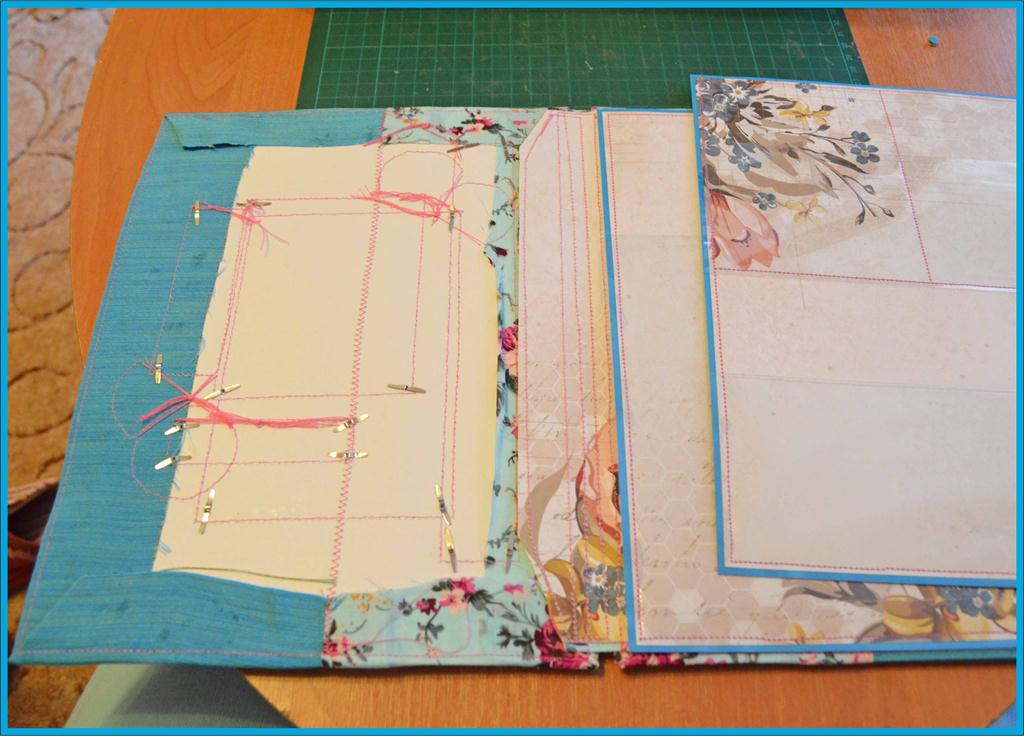
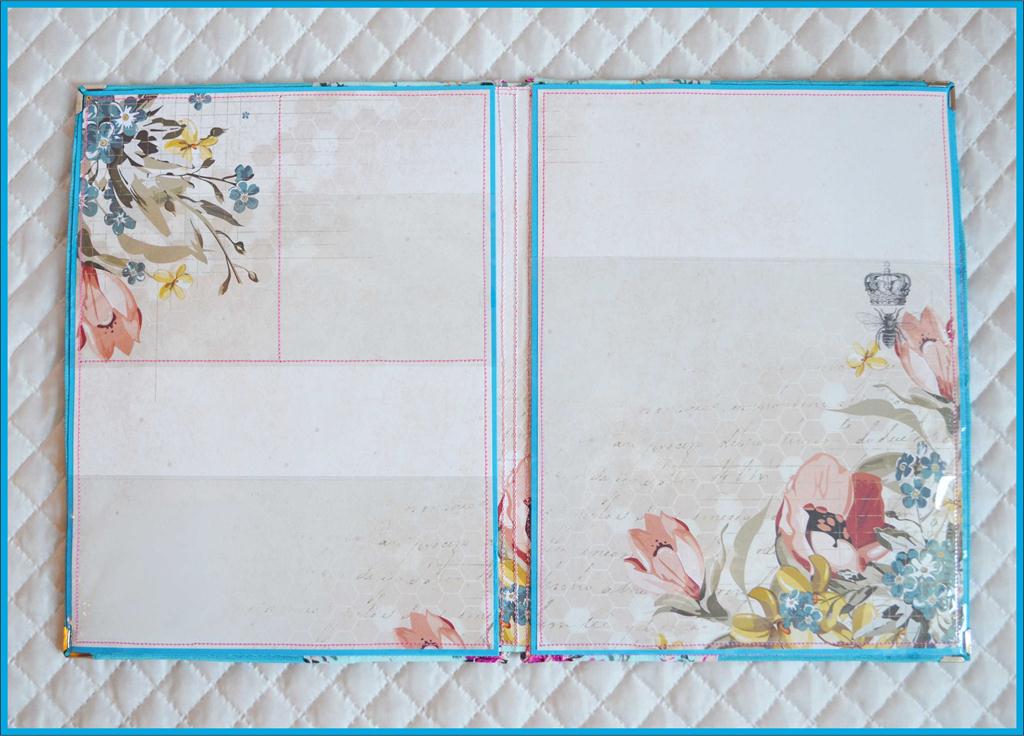
- We make out the inner part with two identical sheets on the substrate, and fix the pockets with a small amount of glue so that they do not slip.
- Then we sew the inner sheets together with the pockets and glue them to the base - you can adjust the sizes and number of pockets yourself, depending on the number and type of documents.
- And we send the daddy under the press.
- The last point remains the simplest, but no less important - we add three-dimensional details: a chipboard, beads, rhinestones, etc.
| | |
| | |
| | |
I think that such a folder will not only help to keep the documents in order, but will also please with its warmth and beauty.
| | |
The author of the master class is Maria Nikishova.