For children, safety toys are of great importance, so many parents make their children toys themselves . From this article you will learn how to make simple soft toys from the tissue by yourself using the example of master classes.
We make a soft toy-bird from a fabric
It will take:
- fabric: color and monophonic (fleece);
- buttons - 2 pairs;
- sintepon;
- sewing accessories;
- patterns of details.
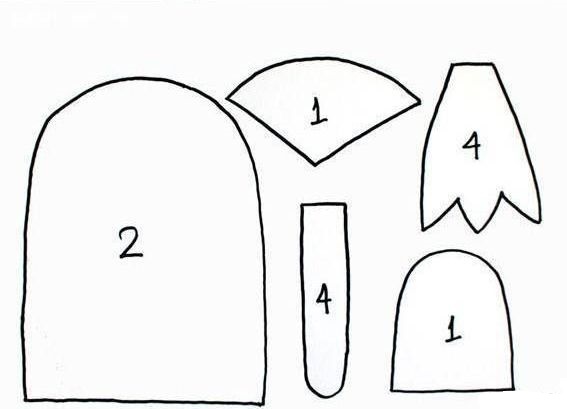
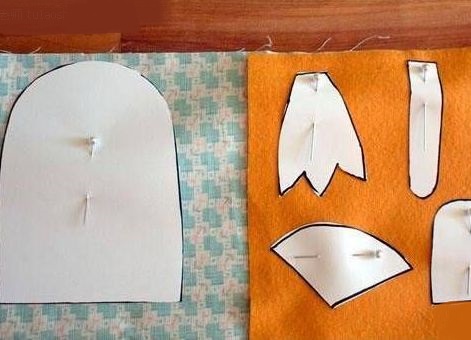
- Cut out patterns from paper and pin to the fabric: the body to the color, and the rest - to the monochrome.
- We cut out 2 details of a trunk, on 4 details of legs and wings, on 1 - a tummy and a bang. We place the details on the front of the trunk and pin them with pins.
- We add them to the base, we sew the black buttons on the eyes and the red diamond as a nose.
- We spend each other in pairs on the details of legs and wings, and also sew the second part of the trunk and stuff it with sintepon.
- Wings are attached to the trunk with the help of buttons, and our legs are simply tied.
| | |
The bird is ready!
It is not necessary to specifically buy a new fabric for making handmade toys, it can be made from denim fabric, which often remains.
Hand-made toy of cloth
It will take:
- paper;
- fabrics: denim, striped and blue;
- sintepon;
- sewing accessories.
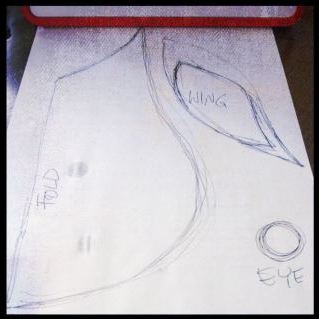
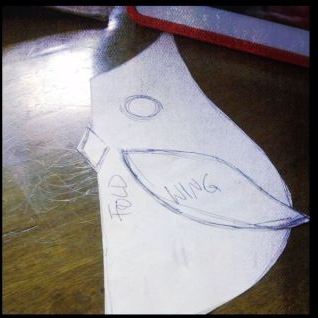
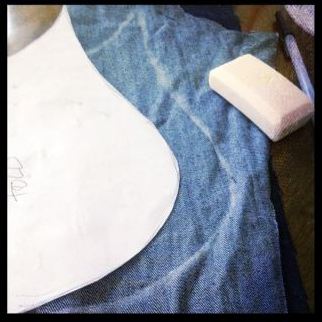
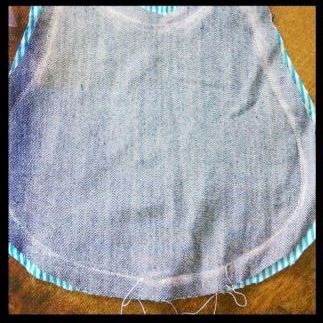
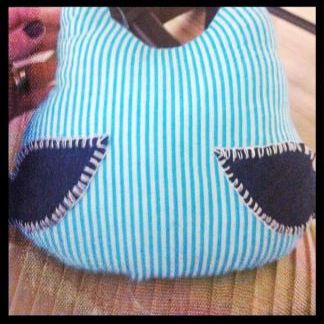
- Draw on paper and cut out the patterns of our owl: half of the trunk, wings, beak and eye.
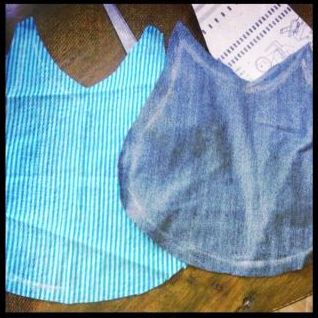
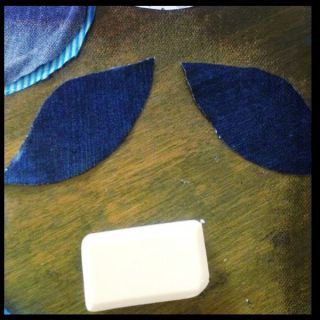
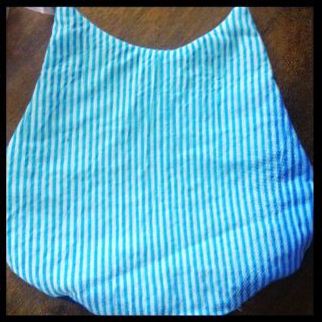
- With their help, we cut out the details of the denim fabric (make 2 wings) and the second torso out of the striped.
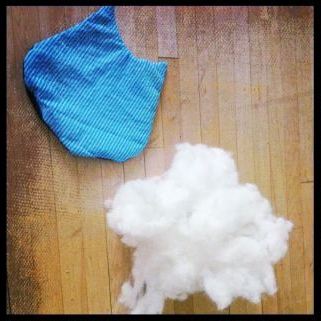
- We fold the details of the trunk with the sides and sew them, leaving a hole for stuffing the sintepon, after filling it we sew it.
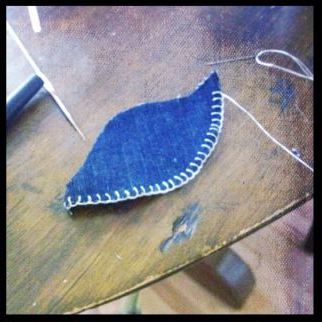
- Wings are lined with a suture seam and sewed to the trunk.
- Then we sew our eyes and beak with a needle. Our owl is ready.
| | |
| | |
| | |
| | | |
| | |
Developing toy from a fabric by own hands
It will take:
- squares of cloth of different colors (per 1 cube - 6 pieces);
- satin ribbons;
- sintepon;
- sewing accessories.
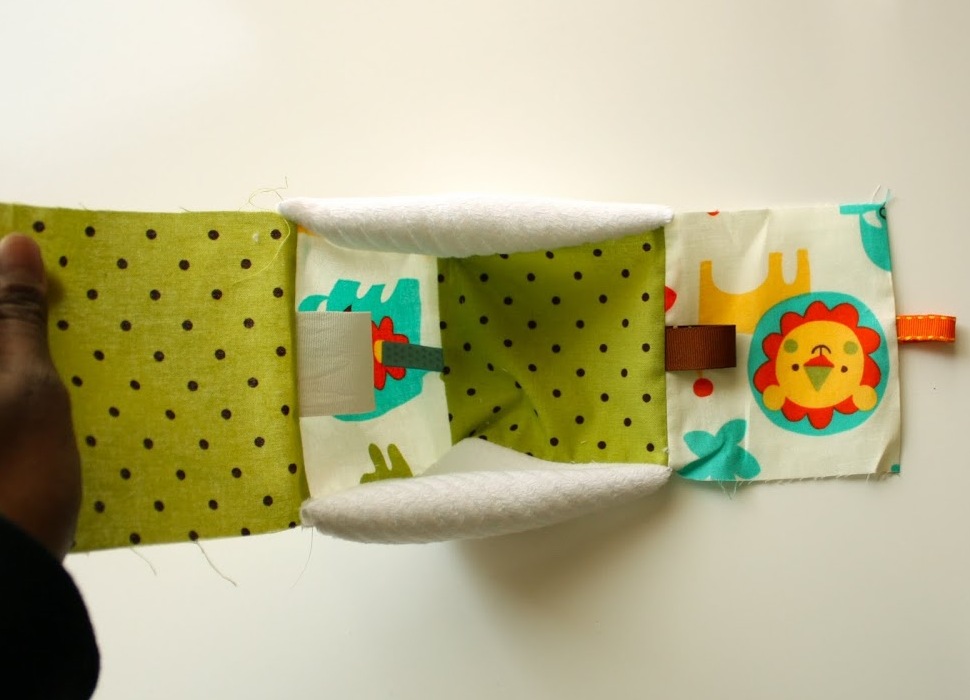
- Prikalyvayem to the front side of the square to the center of the right side folded in half a ribbon.
- On the top, cover the second square and spread it out.
- Thus, we connect 4 squares to form a line.
- To the first square on the left side we sew a folded double ribbon.
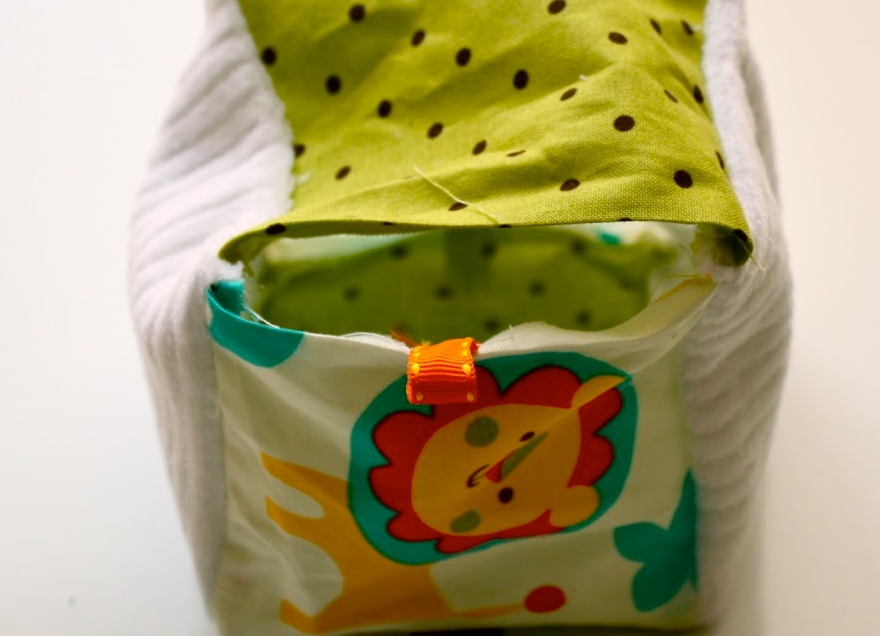
- We add two more squares of white color from above and below from the second square (C), each side of which is 5-7 mm larger than the colored squares.
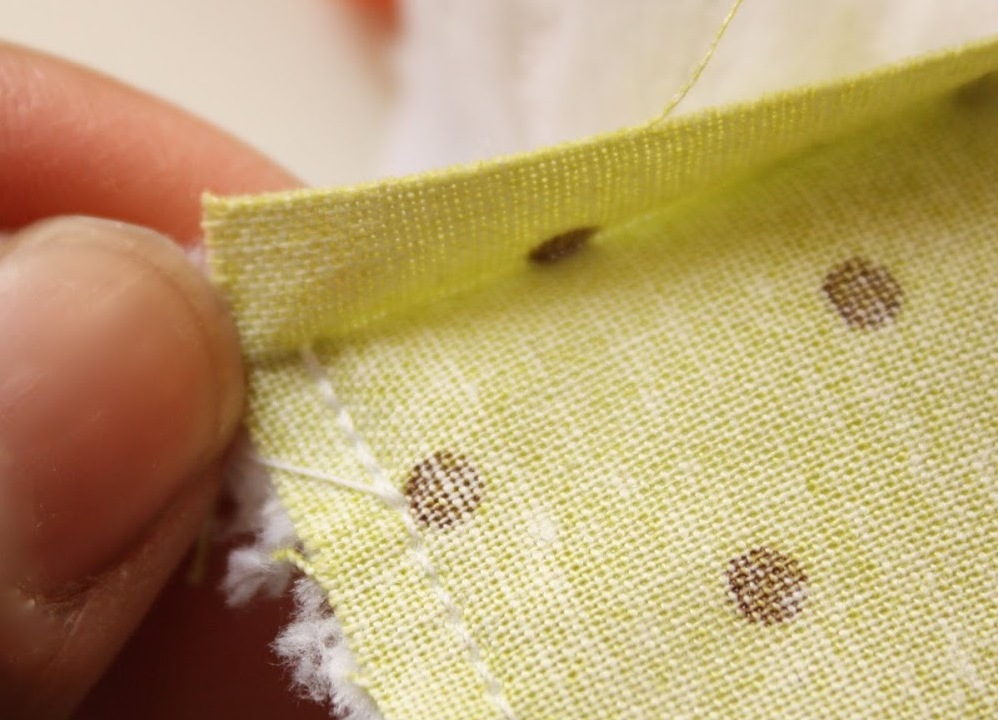
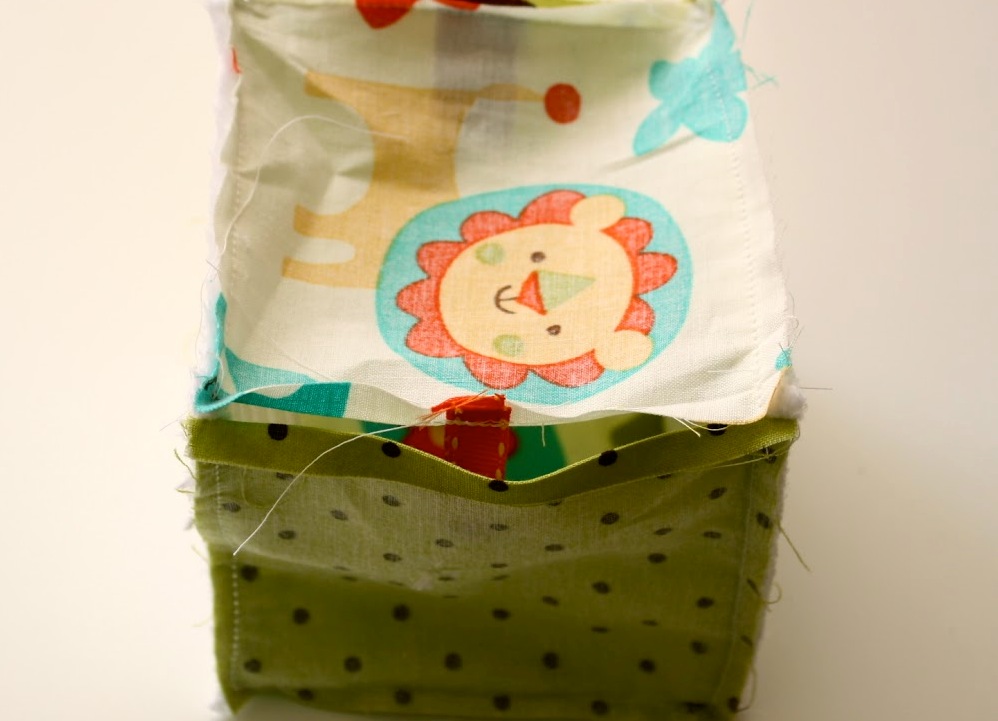
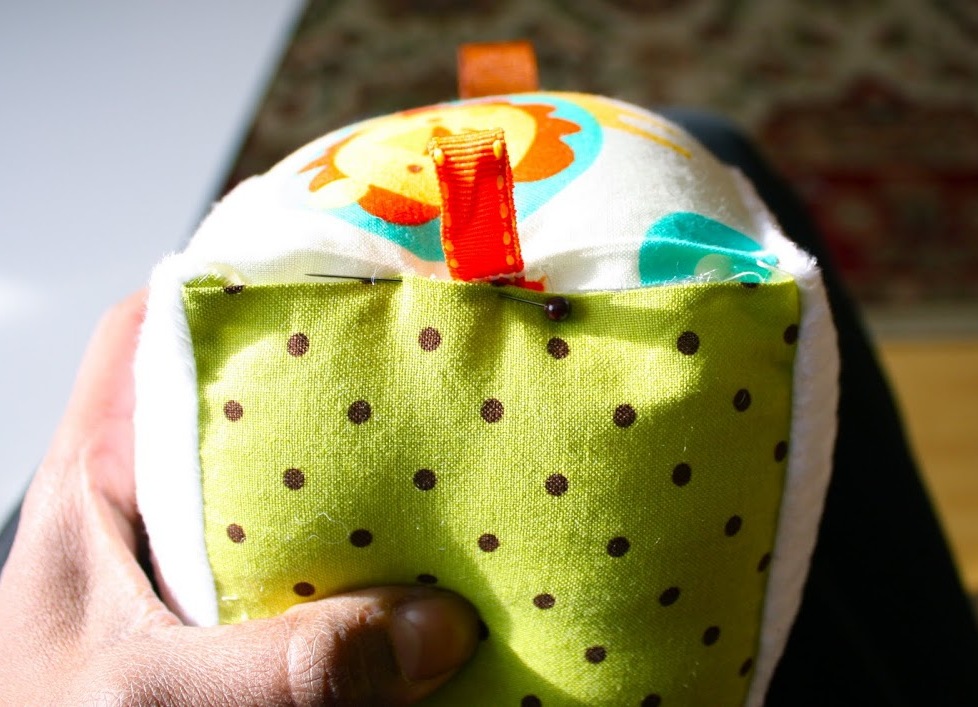
- Sew the sides in this order: A and D to E, then to F and to the very last B. But the last side between F and B is not stitched.
- In this hole, fill it with sintepon and sew it by hand.
| | | |
| | | |
The cube is ready for the game!