Most often, the style of knitting depends on the resulting pattern. The name of most patterns is given by the principle "what is more similar". Thus, the pearl pattern for knitting with knitting needles was named so because the finished fabric resembles a scattering of these jewels.
There are two types of pearl patterns for knitting with needles, each of them has its own scheme.
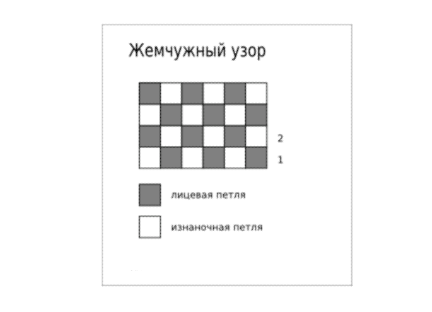
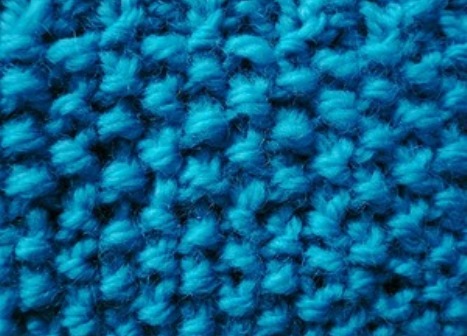
1st species - shallow. As a result of knitting, a dense canvas with slightly pronounced protrusions resembling small pebbles is obtained. Perform it according to the following scheme:
| | |
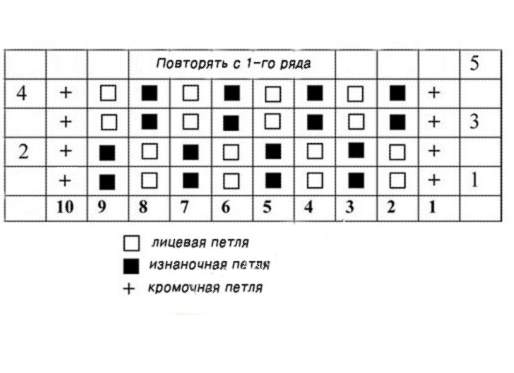
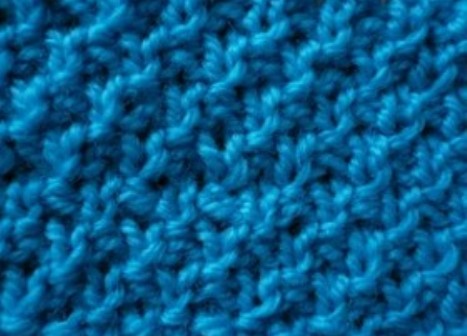
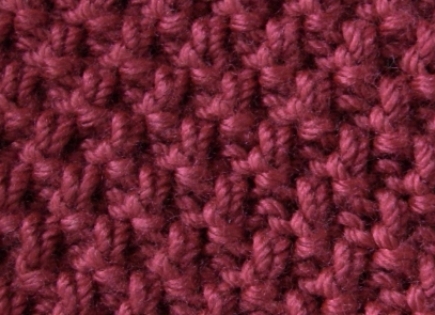
The second type is large (it is also called "spiderweb" or "rice"). The relief pattern is more pronounced, due to the fact that the protrusions ("pebbles") are more elongated. Knitting is done according to the following scheme:
| | |
A pearl pattern with spokes is considered to be double (ie the same on both sides), but the diagrams show the order in which the loops from the front side should be placed. To get the right picture, after each row it is necessary to turn the side to be tied.
Master class 1- how to tie a pearl pattern with knitting needles
It will take:
- spokes;
- Knitting thread.
Progress:
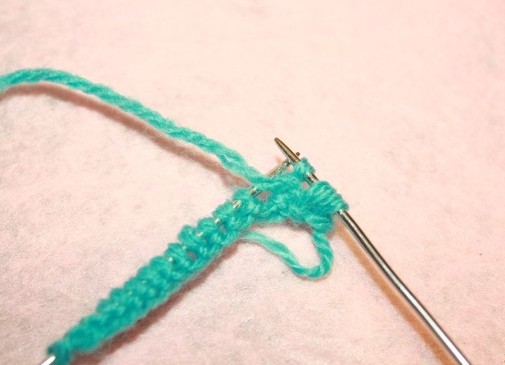
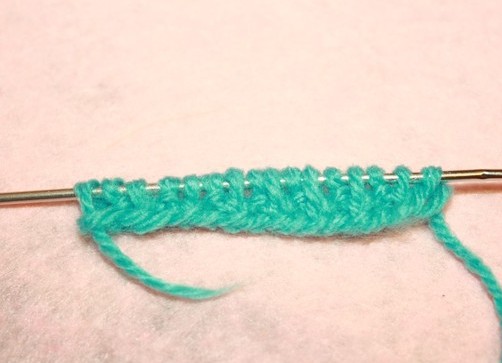
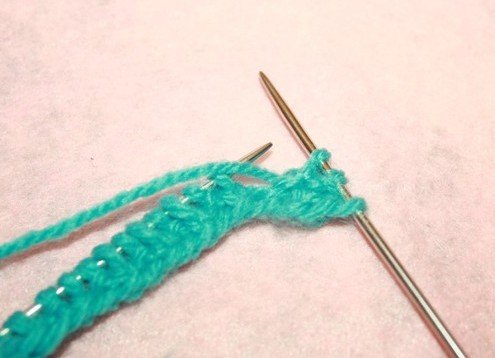
- We type on the needle the necessary number of loops. This number can be both even and odd. For example, take 16 pieces.
- We turn them from the wrong side to ourselves and begin to knit.
- The first loop at us edge, therefore it always simply we remove, not tying. This is necessary in order for the product to have a flat edge.
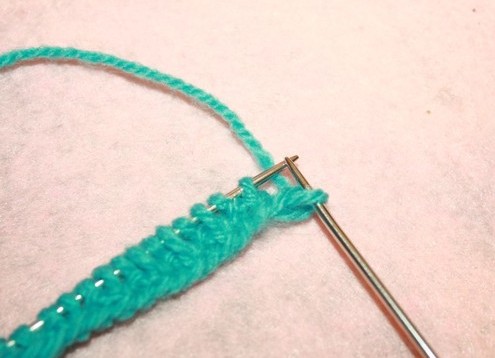
- The second loop is tied with the front, and the third with the wrong one.
- Fourth, we will again face, and the fifth - purl. We are sent in this sequence to the end of the series.
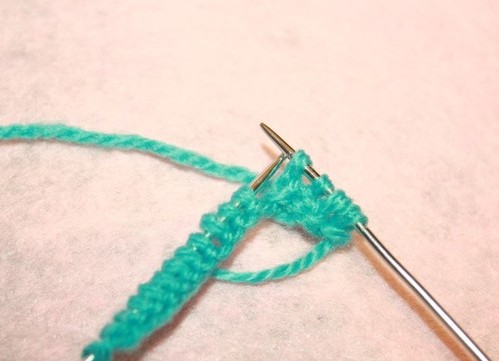
- Regardless of how the penultimate loop was tied, the latter should always be purl.
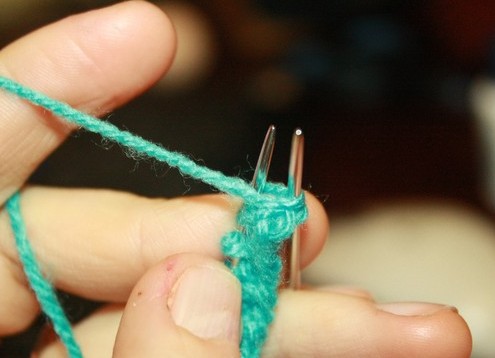
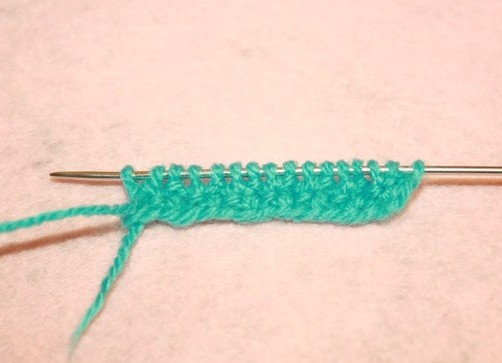
- We turn our knitting.
- The second row begins with the edge loop, which is simply removed.
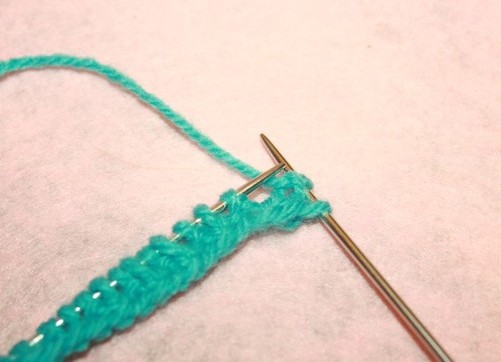
- The next loop we must have purl, and behind it - the front one.
- Just like in the first row, keeping the same order, we sew the second row to the end.
| | |
| | | |
| | |
| | |
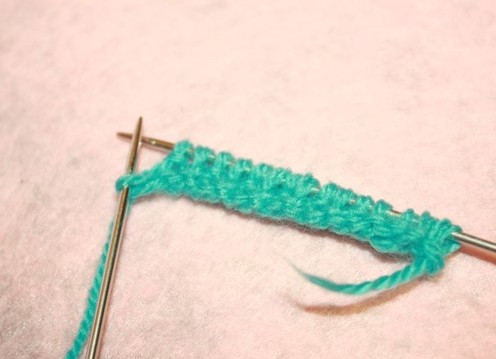
If you have a different order of loops in the first row, than was described, do not be scared. This is not so important. The main thing to adhere to the algorithm: over the back loop, there must always be a front one, and on the front one - the back one.
This pattern is very simple to knit, so it is perfect for even novice craftsmen. After you master the original pattern, the number of identical loops can be increased evenly, making squares of the same loops not 1 * 1, but 2 * 2 or 3 * 3.
A large pearl pattern is more difficult to tie, since it requires more concentration, as well as the ability to recognize loops in life and follow the pattern according to the scheme.
Master class 2- how to tie a large pearl pattern with knitting needles
For this we need a knitting pattern, thread and knitting needles.
Progress:
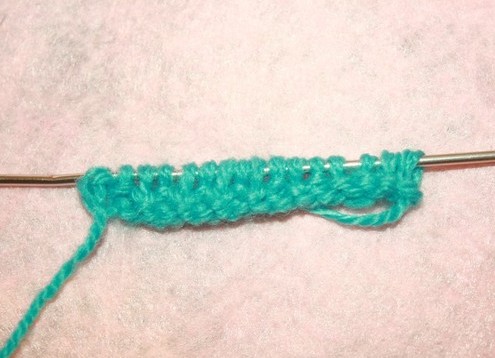
- We send the first row. The first loop (edge) is removed. We untype the second loop, the front one, and the third - the purl. We are sent to the end of the row, alternating these two types of loops.
- The second row is tying the same way as the first one.
- The third row starts again with the edge loop. Then, on the front loop of the second row, we unfasten the lacquer, and on the back one - the front one.
- The fourth row is tied like the third, that is, completely repeating the layout of the purl and facial loops.
- From the fifth row we begin to repeat the sequence of tying loops from the first.
These patterns perfectly combine with each other, and with many other drawings.
Knowing how the pearl pattern knits with knitting needles, you can please yourself and your loved ones with new scarves, snuffles , mannies, raglan, hats and even jackets or coats made in this technique.