This type of house design is a great solution when you want to get an additional room, but it is impossible to build it fully for one reason or another. Below is a step-by-step study of the process of building the attic floor on its own, all done by the hands of amateurs.
How to build a mansard floor with your own hands?
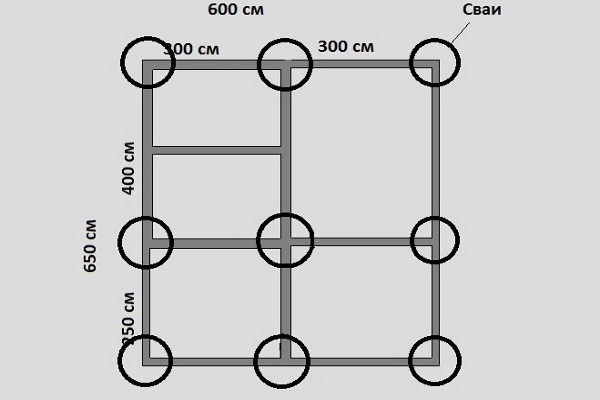
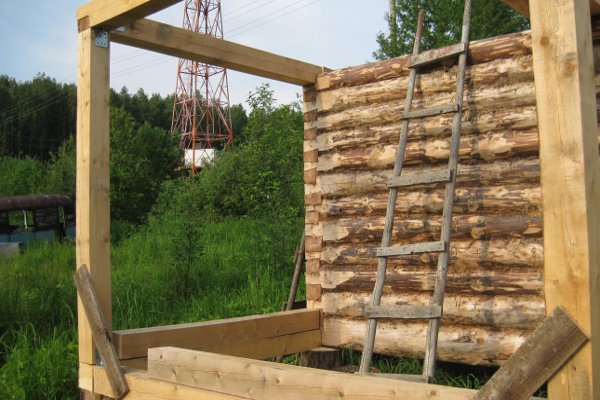
- First of all, we will assemble the frame. The photo below shows the location of the piles. It is on them will be the whole of our attic floor.
- As a pile, larch and a beam of 150x150 are used.
- All parts of the frame will be fixed by corners, wooden boards only as temporary fasteners.
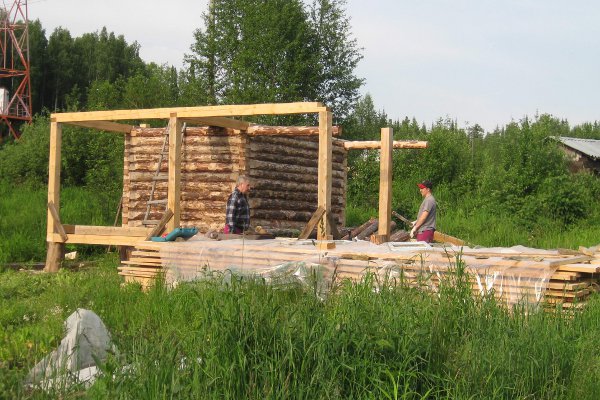
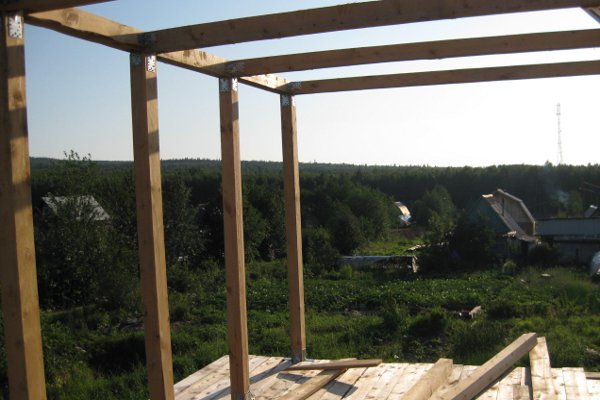
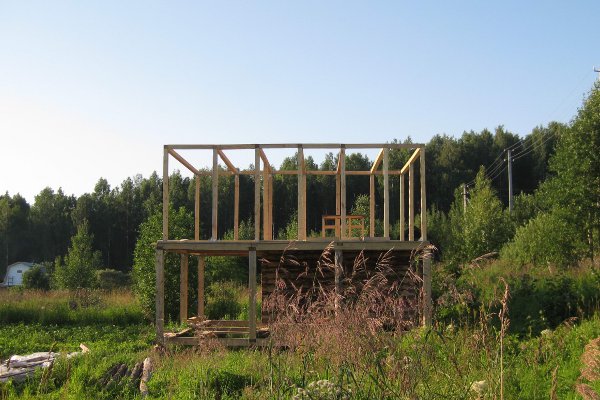
- When the base, constructed by own hands, will be properly fixed, it is necessary to build the skeleton of the attic floor. You will again need a 100x100 piece, the spans between them are 95 - 110 cm.
- We leave the place under the stairs to the second floor.
- So, the frame is assembled with corners, both with each other, and for fixing to the floor.
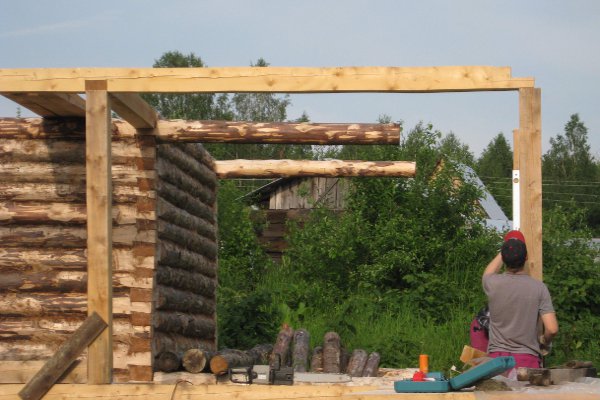
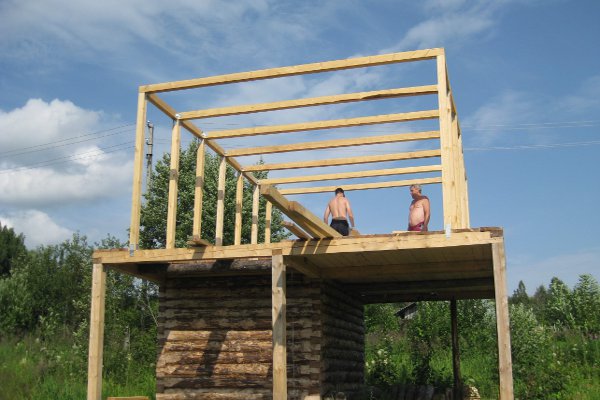
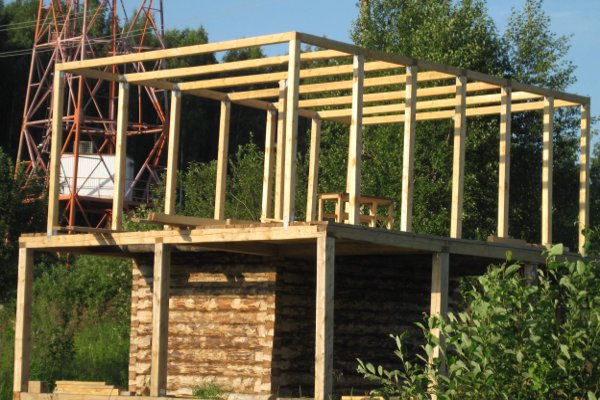
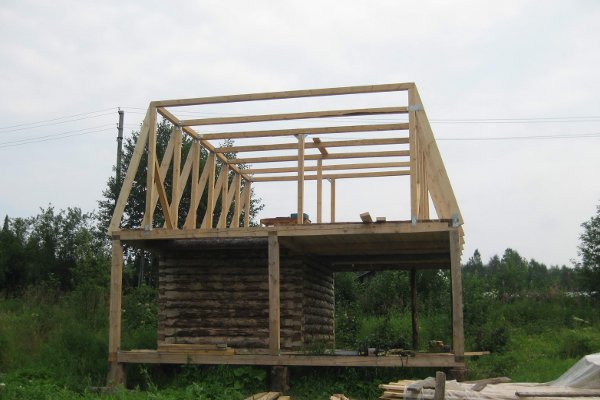
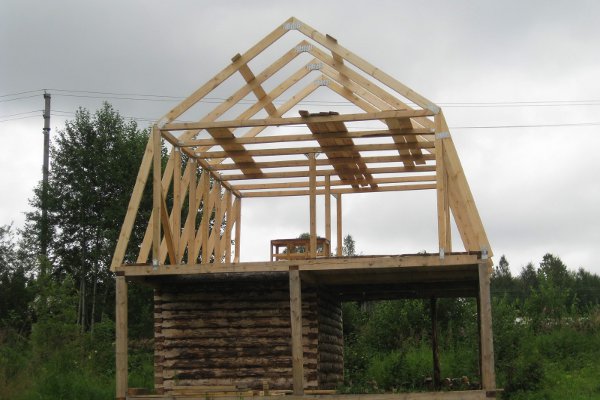
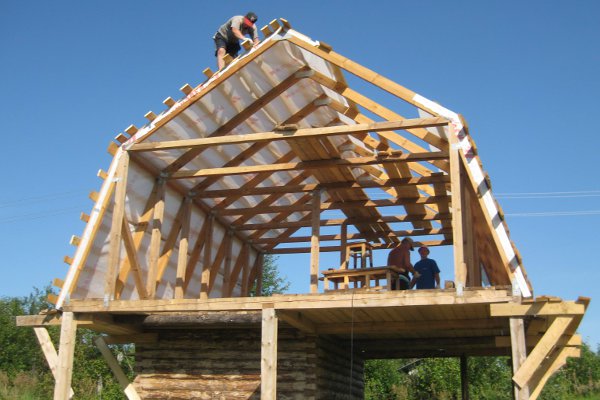
- Next, we begin our own work on the rafter system of the attic floor. Calculate the length of the rafters themselves is very simple, for this we recall the school course of geometry and the theorem of Pythagoras.
- In the lower part of the system we will fix the bolts, their length is 140x8.
- The result is the following. This is the first stage of construction.
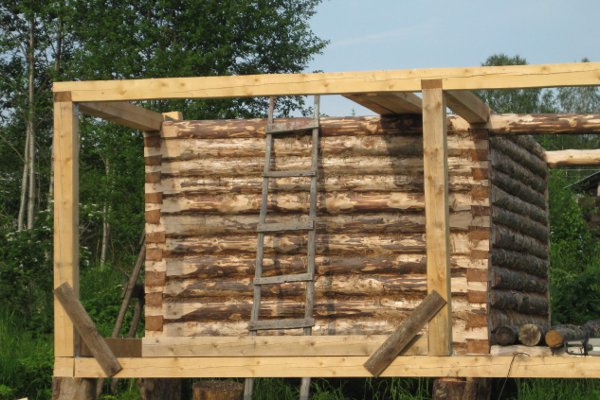
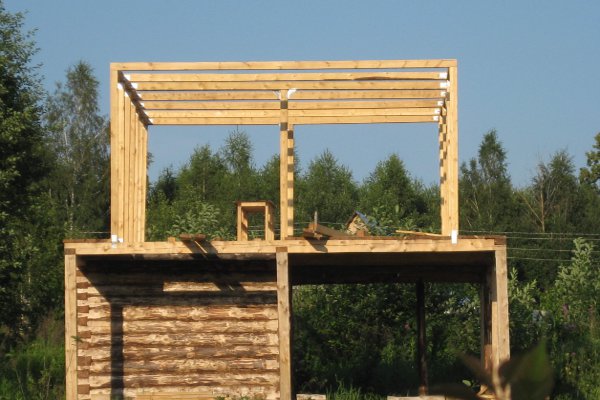
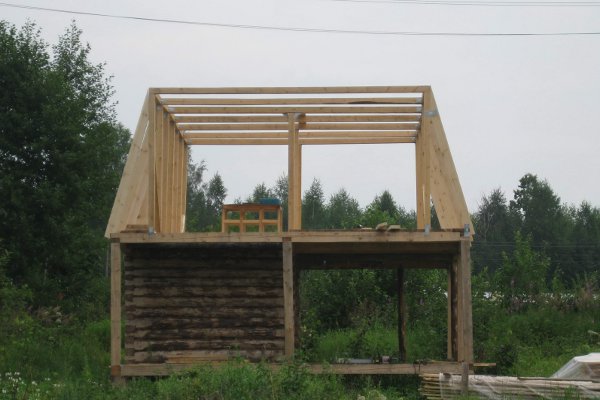
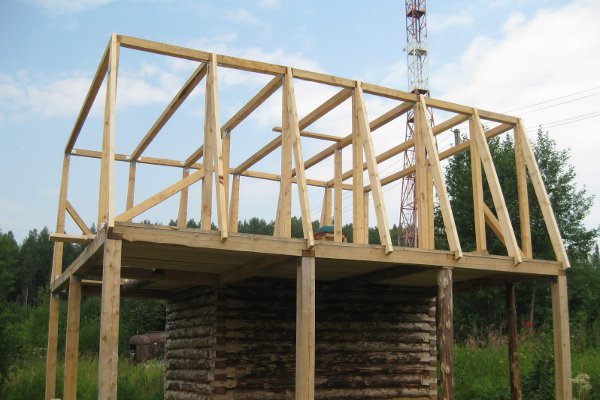
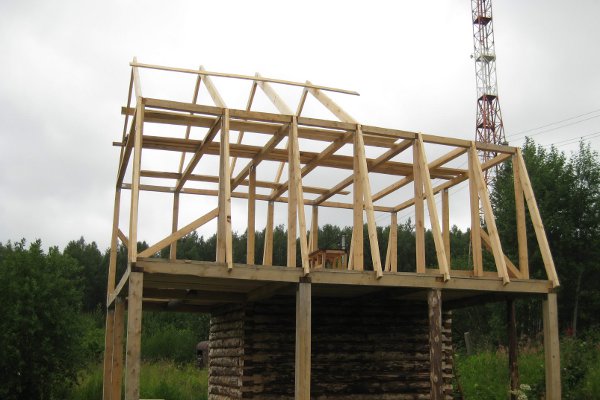
- Next, we literally "hands on" the question of how to make the second stage of the roof truss system, and on our own we will continue to work on the floor. The calculation is made in exactly the same way.
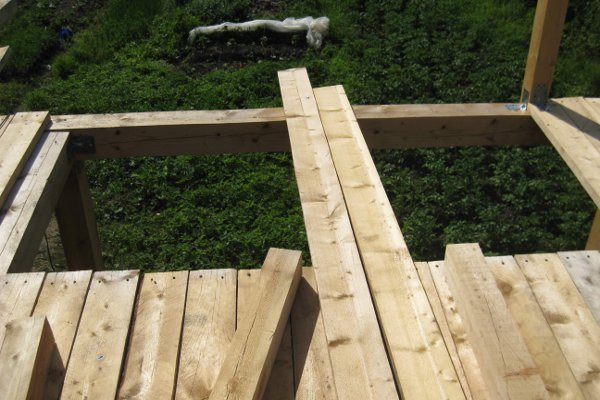
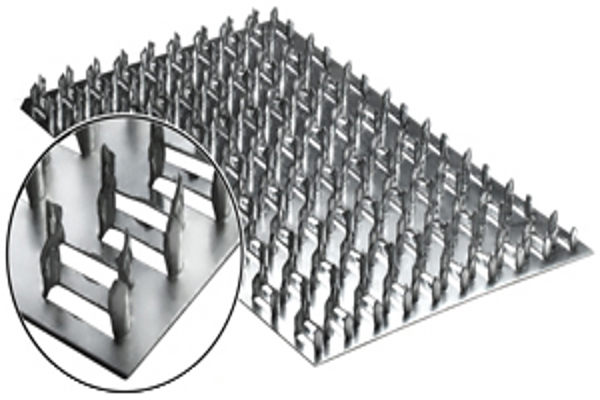
- Docking with the second floor occurs with the help of these nail plates. If you want even more reliability, you can always add screws.
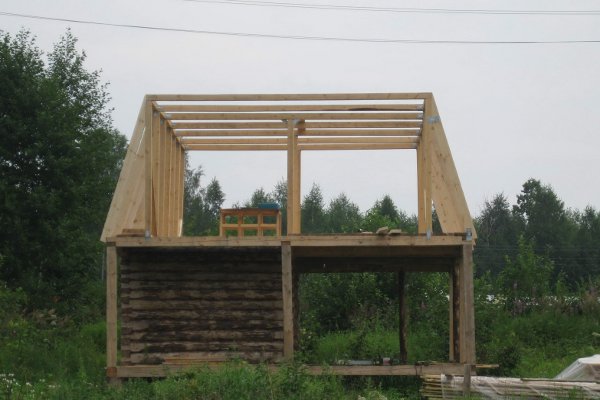
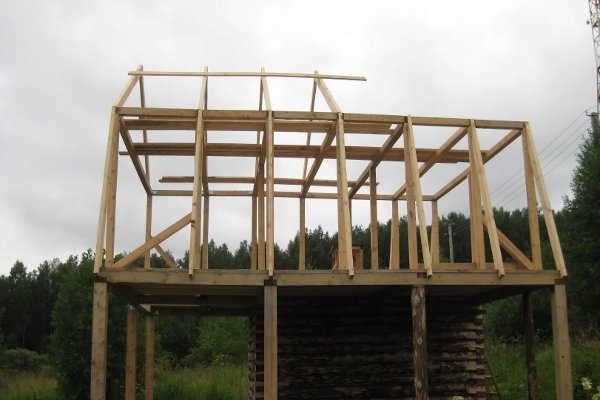
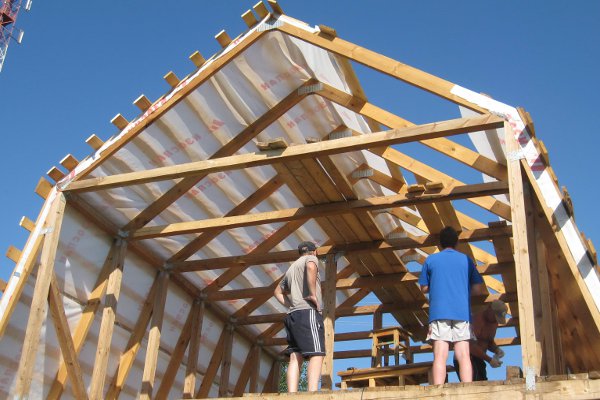
- Now we have completely assembled the skeleton of the attic floor, ready for decoration, and we will also produce it ourselves.
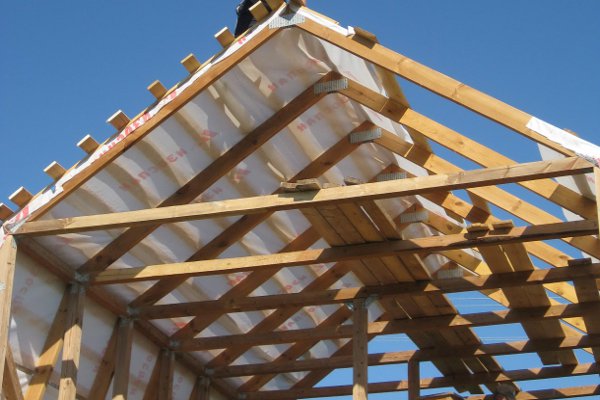
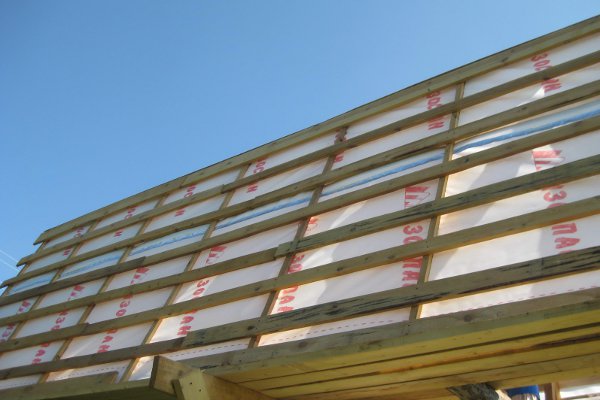
- Then comes the stage with the crate and vapor barrier. It should be cut and fixed over the rafters directly above the heater.
- We unfold the film and fix it with a construction stapler. On the top are attached the counter-racks. The wood must be treated with an antiseptic. The film itself is overlapped. We remember about ventilation gaps in the area of the ridge.
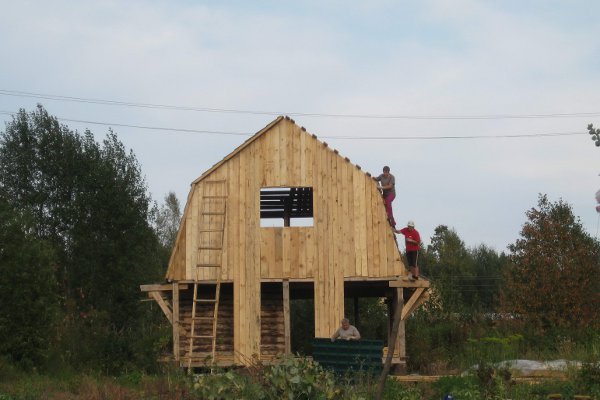
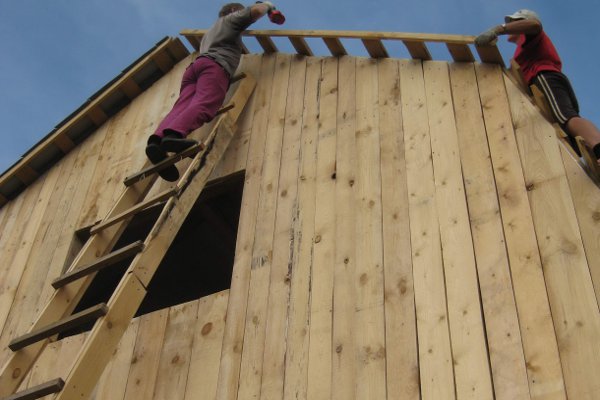
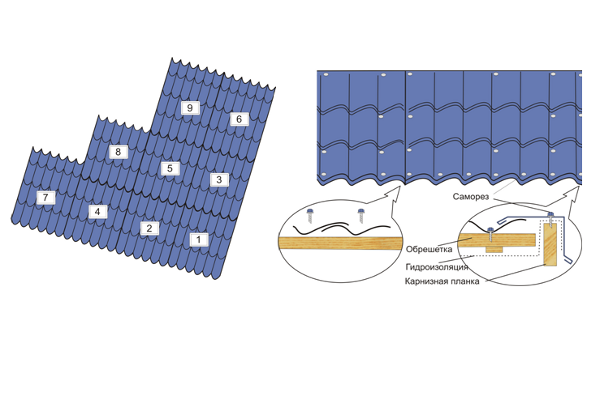
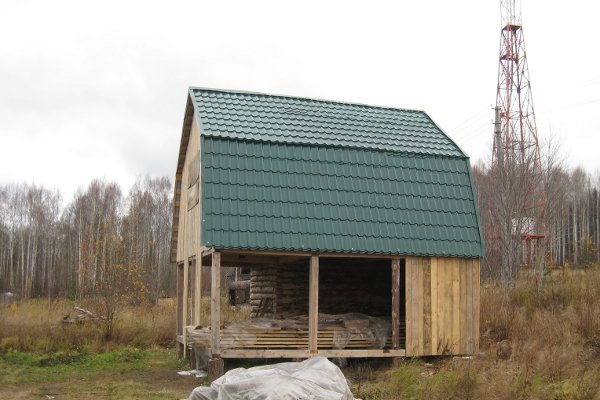
- And the last stage of finishing the roof of the attic floor: in our lesson we will master the metal tile ourselves, we will learn how to lay the hands of the lover. Mount it should be, starting with the top of the attic. The fixation technique is shown in the photo below.
- As you can see, from quite accessible materials to build a high-grade second floor, but at the same time do not engage in designing, it is quite possible for an amateur.
| | |
| | |
| | | |
| | |
| | |
| | |
| | |
| | |
| | | |
| | |
| | |
| | |