For the bathroom, as a premise with high humidity, tile finishing is traditional. It looks beautiful, has a large assortment and will last a long time. Laying of tile in the bathroom can be done independently, observing certain rules. It is also necessary to acquire a minimum set of tools. Before you start laying the tiles in the bathroom by yourself, you need to calculate the surface area and the number of decorative elements.
Options for laying ceramic tiles in the bathroom
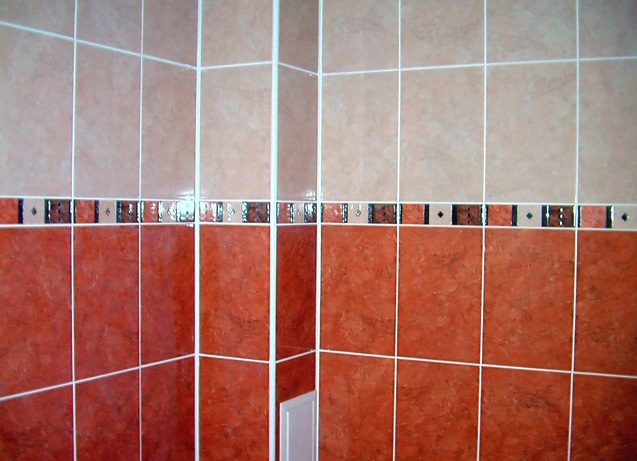
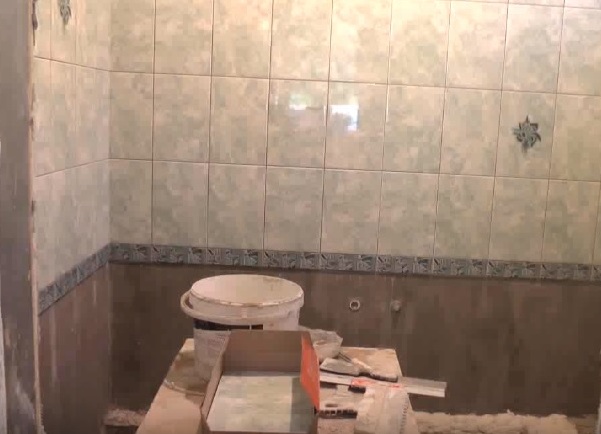
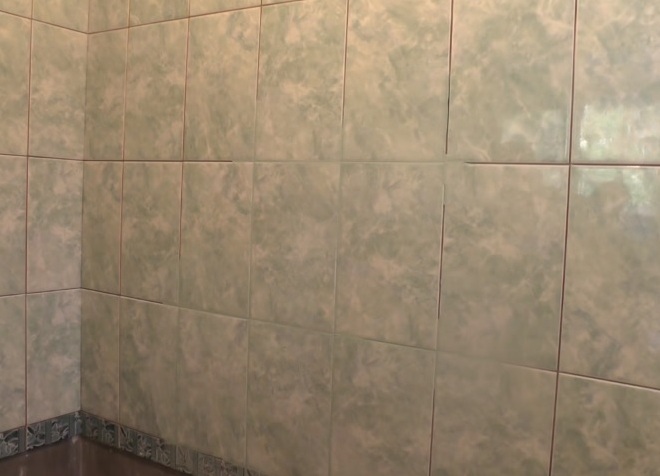
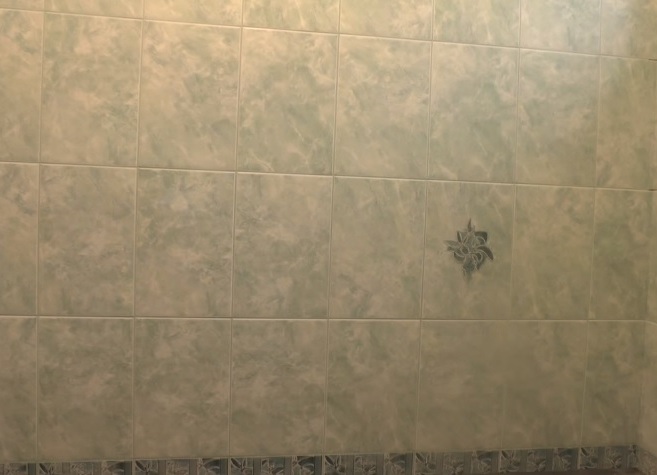
There are two main ways of laying tiles - horizontal and diagonal. In the first variant there can be a monophonic finish, often the walls are separated by a decorative cutter, at the bottom of which the tile is selected darker than the top one.
This option assumes the least amount of undercutting in the finish. The diagonal version of tile laying is the most labor-intensive, most of the tile is cut off. Such a picture looks dynamic in spacious rooms.
Brief instructions for laying ceramic tiles in the bathroom
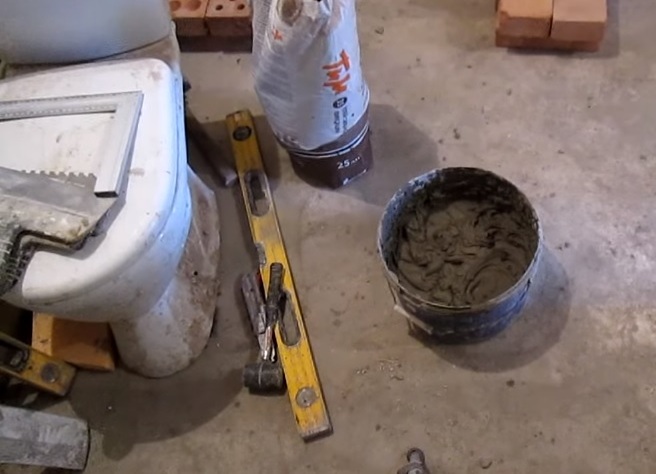
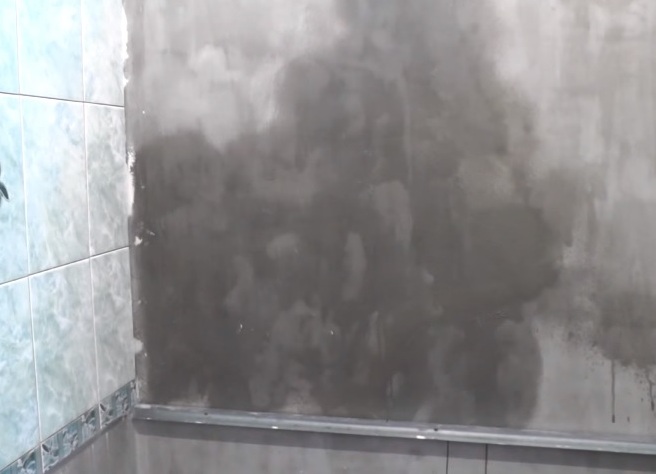
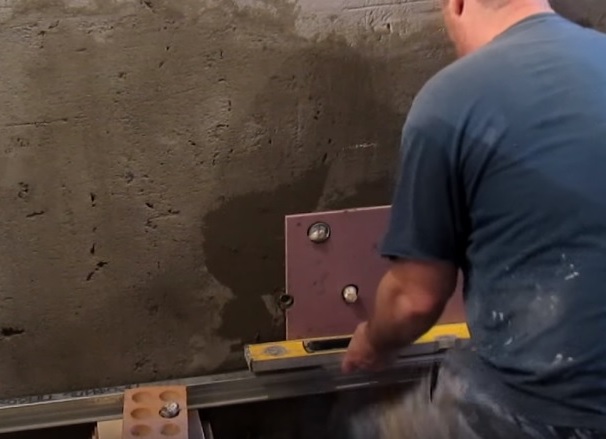
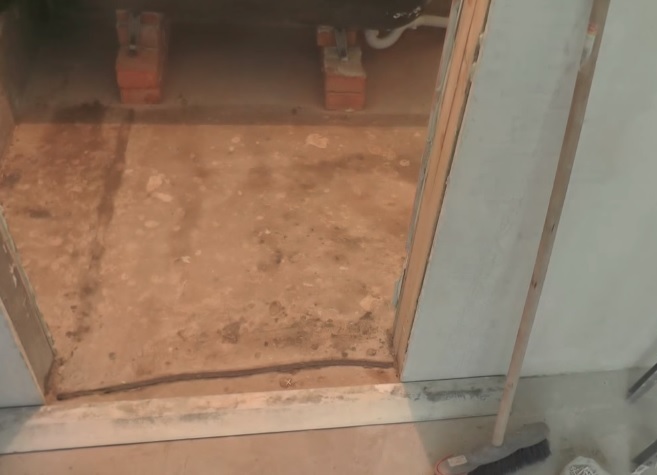
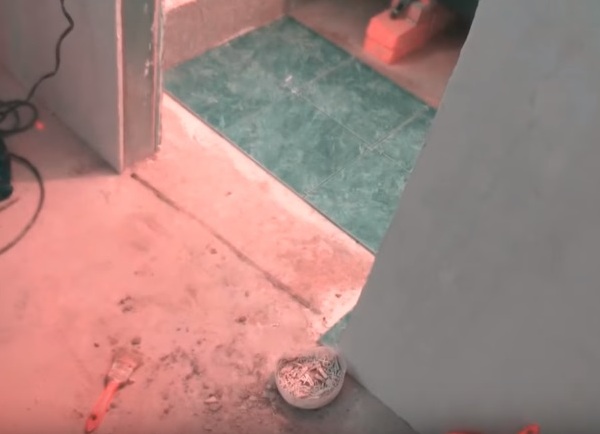
At the beginning of the work, you must remove the old coating, level the walls using plaster. For laying you will need:
- - floor and wall tiles, frieze;
- - glue;
- grout;
- level;
- spatula notched and straight;
- rubber float;
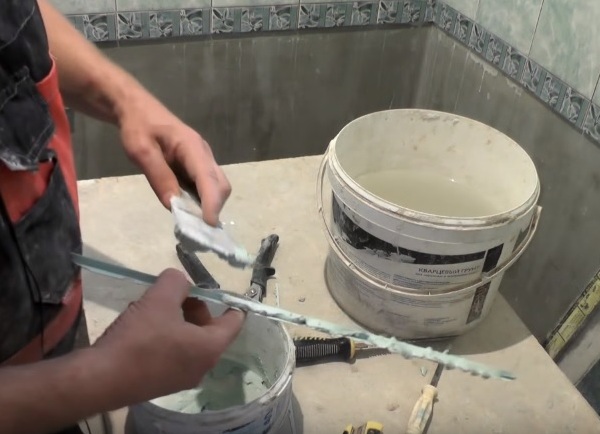
- a drill for sawing holes;
- plastic crosses in seams.
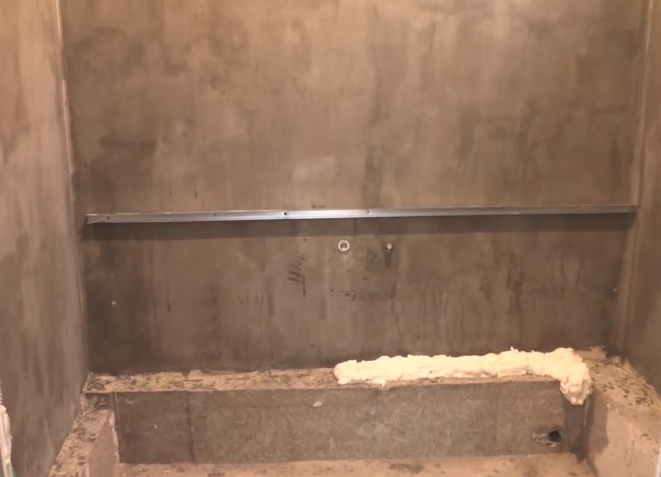
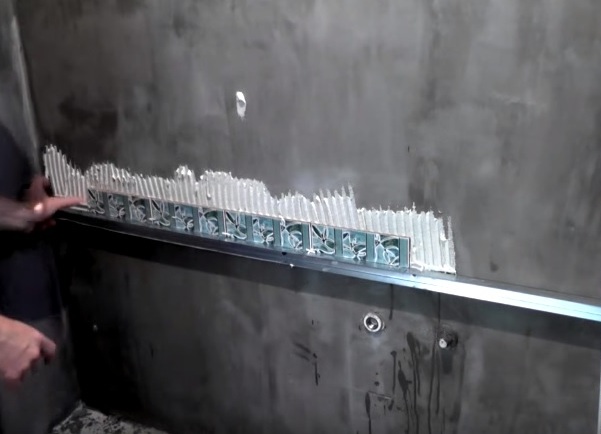
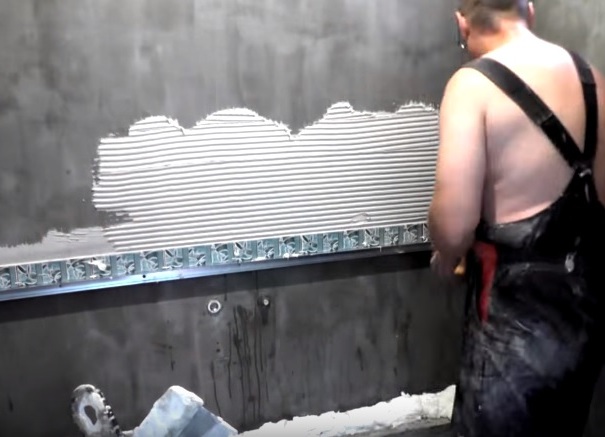
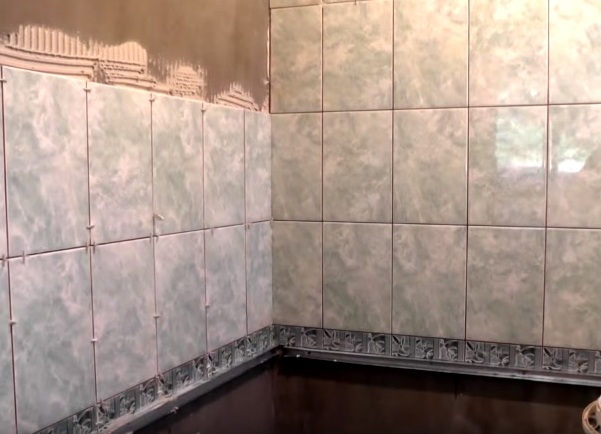
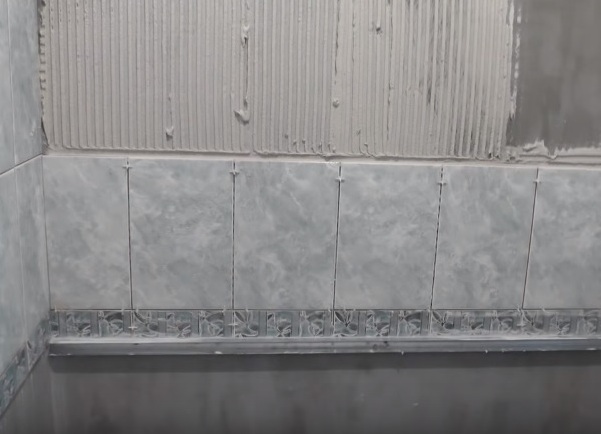
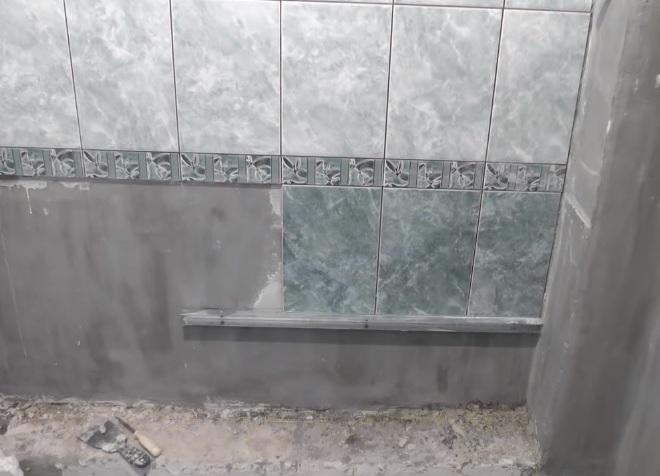
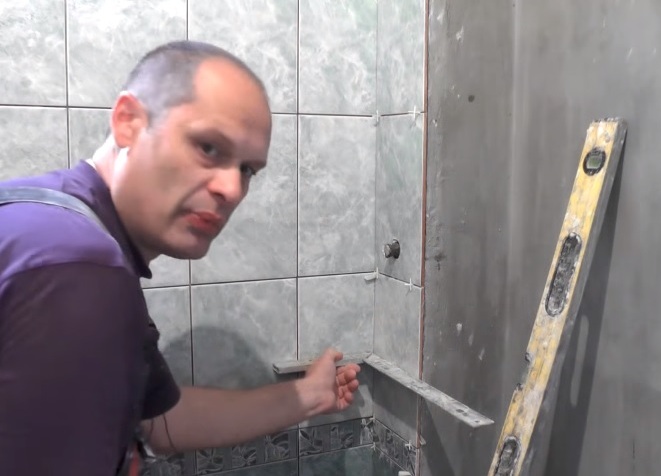
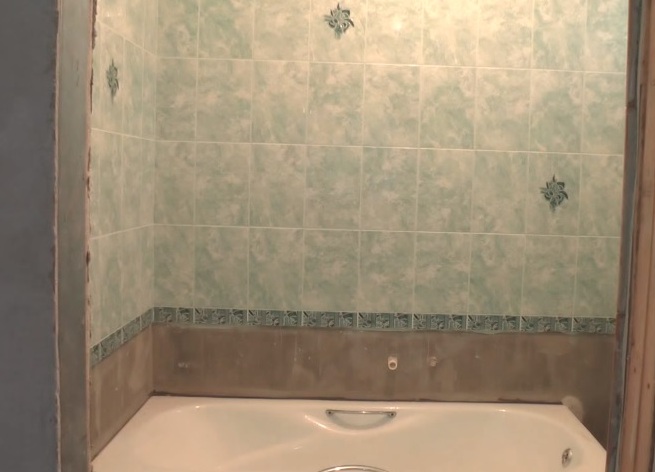
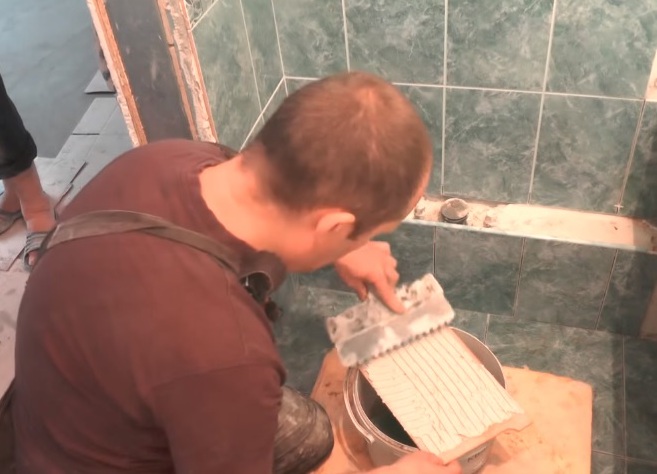
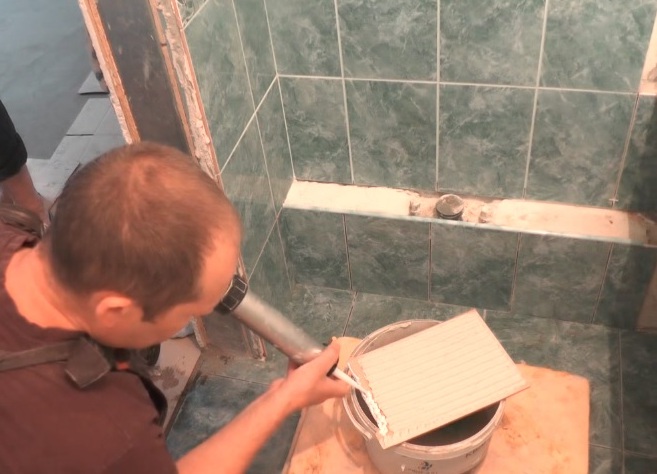
Often, the installation of ceramic tiles in the bathroom starts from the floor from the second row. In this example, the first row is glued to the height of the decorative frieze. A temporary metal profile is attached to the level at the height of the third row, after which the curb is fastened. The first tile is fixed so that the same cutting is obtained from both sides. The glue is applied to the tile with a notched trowel, then onto the wall, the accuracy of the installation is controlled by level.
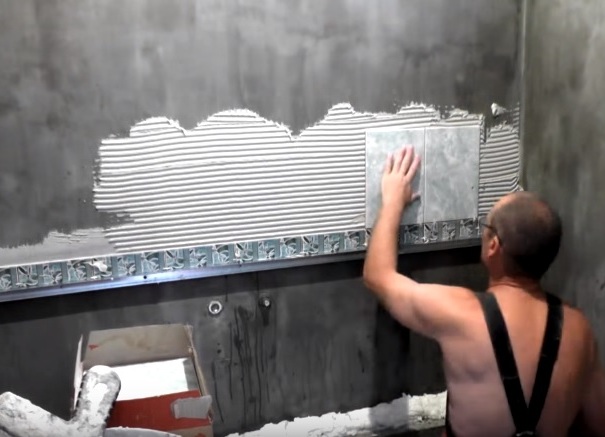
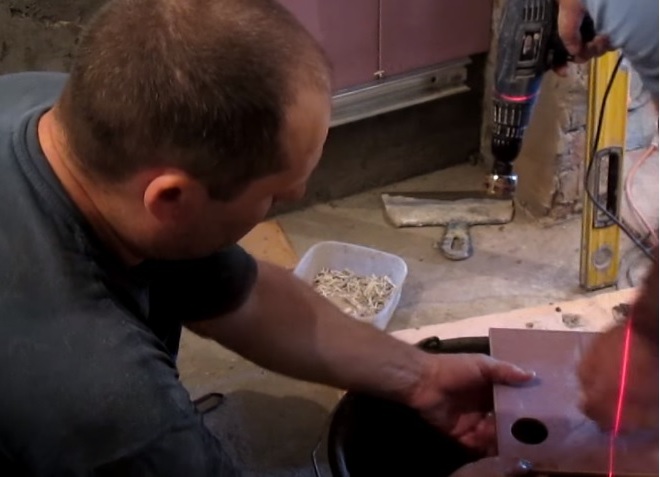
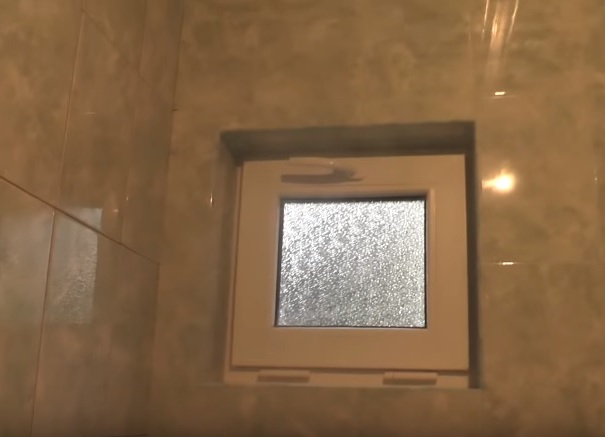
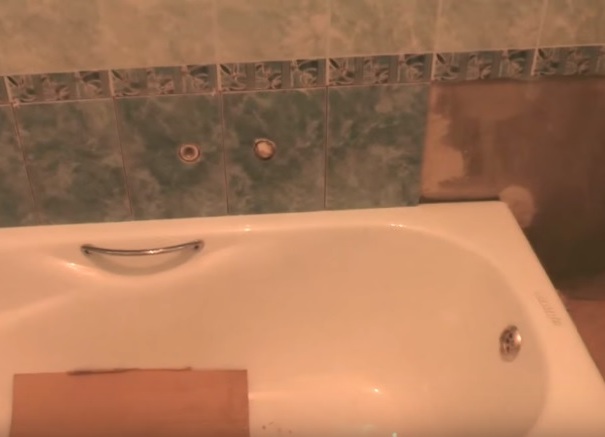
Gradually, all rows are stacked, if necessary, the width is trimmed. Crosses are fixed between the tiles. The holes are marked with a laser, then cut out with a drill.
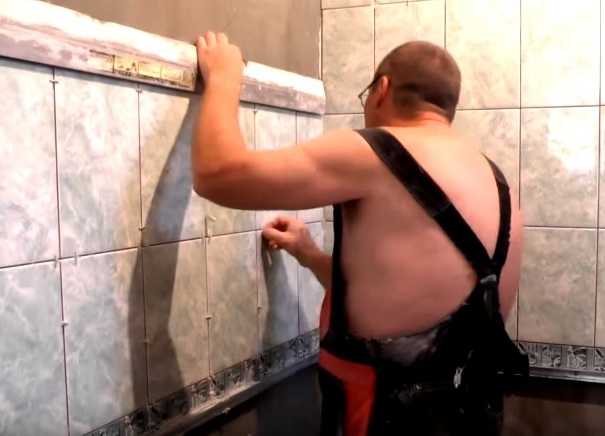
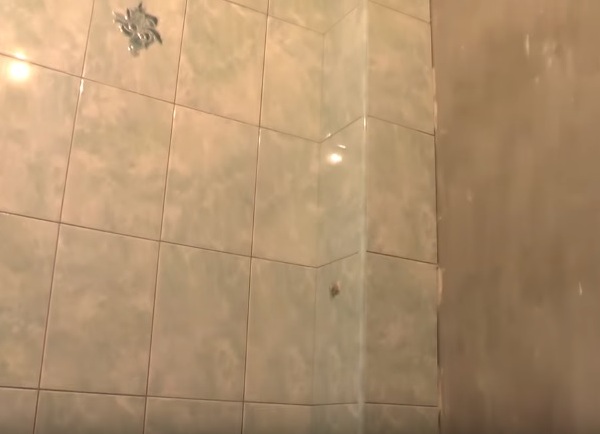
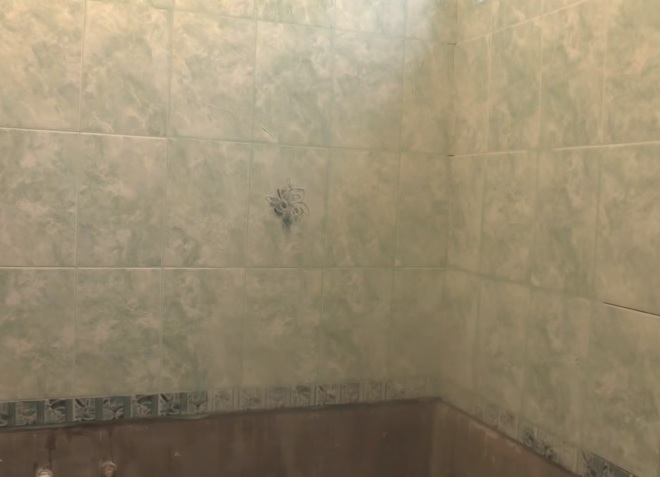
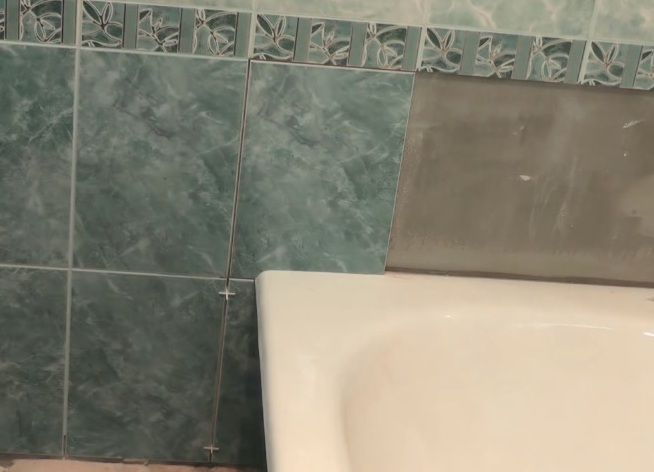
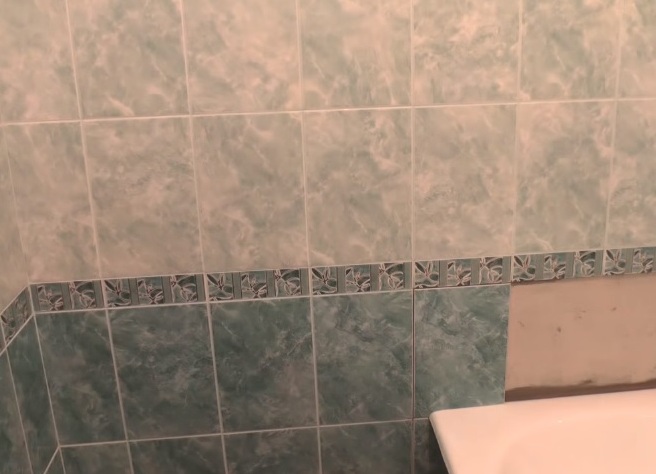
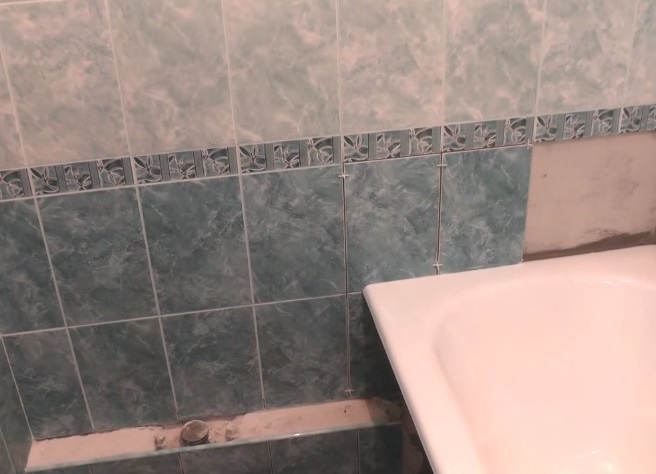
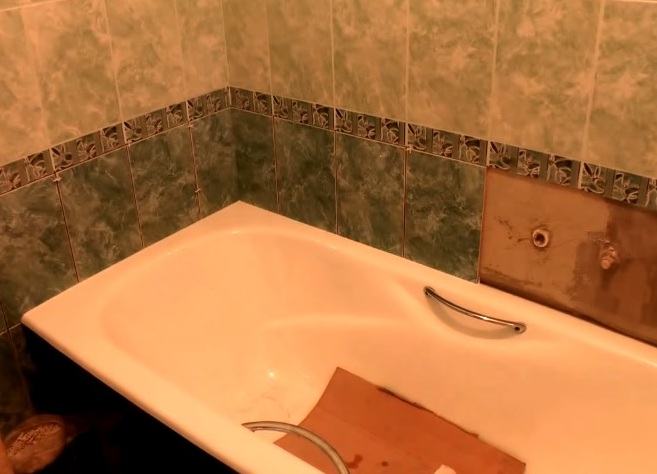
Put light tiles around the perimeter of the frieze and dark below it on the walls to the location of the bath. Each time the horizontality of the upper line is checked by level. Corners are controlled by a right angle.
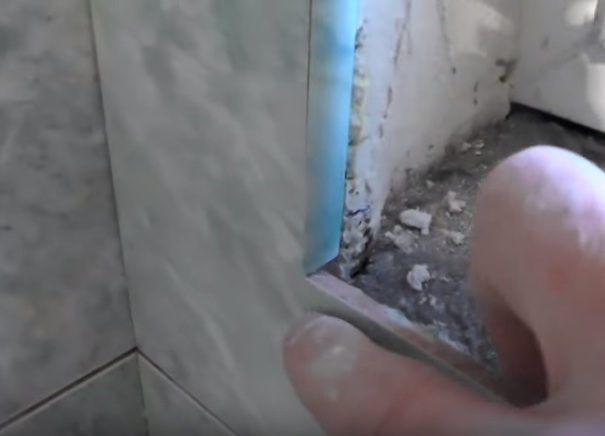
At the outer corners are attached plastic corners.
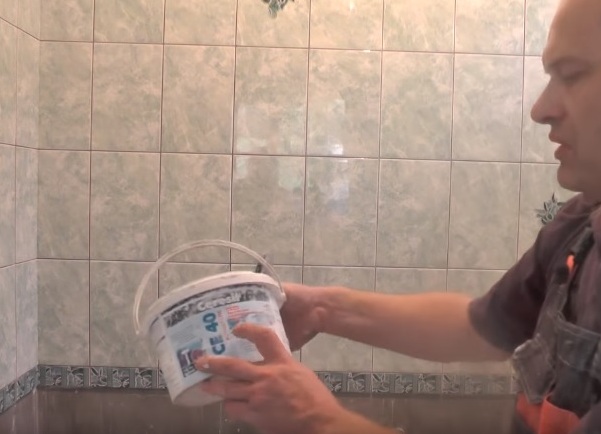
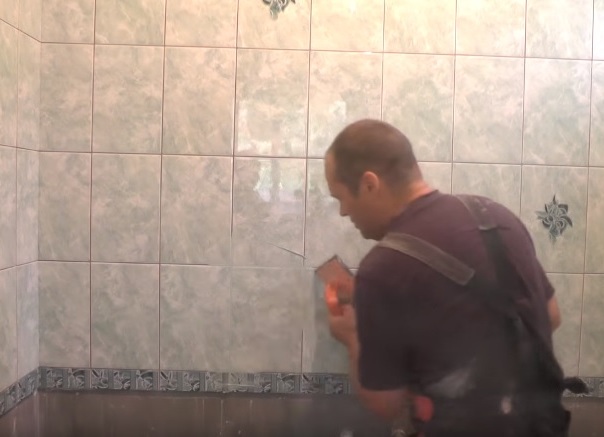
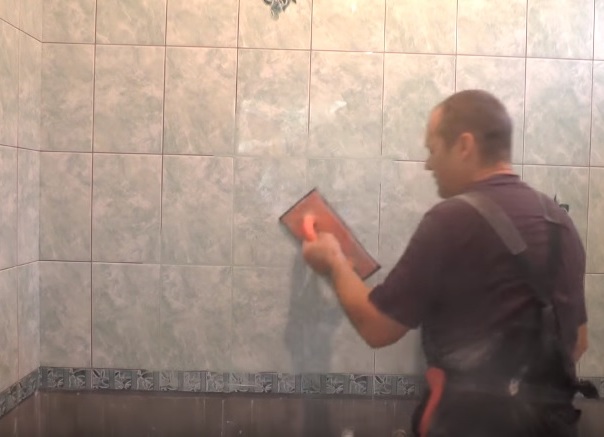
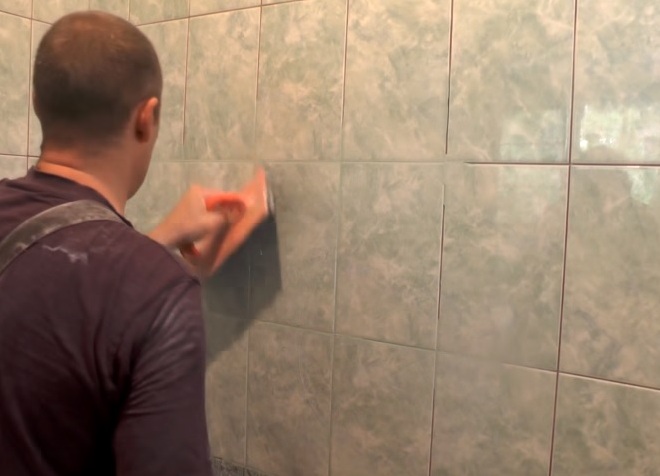
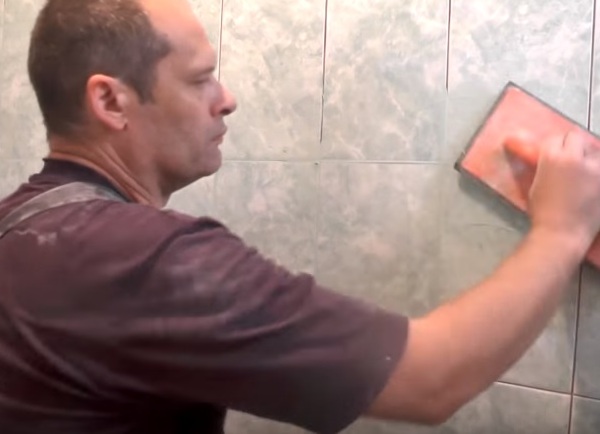
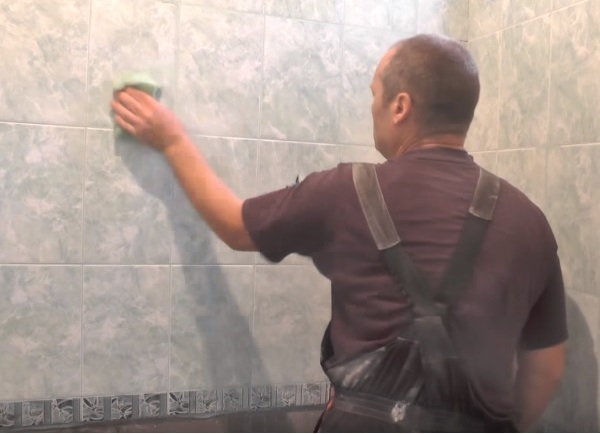
After the adhesive layer has dried, the grouting is carried out. It is applied to the seams by means of a rubber float obliquely in relation to the tile so that there are no voids. After the grout has dried, after 15 minutes, the tile is wiped off with a damp sponge.
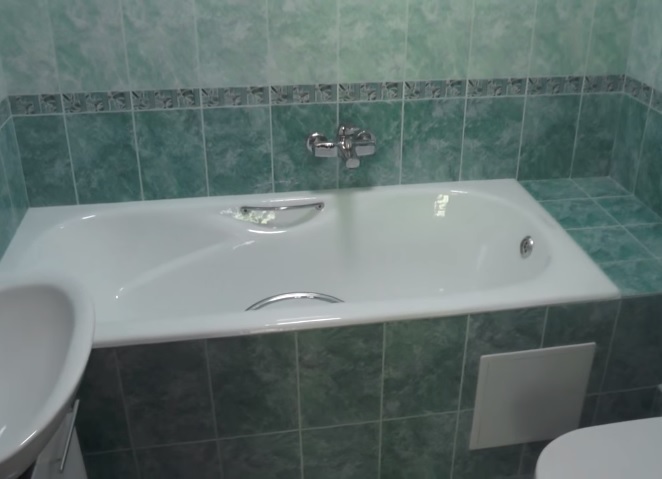
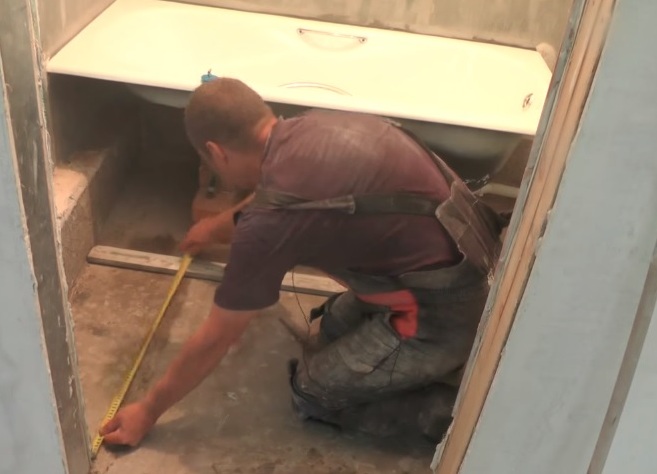
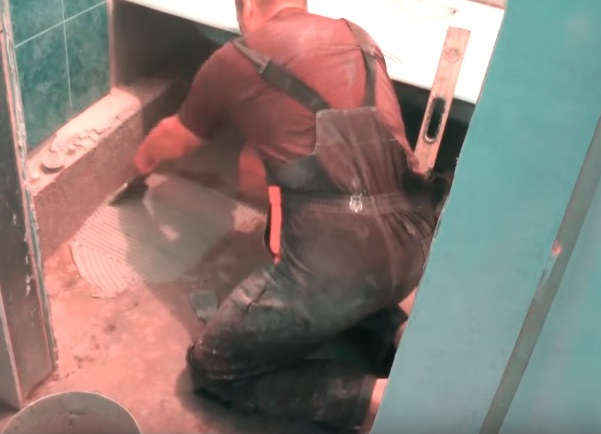
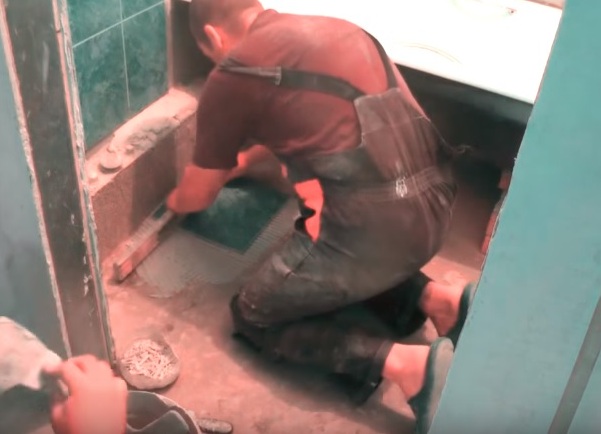
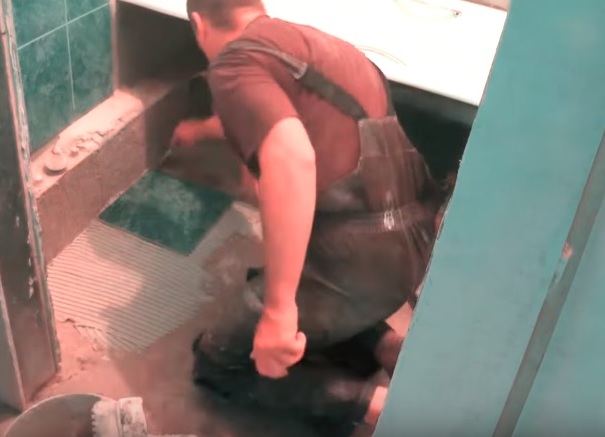
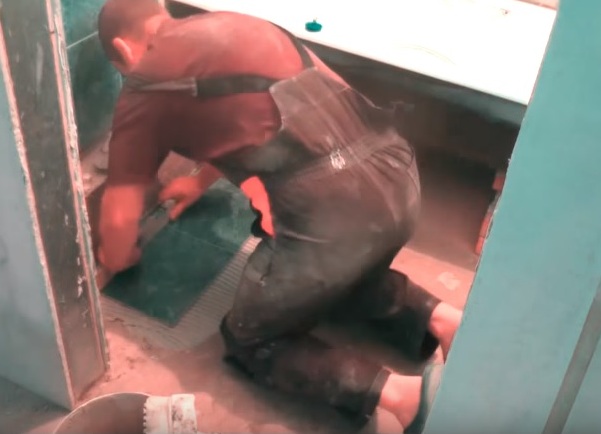
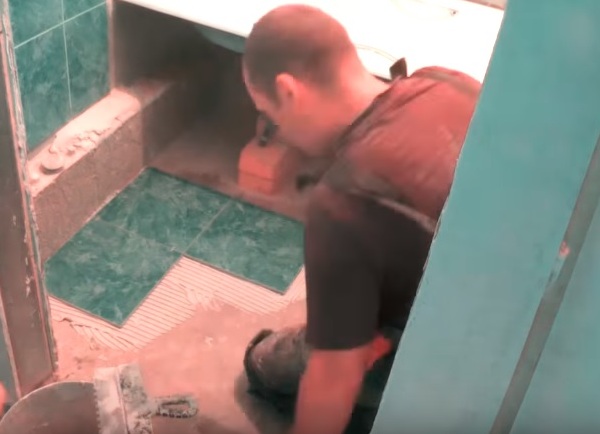
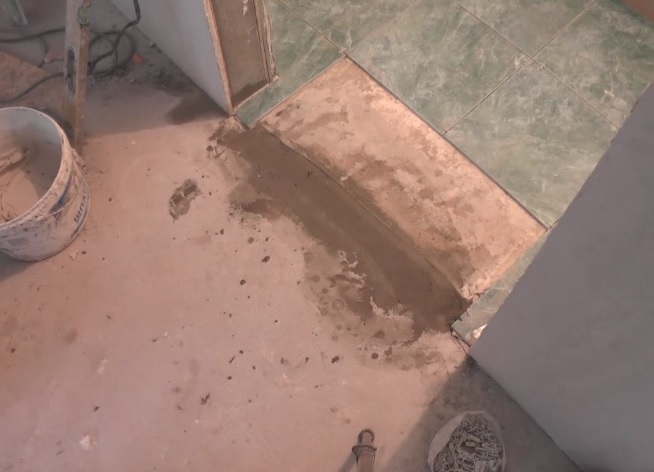
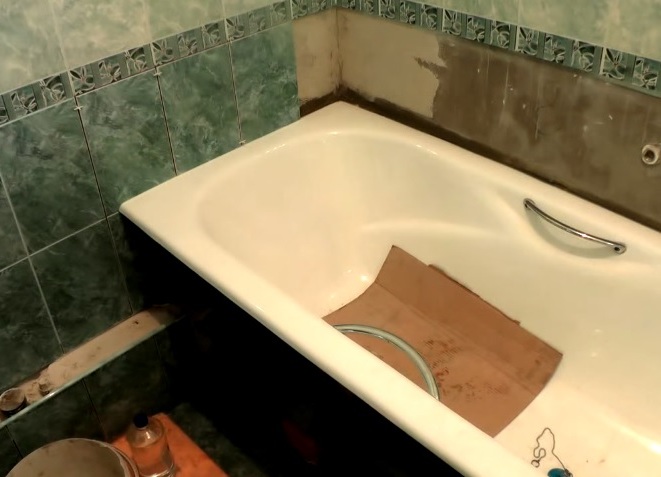
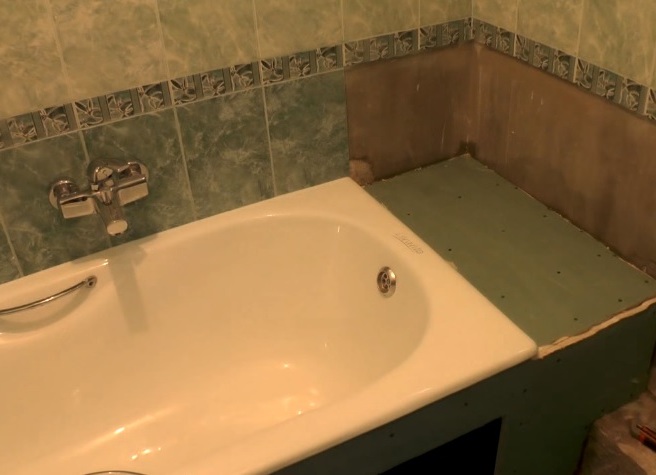
The bath is installed. Next, you need to put the tile on the leveled floor. When laying the floor is marked so that the whole tiles are at the threshold. The glue is applied neatly to the floor and to the tile, aligned to the level, plastic crosses are installed.
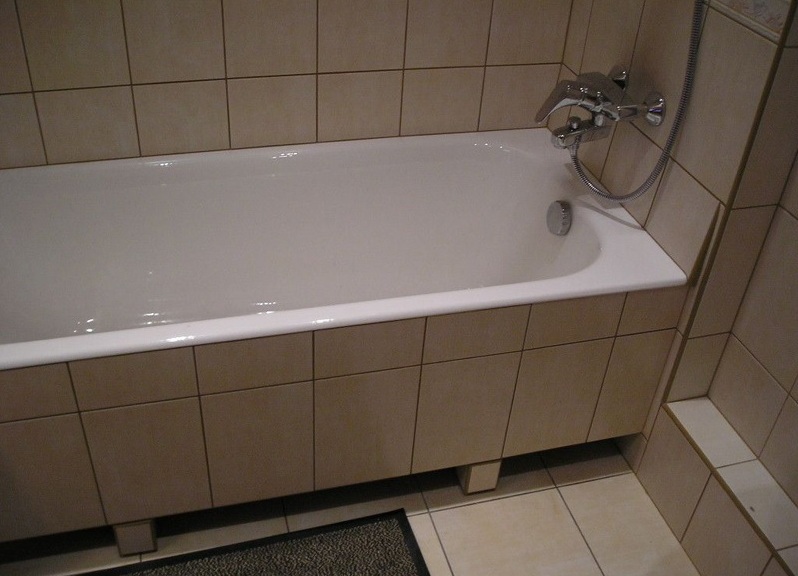
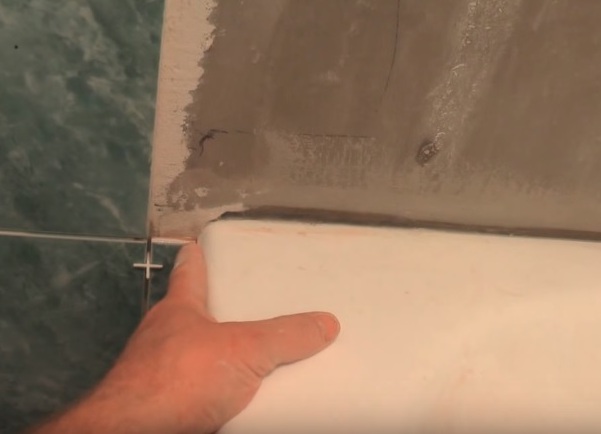
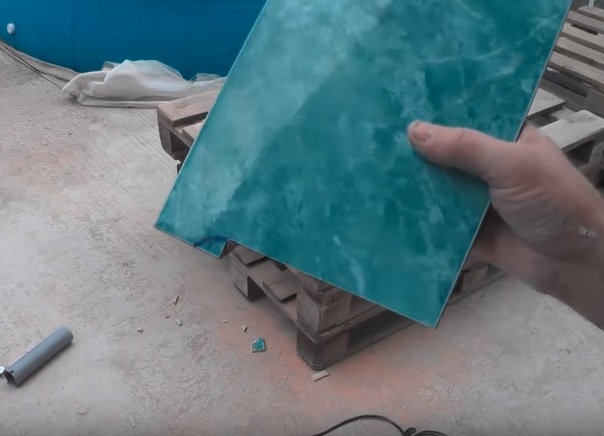
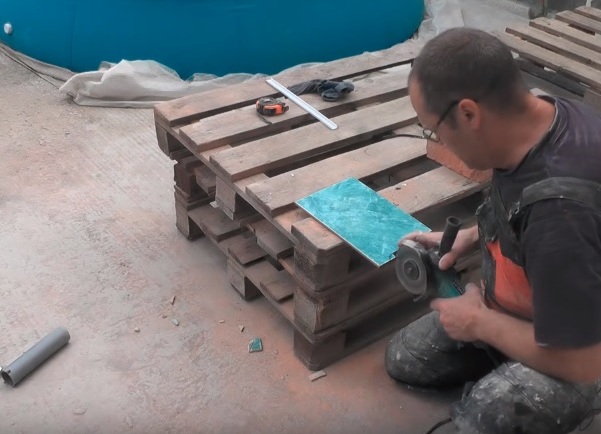
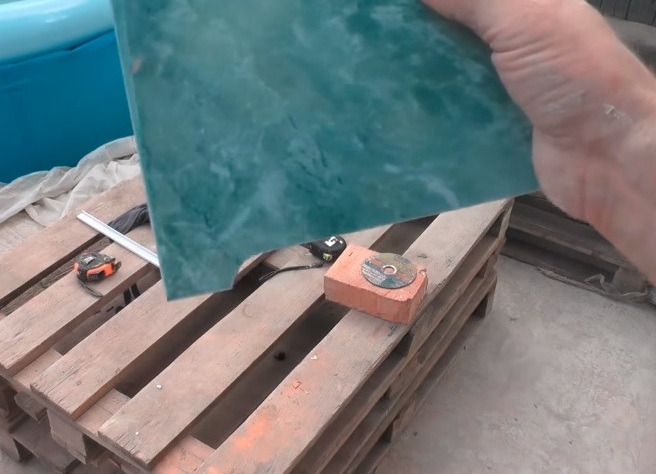
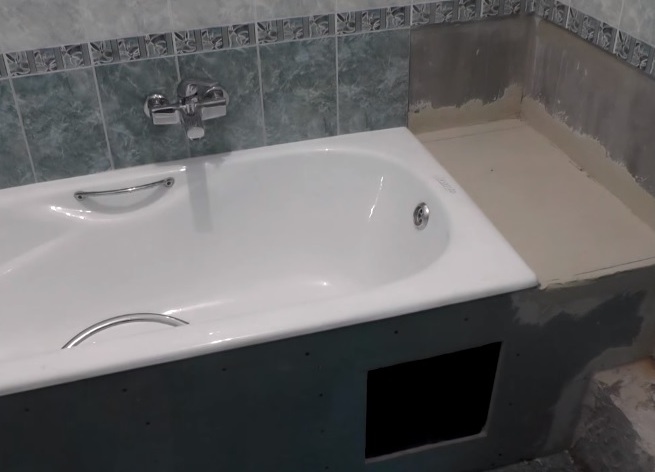
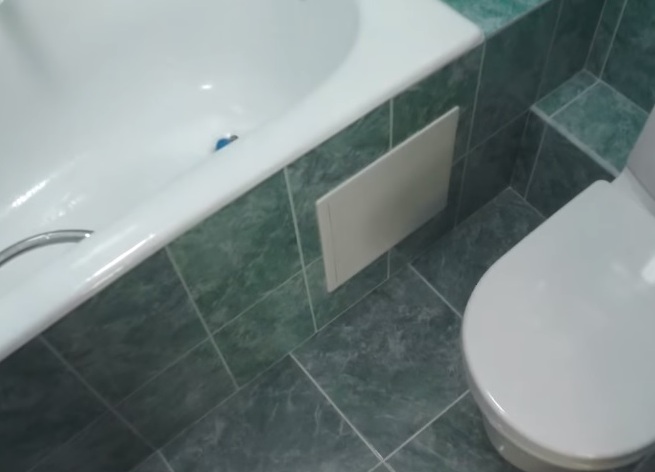
Put tiles on the side of the tub. The end of the tile, which is put on the bathroom, is additionally smeared with silicone. It is cut by a bulgarian and fits exactly on a bath without a gap. The mixer is installed.
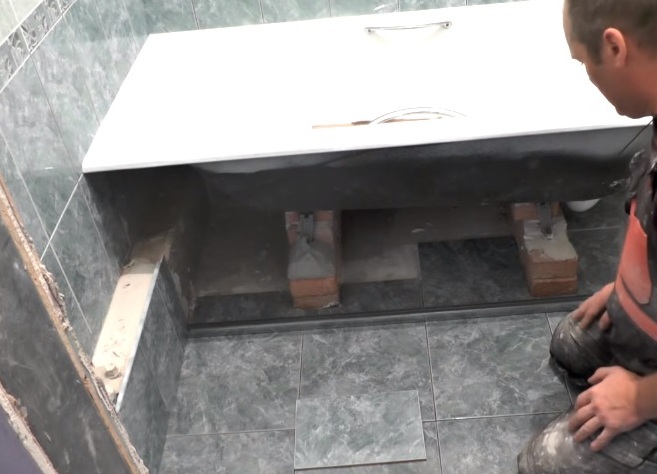
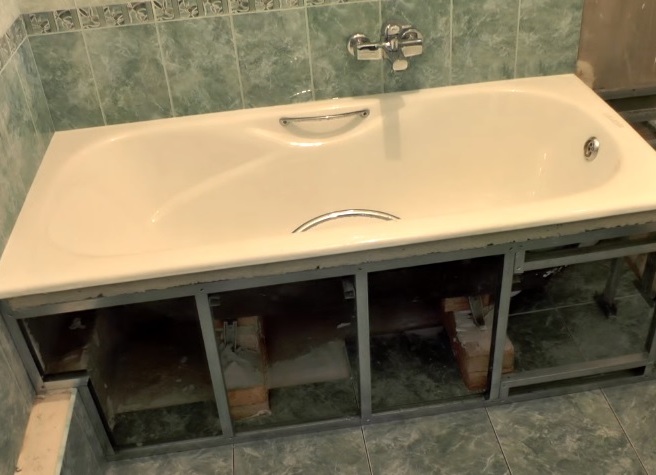
The bath is covered with a metal profile and plasterboard, the door for the door is left. All joints are reinforced with a mesh, drywall is coated with two layers of waterproofing. Then you can put a tile on it.
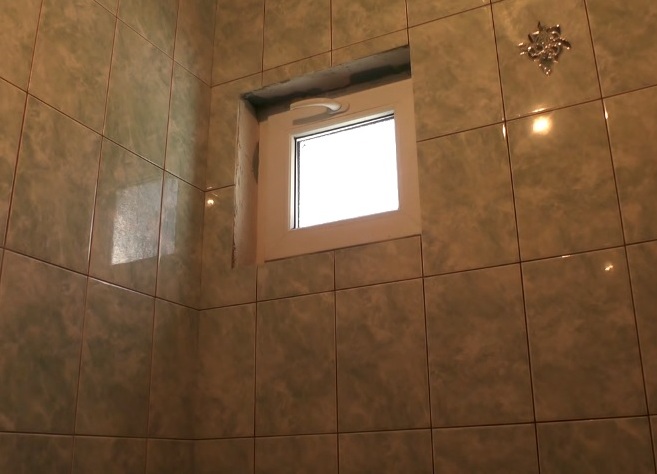
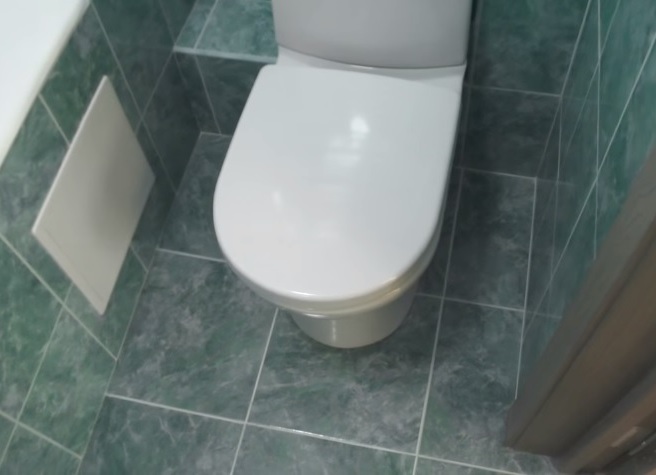
The tiling is finished. You can install plumbing, a mirror , furniture.
Having minimal skills of repair work, desire, accuracy and observing the technology of uniform tiling in any bathroom, you can perform work qualitatively and get an updated beautiful bathroom.