Soft cushion letters are becoming an increasingly popular interior decor, an attribute for a photo shoot or an original gift for a celebration. I offer you a master class on sewing such bukovok.
Today we will sew letters for the photo shoot "LOVE". For this, it is not necessary to be a professional seamstress, it is sufficient to be able to use a needle and thread. Therefore, if you do not have a sewing machine, you can safely sew the letters by hand, but it will be a little longer.
Letters of a pillow - a master class
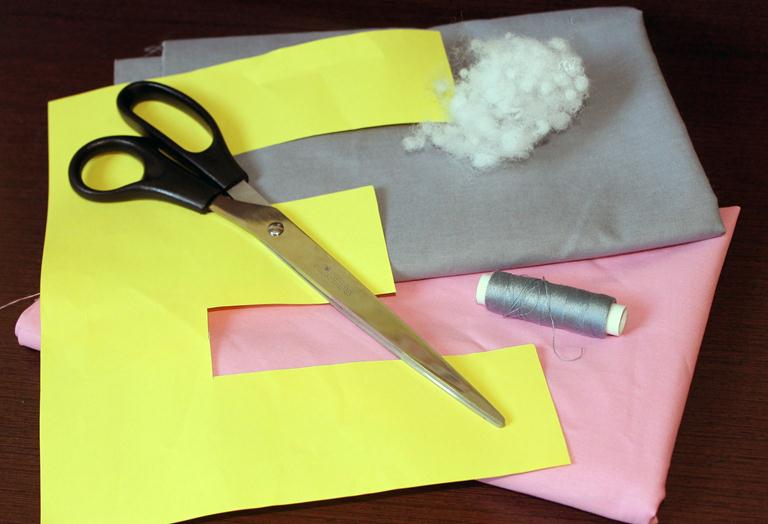
We need:
- fabric (I took a fabric of two colors);
- thread;
- filler;
- ready-made pattern;
- scissors;
- sewing machine, or needle and thread;
- and a little patience.
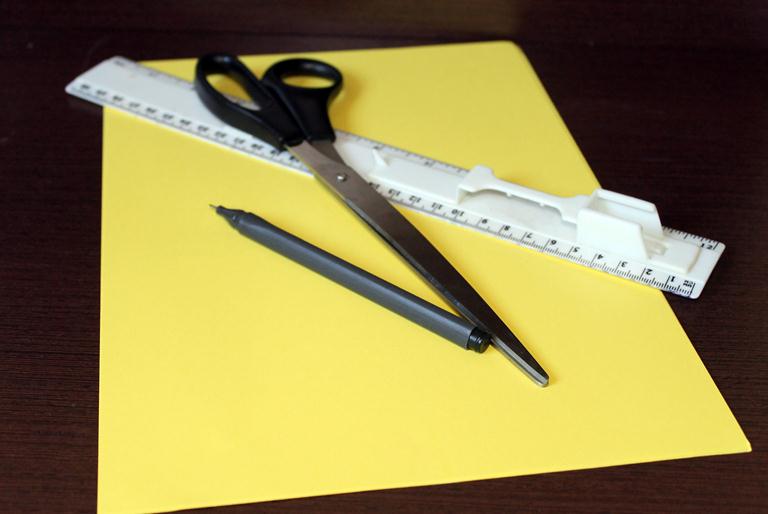
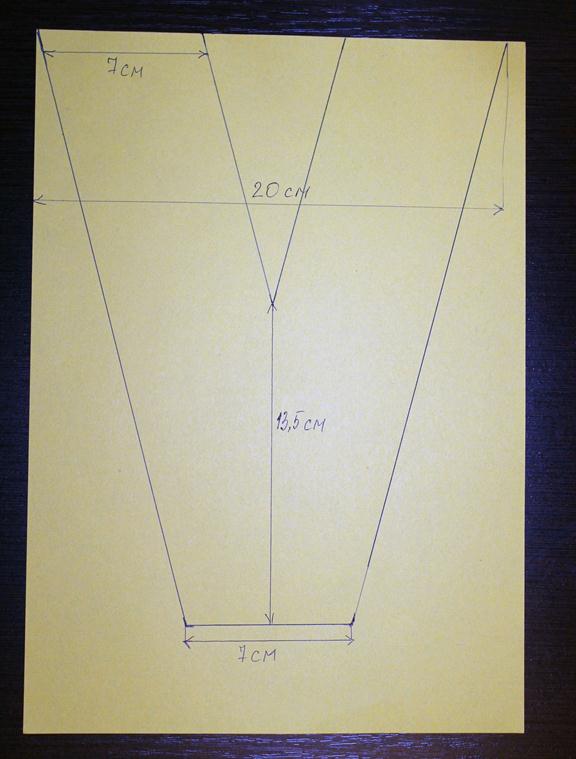
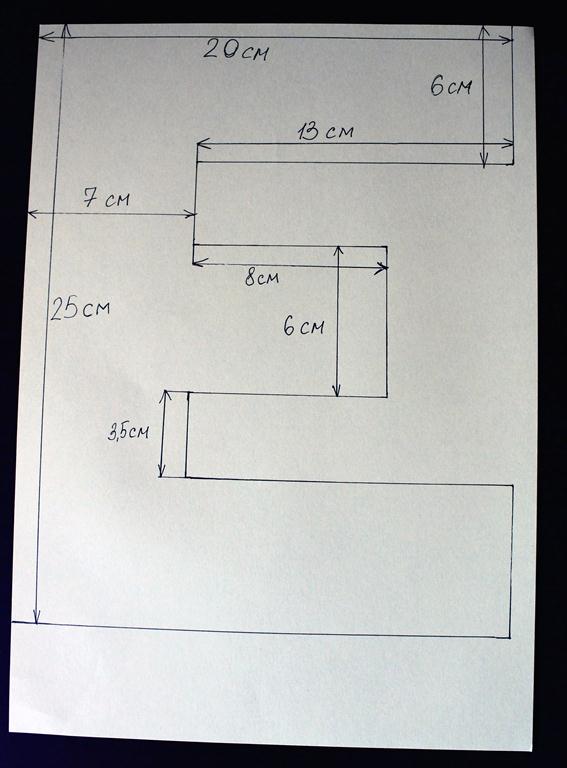
Before sewing letters, you need to draw a pattern. For this we need:
- Sheets A4 size (can be cardboard).
- Pencil.
- Ruler.
- Scissors.
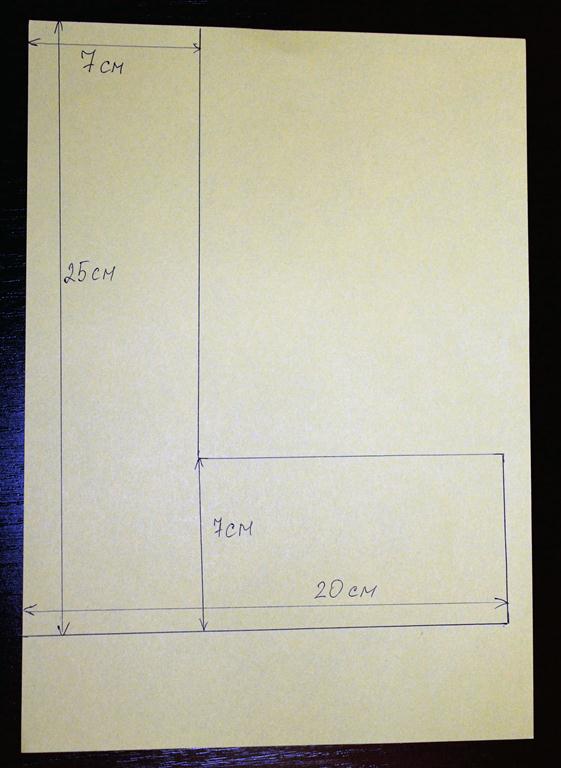
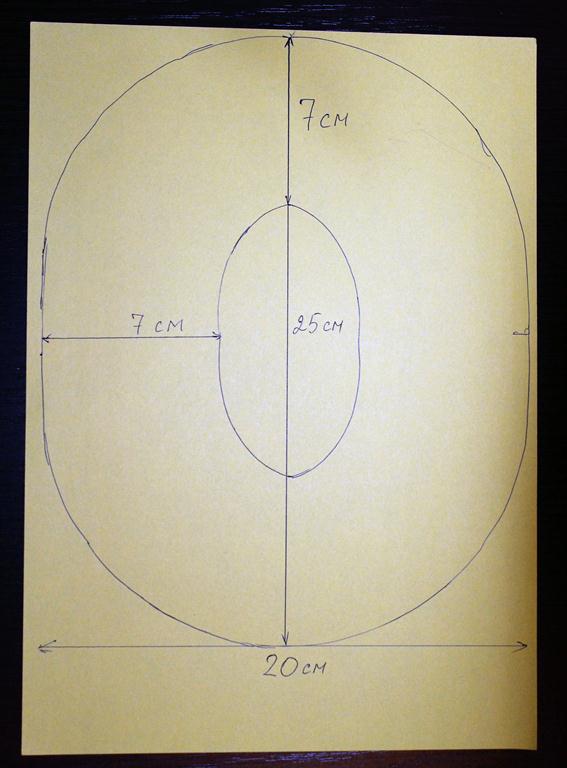
You can choose any size of letters, we will sew pillow letters about 25x20 cm in size.
| | |
| | |
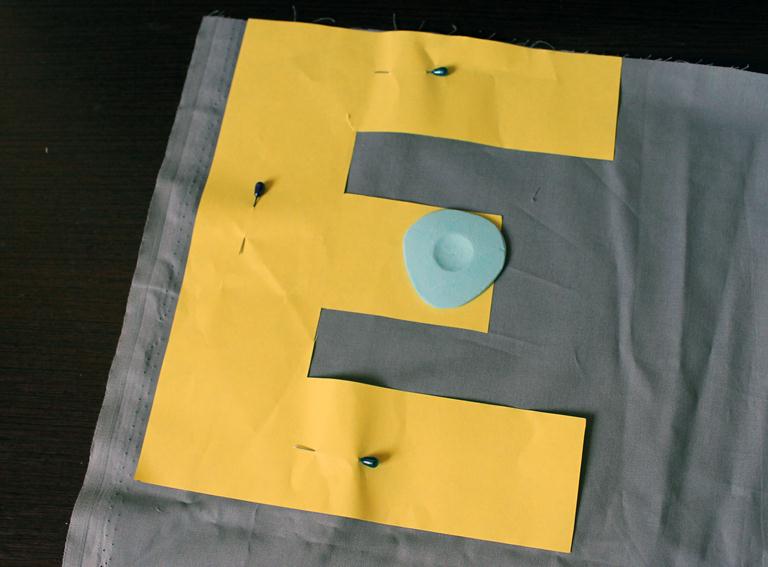
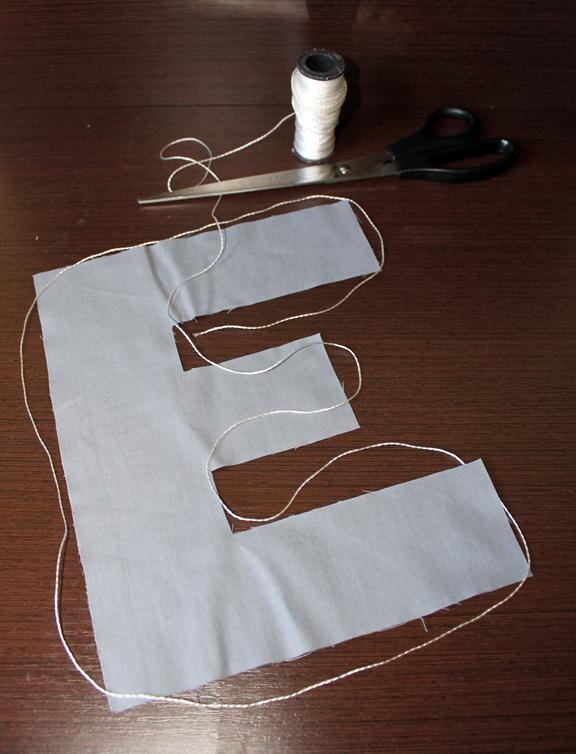
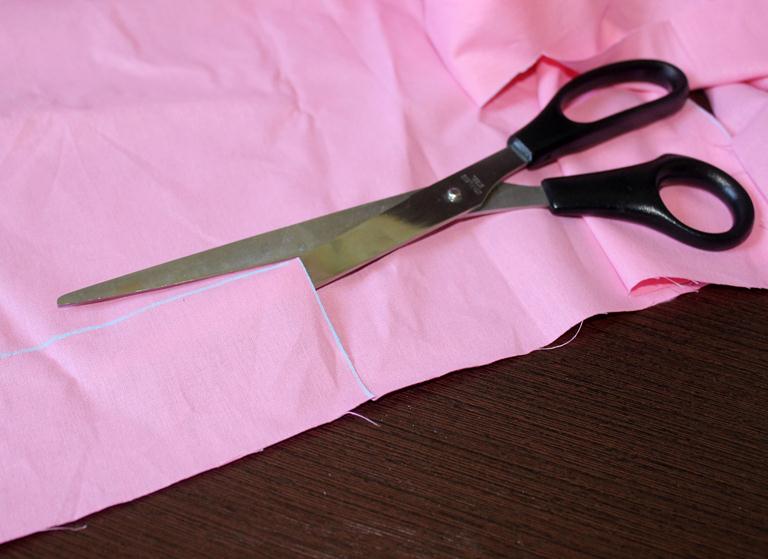
After the pattern is ready, cut out and get down to business - we sew the letters of the pillow. We apply a pattern to the fabric, pin up the needles and circle around the contour. Then carefully cut out (without allowances). Remember, we need to cut two identical letters - front and back. Just do not forget, cut out the second letter as a mirror image!
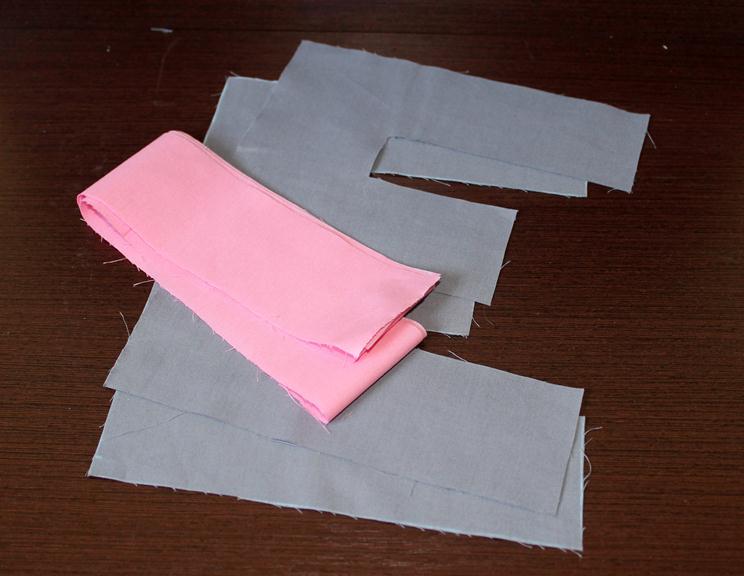
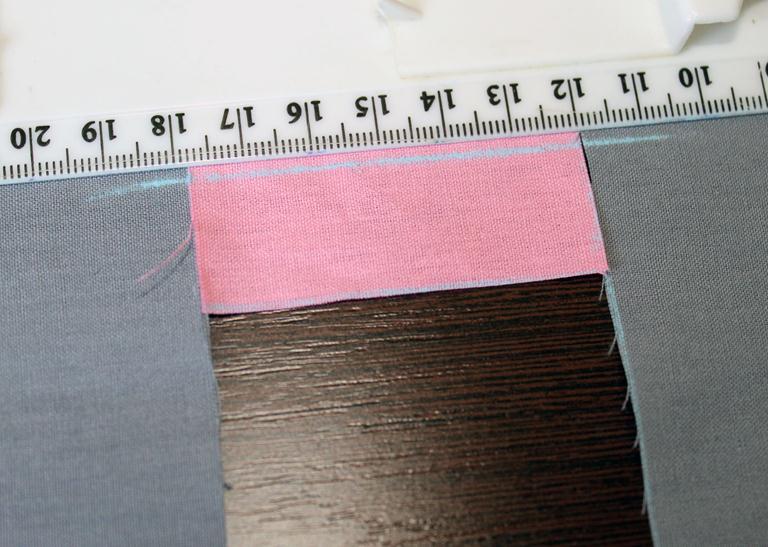
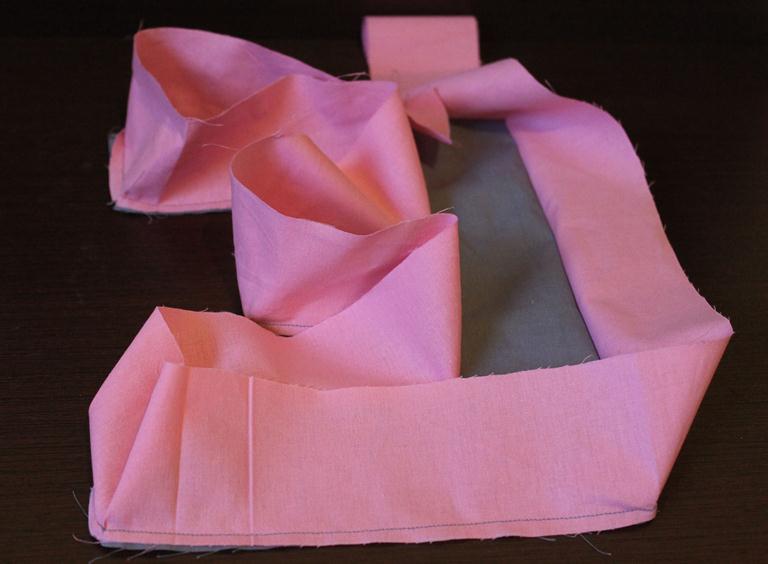
In order to determine how much tissue is needed on the sidewalls, we take the string and measure the letter along the contour. Usually to the length I add just in case 5-6 cm, it's better to cut it off than not enough. For the letter "L" - 95 cm, "O" - 82 cm and 33 cm, "V" - 107 cm, "E" - 140 cm. We measure the resulting length and make a width of 6 cm. Cut out without allowances.
| | |
Now the most difficult thing is to collect letters. So that later the letters do not warp, we mark the beginning of the assembly on the front, back and side parts.
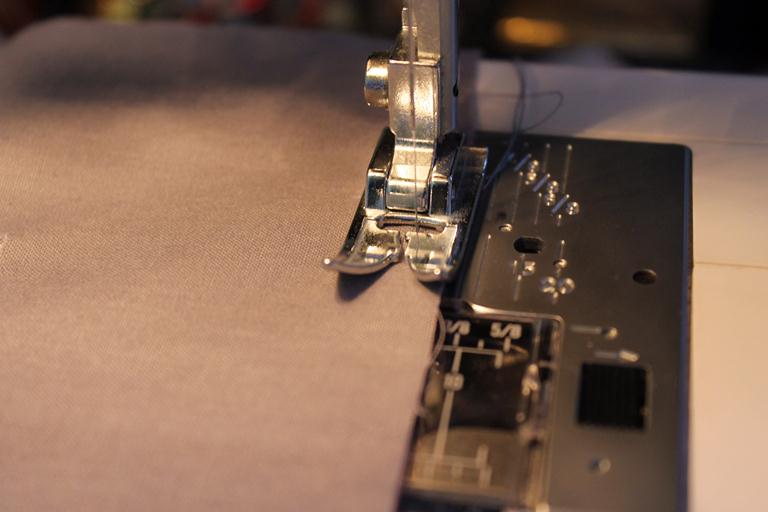
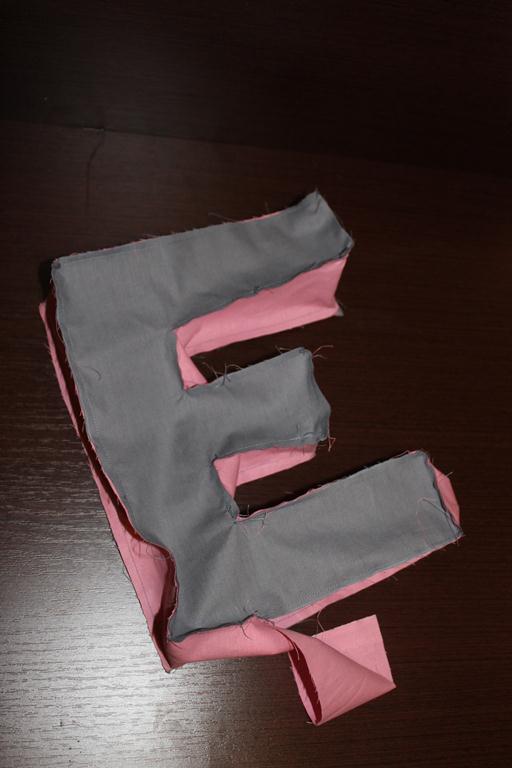
Place the saddle stitching on the bottom of the letter so that it is less noticeable. First you need to sew the front part with the sidewall, then sew the back part. Remember, you left a mark for the beginning of the assembly? Find it, combine the fabric and start sewing. You will only have a non-sewn joint of the side, through which we will turn out and stuff the letter. If the letter is ready - unscrew.
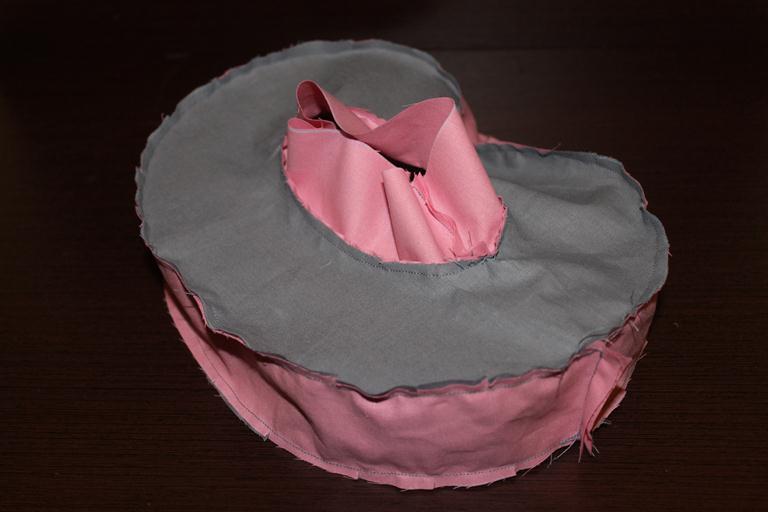
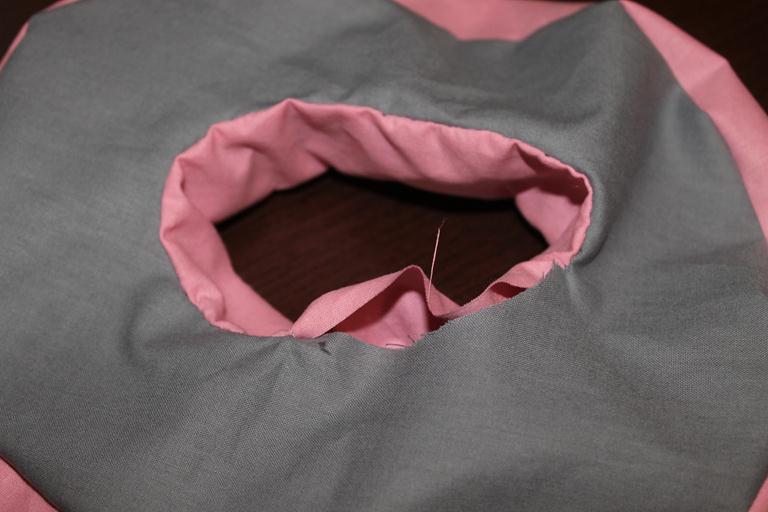
When stitching the letter "O" there are several nuances. First, sew the outer sidewall to the front and back and sew the junction, then sew the inner sidewall only to the front and sew the junction. You do not need to sew to the back, or you can not unscrew it. Before turning out, make small incisions in the most rounded places. Turn out the letter, and sew the larger half manually with a secret seam, only then start to fill.
| | | |
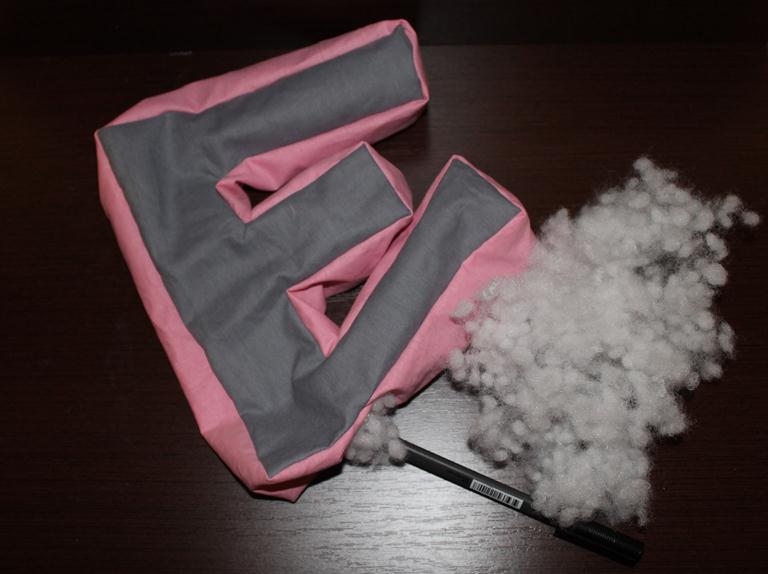
The next stage is filling. One of the most convenient fillers is holofayber. You can also use sintepon, sintepuh, silicate balls.
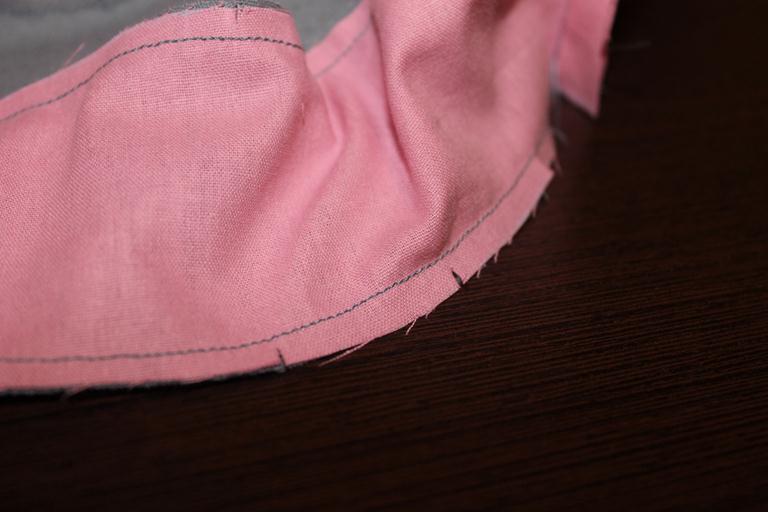
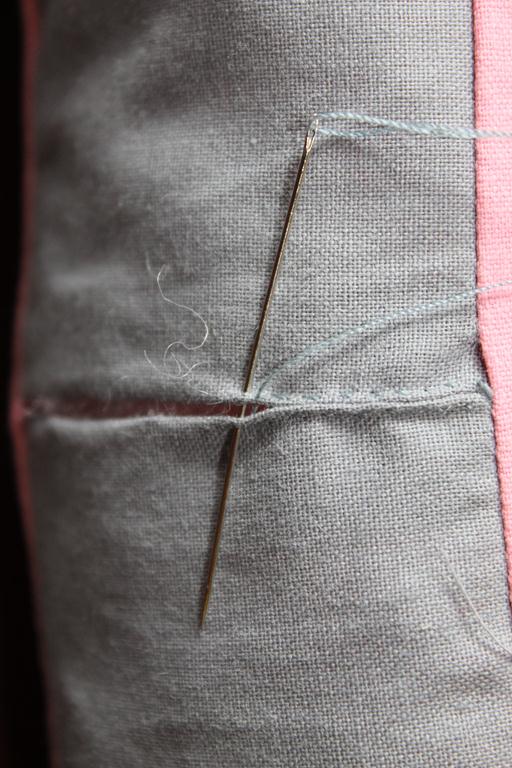
For filling, take small pieces of filler and carefully stuff it into the letter with a pencil. Periodically we change filler in the letter, distributing it evenly, so that there are no bumps. After filling, we sew the hole with a hidden seam.
| | |
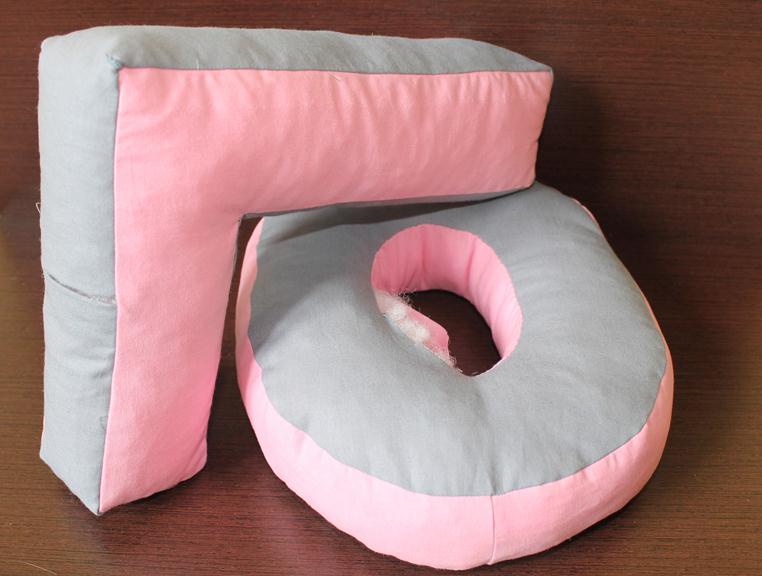
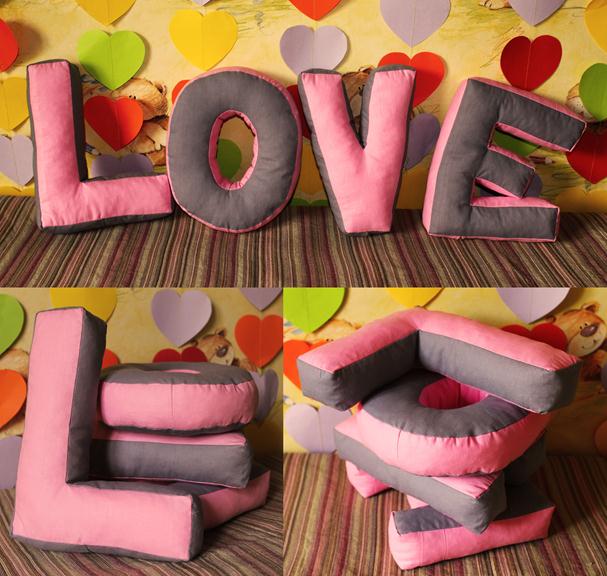
The letter-pillow is ready! So we sew and fill all the letters.
Here is our result and as you can see, it's quite easy to sew the pillows-letters with your own hands. Now you can safely go to the photo session!