The pattern "Zigzag" - one of those rare patterns that look equally good on the threads of any color and any quality. In addition, this pattern is suitable for knitting a lot of things - tops, skirts, collars , etc.
How to crochet a zigzag pattern?
The crochet pattern of the zigzag pattern is very simple. It turns out as a result of the alternate removal of columns with a cuff and air loops, and therefore to deal with it under the force even the most inexperienced master.
Performance:
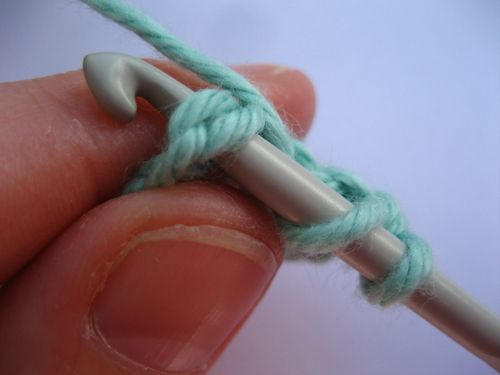
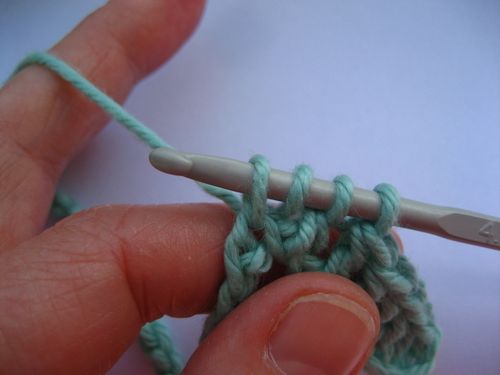
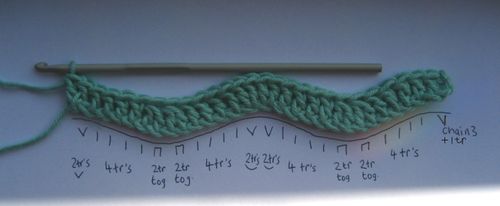
- We connect the chain, the number of air loops in which a multiple of 14 + 3 lifting loops. We continue the row with columns with a crochet.
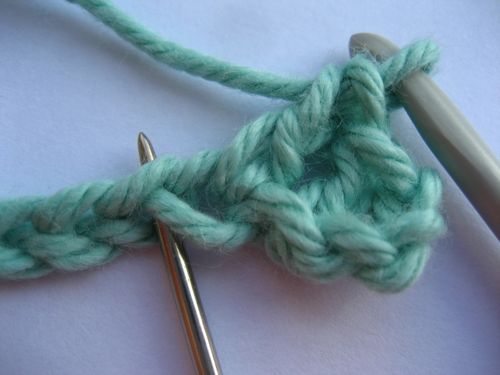
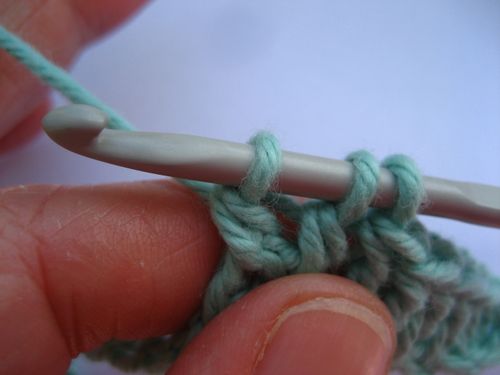
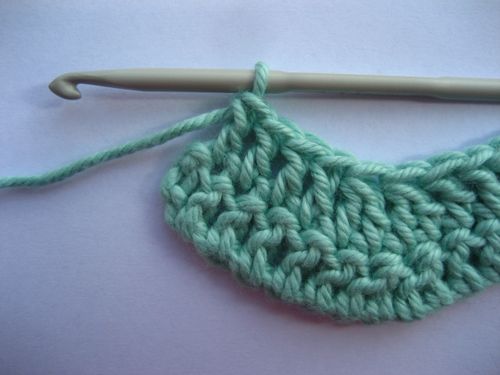
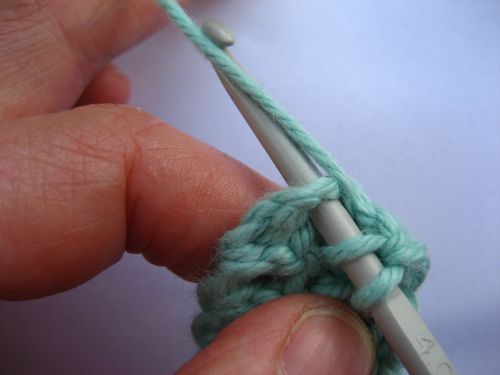
- We will connect 5 columns without a crochet. Then we will execute 2 groups from 2 unfinished columns in each.
- Thus, the first tooth of our wavy pattern will form.
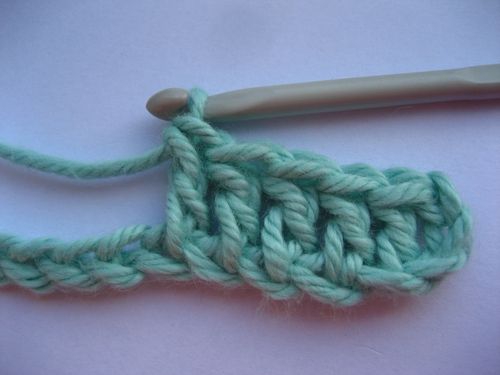
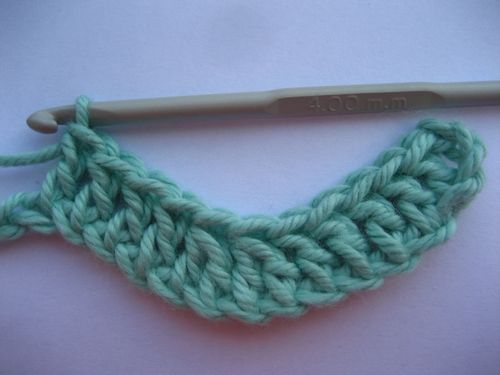
- To form a zigzag cavity, we will fasten 4 columns from each loop of the set, and then we will fasten 2 bars from each of the 2 subsequent loops.
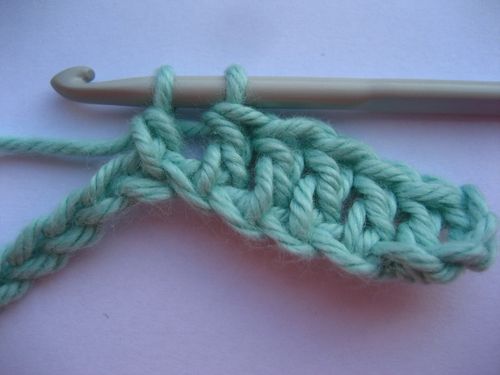
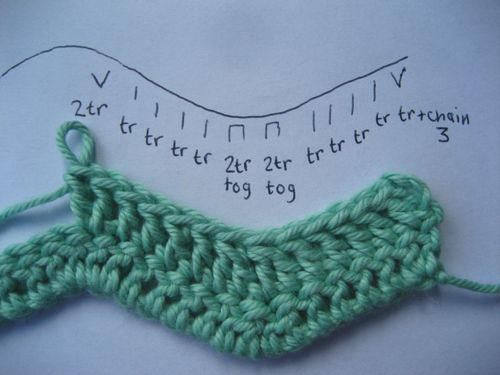
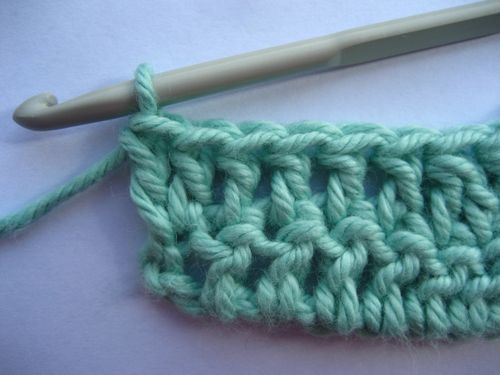
- The first zigzag line will look like this:
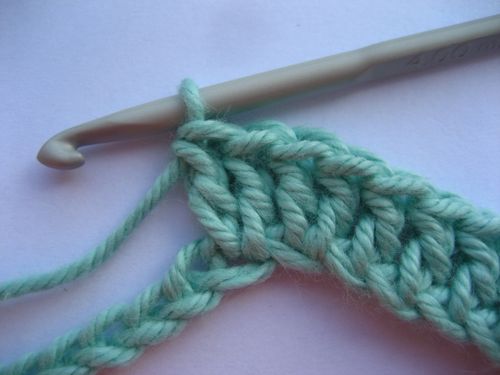
- The second row of the pattern is knitted along the same exact pattern.
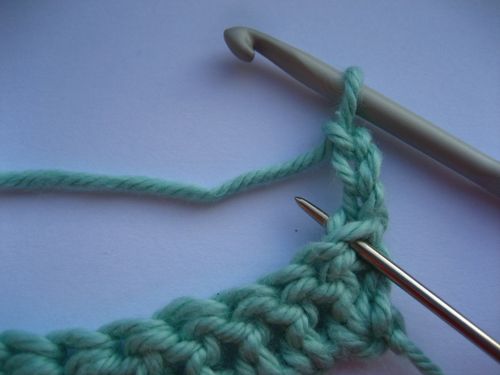
- Pay special attention to the last column in the row, because it will depend on it, how accurate the whole pattern will turn out.
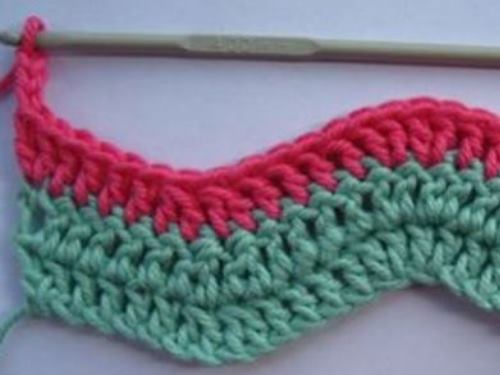
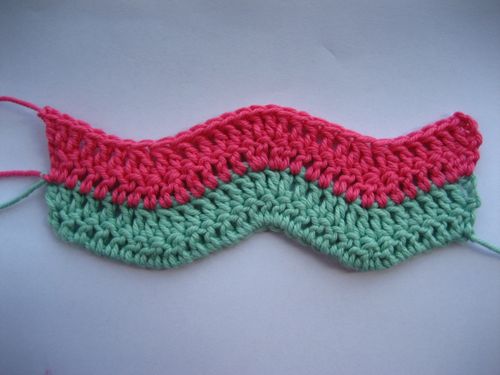
- In the third row we introduce a thread of a different color, in our case red. Gently fix it in knitting, extending the end through the loops of the previous row. We continue to work on the first-line scheme. In the future, we change the colors in the pattern every two rows.
To make the pattern "zizgag" more openwork, you can bind the columns with the crochet, passing the hook not to each loop of the previous row, but through a loop, alternating them with air loops. Varying the number of columns between zigzag teeth, you can make it more wavy or shallow.