Now on sale there are many unusual and original cases for a laptop. But if you should try, you can make a laptop case for yourself, which will not yield in quality and sophistication to the laptop. Such cases are made from fabric, suede, natural and artificial leather. You can make such a cover as a gift to your loved one, for example, to the day of lovers or to another holiday.
How to make a pattern for a laptop case?
Measure the length, width and height of a specific notebook model for which you will create a cover. Add to these figures of 1.5-2 cm on the allowances and cut out of thick paper a pattern of the appropriate size.
Then attach it to the lining fabric folded in half, and cut two identical rectangles. Do the same with the fabric that will be on the outside of the cover. As a result, you should get four rectangles of fabric, of which, in fact, will be a cover.
Sew laptop case
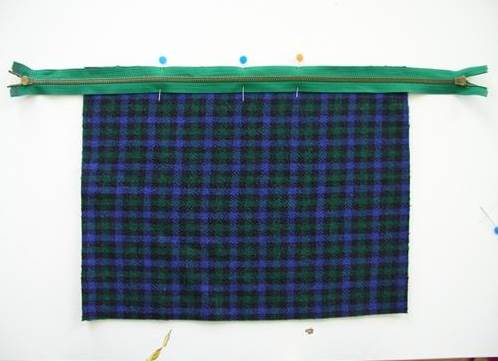
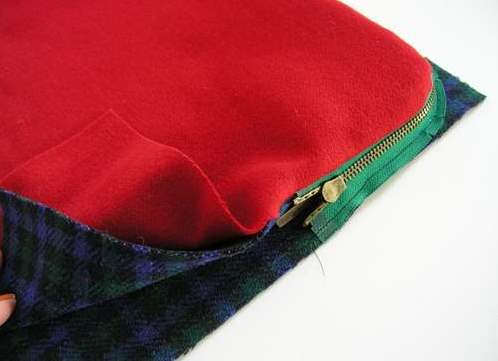
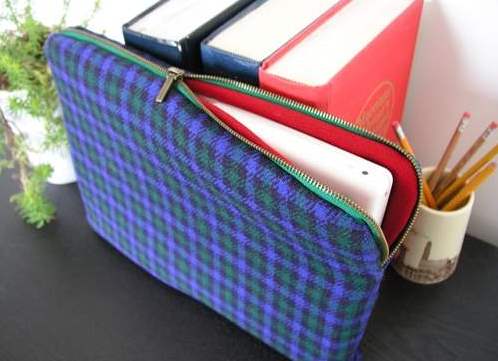
- The first thing you need to sew to the future case of a zipper. Take that piece of fabric that will be on the front side of the case (in the photo it's a checkered fabric), attach a zipper to it and gently pin with the pins along the entire length of the upper side.
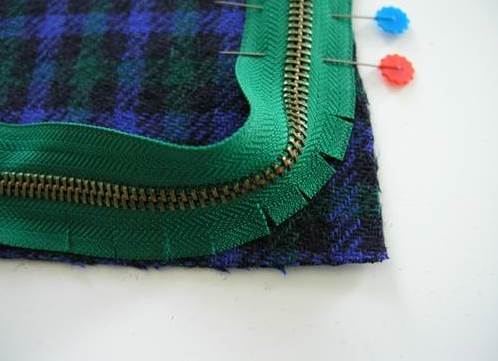
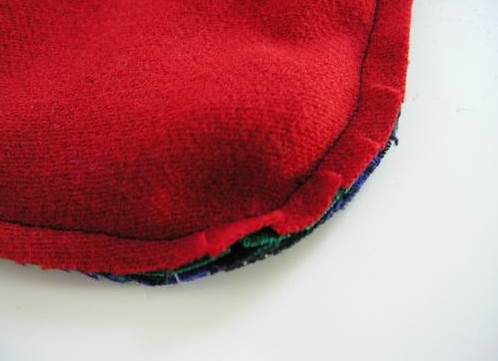
- Bend the zipper in place, where there should be a rounding, and also pin to the fabric. For convenience, you can make small incisions at the bend site.
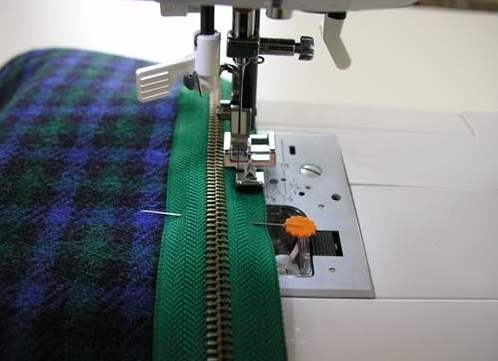
- Attach the zipper to the fabric on the sewing machine, after removing the pins. If it is difficult for you to do this, you can simply sweep the zipper against the cover with a contrasting thread instead of the pins, and then scribble.
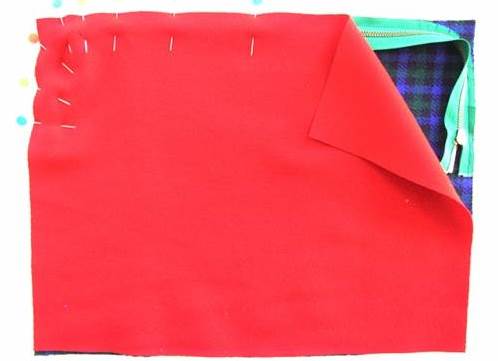
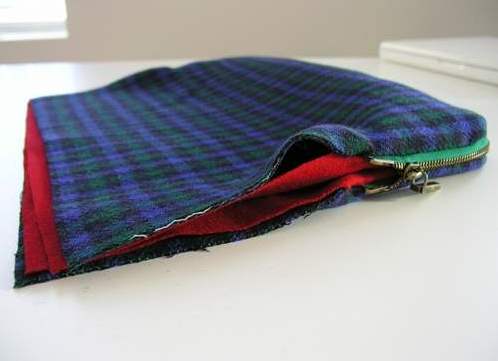
- Now attach to the cover a rectangle of lining fabric and also attach to the zipper, focusing on the line of the first seam.
- Gently trim the excess fabric, leaving 0.5 cm at the seams.
- Now you need to sew to the zipper the second part of the front side of the cover. Do this by following steps 1-3.
- You also sew the second half of the wrong side (points 4-5).
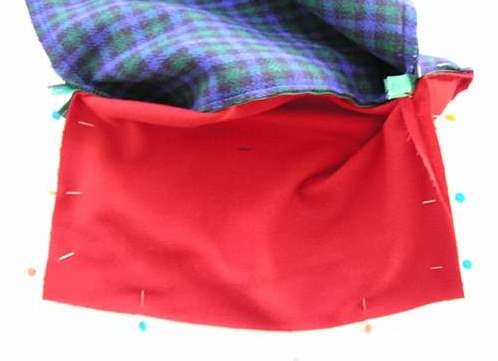
- Lightning is ready, and now you need to flash the cover around the perimeter. Turn it out so that both the purlins and both sides are side by side; lightning in this case will be in the middle. Sew with each other first on the sides, then on the sides, leaving a small gap of 5-6 cm so that you can unscrew the cover back. Sew the remaining space manually using a secret seam.
- That's what a finished laptop case, made by yourself, should look like. As you can see, it was quite simple.