The needlewomen never tire of surprising us with new and new interesting techniques and handicrafts. Among the origami fans popularity is rapidly gaining kusudams, classical and floral balls , and in particular a blooming electr. But first of all, it is necessary to understand what it is and what it is intended for.
Kusudama - a paper model of a spherical shape, which is obtained by stitching or gluing together fragments of a pyramidal shape. Initially in Japan, Kusudams were used as supports for medicinal herbs and plants, now they are often decorated with paper flowers.
We suggest with our help to master the production of Kusudama blossoming electra, guided by a simple and understandable scheme.
Kusudama electra: assembly diagram - master class
To make a kudusama, we need 30 sheets of a square shape of an arbitrary size. In this master class we used squares measuring 9 by 9 cm.
Progress:
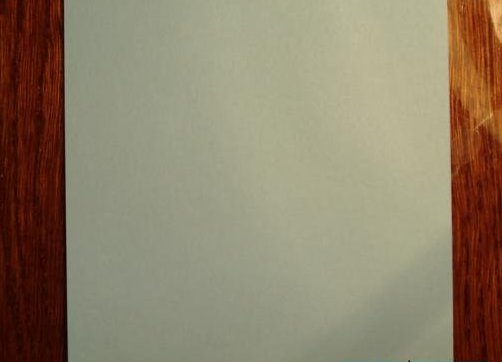
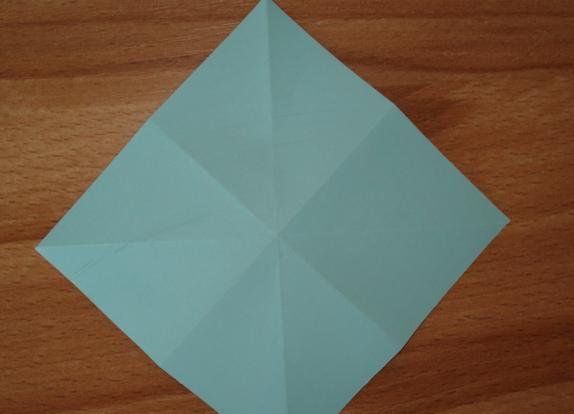
- The sheet is folded diagonally in half.
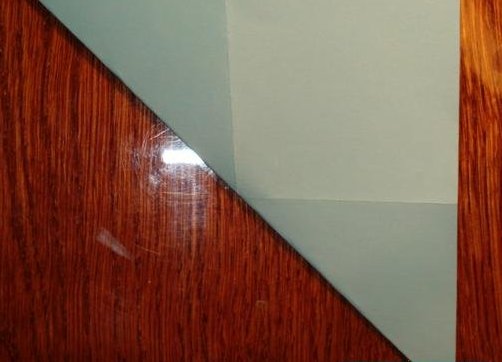
- We lay out, again fold in half, but already on another diagonal.
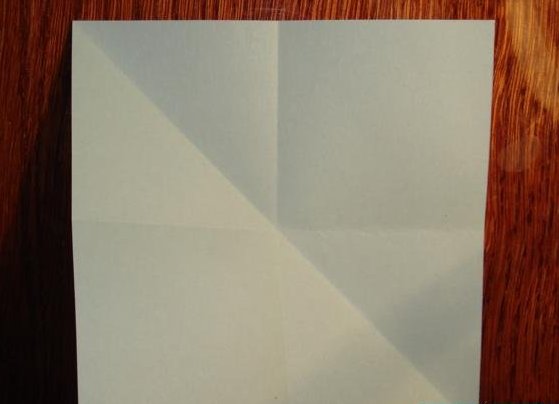
- We unfold the sheet.
- Fold in half in the middle.
- We open the workpiece.
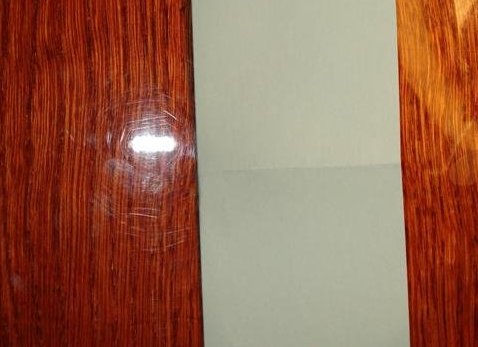
- Again, add up twice, but already vertically.
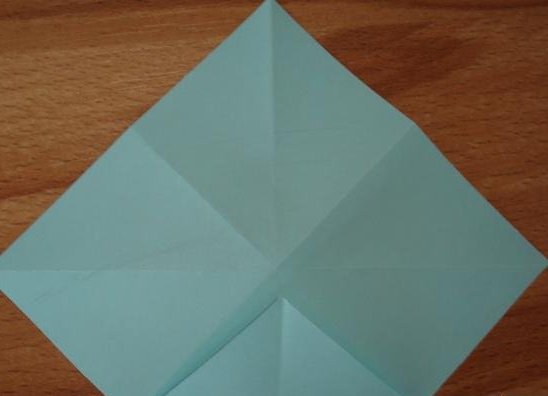
- We unfold the workpiece and put it in front of us in such a way that a rhombus turns out.
- The lower corner of the diamond is wrapped towards the center.
- The upper corner is also bent to the middle in such a way that the tops of the opposite corners are in contact.
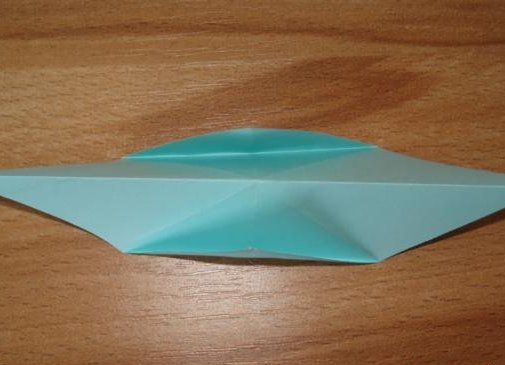
- Make a mountain bend, as in the photo.
- We twist the workpiece, folding it into the folds formed earlier.
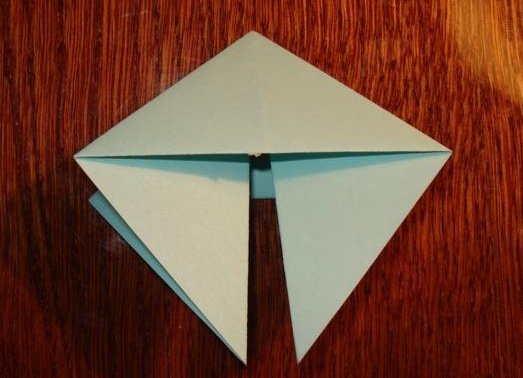
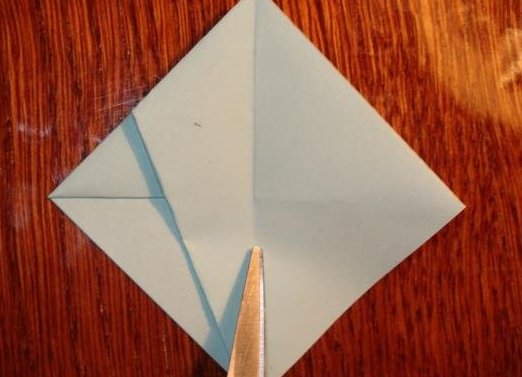
- The right angle is bent towards the middle, but not completely.
- Turn the corner and adjust it inward along the crease.
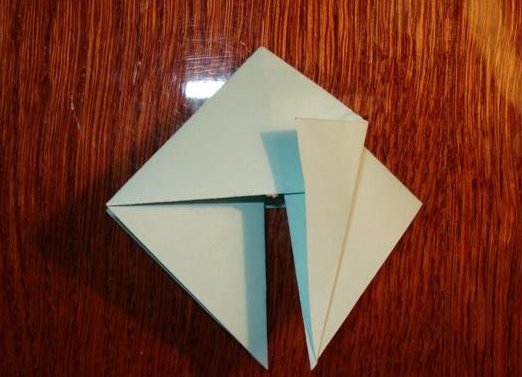
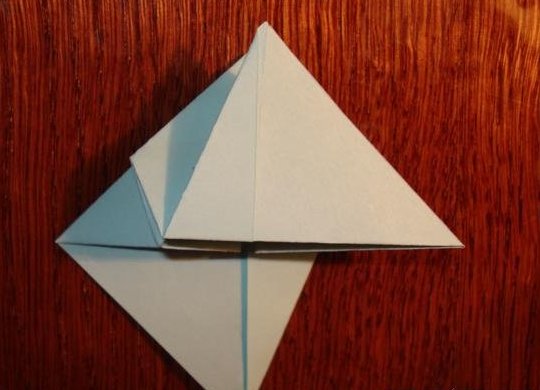
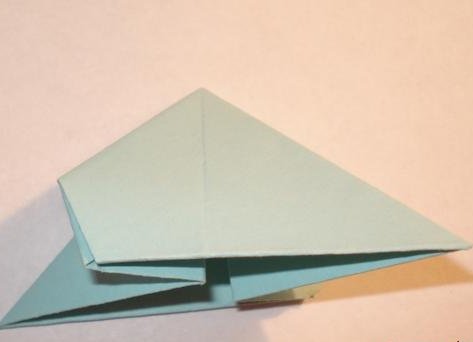
- We turn the workpiece and perform the above manipulations with the right angle. As a result, we get the workpiece of the module, with the right corner bent from the front side, and the left one from the back one.
- The upper part of the workpiece on the right is folded along the central fold to the left, turning it over.
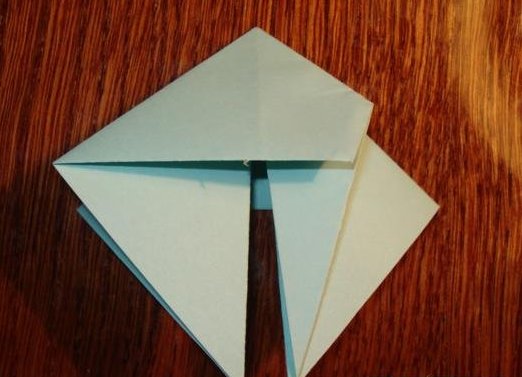
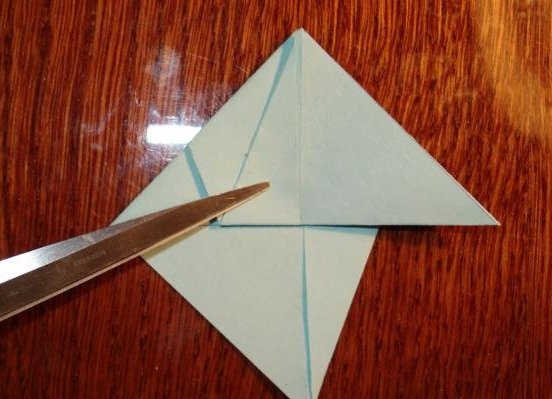
- Again, bend the right edge to the left.
- The lower corner is folded up, thus forming a fold.
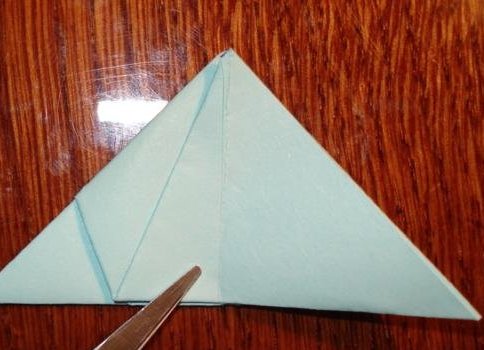
- We bend this angle and bend it inward along the formed fold.
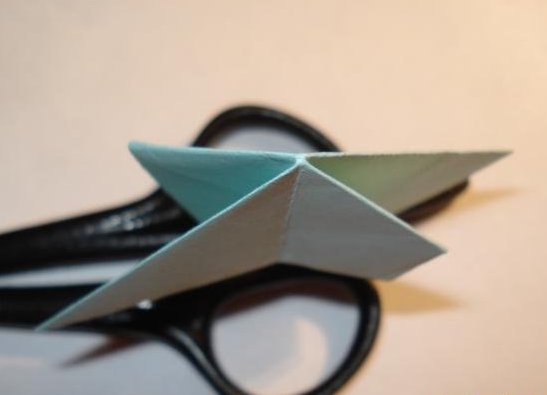
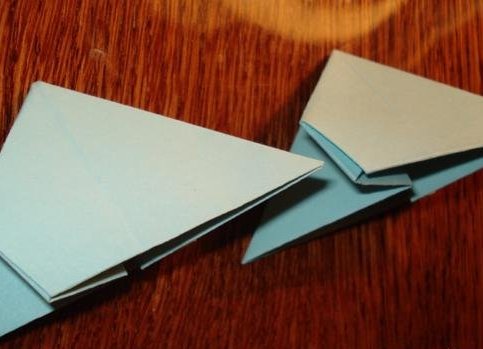
- We turn the workpiece and again bend the lower corner to the top, lay it out and fill it in.
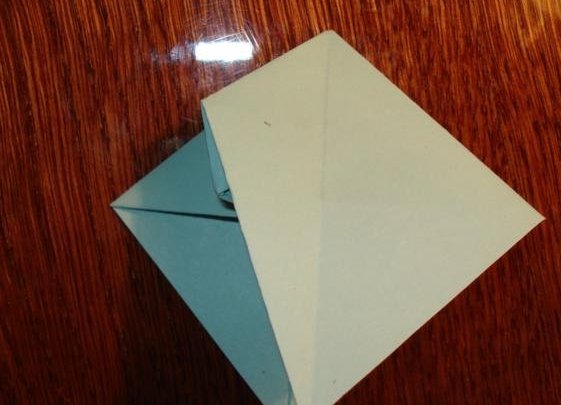
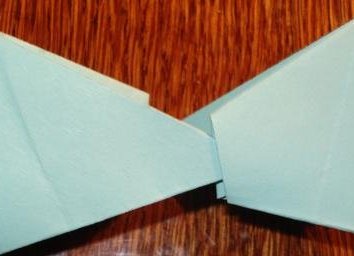
- The first module is ready.
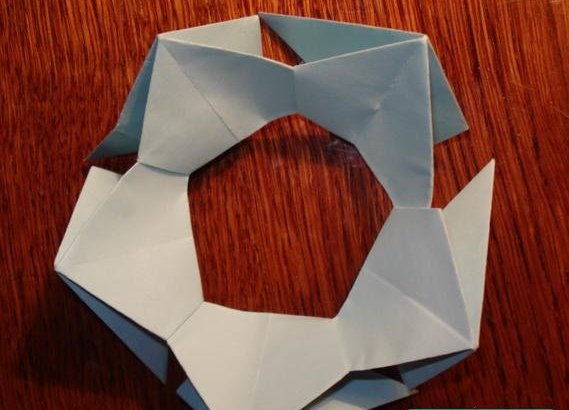
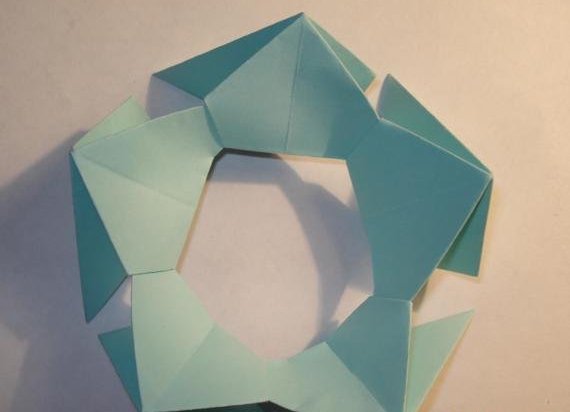
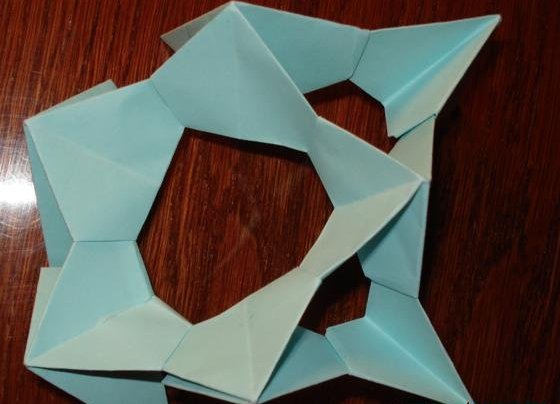
- We make similar 29 other such details and start assembling the kusudama.
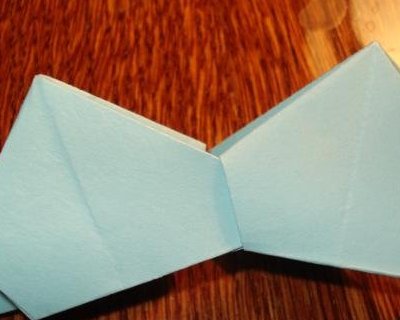
- Fold the two modules together, laying the corner of one in the "pocket" of the other.
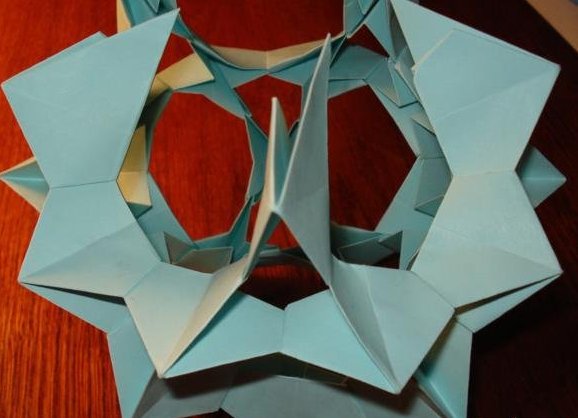
- Moving in a circle, we thus join 5 modules together.
- We connect modules 1 and 5 together and get a ring.
- To the ring, we attach one more module so that we get a triangle.
- Moving along the chain, we build around the ring 5 triangles, adding 4 more modules.
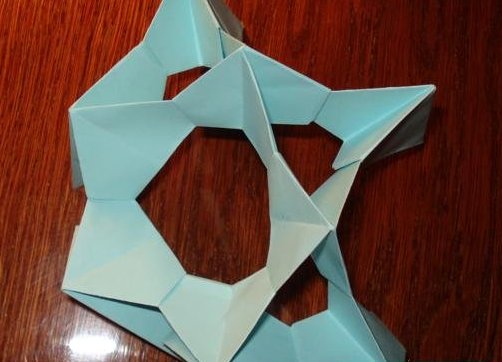
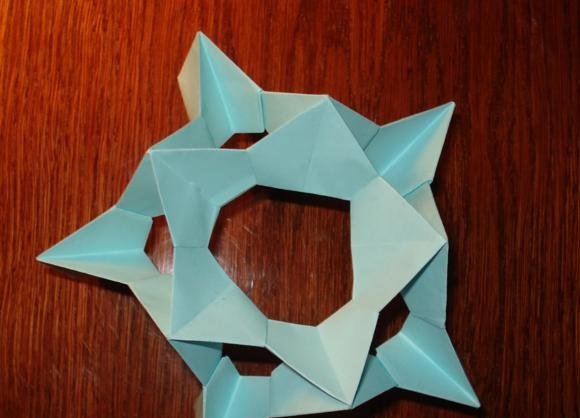
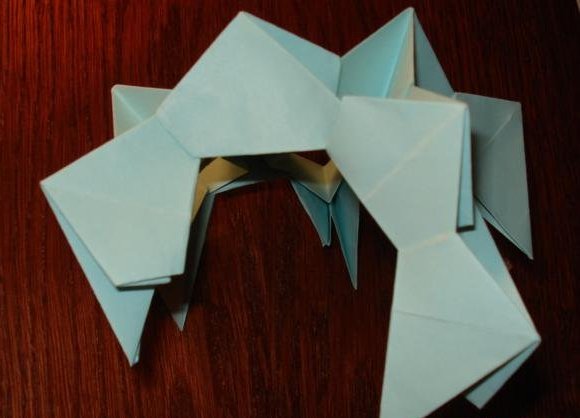
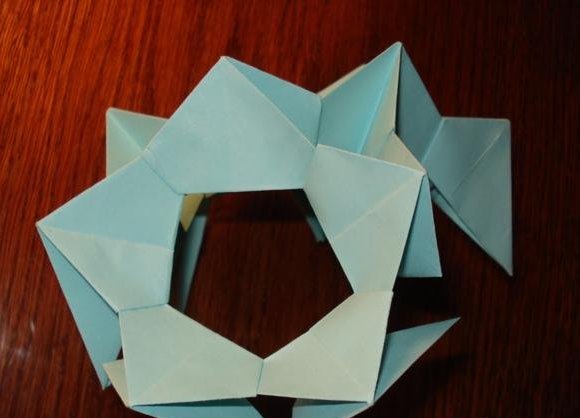
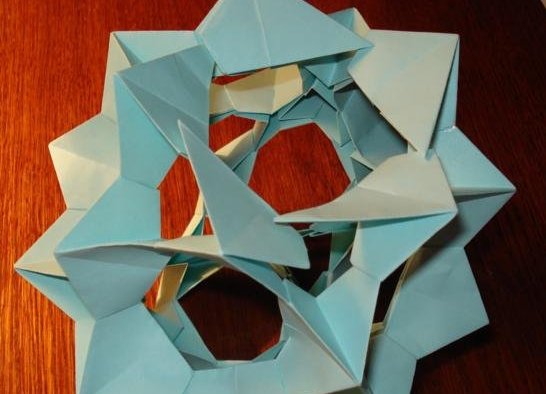
- Gradually, a model of the spherical shape (34) is obtained.
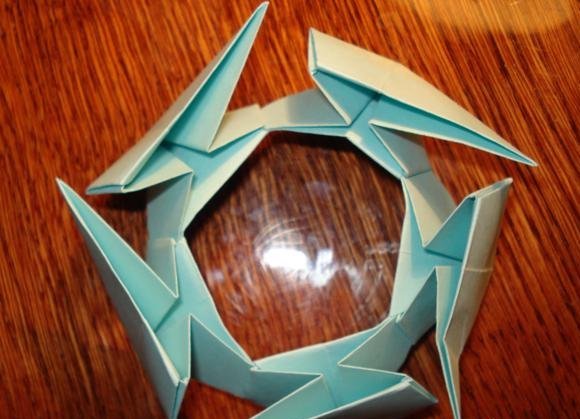
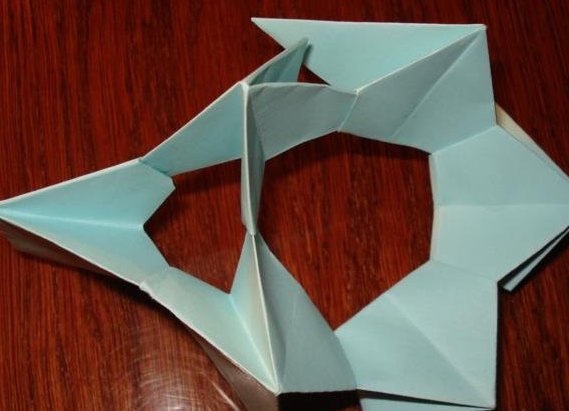
- Add more and more modules, connecting from one another. Assembling kusudama from paper with their own hands is completed.
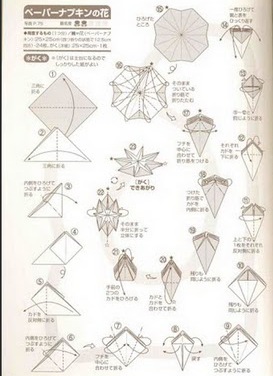
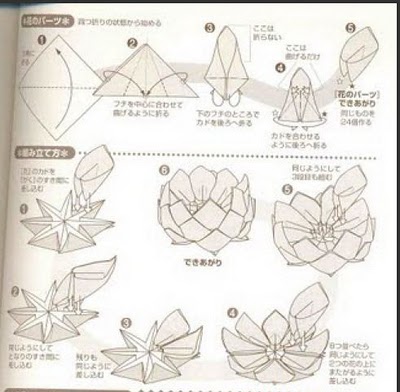
- Let's start making 12 colors for Kusudama Electra.
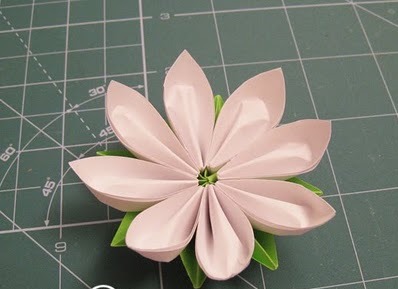
- One flower consists of a green sepal, which is made from a 10 by 10 cm square and 8 petals, for which we take white, yellow and red paper.
- Sepals are made according to the following scheme.
- Obtained such blanks.
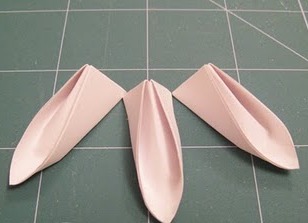
- The upper part of the diagram shows how to make petals.
- It looks like this.
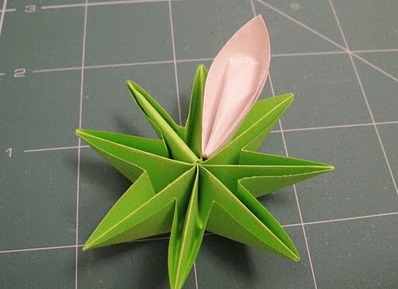
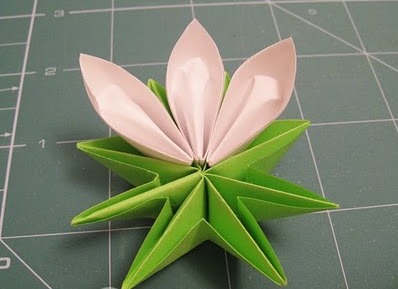
- We put the petal on the sepals, you can paste it for fidelity.
- Ready flower.
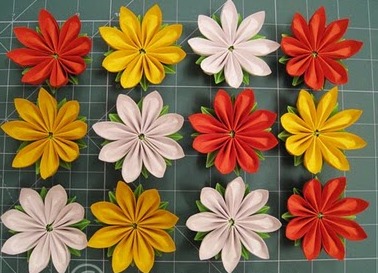
- 12 flowers are ready.
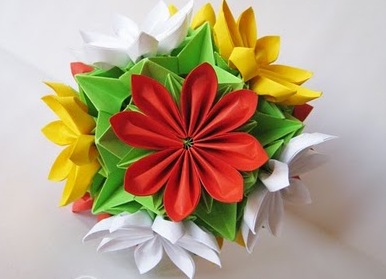
- We put them on kusudama, we paste sepals to the pit.
- Kusudama electra is ready.
| | |
| | |
| | |
| | | |
| | |
| | |
| | |
| | | |
| | | |
| | |