Not born yet that boy who would resist the temptation to feel like a skilled and mysterious warrior-ninja. And what kind of warrior ninja can be without special weapons? Of course, giving real swords and daggers to children is not the best idea. Therefore, we will devote our master class to how to make a Japanese dagger sai from origami in our origami technique.
How to make origami paper from paper?
- For the craft, take a square sheet of ordinary office paper. Fold it in four and fix the lines of folds, holding a coin on them. We unfold the sheet and in the same way we will mark on it the diagonal lines. After that we will add a figure from the sheet called "double diamond".
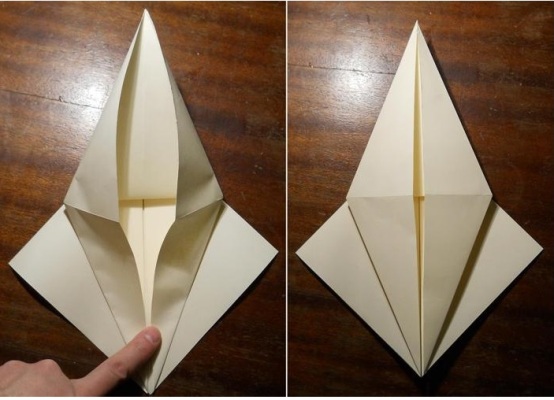
- Now pull the lower corner of the upper diamond, simultaneously connecting its side corners with the center line. As a result, we get here a figure consisting of two differently different diamonds.
- Press the left and right corners of the upper diamond to the center. Then turn our workpiece to the other side, where we also connect the corners of the diamond with its central line.
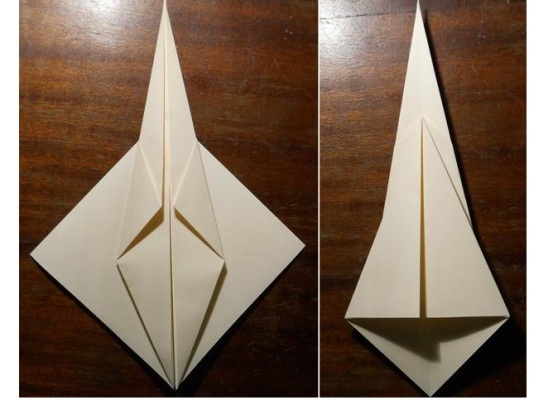
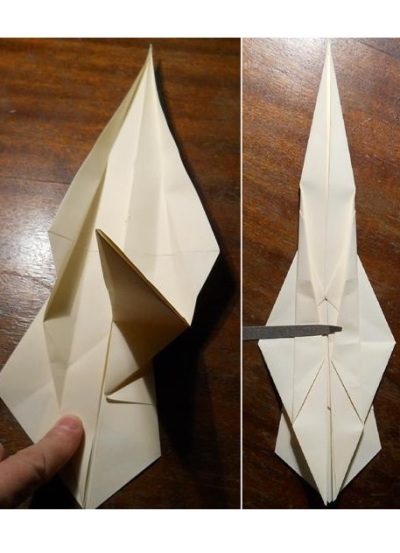
- Fill the side of the rhombus inside. Now our billet looks like this
- We connect the lateral corners of the rhombus with its center, turn the workpiece on the opposite side and repeat the operation.
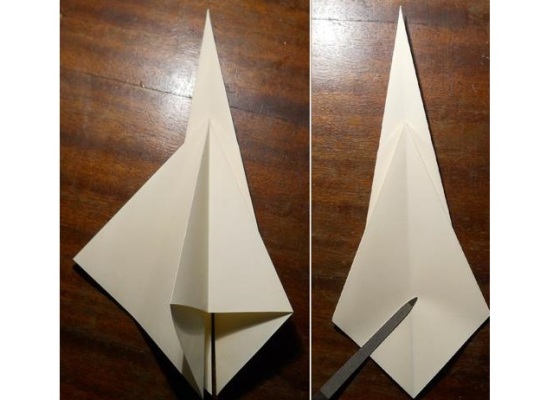
- Again, turn the workpiece and wrap it in its lower corners, as shown in the photo
- Properly iron all the folds to secure them. You can do it with a coin, a nail file or just with your fingers.
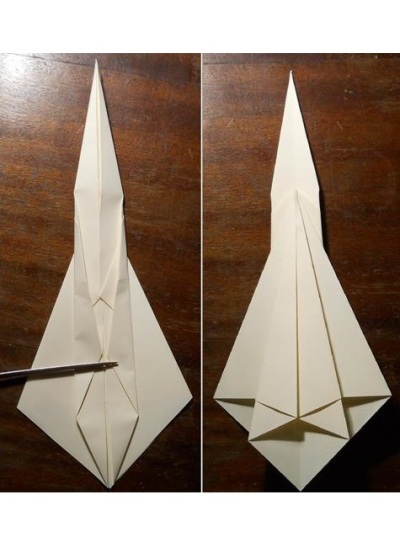
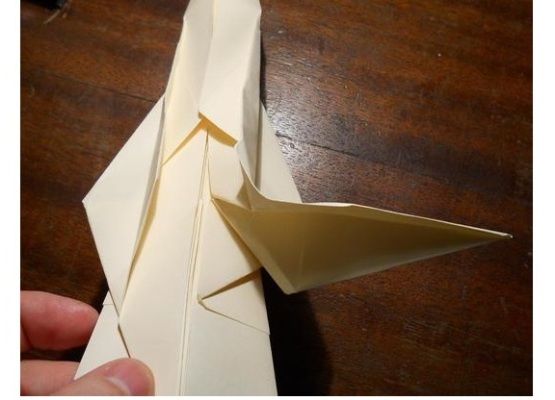
- The side parts of the workpiece are turned outwards, simultaneously combining their edges.
- Now our craft has this kind of
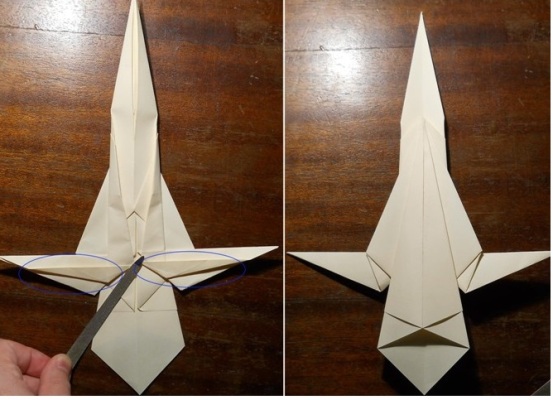
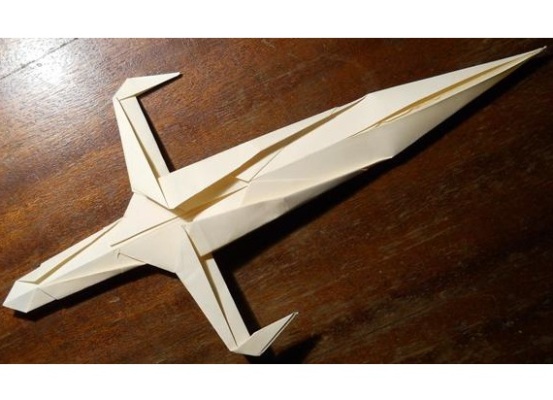
- Fold all the details of the workpiece as shown in the photo, giving our dagger sai the final shape.
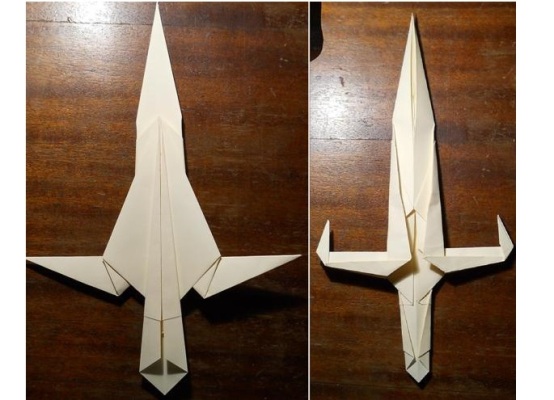
In the end we get here such a wonderful dagger sai, made by the same hands! Also in the technique of origami, you can do other types of weapons: nunchakas , crossbows or kunai .