In the hot season so want to feel the coolness and get rid of the annoying heat. To ease your condition in the summer, you can take with you on the road a paper fan. You can buy it in the store, but it will be much more fun to make it yourself.
How to make a Japanese fan of paper yourself: a master class
To make a Japanese fan is fascinating, simple and fast. A fan of paper is quite able to do with the child.
To start, you need to prepare the following materials:
- paper with a beautiful pattern (for example, a beautiful picture from a wall calendar or patterned paper);
- glue stick;
- Scotch;
- scissors;
- sticks of ice cream "Eskimo".
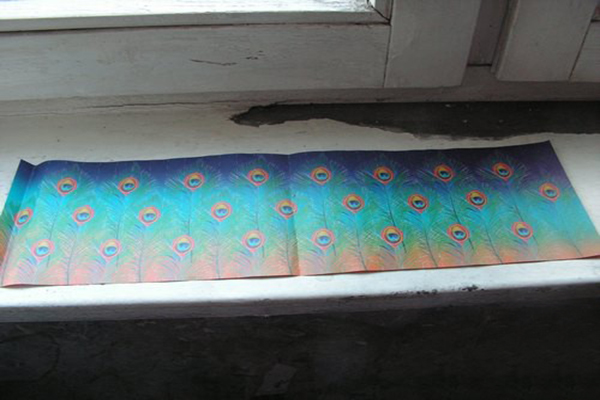
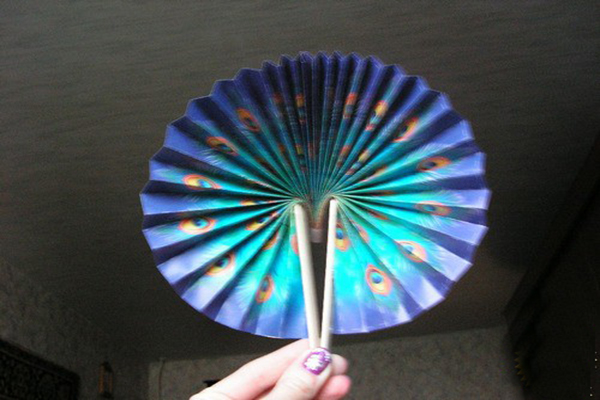
- We take paper with a pattern about 50-60 cm long.
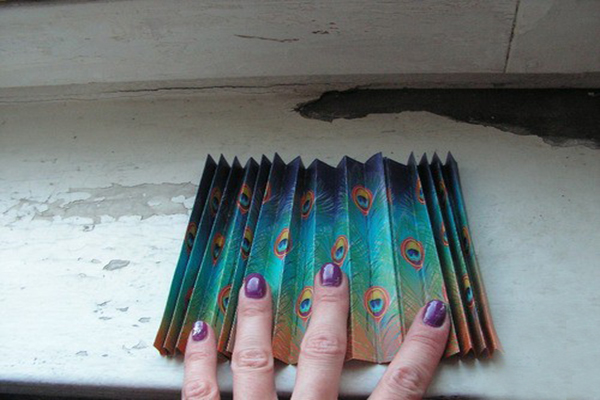
- We bend one centimeter and begin to fold the paper with an accordion.
- Bend the strips so that the accordion is as dense as possible.
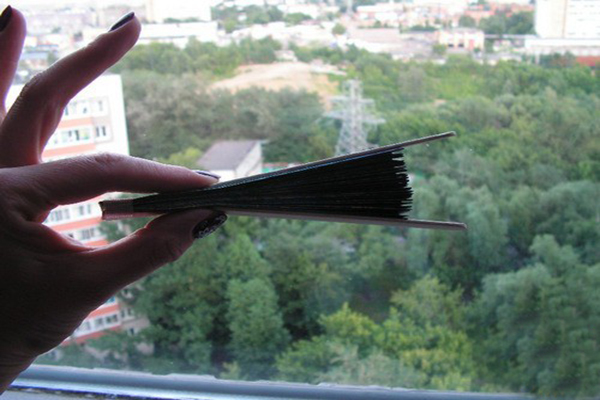
- The lower part of the fan is pasted with adhesive tape.
- On the sides of the fan glue sticks from ice cream. In this case, the sticks on the scotch should not go down, otherwise the fan simply will not open.
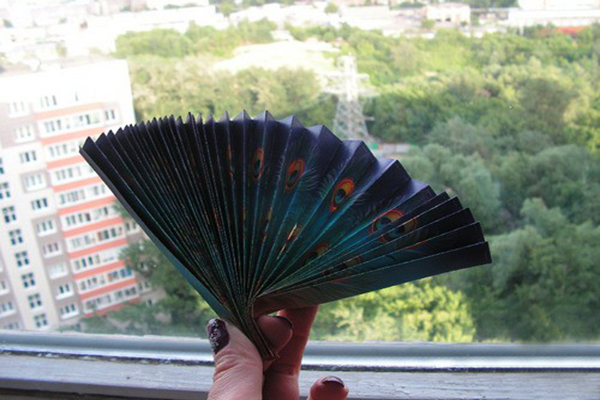
- We unfold the fan and see what happened.
How to make a fan of your own hands?
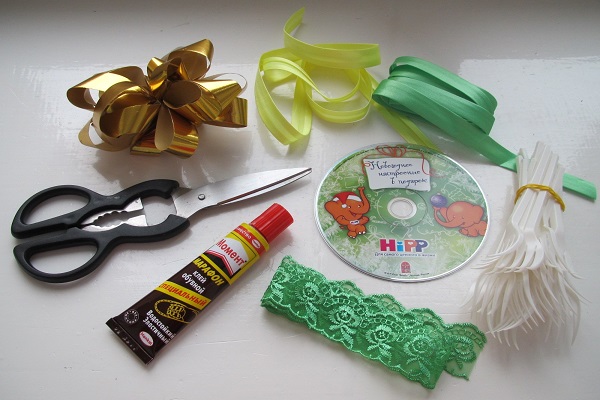
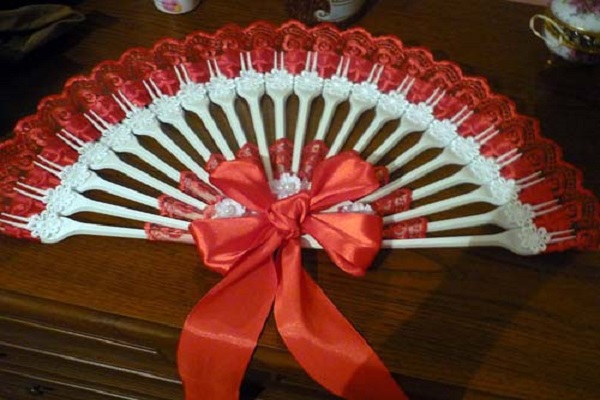
Plastic forks can be used not only for their intended purpose, but also for creative work. For example, you can create an original fan from forks. For this you need to stock up with the following materials:
- twenty one-time plastic plugs;
- glue "Moment";
- Satin ribbons of two colors one meter each;
- lace length not less than 50 cm;
- scissors;
- CD-ROM;
- thread;
- needle;
- bow of gift wrapping.
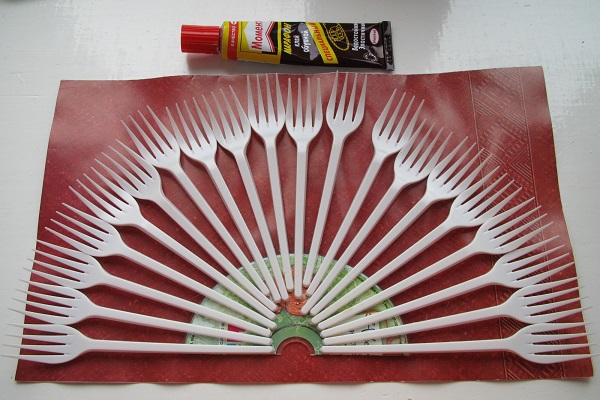
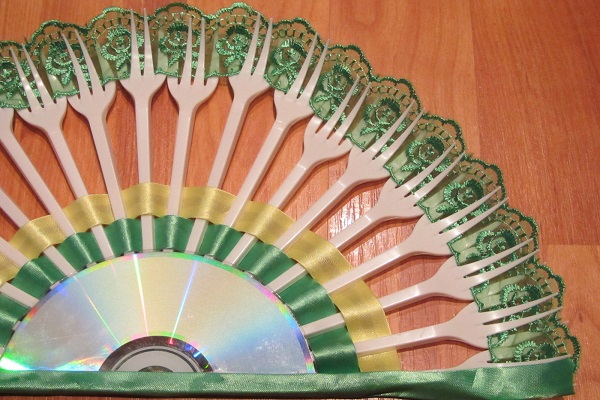
- We begin to create a fan. We take the disc, mark the middle and cut it into two equal halves.
- We put the disc on the table with the shining side down. From above on it we spread plastic forks on a circle as it is shown in the figure below.
- Spread the front side of the disc with glue.
- Lubricate the forks with glue: you do not need to glue the whole length, but retreat from the edge by about three to four centimeters. We glue the forks to the disk. It should be remembered that the glue is able to quickly grasp. Therefore, it is advisable to stick all forks exactly the first time. Otherwise, the fan will be difficult to alter later.
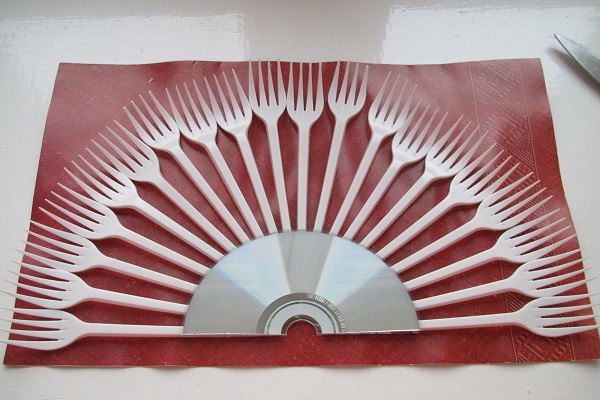
- Press the fork to the disk as hard as possible. Leave the adhesive to dry for about 10-15 minutes.
- We begin to decorate the fan. To do this, take the lace and put between the teeth of the plug as shown in the photo below.
- The ends of the lace are fixed to the outer forks with glue. We let it dry.
- We begin to twist two satin ribbons just above the CD in random order. Cut off the extra. The ends are also glued to the forks on the sides.
- The remaining piece of tape is cut along the entire length of the fan.
- We glue the lapels from the front and the underside.
- Using a needle and thread, we attach the ribbons to the center of the fan from the packing tape. The fan is ready.
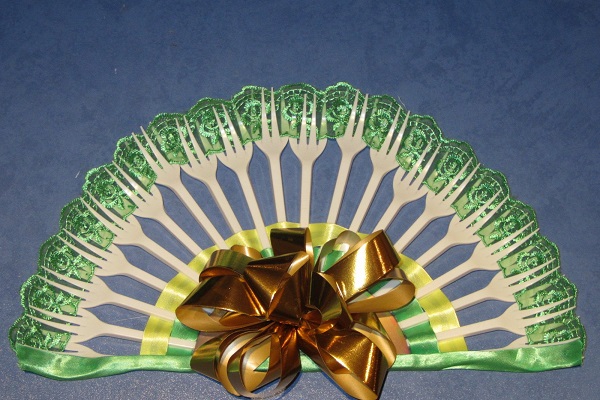
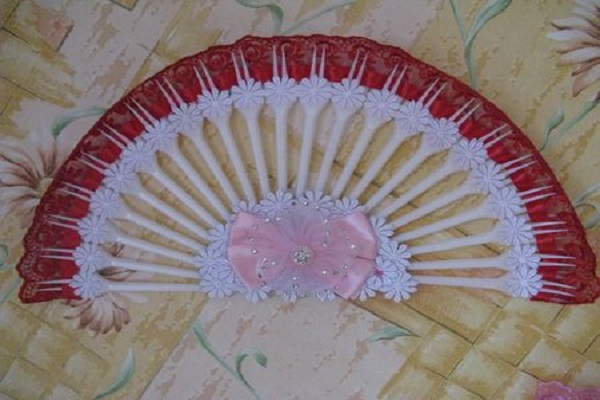
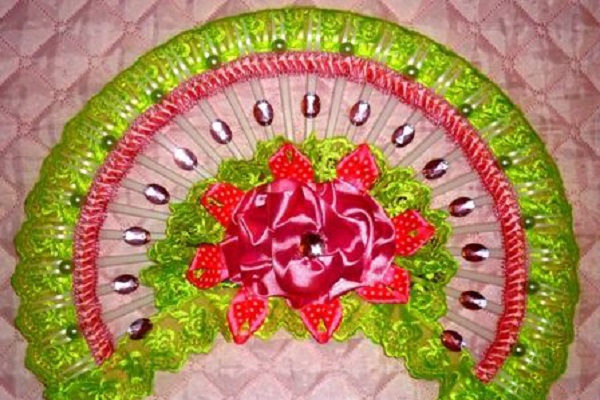
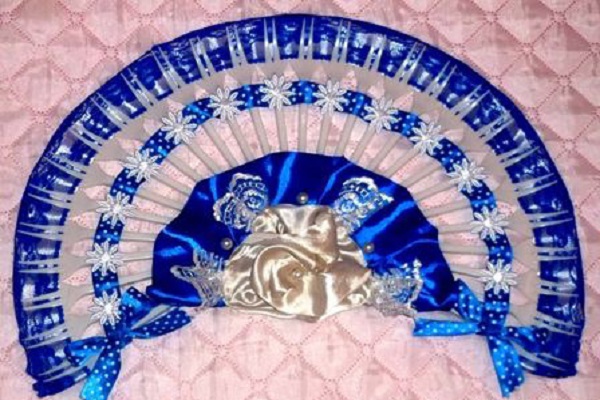
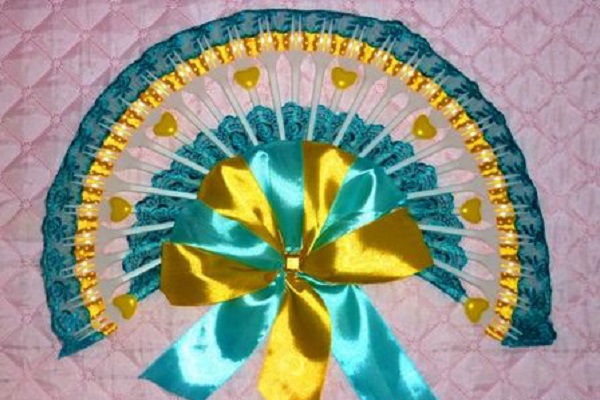
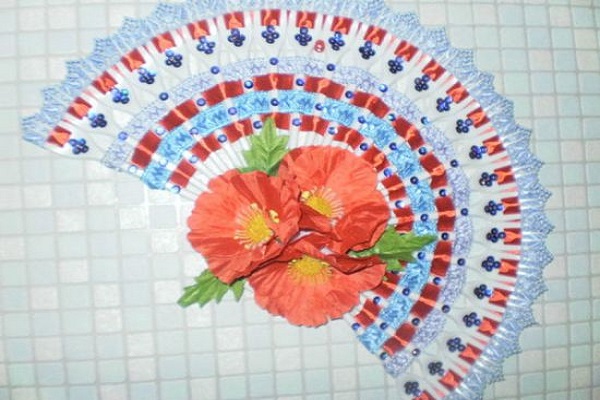
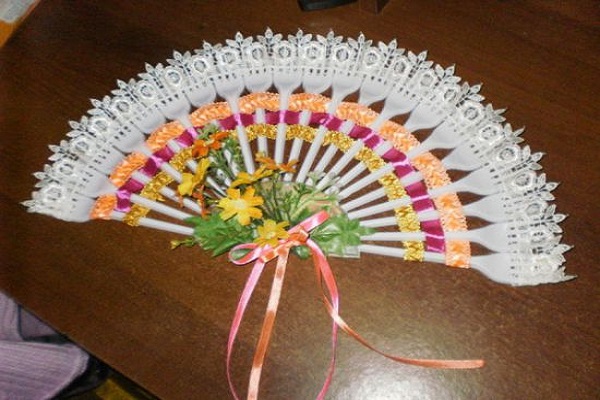
To decorate the fan you can use different materials: ribbons, beads, lace, artificial flowers, etc.
| | | |
| | | |
| | | |
In the warm season of the heat, people escape in a variety of ways: someone is at home under an air-conditioner or a fan, while others prefer fanning themselves, especially in transport, where it is especially stuffy in the summer. The fan you made yourself can be decorated at your discretion. Such an author's accessory will allocate you from the crowd, and attract the attention of others.
If you make a fan of ordinary plastic forks with the original design, then it can serve as an ornament as a carnival costume, executed in the spirit of "Carmen".