The cape is used not only for creating a carnival costume, but also in everyday life. She is considered one of the types of outerwear . Sewing a cloak on your shoulders is simple enough, as the pattern is not necessary for this.
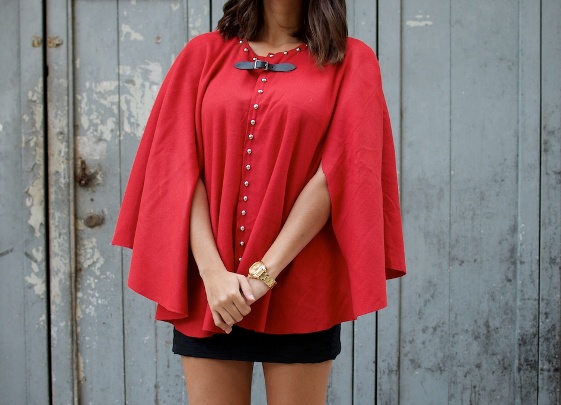
Master-class number 1: women's cape
For it you will need:
- red fleece;
- leather clasp;
- 40 pieces of metal rivets;
- Super glue;
- scissors.
- Fold the fabric square so that we have four layers of fabric.
- We cut one corner in a semicircle.
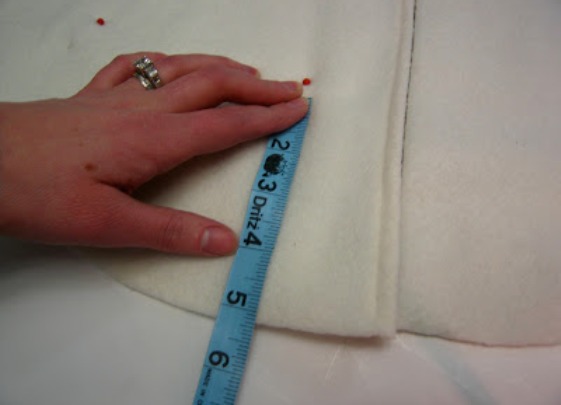
- We unfold and cut the neck. So that it does not turn out to be close to you, we measure first the distance from the shoulder to the shoulder, divide the result in two and add 2-3 cm. Thus, we learn how much we need to put aside from the middle of the fabric in both directions.
- Cut the front layer of fleece in the middle.
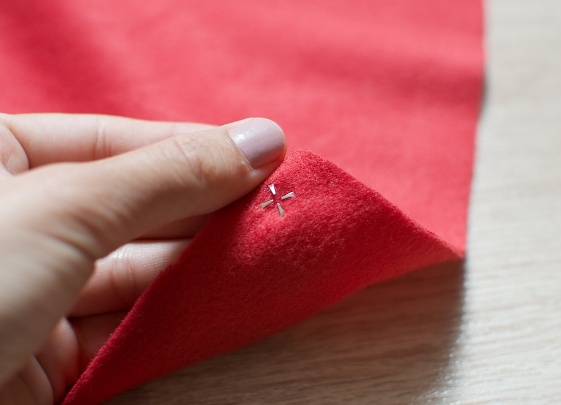
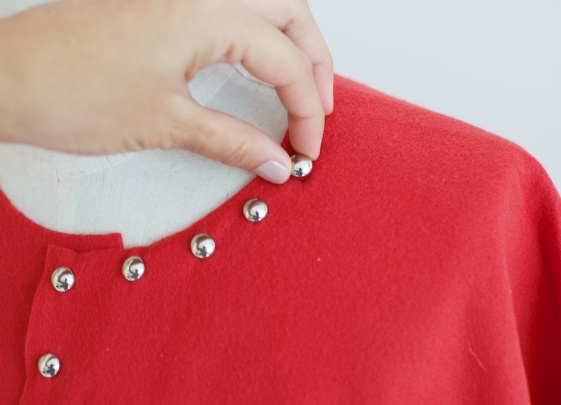
- At the edge of the front bar and neck attach metal rivets. To do this, in the place where we are going to dispose of it, we puncture sharp denticles and bend them from the opposite side.
| |
| | |
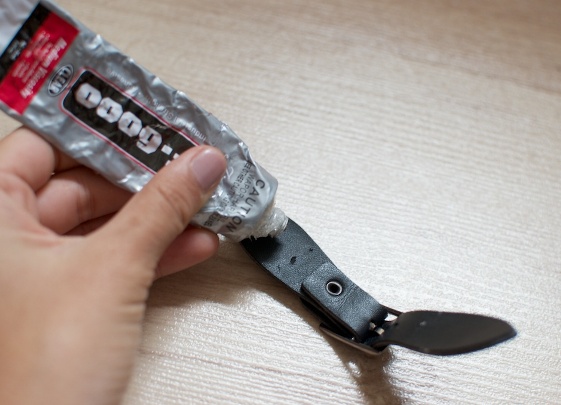
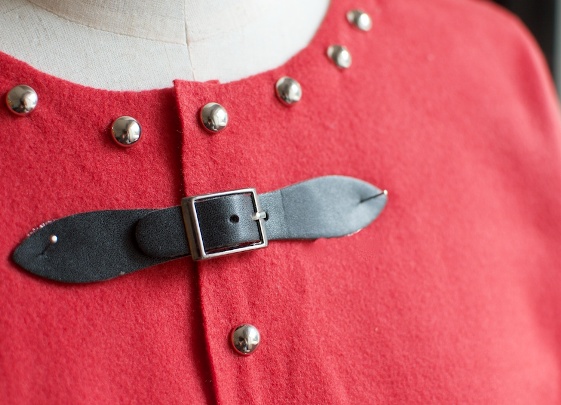
- Leather fasteners of fasteners are smeared with glue and pressed to the front bar of our workpiece.
- We cut holes on the sides for our hands and our cape is ready!
Master class number 2: women's cape with a hood
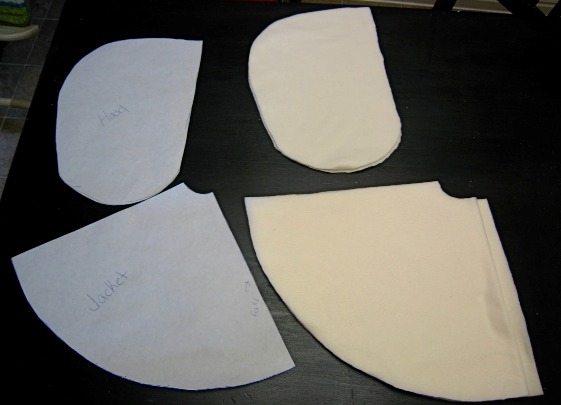
If you want to make a cape on your shoulders with a hood with your own hands, then you will need simple patterns.
You will need:
- hood patterns and details of the cape;
- white fleece;
- multi-colored lining fabric;
- elastic;
- buttons;
- sewing accessories.
- We cut out two details of the cape from the folded white fleece by patterns, and from the single - 2 pieces of the hood. From the lining we cut out the same number.
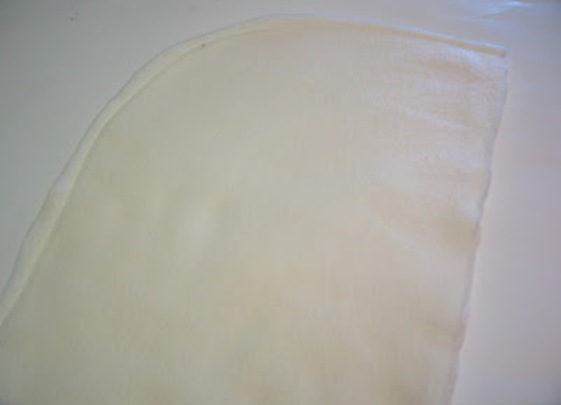
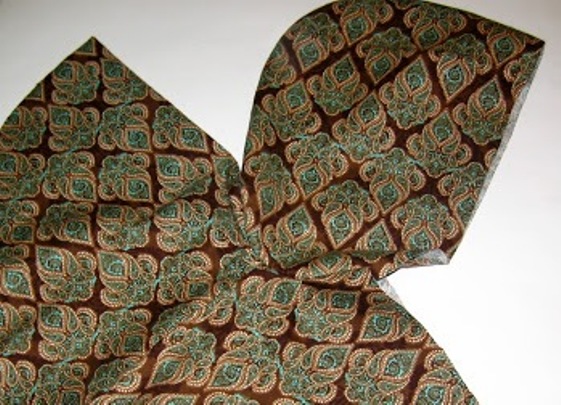
- We fold the details of the hood on the sides and sew on the rounded part.
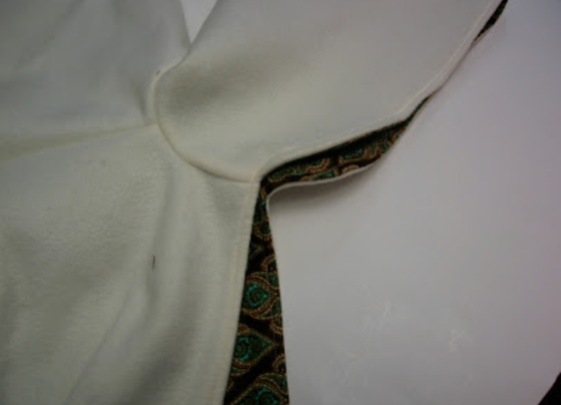
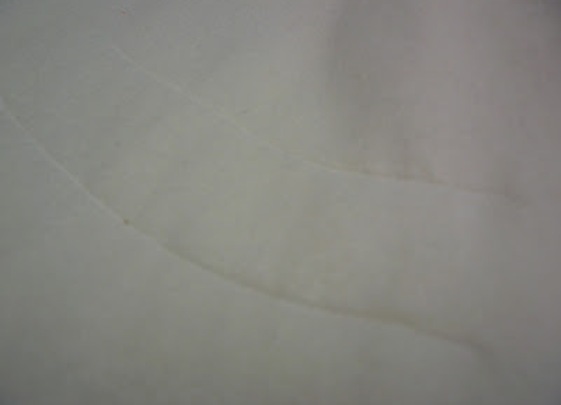
- The details of the cape itself are sewn along the flat edges and cut the front half in half.
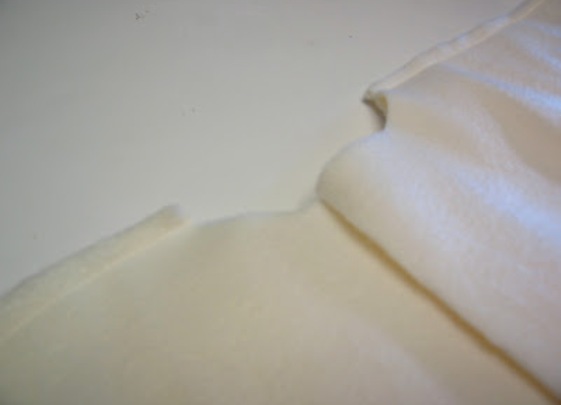
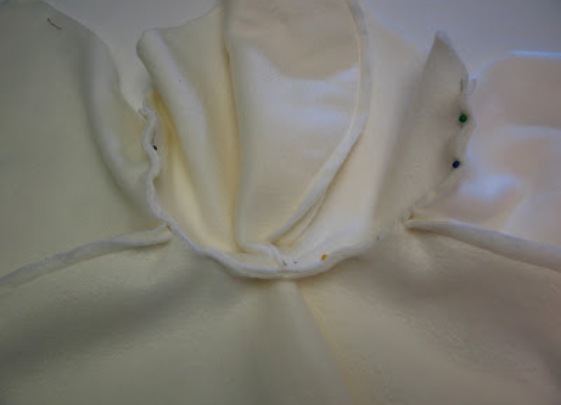
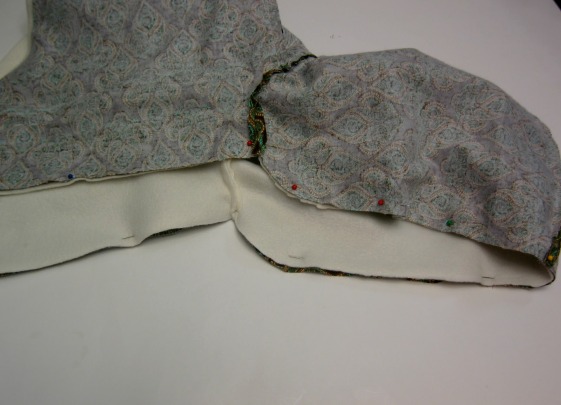
- We connect the fleece billets of the hood and the cloaks to each other.
- The same is done with the details of the lining fabric.
- Fold the blanks with the front sides and spend them on the edge of the hood and the front slats, having deviated from it by 3-5 mm. After that, we turn inside out.
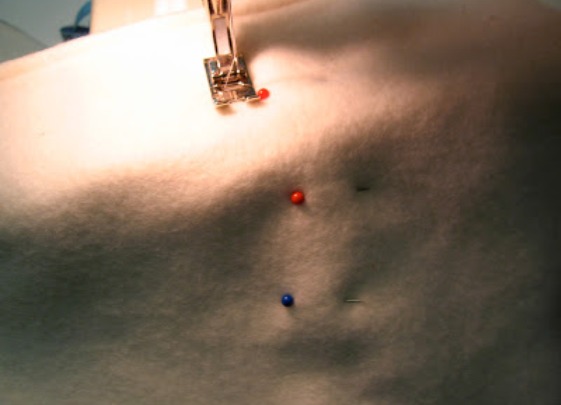
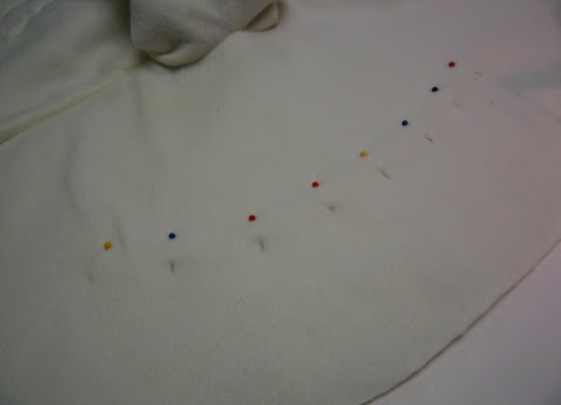
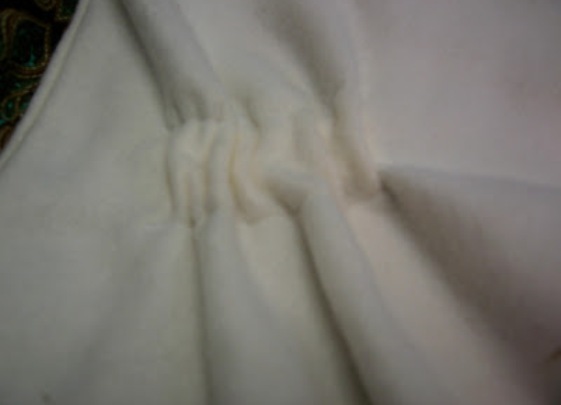
- We measure out half the length of the front bar, pinned the stretched elastic band to the resulting line, secure it with pins and spread it from two sides.
- We do the same on the other side.
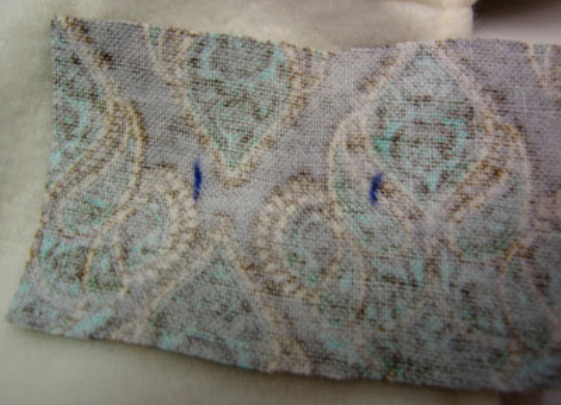
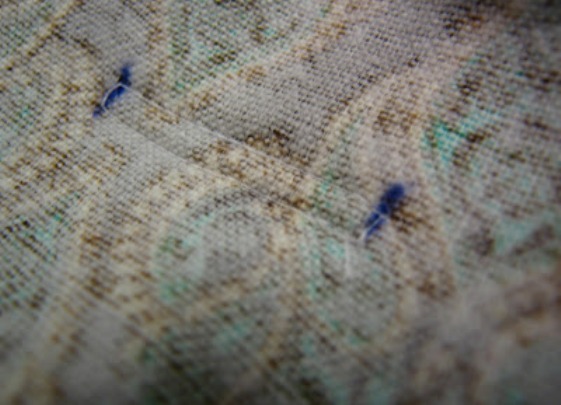
- To process a loop, we cut out a rectangle from the lining fabric. We mark the size of the button on it, we lay out a rectangle 3 mm wide.
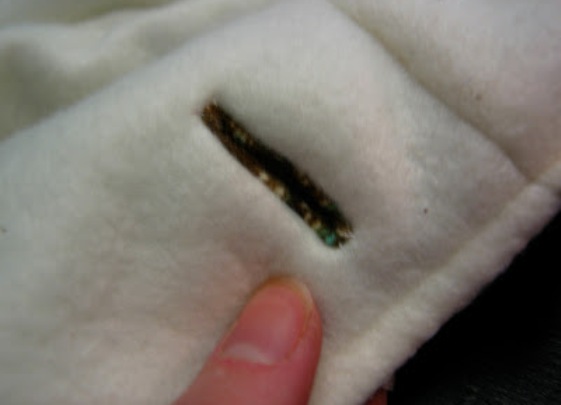
- Cut through the hole between the lines and turn the fabric inside out. We spend it around the edges so that it does not hang out.
- We spend on the bottom edge of the upper fabric with a lining and our cape is ready.
Subscribe to receive the best articles on Facebook
I already like Close