Toys made of wood are not only environmentally friendly, but also durable enough when compared with plastic ones. In addition, kids often treat toys, to put it mildly, inaccurately. And if broken plastic parts often cause cuts, then with wooden toys this does not happen.
Having a small hand-saw or a jig saw at home, you can easily do your own for your child a variety of wooden toys. Brusochki and plaques, paint and varnish - that's all you need to make your own hands wooden children's toys.
For the youngest
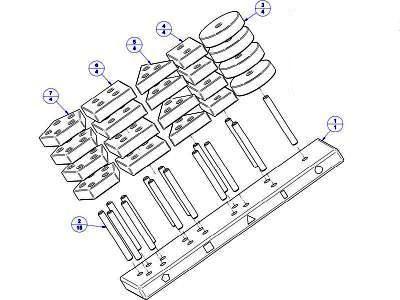
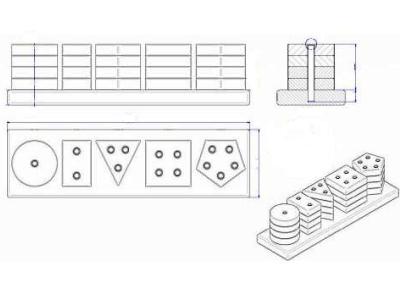
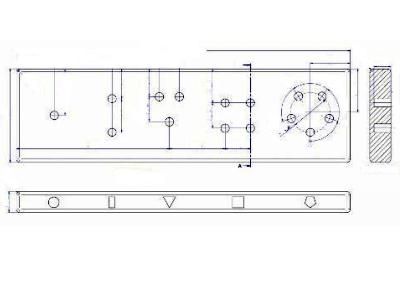
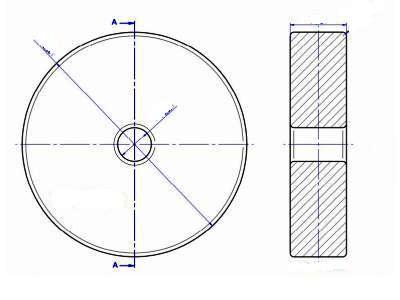
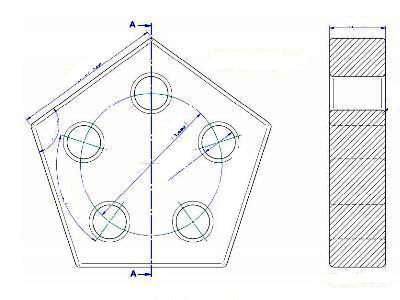
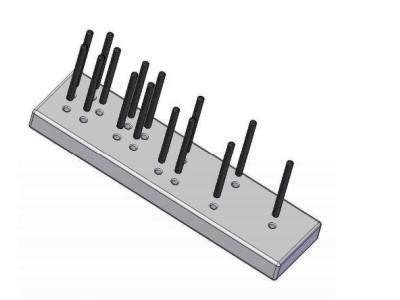
Wooden educational toys made with their own hands, will be very handy, if the house has a kid between the ages of one to two years. Varied sorters can be considered the most useful for the development of toys, because with their help the child learns both the shapes of objects and their colors . In addition, crumb has to solve such difficult for his age tasks, like sorting shapes in shape and color. We offer a master class on the creation of a developing wooden toy with our own hands with detailed drawings.
We will need:
- wooden bars 2 cm wide;
- ruler;
- compass;
- pencil;
- sandpaper;
- paint.
- Manufacture of a wooden toy with your own hands, start with the preparation of drawings. Choose the size of the toy at will. Then cut out all the details of the sorter, try them on, pushing them onto the supports. Sand with sandpaper.
- But how to decorate a wooden toy is up to you. You can open the parts and the base with a clear varnish or paint in different colors, which is preferable. But do not forget that all paint and varnish materials should be harmless to the health of the baby, because he will touch the toy not only with his hands.
| | |
| | |
| | |
| | |
| | |
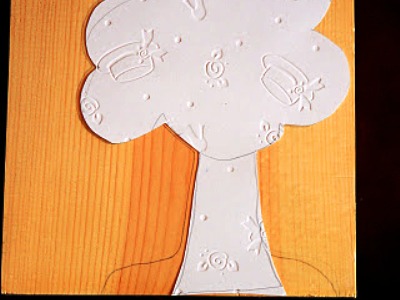
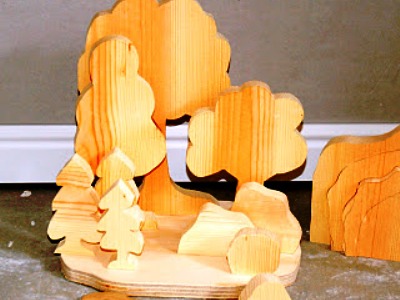
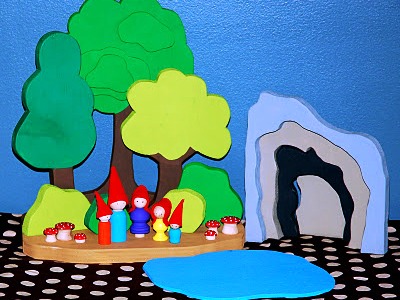
Fairy Forest
If you do not quite understand how to make a wooden toy according to the drawings, and bother calculating there is neither time nor desire, give the child a fascinating but simple to make toy.
We will need:
- wooden planks of any thickness and size;
- paper;
- a jigsaw;
- pencil;
- paints.
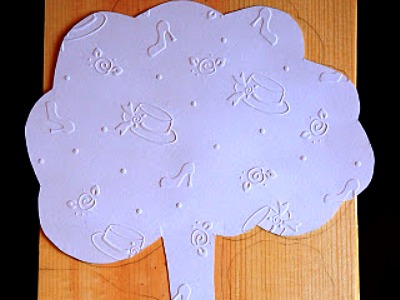
- Draw on the paper a few trees and bushes, cut out shapes. Then transfer the templates to the plates and circle them around the contour. On one board you can place several figures to save material. Boards of small thickness are suitable for cutting small twigs. Do not forget to make the foundations of all the wooden figures extended to the bottom. This is necessary for the subsequent assembly of the toy composition.
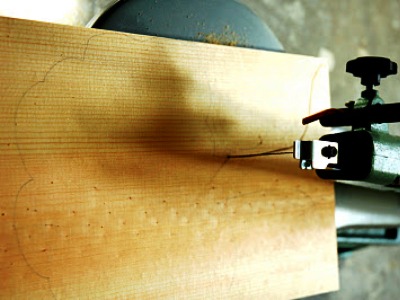
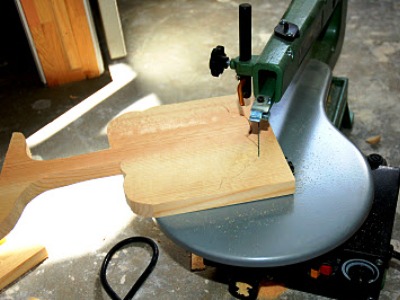
- Now proceed to carve the figures. Do not forget about safety, safety glasses will not hurt! It is also necessary to cut out the base stand. Its shape can be anything. For this purpose, you need to use the largest plate.
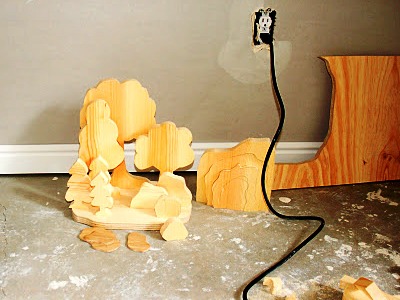
- Make in the stand oblong indentations for figurines. Make sure that all trees and bushes of wood are kept in grooves firmly. After that, proceed to polishing the parts. If you do not have a small grinding wheel, use fine-grained sandpaper. Now you can decorate the toy, making it bright and attractive for the baby. Color the trees and bushes in the appropriate colors, place in the resulting fairy-tale forest figures of animals and little men. From the remnants of boards you can cut a small lake, rocks and even whole mountain ranges!
| | | |
| | | |
| | | |
Your baby will not be able to resist the new toy, which is made for him with great love!