Thick and soft cat Tilda will be a great surprise for the child. For the first time, masters advise using fleece for work. The material is very soft and the edges do not crumble. In addition, the hairiness makes it possible to cover the flaws of the seams, which will prevent the use of flax or cotton. If the cotton should be ironed after the stitching, then when working with fleece it will not be necessary.
Flying cat tilde
Here is a step-by-step master class that will tell how to sew a flying cat tilde:
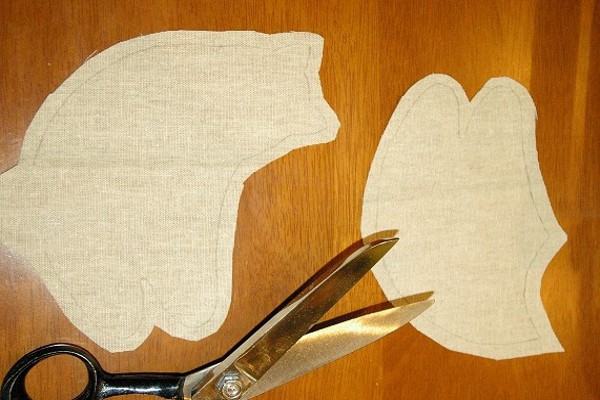
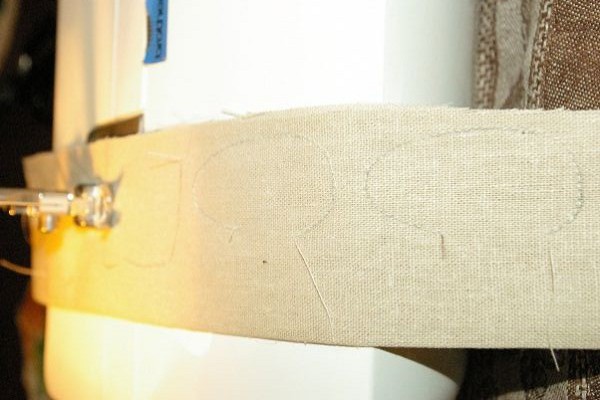
1. Before sewing a cat tilde, you should prepare all the details from paper or a dense picture. The shape of the flying cat Tilda is first printed on paper, and then cut out and applied to the fabric.
2. Fold the fabric in half with the front side inward. The shape of the flying Tilda cat consists of legs, head and tail. We put paper and circle. Important point: the details of the back and tummy should be directed in different directions.
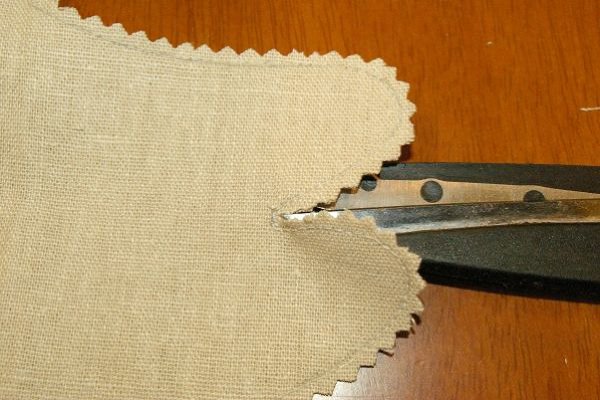
3. Cut out the details and leave the allowances on the seams. It is better to cut the small parts first, and then cut them out. In the places where you will turn out on the front of the part, it is better to leave the allowance more.
| | |
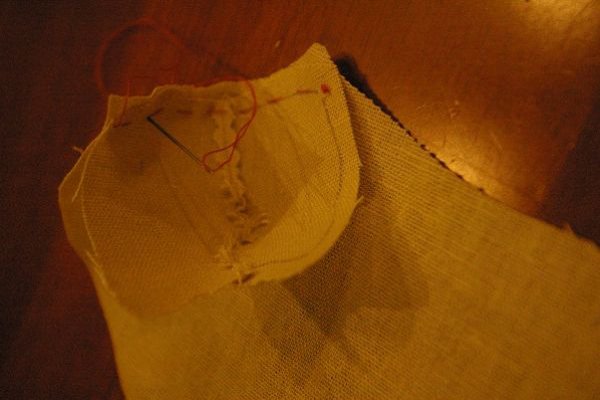
4. Punch the paws, tail, leaving holes for eversion. On the head of the cat Tilda, we sew only the line from the forehead to the chin.
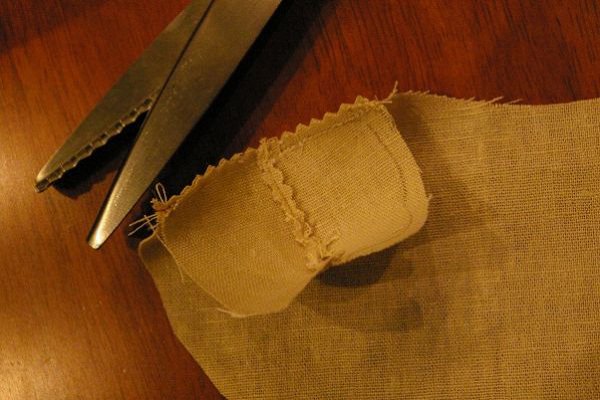
5. The stitched parts can be cut. Ideally, you need to use zigzag scissors, but you can use conventional ones, allowances should be at least 0.5 cm. In the fillet points, make small vertical incisions.
6. Face sides inside we add details of a tummy and a head, we sweep and we spend on the machine. Excess cut.
| | |
7. Now face inward, fold the backrest and the front part. Stitching, leaving a place under the eversion.
8. With the allowances we cut off excess fabric, in the fillets we make cuts.
| | |
9. At the points of convergence of the legs and at the base of the ears, it is necessary to cut the incisions. If this is not done, after turning out the fabric in these places will frown.
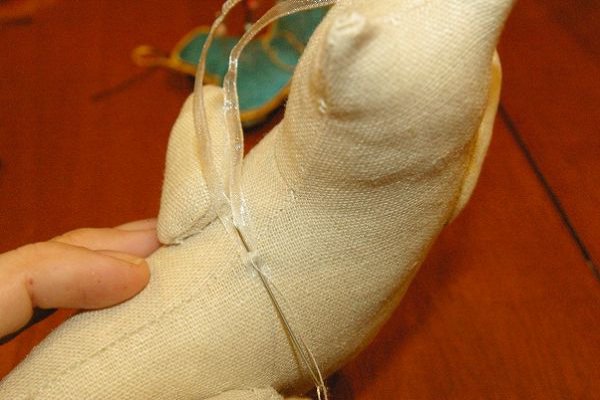
10. We turn everything and make a notch on the end of the part to insert the wand.
11. With this wand it is convenient to turn out small parts and smooth the seams from the inside.
12. Here's what our procurement looks like:
13. Using a stick, push the filler into small parts and compact it.
14. After all the details are packed, you can collect the cat Tilda.
15. Places for eversion are carefully sewn with a hidden seam.
16. With this seam, sew the tail to the back.
17. Then we sew the feet to the trunk.
18. Sew the foot to the back.
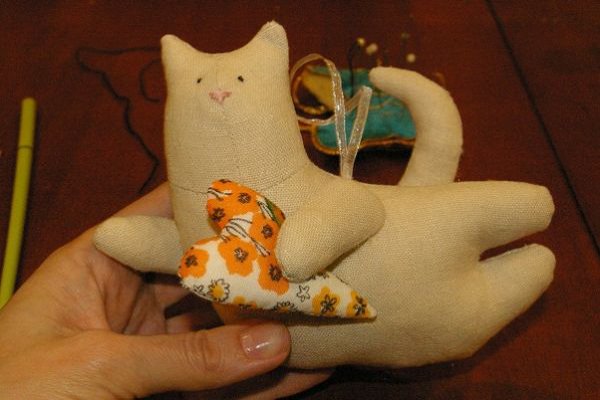
19. Using a pin, we plan a spout and eyes.
20. The nose is embroidered in the technique mulina smooth.
21. For the peephole take the thread of black in three layers. We introduce a needle through the vertex and make a small peephole, fix the thread with a small stitch. We make a French knot in 3-5 turns.
22. Embroider the second eye in the same way.
23. To the back we fix the ribbon and give the cat to the paws of the heart. All is ready.
| | |