Those who are madly in love with order in everything, including in the linen drawer of their closet, simply can not do without an organizer for linen, in which each thing occupies strictly its cell. In the master class, we show one of the options, how you can sew an organizer for laundry with their own hands.
How to make a linen organizer?
The first thing we do is remove the measurements from the box in which the underwear will be stored, to build the pattern of the organizer. We got the dimensions of the box 75 cm in length, 43 cm in width and 13 cm in height.
In order to sew an organizer for clothes, we need this:
- blue thick fabric;
- a more delicate cloth of variegated coloring;
- sintepon;
- white wide braid for edges.
Now we are going to make the organizer for linen.
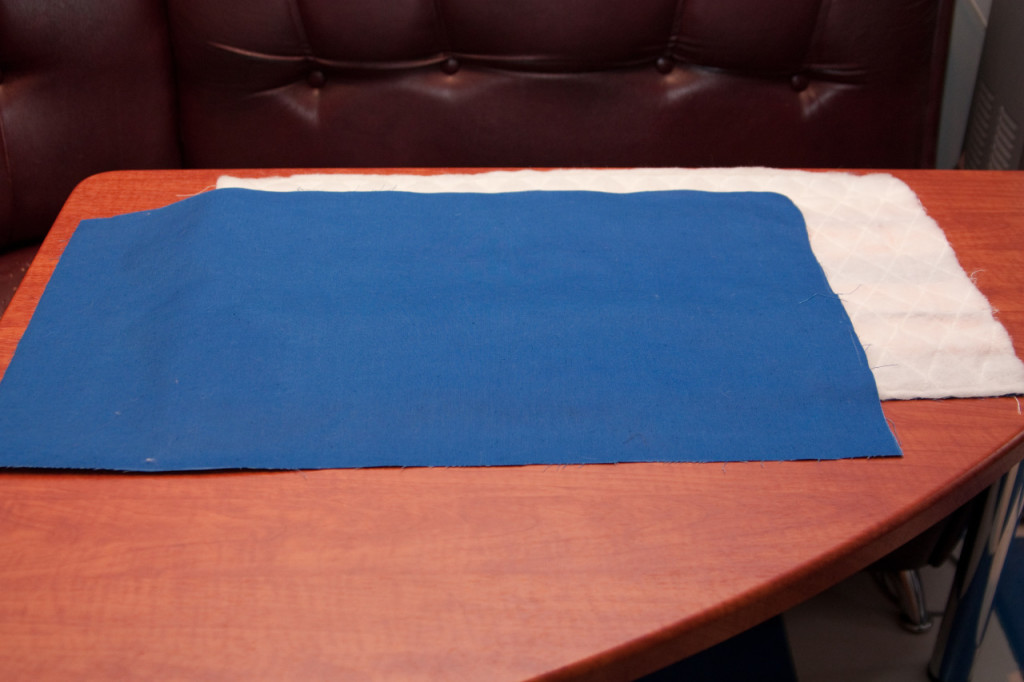
- From the synthon and blue dense fabric, we cut out two rectangles that are slightly smaller than the dimensions of the box. We made a cut of 74 cm in length and 42 in width, so that the organizer is not deformed.
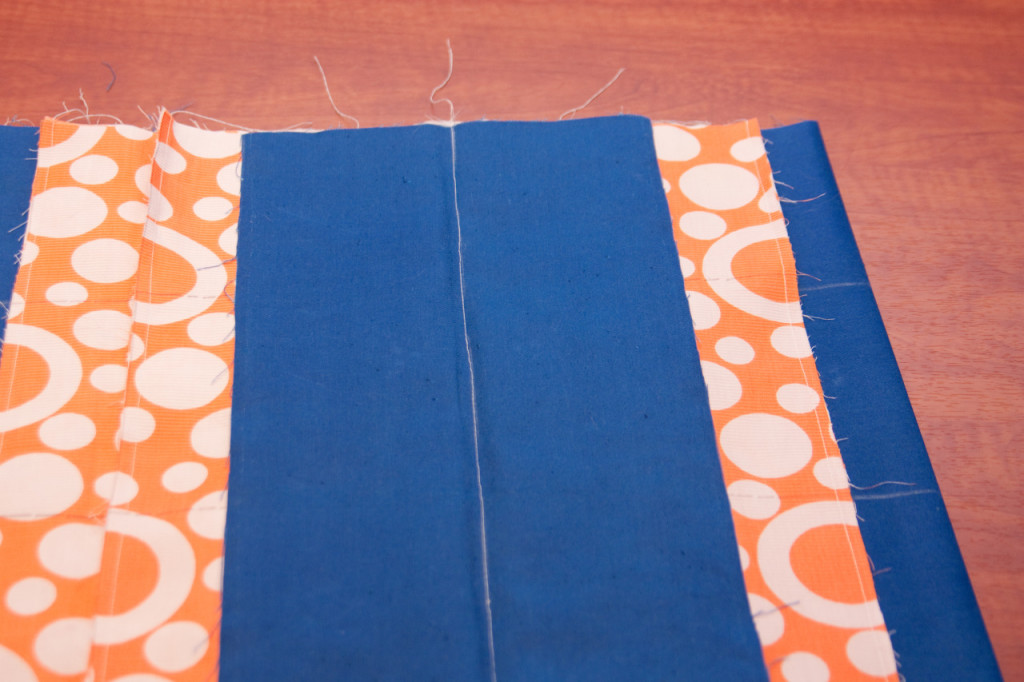
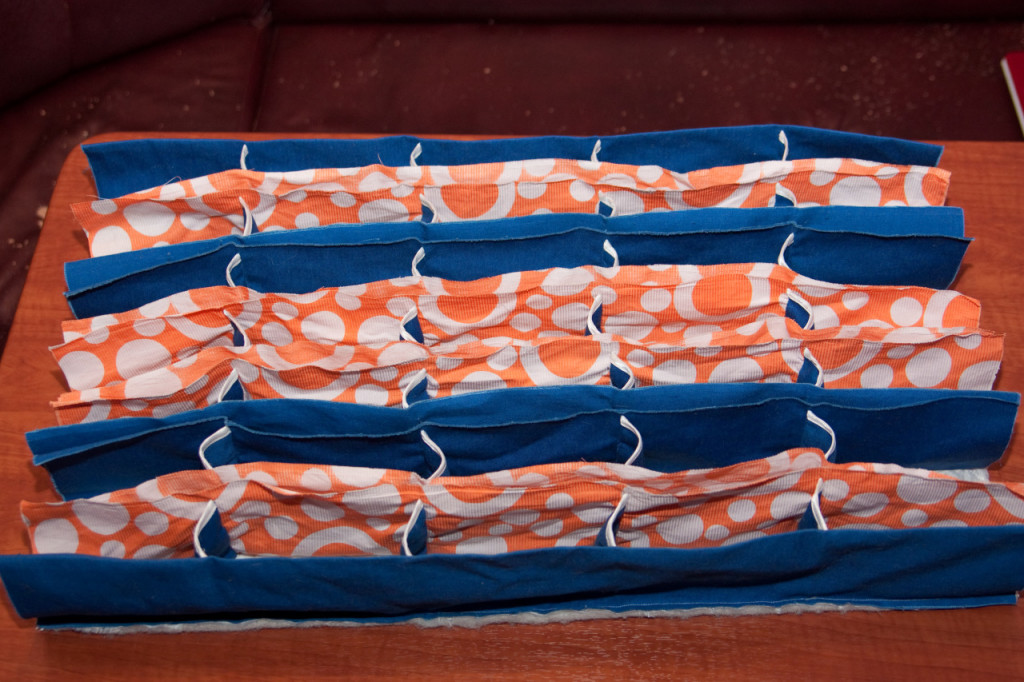
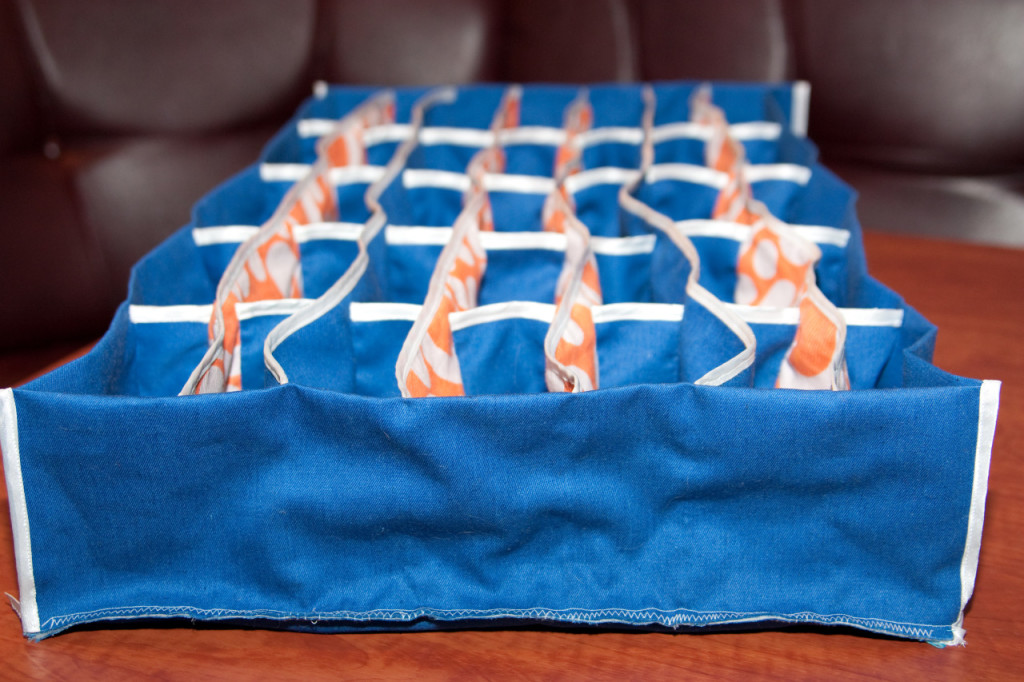
- On the Sintepon rectangle we sew long rectangles of two colors. The length of the rectangles should be equal to the base, the width of the same - to the double height of the box. This will be the longitudinal partitions of the organizer for the laundry.
- Sew the rectangles in the middle, then add them together so that the seam is inside, and we have a double septum.
- Determine the length and number of cells organizer for linen, draw the workpiece.
- When we apply large rectangular partitions, we leave unprotected edges for 1 - 1.5 cm, we will need this later.
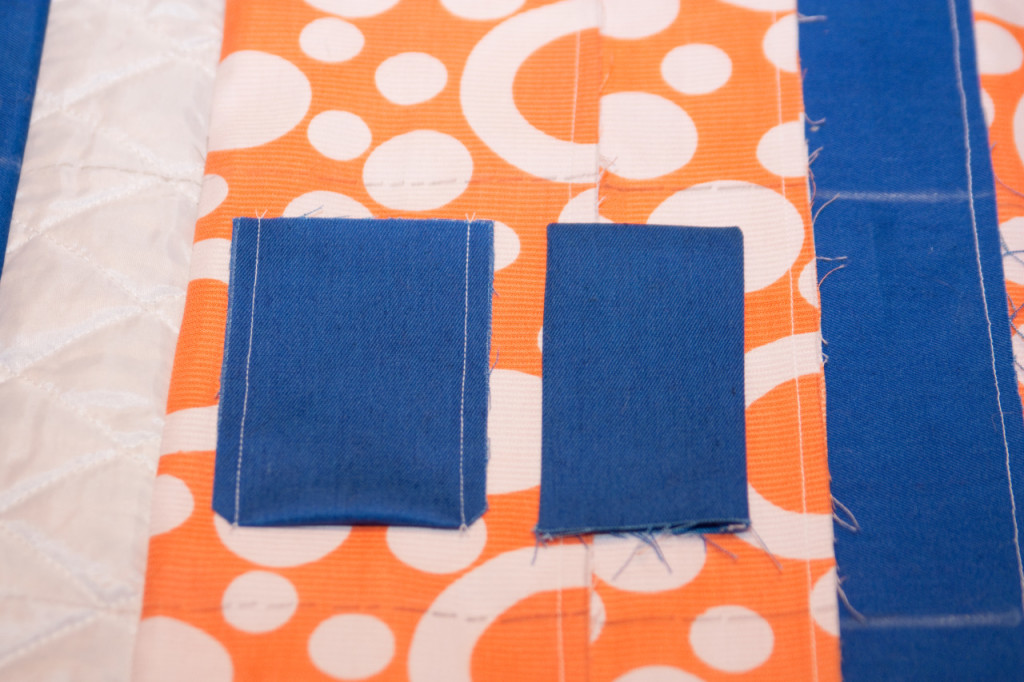
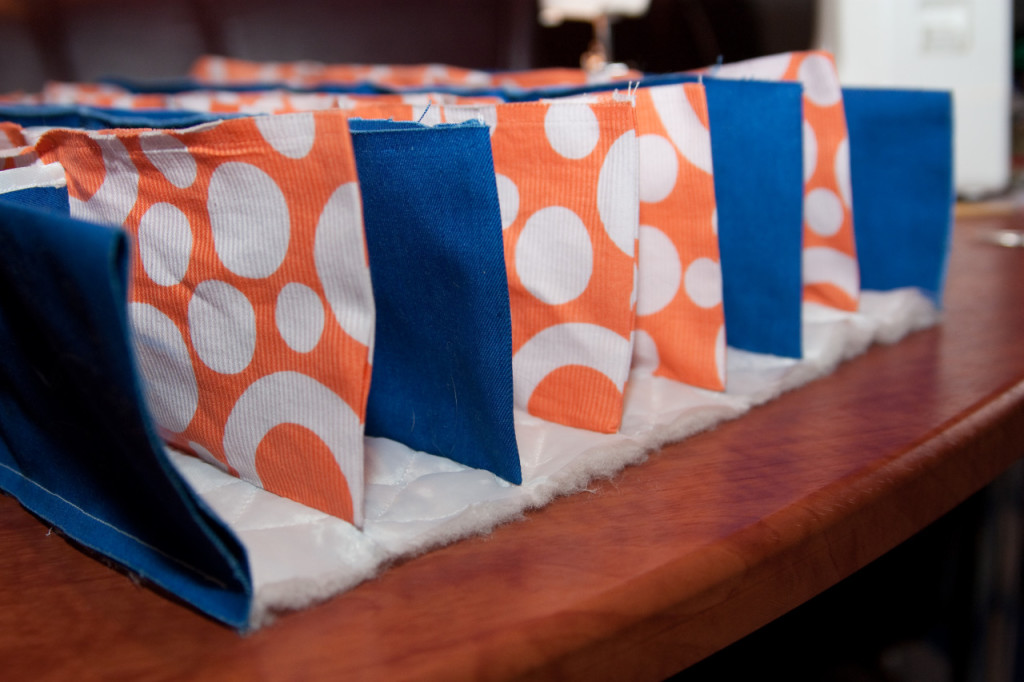
- Now let's deal with small partitions. We calculate their sizes - we make the width with a margin in the form of allowances for seams, but the height, on the contrary, is slightly less.
- In order for the partitions to be stable, we make them of a double fabric. So, we sew all the partitions and turn them to the front side.
- It is time for the most painstaking work - in turn we sew each small partition from one side and the other. We advise doing this manually.
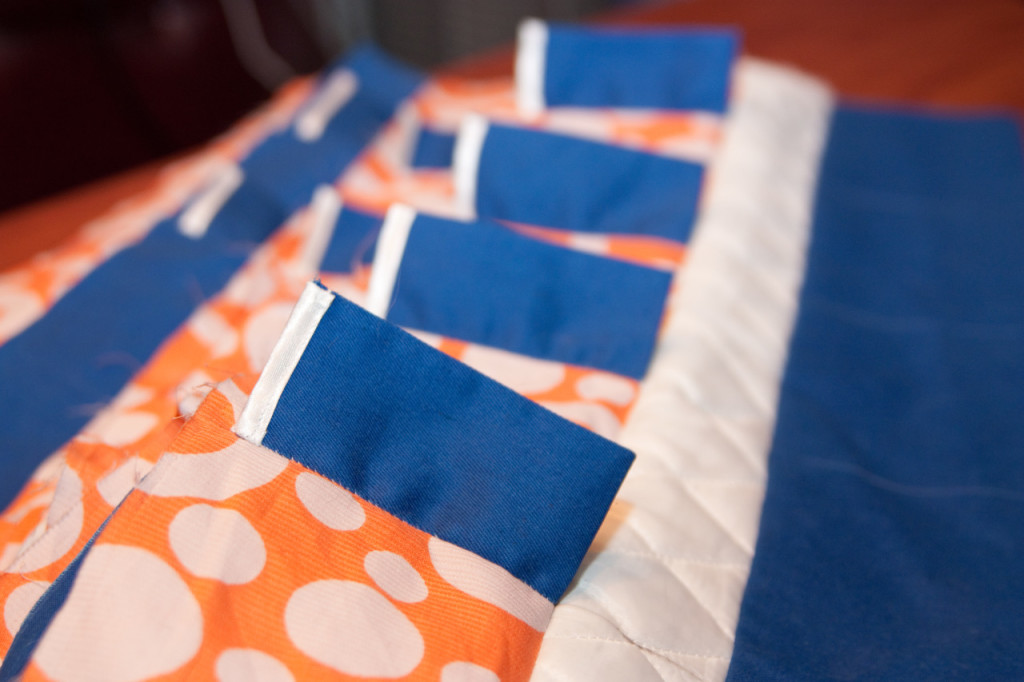
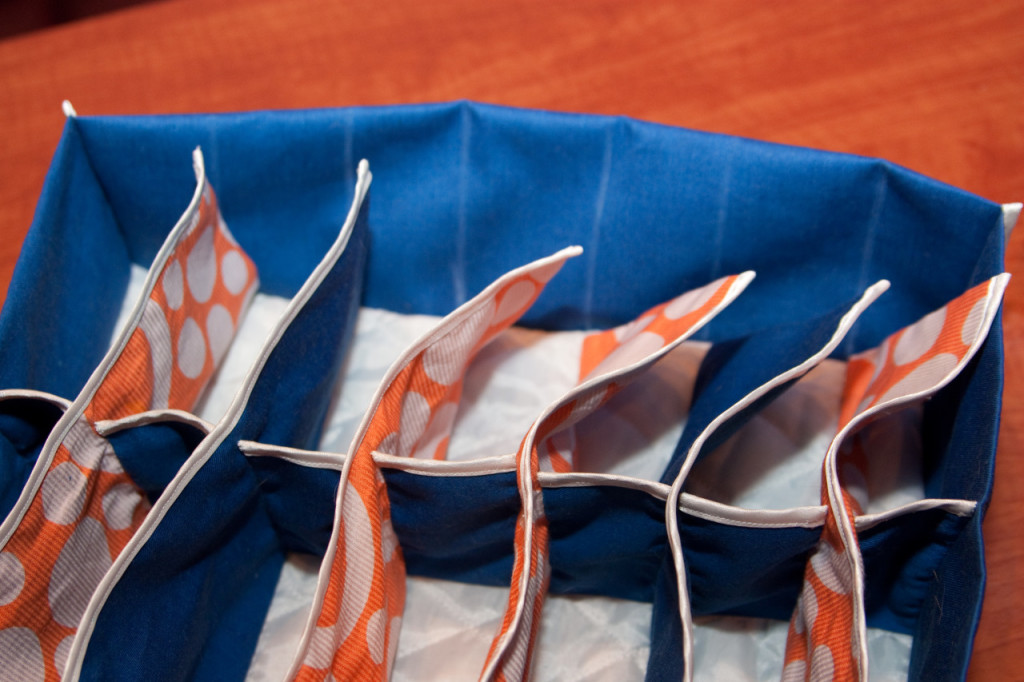
- And now back to the unshielded edges of the long partitions. Sew the two halves, steal, hide the seam inside and again stitch.
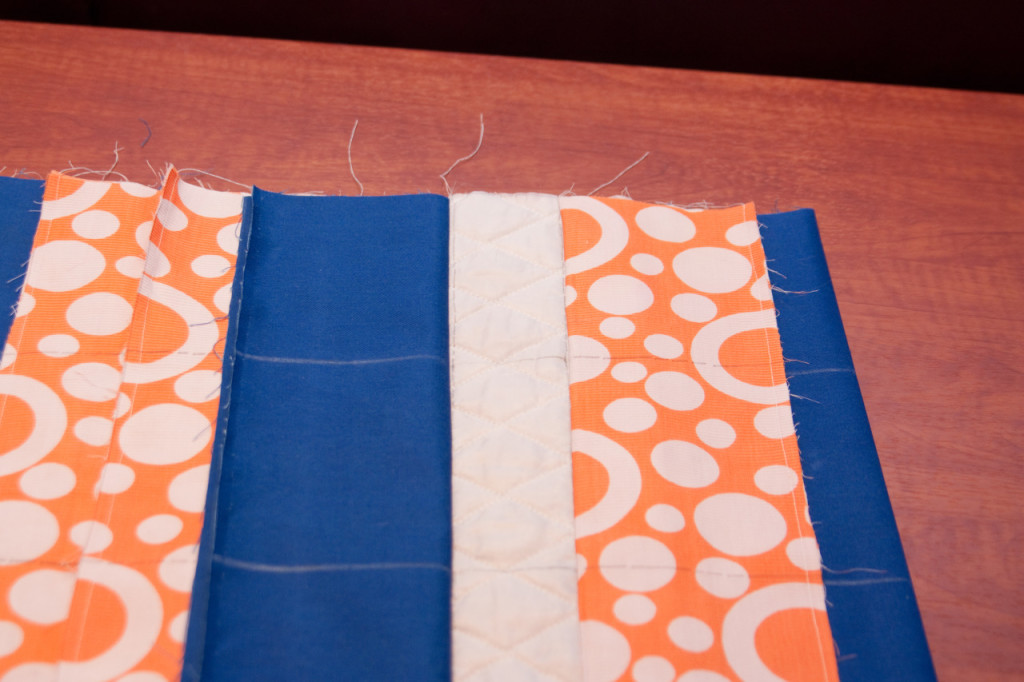
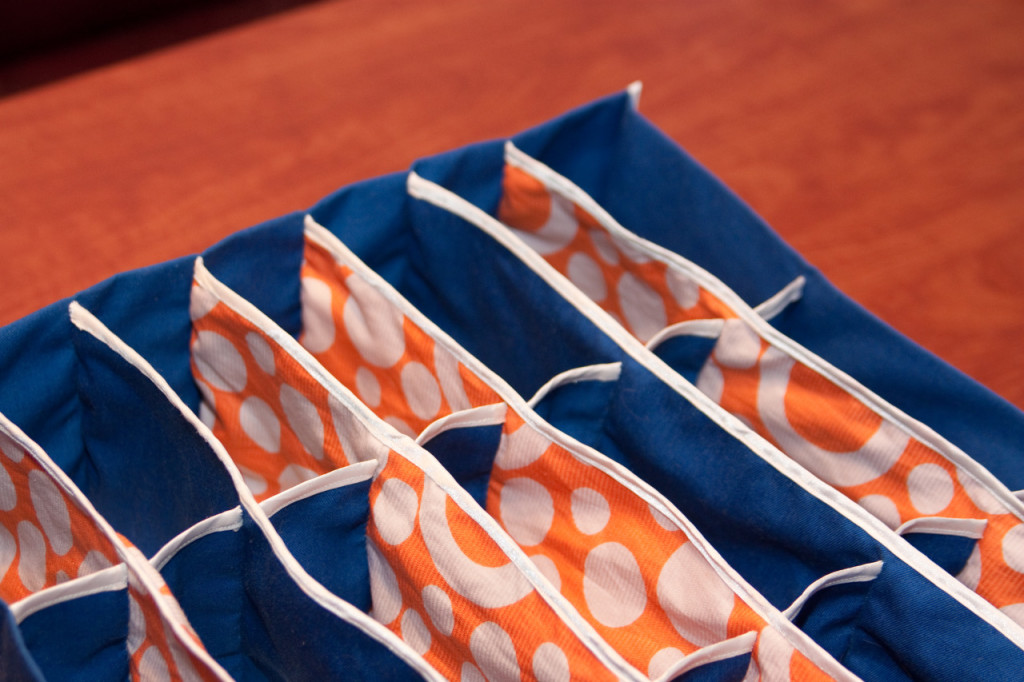
- The top of the short and long partitions will be edged with a wide white braid.
- Now we can sew around the perimeter of the future organizer basic rectangular walls.
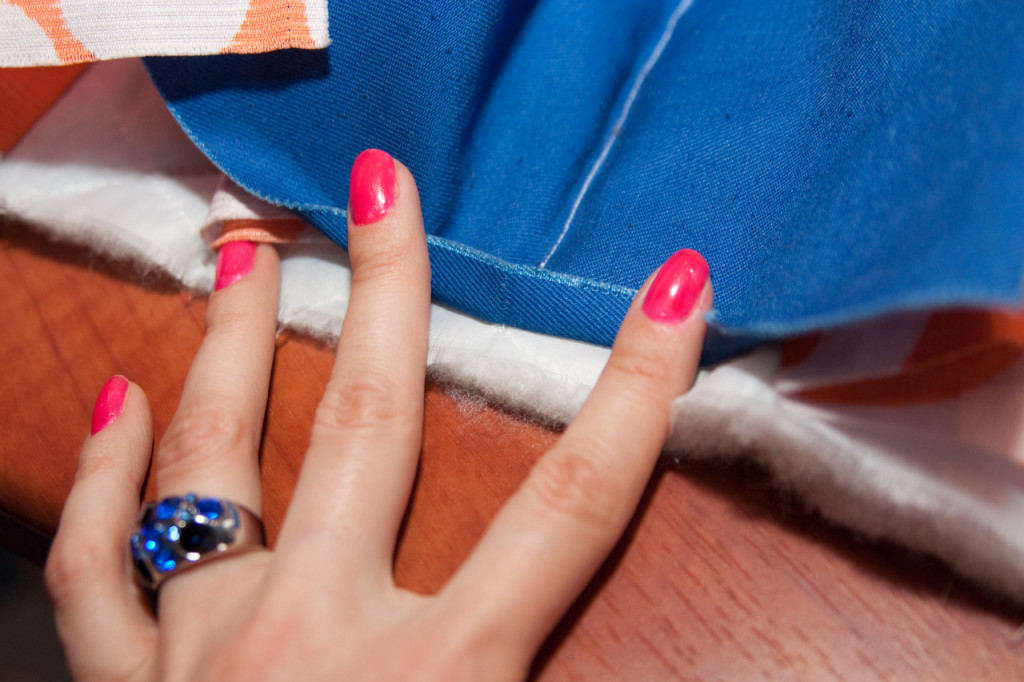
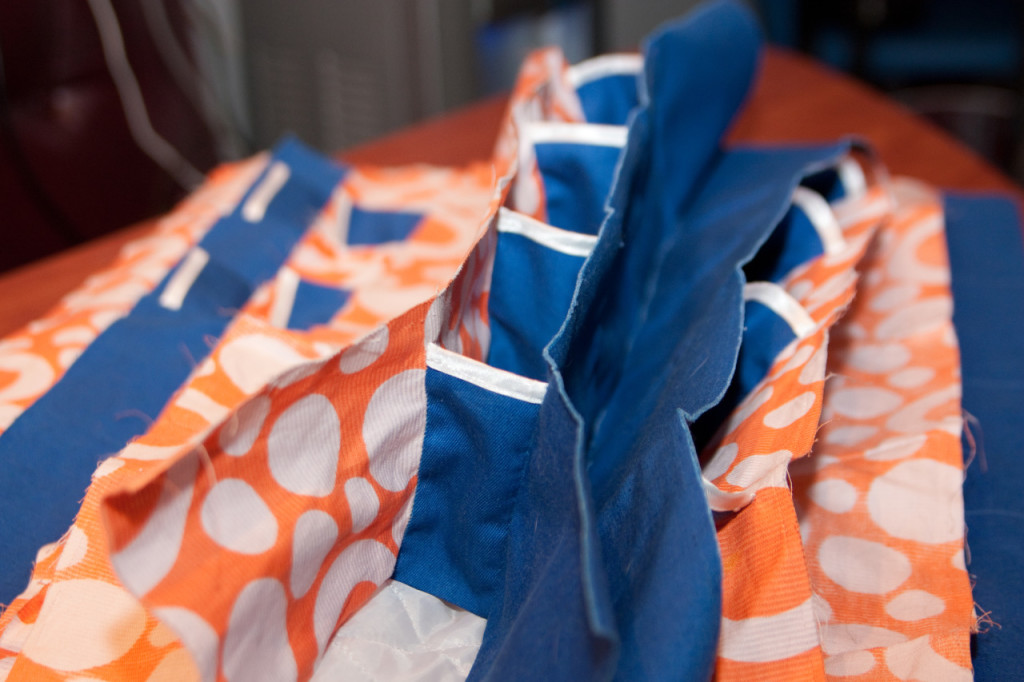
- Then we sew the edges of the long partitions to the side walls, it is advisable to do it manually - it will be both more accurate and easier.
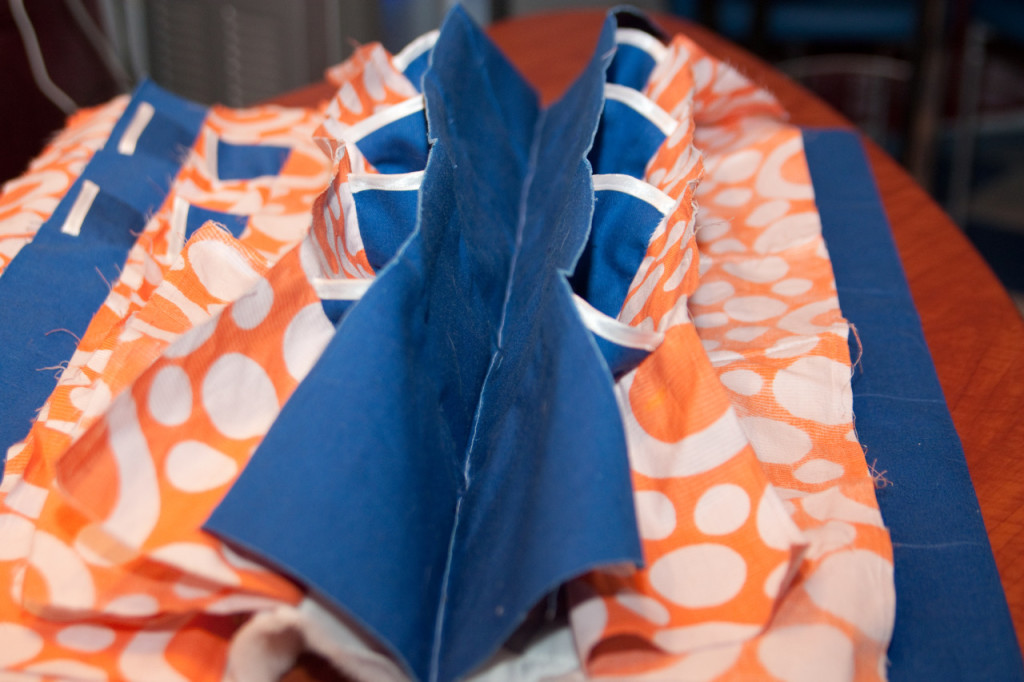
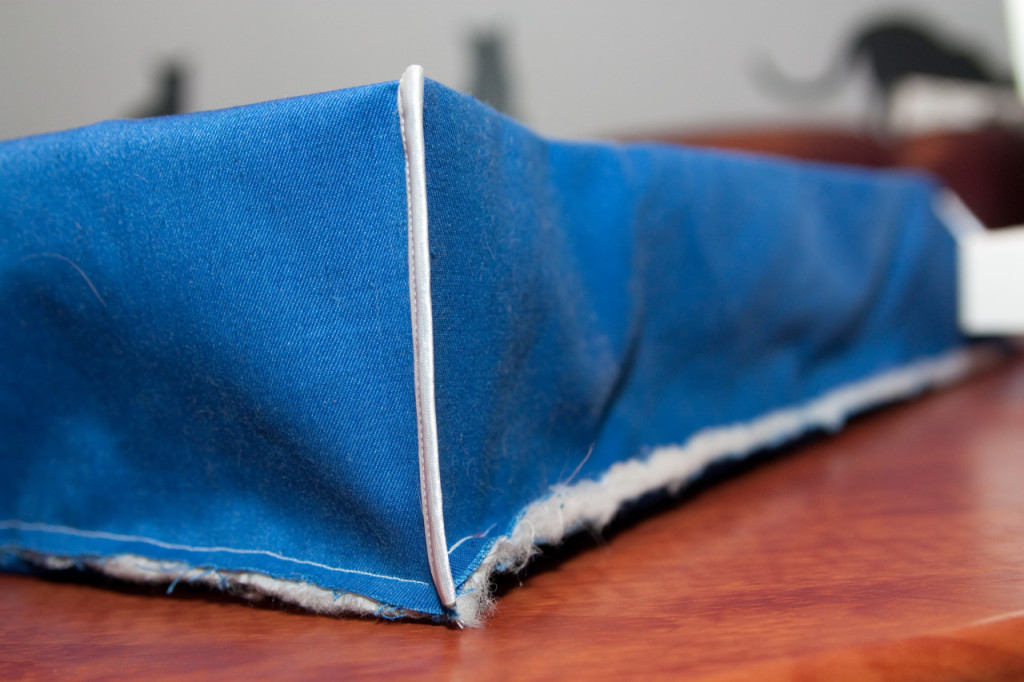
- Let's go to the outer corners of the organizer for the laundry. Flatten them in height, cut the protruding fabric, if any, and process the corner with a white ribbon. The same will be done with the other three corners.
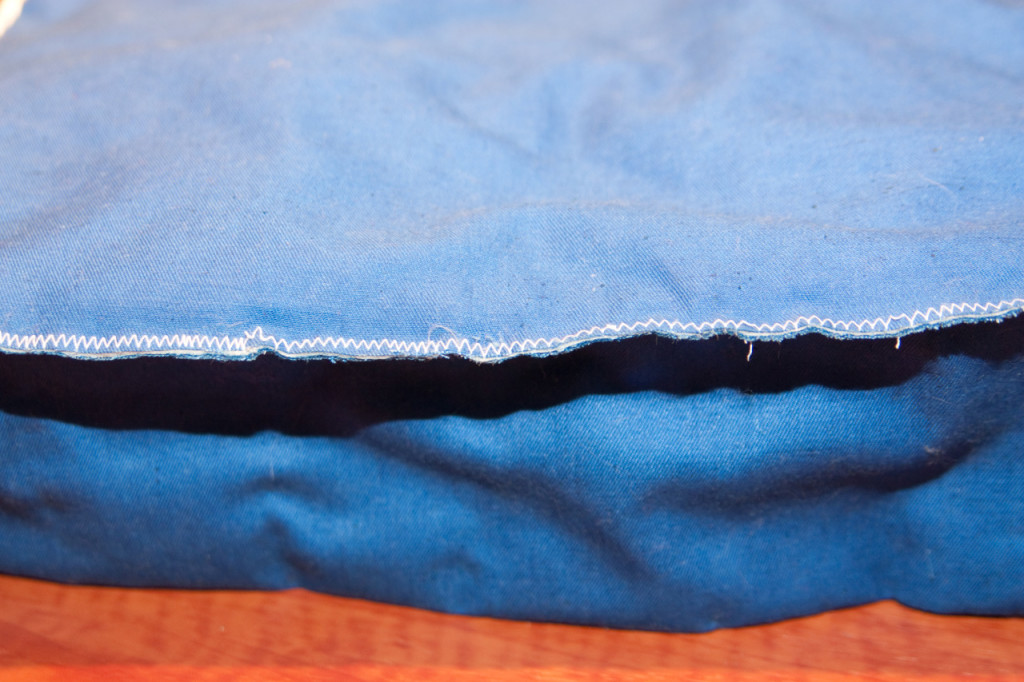
- And now, finally, back to the big blue rectangle, cut out and put off at the very beginning. This workpiece will be the bottom of our organizer for laundry. Gently weighed it to the sintepon along the perimeter of the future product. You can stitch any of the seams, we used a zigzag so that the threads from the slices did not interfere with the further work.
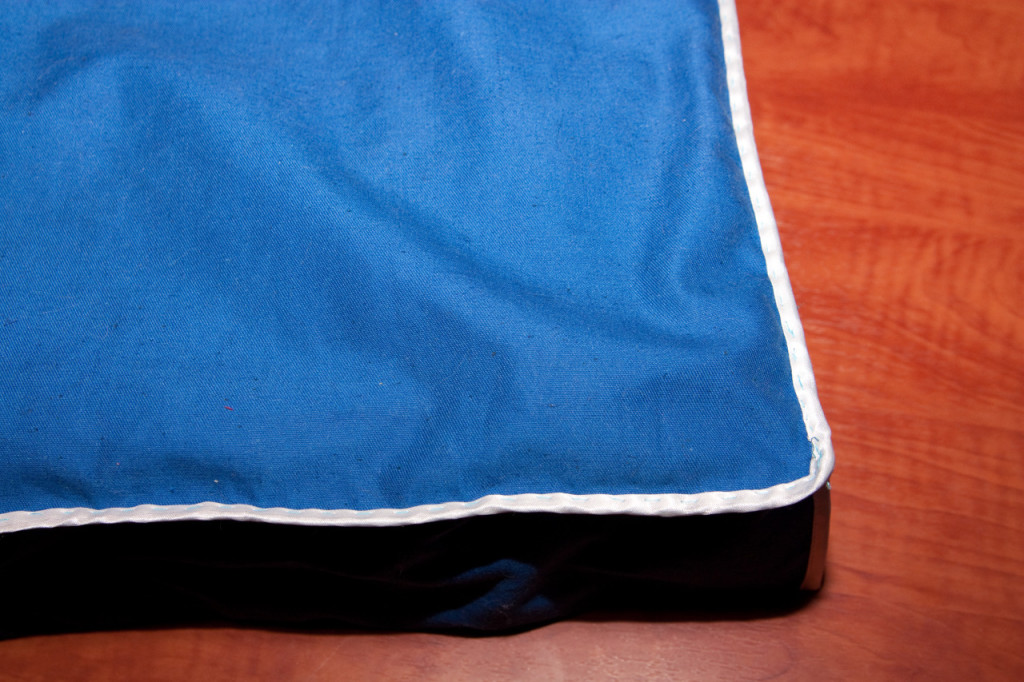
- Well, in the end we will process the edges of the already finished bottom with white tape. Previously, we sew the tape with a suture or pin, so that it settles evenly, we pay special attention to the corners - they are the hardest to work with. Making sure that the braid is beautifully and evenly, we attach it to the machine.
| | |
| | |
| | |
| | |
| | |
When you put order in your underwear, you can go to the organizer for a bag or jewelry .