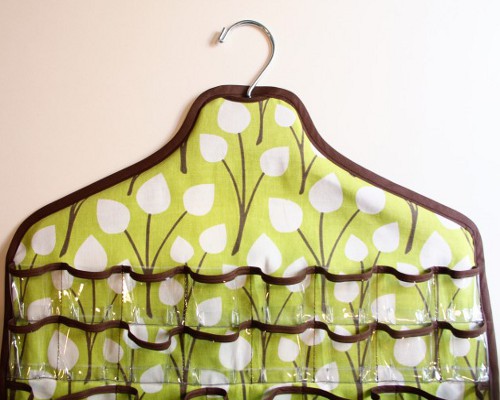
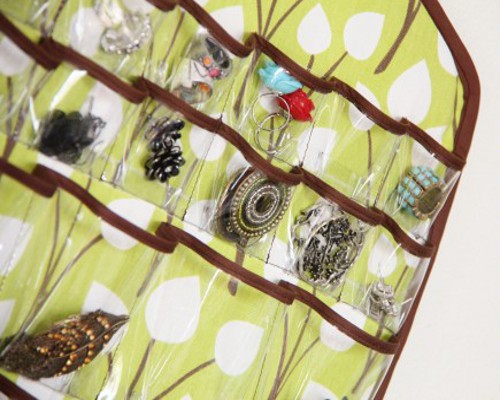
Sooner or later, in the life of every woman comes the time when you need to come up with a way to store jewelry. Today, a dress-organizer for storing ornaments became very fashionable. Outwardly it resembles a cover for clothes, so that you can easily hang it in the closet between your blouses. The dress-organizer for decorations is convenient in that you can see everything in transparent pockets and you will easily find beads or a brooch. In addition, it is made in the style of a small black dress from Chanel, which makes it not just a useful purchase, but also an ornament. We will try to sew a slightly different, but similar version.
Organizer for decoration with your own hands
We suggest you try to sew a similar version yourself. For work we will need:
- a strong coat rack;
- cut fabric (perfect for fabrics for interior, textured and chic);
- vinyl film;
- braid.
Now let's look at the step-by-step instructions on how to tailor the organizer for decorations with your own hands:
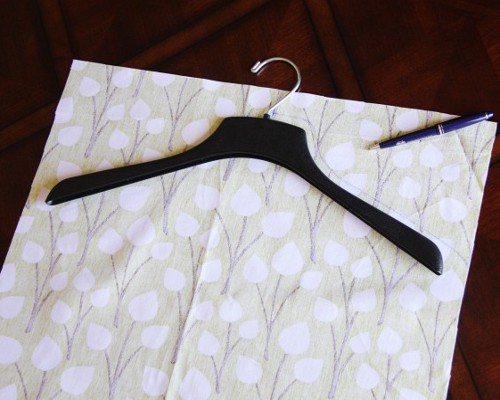
1. Measure the width of the hanger and add 5 cm to the allowances. This will be the width of our rectangle, choose the length at your discretion.
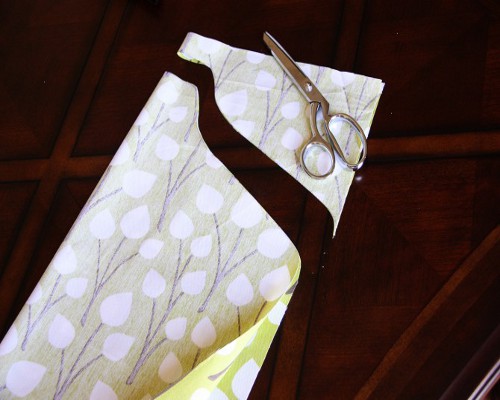
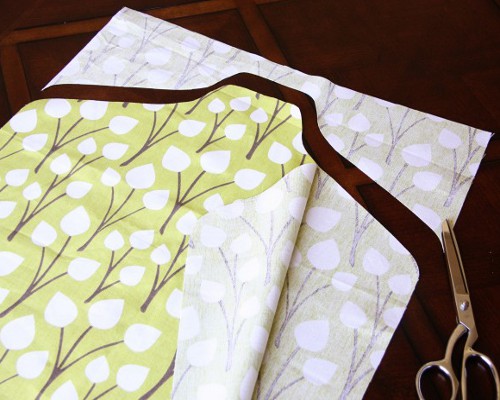
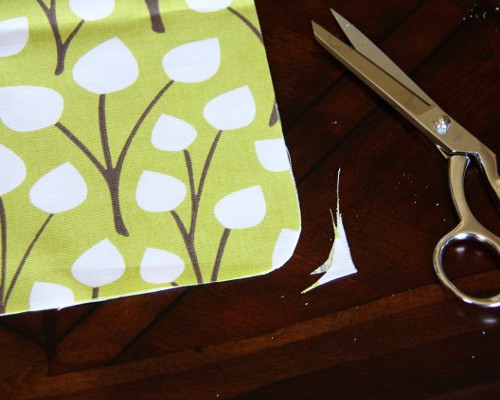
2. Fold the face of the inside of the rectangle. We put a coat rack and circle it. Do not forget to leave allowances on the seams. Then we cut everything out.
| | |
| | |
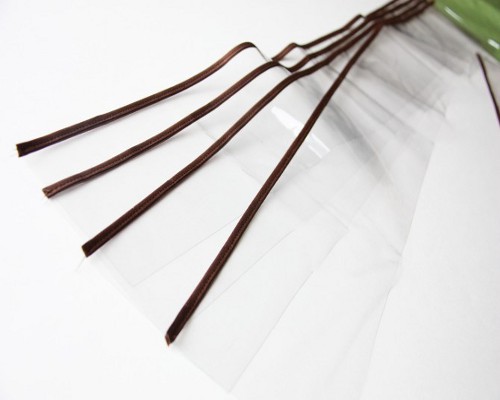
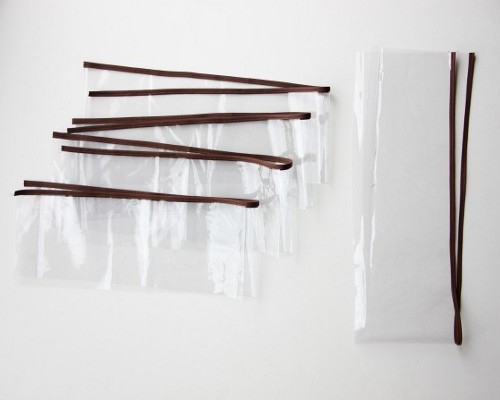
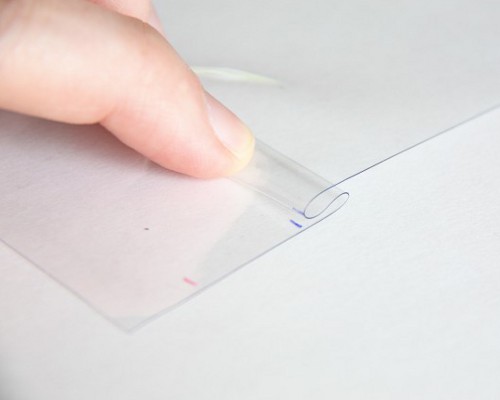
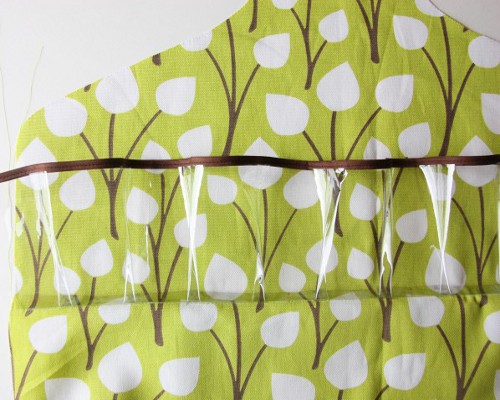
3. We cut vinyl strips of different width for different caliber of ornaments. The upper edge is treated with braid. In order to work on the machine, the presser foot is not lapped to the vinyl, just seal it with a matte tape.
| | |
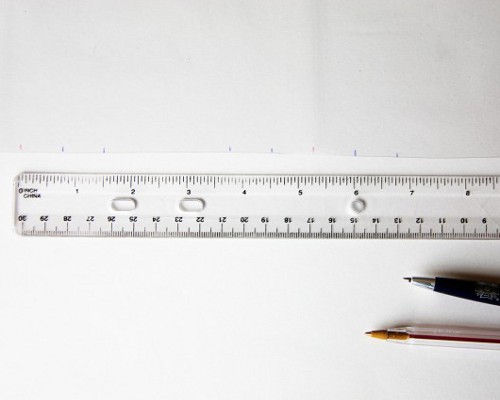
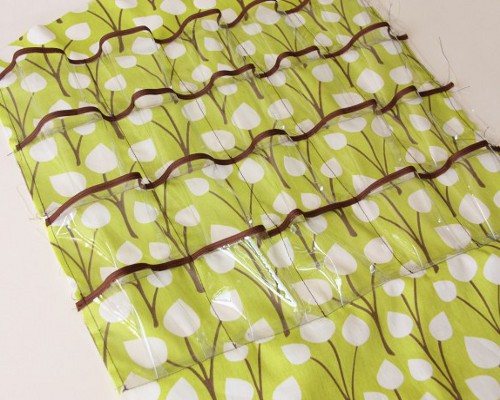
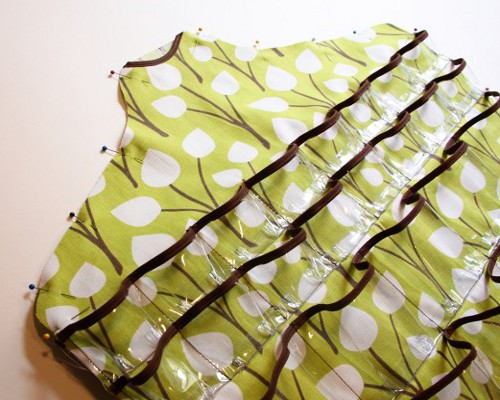
4. Now we allocate places under pockets. Chalk the lines of the line. The width between tiers is the width of the strips.
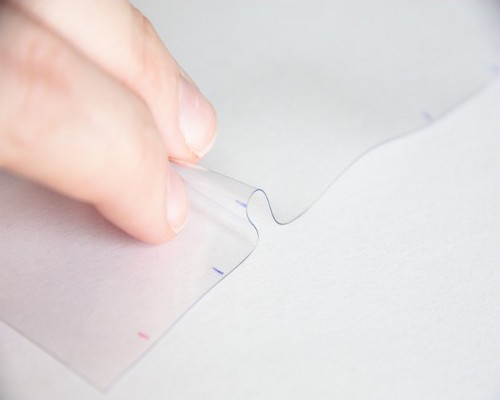
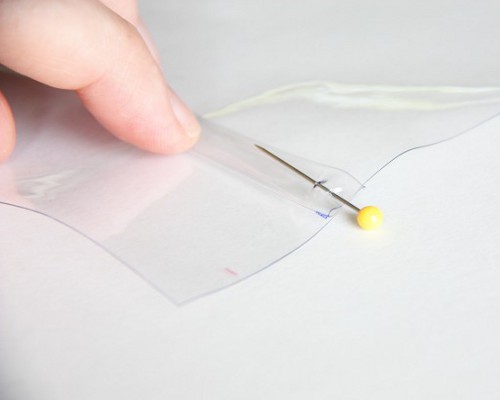
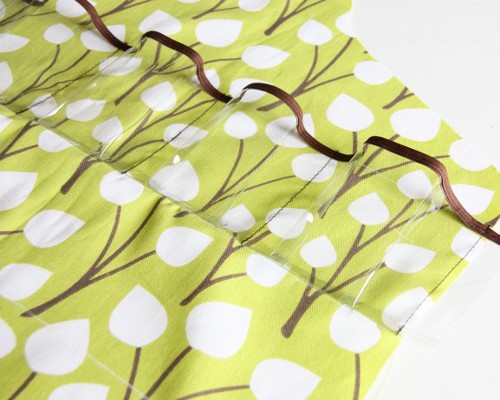
5. To make the pockets three-dimensional, you need to make folds on the sides. Marking is done in the following way: blue lines indicate fold lines, red lines - seams. Folds are done first left, then right. We fixed the bends with a needle. To prevent puncture marks on the finished product, the pin should be inserted no more than 5 mm from the edge.
| | |
| | |
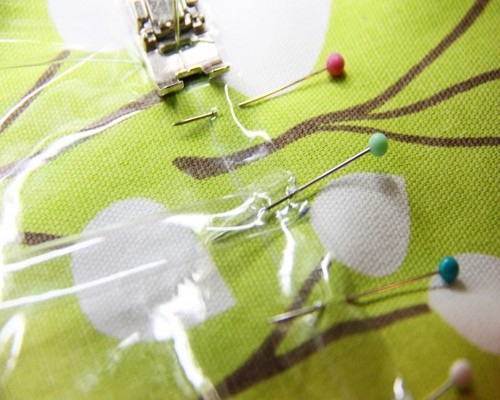
6. We prepare the billet to one of the halves of the fabric. Prikalyvaya face down. Then we add it and fold it upwards. On the red marks we spend the film to make pockets. Do the same with other strips of vinyl.
| | | |
| | | |
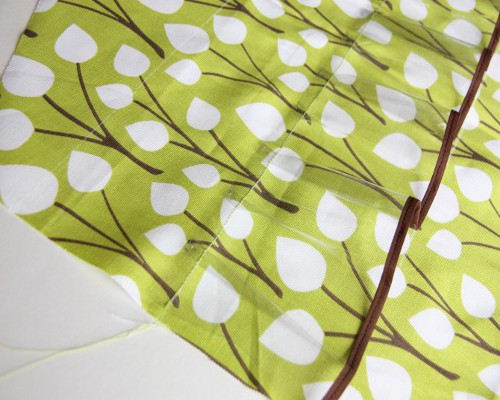
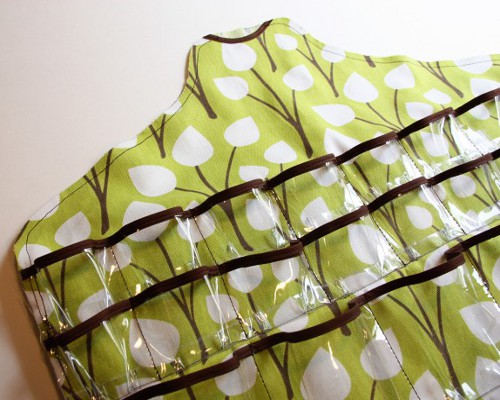
7. The following was obtained.
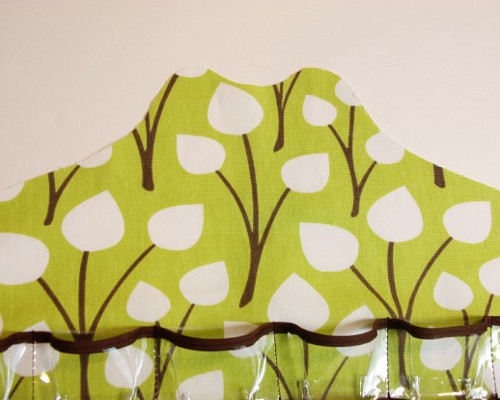
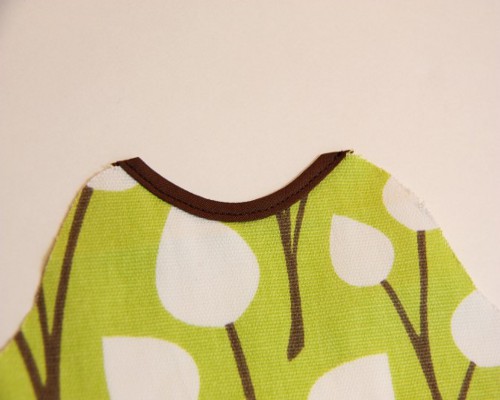
8. Now process the edges of the base. Make a small cutout in the neck and process it with a braid.
| | |
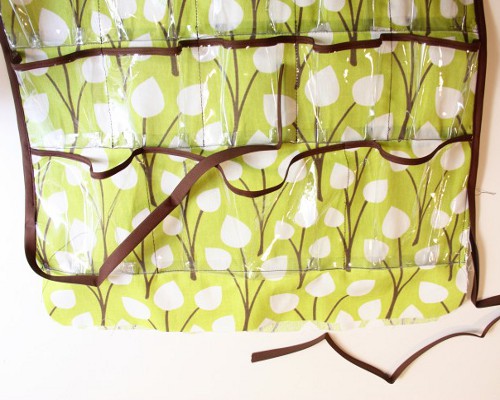
9. Now we collect our organizer for decorations. We combine the parts with faces facing outward and spread out. We leave only the bottom untouched.
| | |
10. We put in the hanger, and we lower the bottom. Now you can process the edge with a braid. Done!
| | |
| | |