Buy these you can in any store for newborns. But made by own hands will be exclusive. Such skirts can be made complete with a mattress for changing table or pillows. The crumb room will be stylish, made in one color scheme. We offer a simple step-by-step master of the class of manufacturing the rim in the crib.
How to sew boards for a crib?
First of all, you need to remove the dimensions of the cushions for a baby cot. Everything depends on the crib and your wishes. Along the long side, one or more sections can be made, fixed with ties or rings. Before you sew sidewalls on the crib, you need to determine and the location of the fasteners so that they do not sag. For this reason, it is not worthwhile to make strings only in the corners.
The height of the curbs in the baby cot is also completely individual. You can make the defense to the entire height of the sides or only half. In the finished version of the store, it is approximately 28-30 cm. After you determine the size of the curbs for a baby cot, you can calculate the consumption of cloth, knowing the width of the roll.
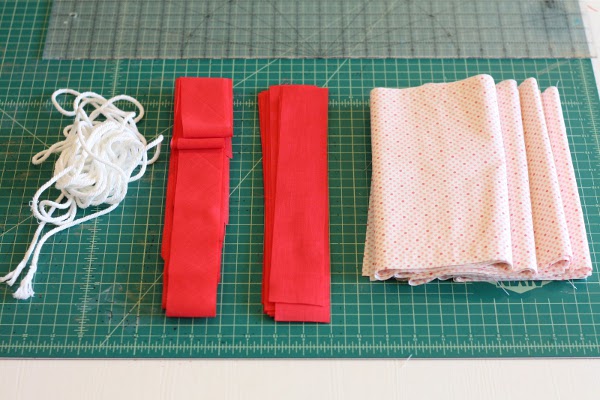
To sew boards for a crib, we will need the following materials and tools:
- the basic fabric;
- fabric for perimeter edge;
- filler type synthon;
- cord;
- standard sewing accessories.
Next, consider in stages, how to make skirts in the crib.
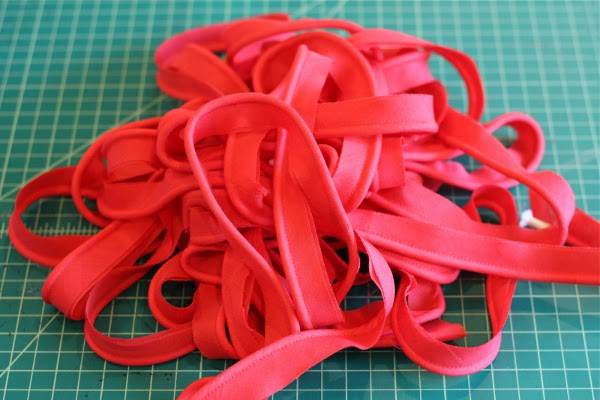
- After you have decided on the number of sections, you can draw a pattern of skirts in a baby cot. These are rectangles of the same height with different lengths. According to the pattern, we cut the rectangles from the base fabric and cut the strips for the edge.
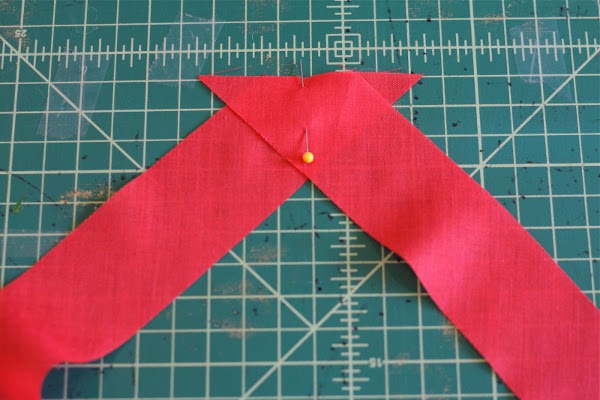
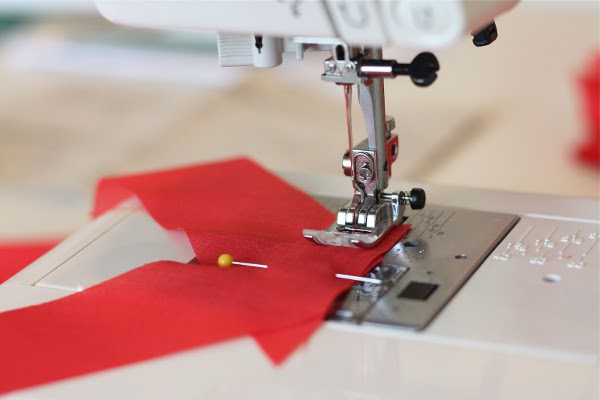
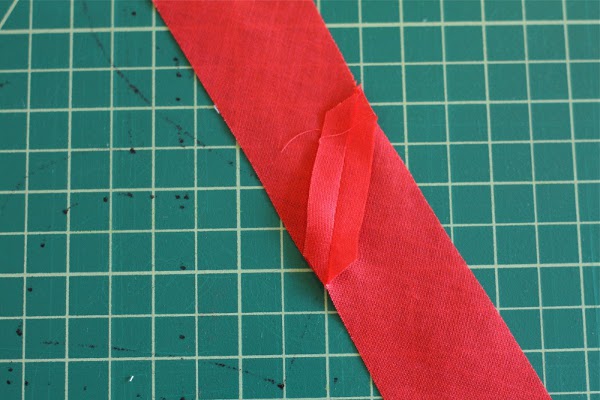
- In order to make one of several strips, they need to be sewn together by the principle of making an oblique beam. We will sew the edges along the braid so that the seam is less visible.
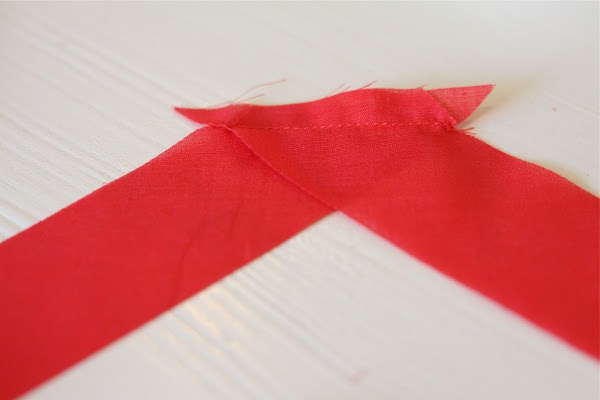
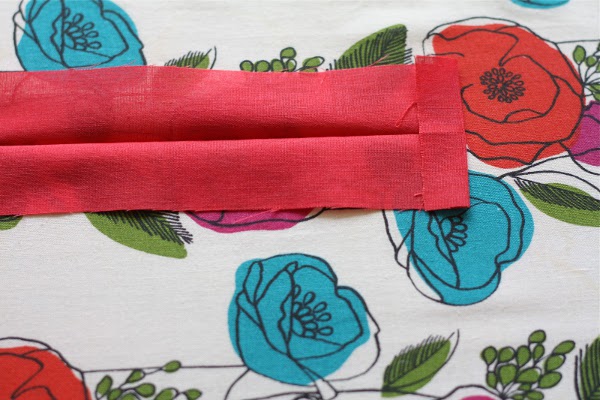
- Thus it is necessary to make a strip so that it can completely bend the rectangle.
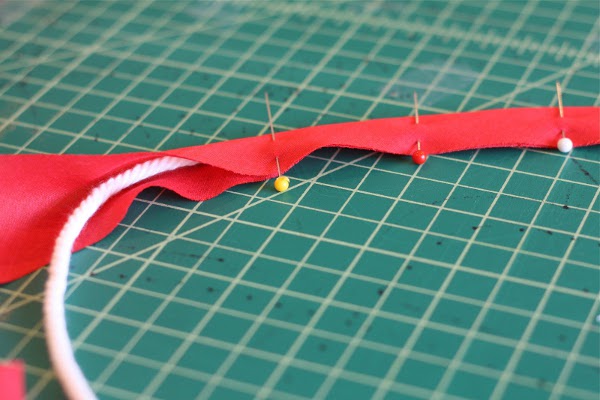
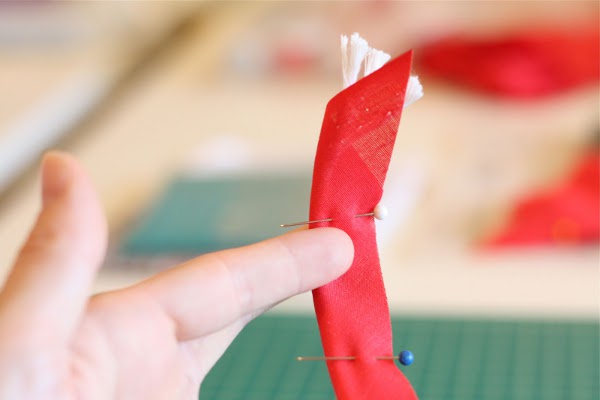
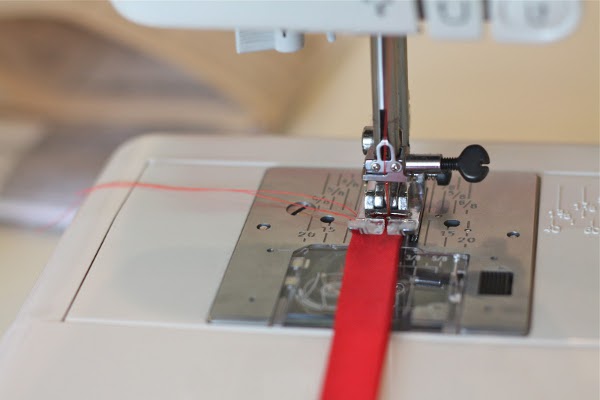
- Then fold it in half and pass the cord inside to ensure rigidity.
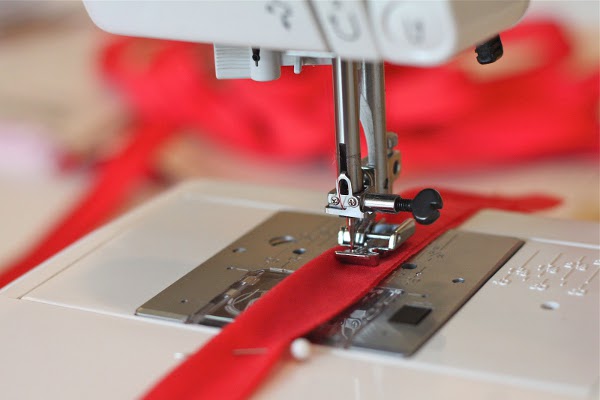
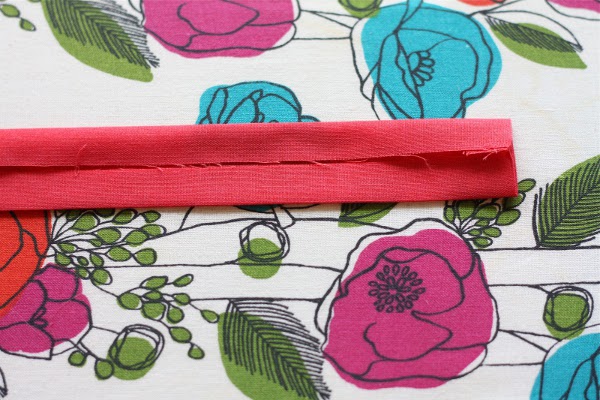
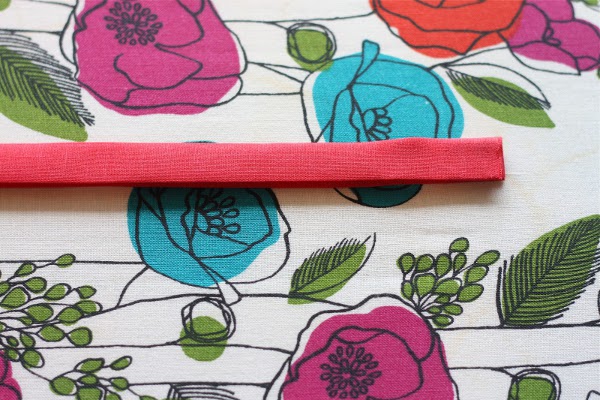
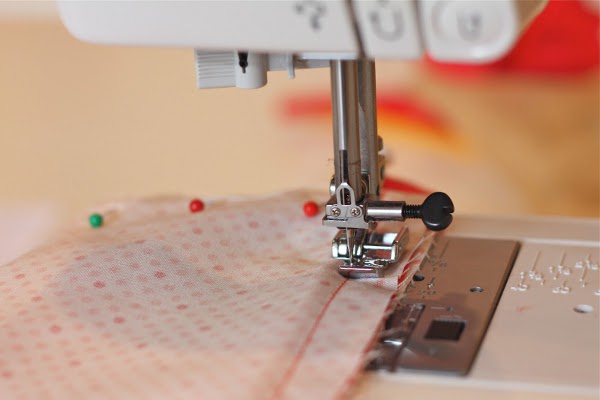
- Now use the foot to sew the zipper. As close as possible, we press the cord and lay a line.
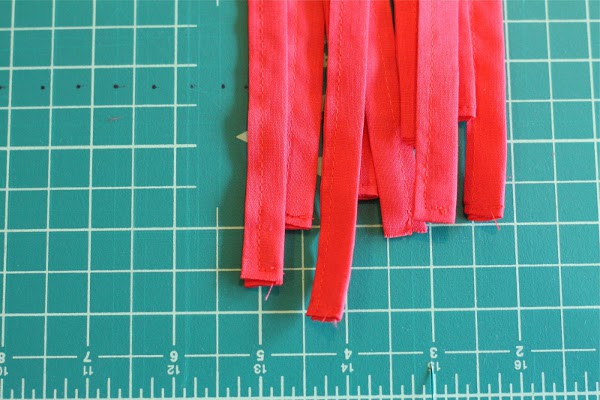
- We'll make the ties for the skirts in the crib with our own hands. You can hang the skirts in the crib either with the help of ties or rings. But the first option is easier, and more reliable.
- We iron the workpiece by folding it in half. Further we bend the edges and iron.
- Pave the line as close to the edge as possible.
- Here are the billets for you to get.
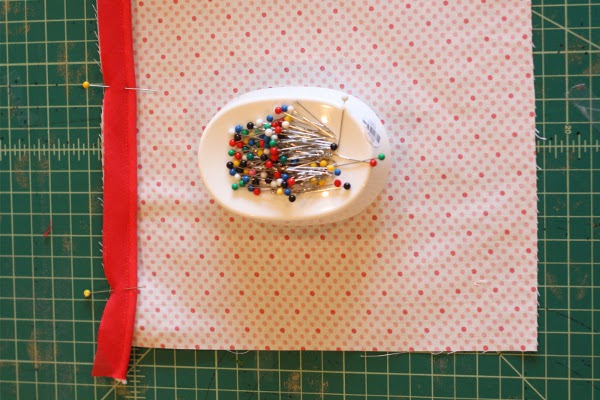
- Next, we sew the basis for the curbs in a baby cot. First, we spend the parts of the rectangle, if you broke it into several small ones.
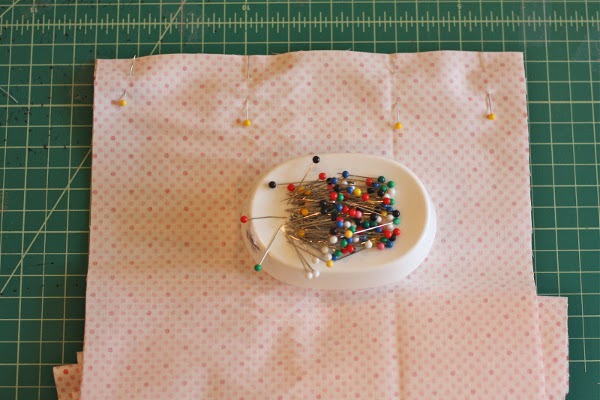
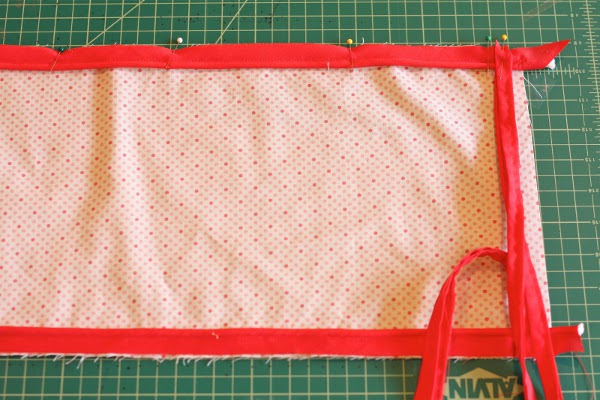
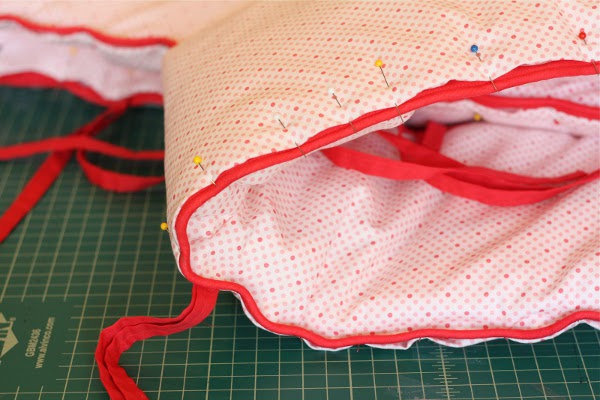
- Now apply the edge to the front part, as shown in the figure, and chop everything with pins.
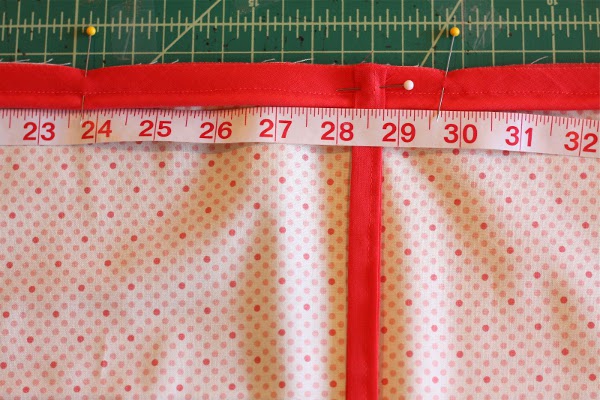
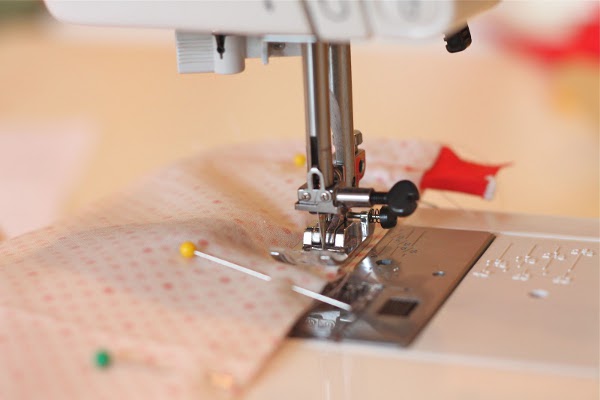
- Attach a centimeter along the edge and at equal intervals, secure the straps.
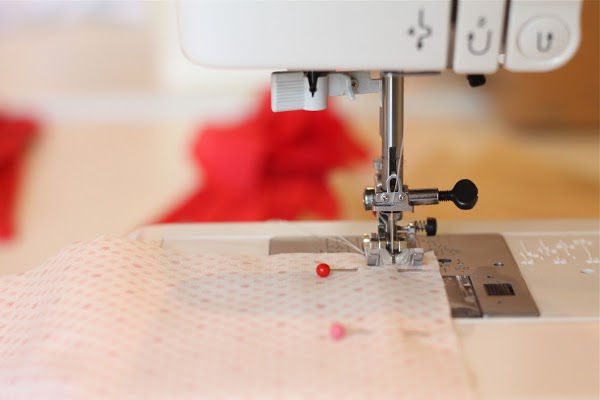
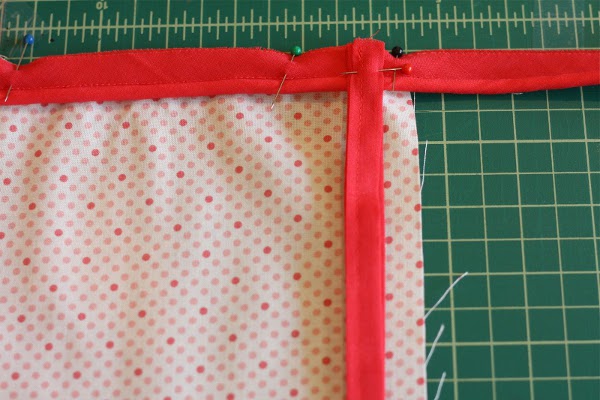
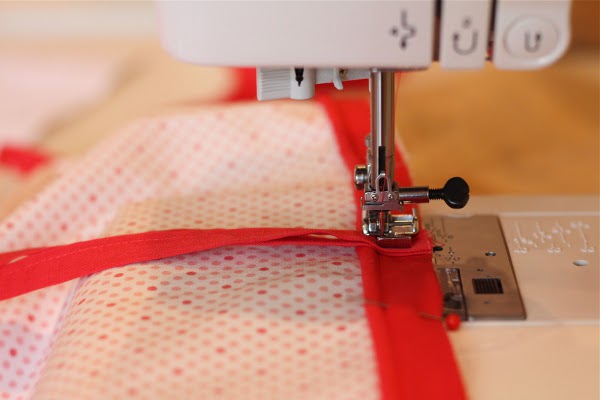
- To sew a stitch, it is convenient to use the presser foot for sewing a zipper.
- Similarly, we process the opposite side.
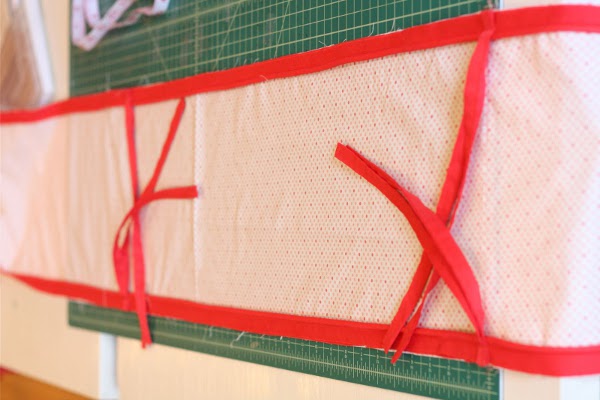
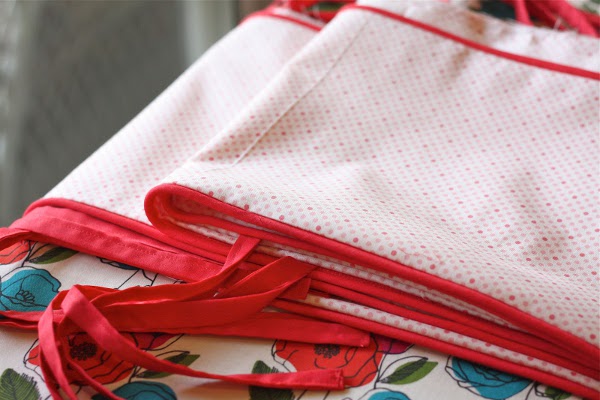
- The blank looks like this.
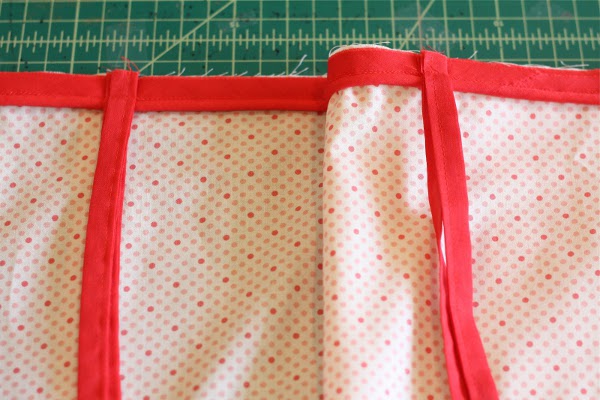
- Then apply the second part of the rim. The front side faces inward. We spend both parts.
- We turn the foundation.
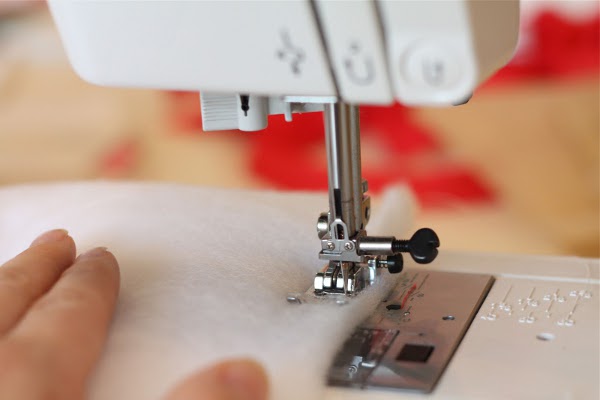
- Filler for the curbs in the crib is folded and a zigzag line is made to give it the necessary dimensions.
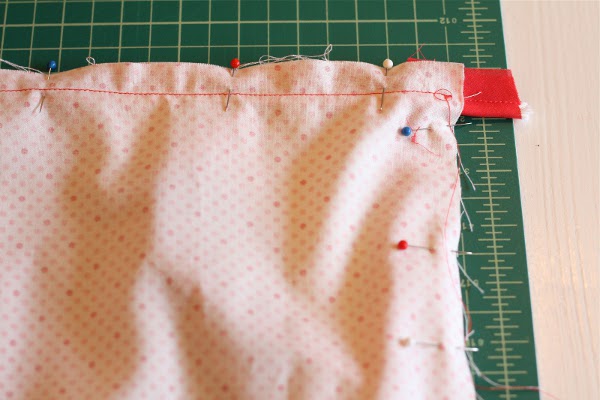
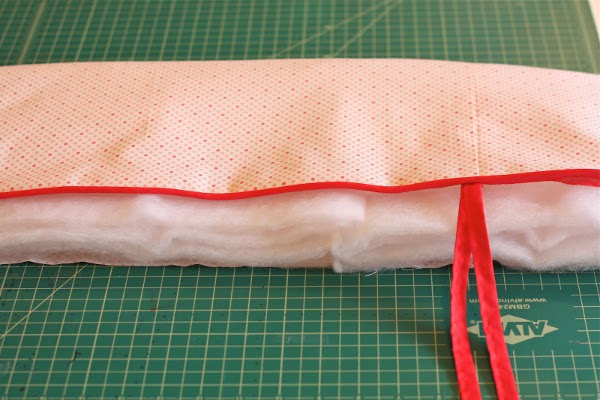
- Put the sintepon inside our base and chop everything with pins.
- To make it all together, use the zipper foot that we know, so that the line goes as close to the edge as possible.
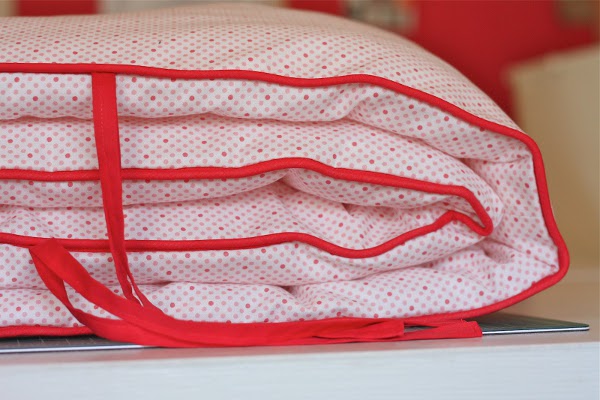
- Here are such colorful sides in the crib with their own hands turned out. Now you can not be afraid that a crumb bump on the skids during sleep.
With your own hands, you can sew other necessary things for a kid, for example, a blanket and diapers .