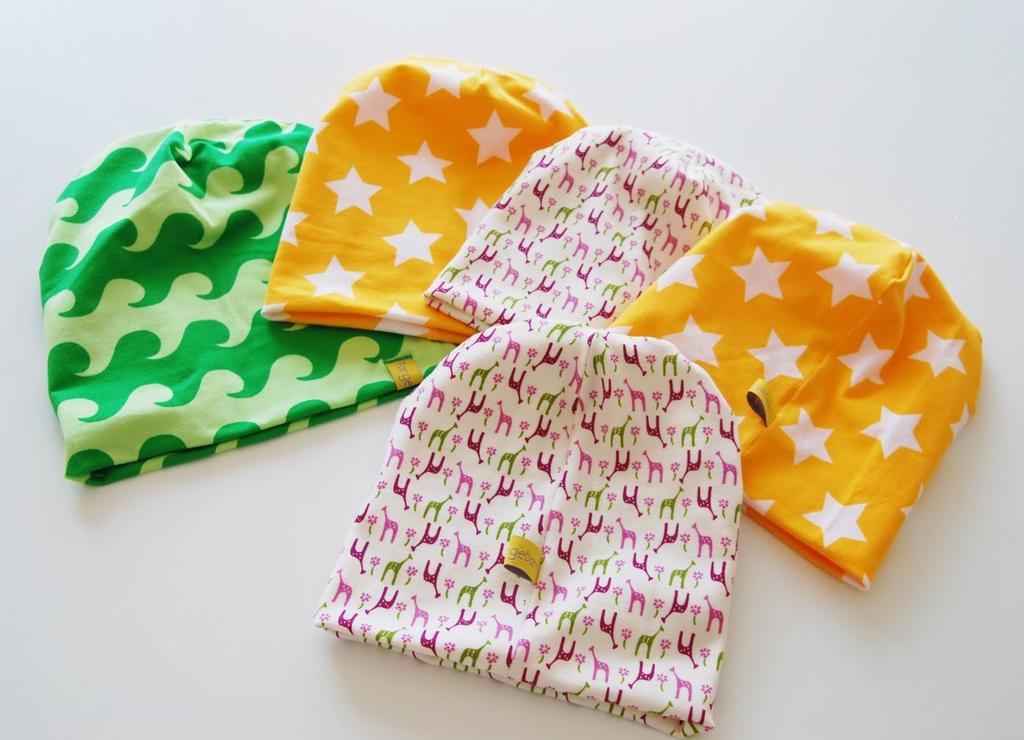
Varieties of headwear, in particular caps , a lot and almost all of them can be sewn by yourself. In this article we will introduce you how to make your own hands, a very popular now knitted hat. Consider the options for creating it for girls and boys, as well as for babies.
Master class №1: how to sew a knitted hat for a girl
It will take:
- jersey: basic color and white;
- sewing accessories;
- button.
Progress:
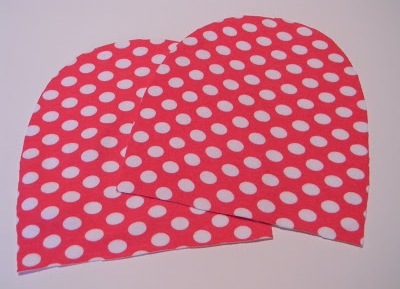
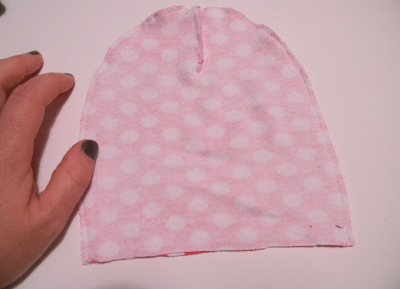
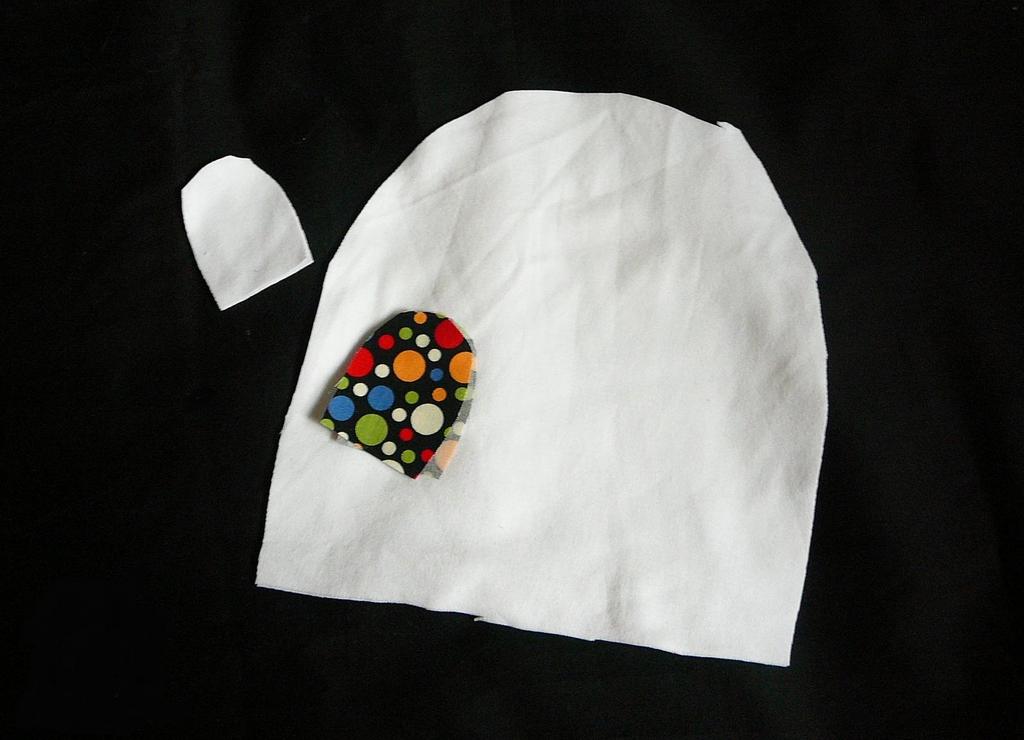
- Cut out the main material from the template 2 parts.
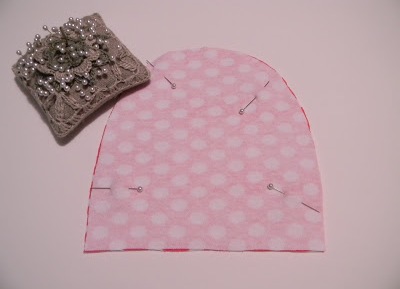
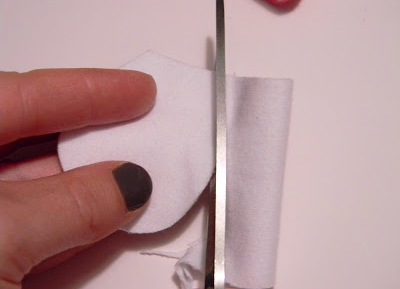
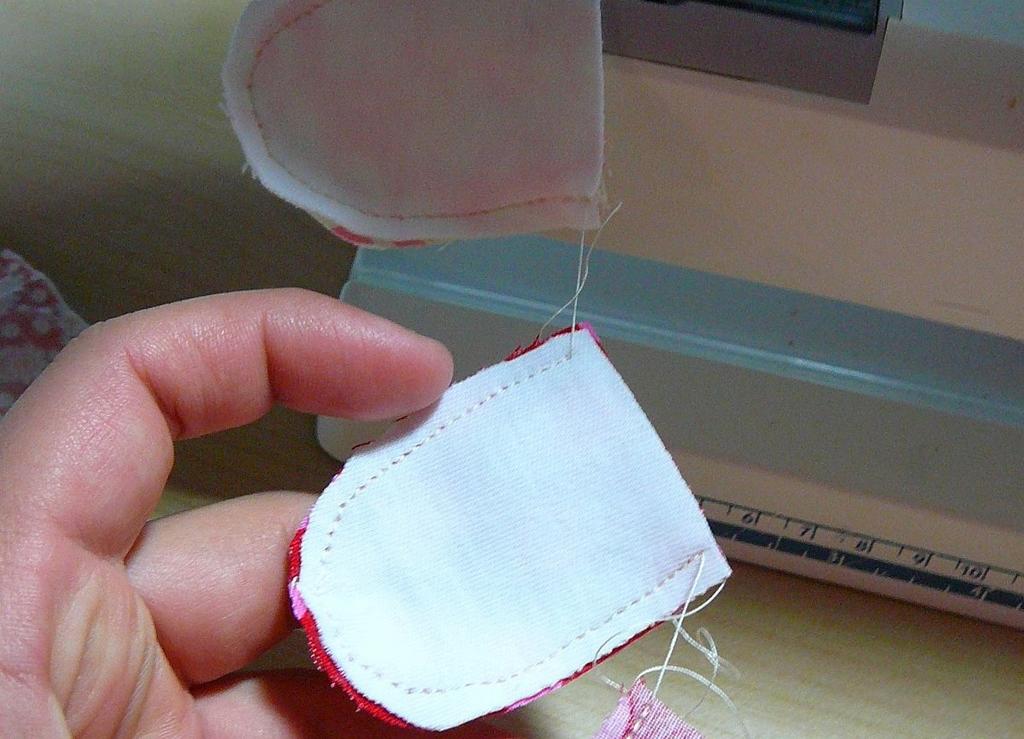
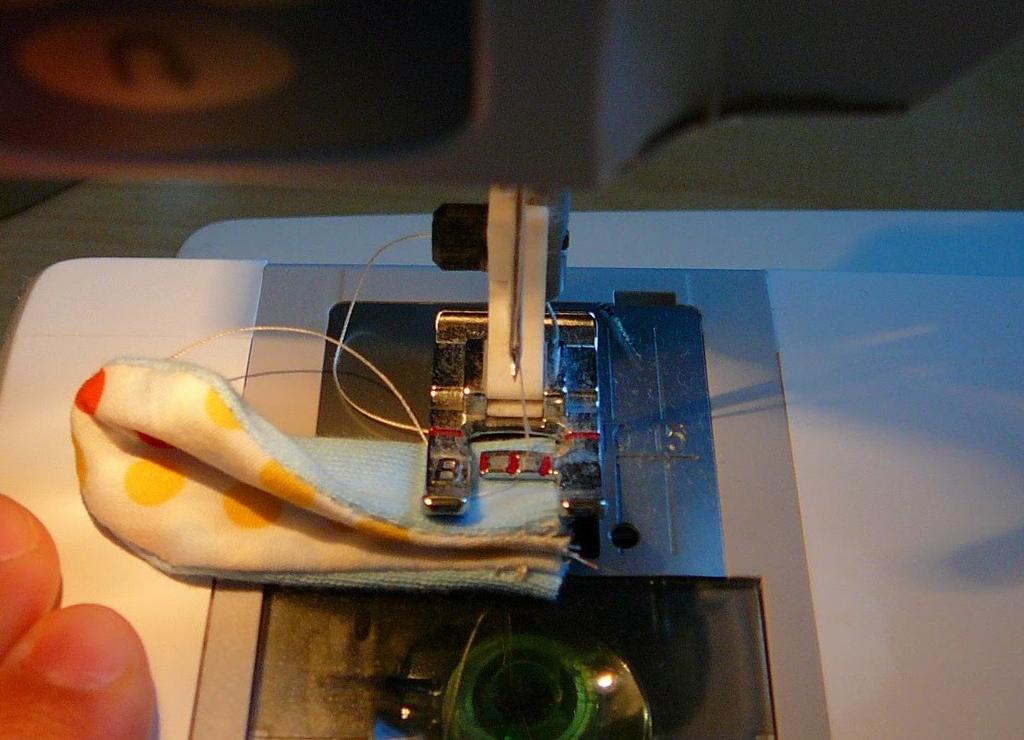
- Fold them with faces and fasten them with pins. We spread them along the oval side, retreating from the edge 5-6 mm. The bottom is left open. Excessive matter is cut off.
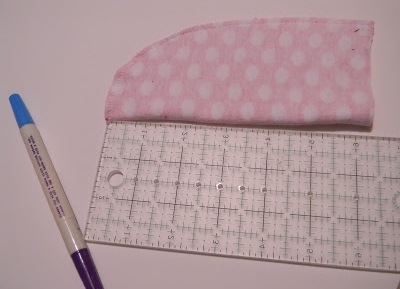
- Fold the cap twice and on the resulting edge, mark 5 cm down from the top.
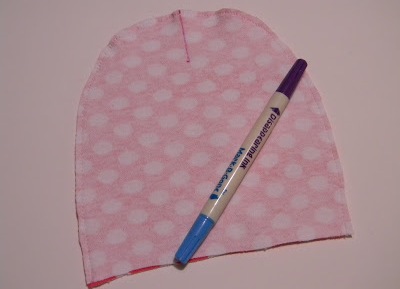
- We spread the matter, as shown in the photo. Next to the lines we make lines, stepping back from them 1-2 mm.
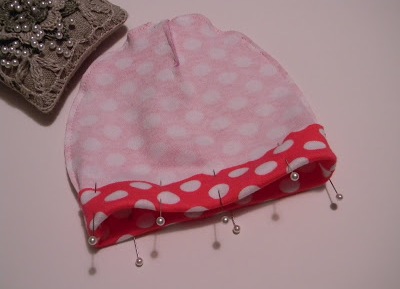
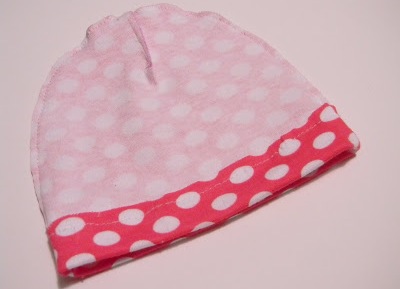
- We turn the bottom of the cap to 5-7 cm and spread it along the edge. After that, we turn it to the front side.
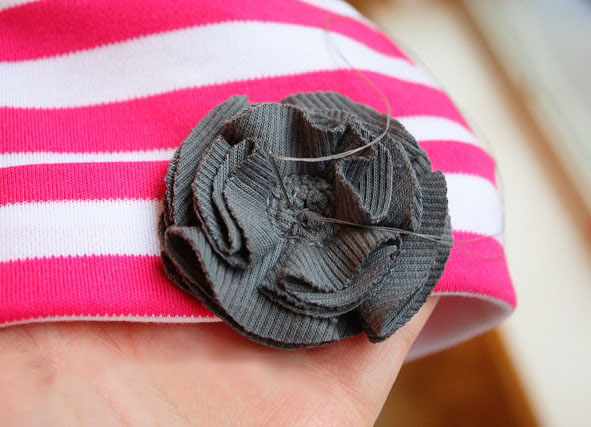
- When we sew a hat with our own hands for a girl, then we still have to decorate it.
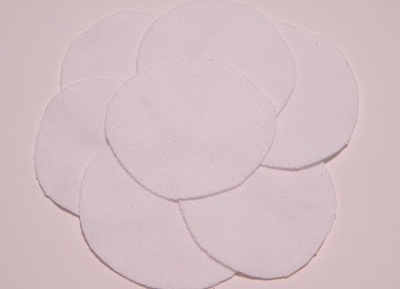
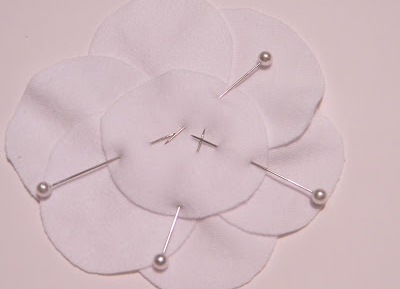
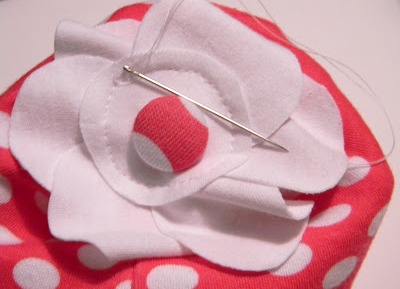
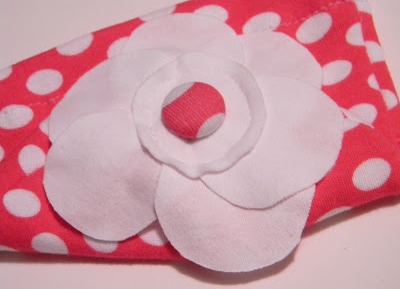
- In order to make a flower, cut out 7 white circles, arrange them as shown in the photo and spend on the core.
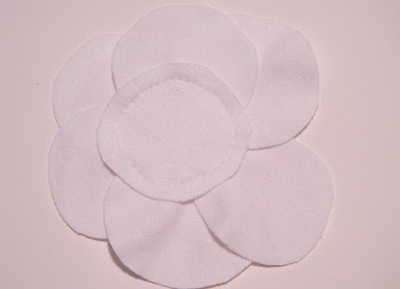
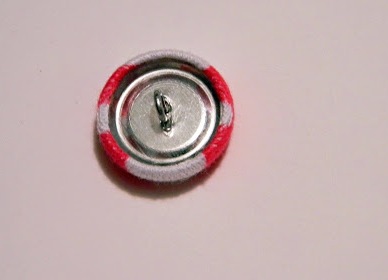
- We take the button, wrap it with the main cloth. And then, sewing it in the middle of the finished flower, we attach the caps to the top.
- Ornaments can be made in another way.
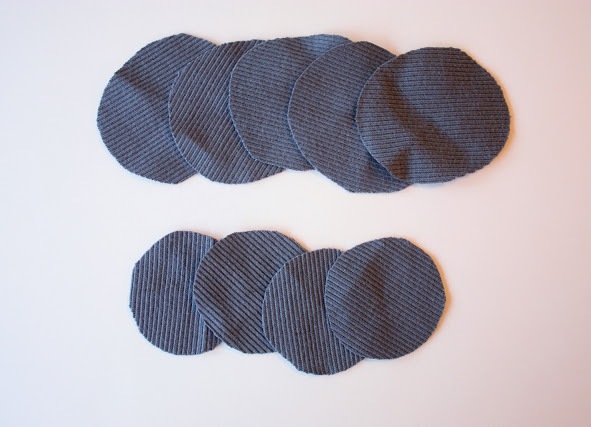
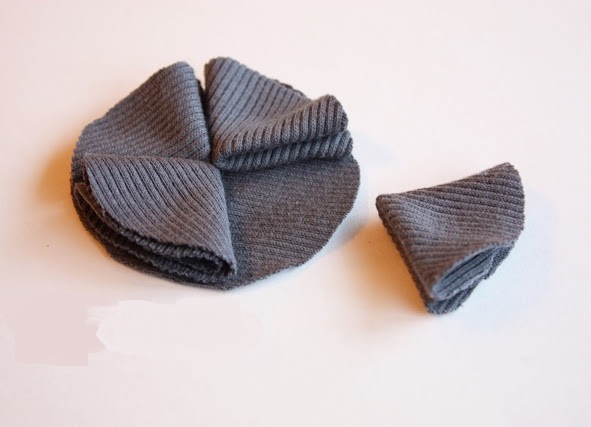
- To do this, cut out 5 circles with a diameter of 5 cm and 4 pieces - 4 cm.
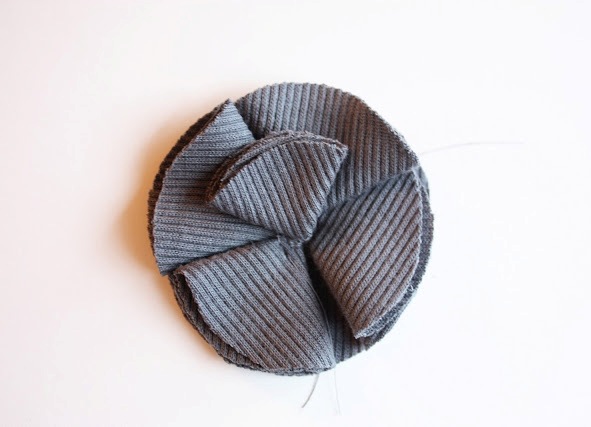
- Fold 4 large pieces twice to get a triangle. We spread them on the 5th preform and spread it around in the middle.
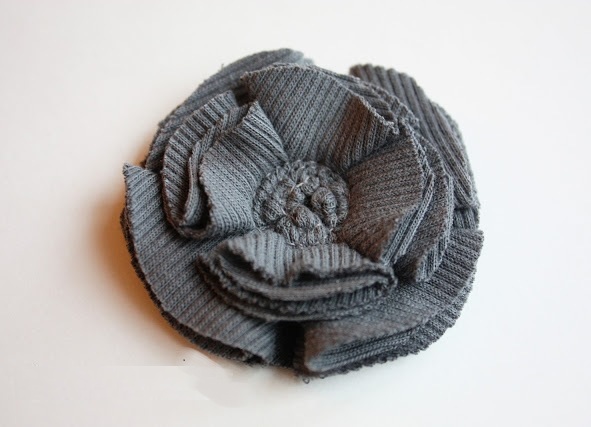
- We also fold small circles, spread them with a second layer and sew in a circle. After that, attach the flower to the cap. Such decorations can be made not only for knitted, but also for knitted or any other cap.
Master-class number 2: how to sew fashionable hats from knitwear with their own hands
It will take:
- jersey:
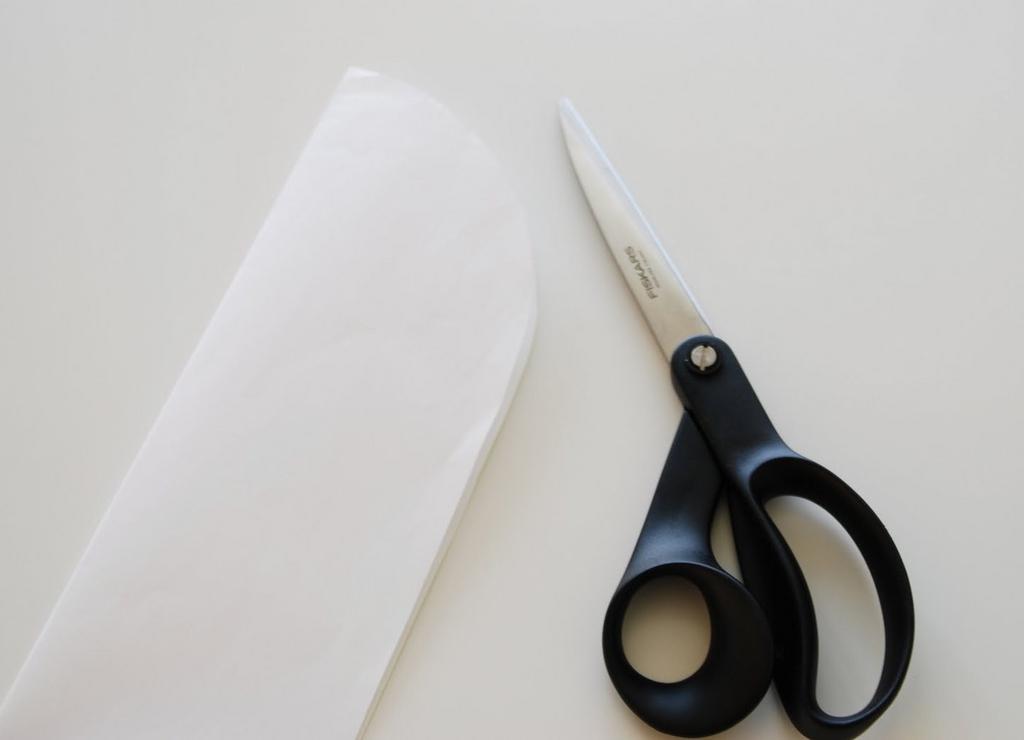
- a sheet of paper and a pencil;
- sewing accessories.
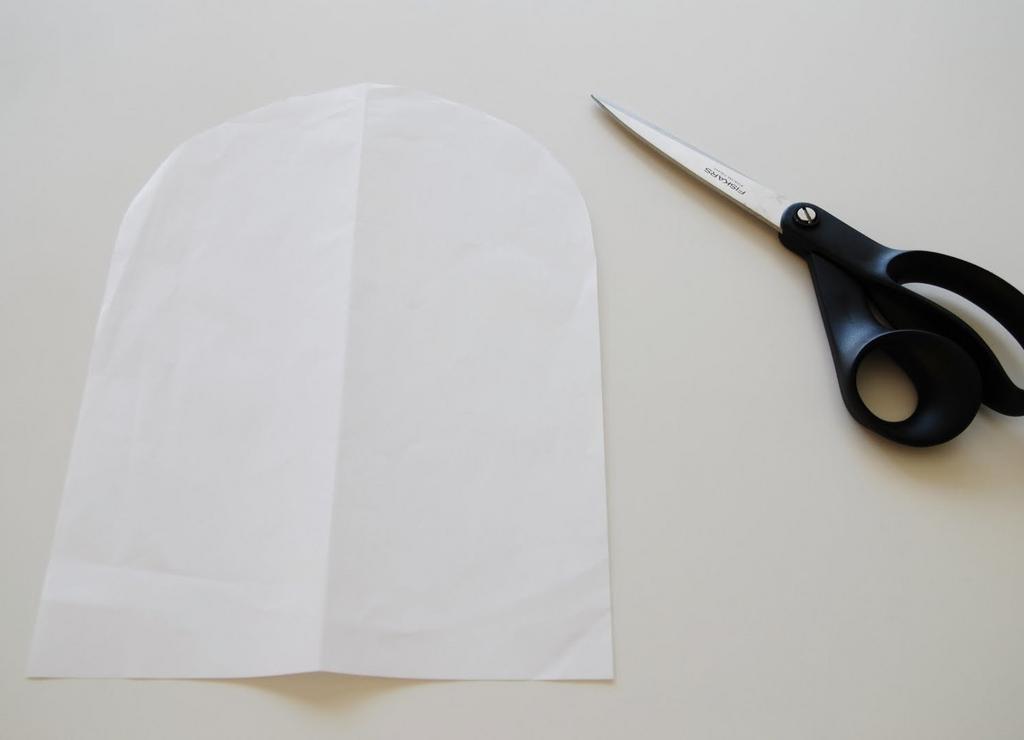
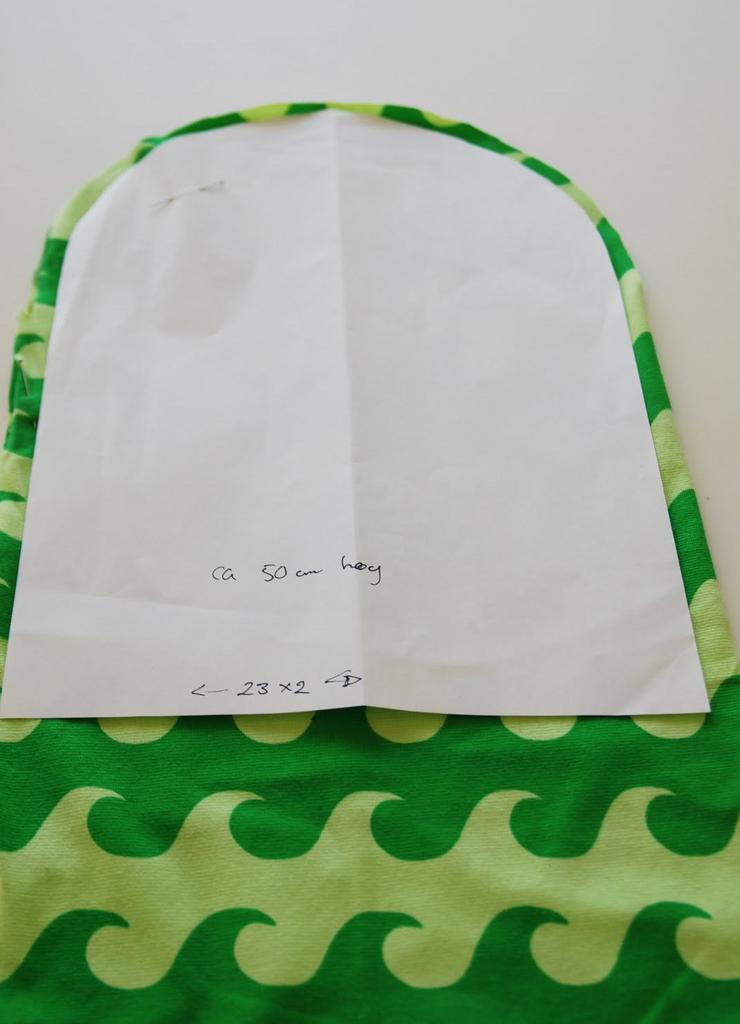
- Cut out the parameters of the child's head template. For a 5-year-old child, make a width of 23 cm, and a height of 25 cm.
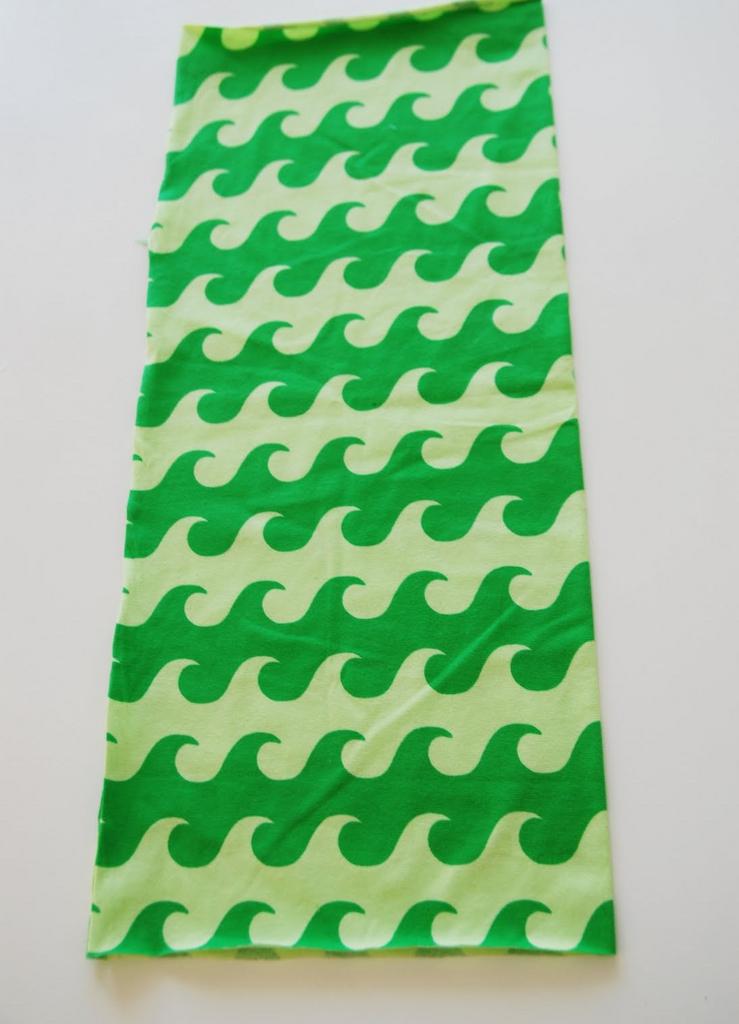
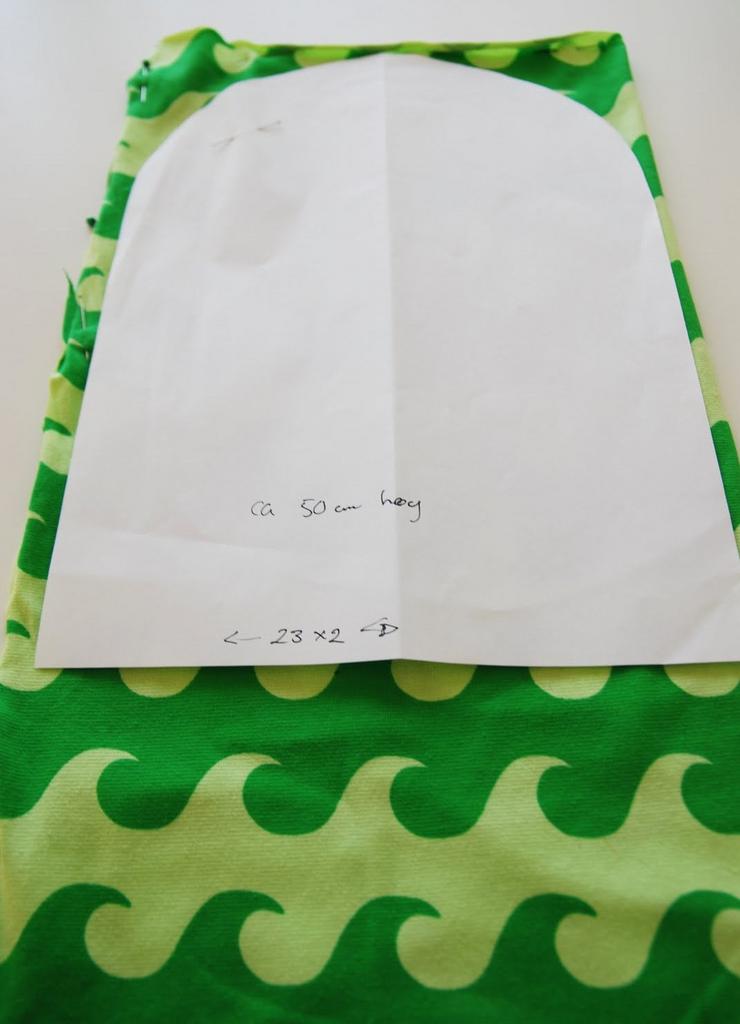
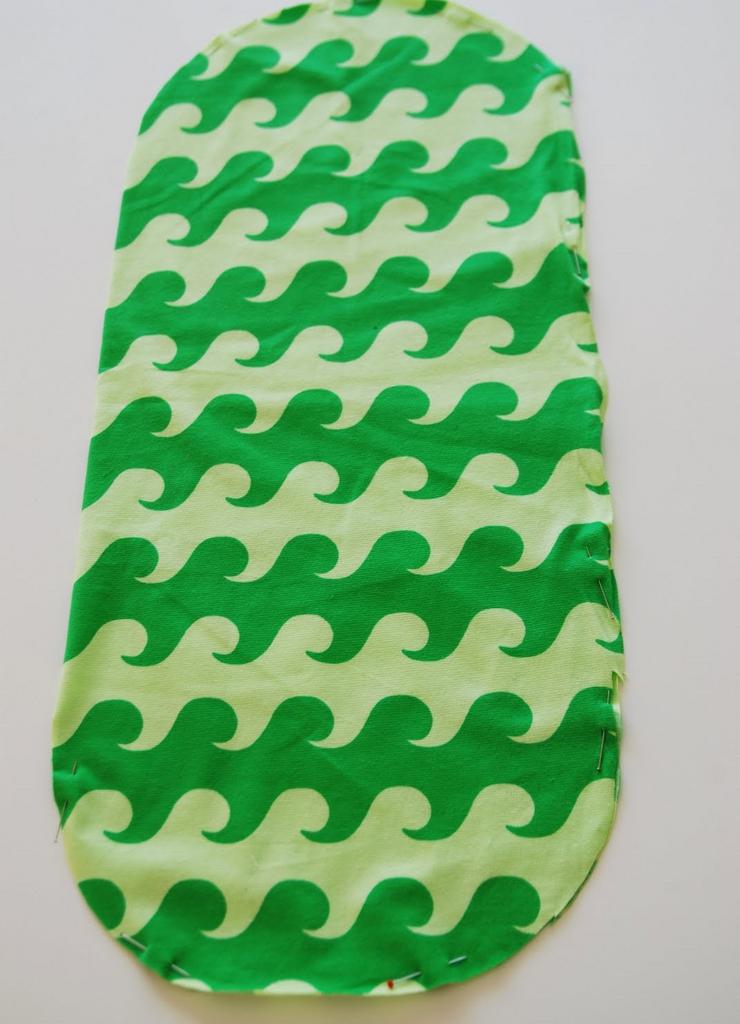
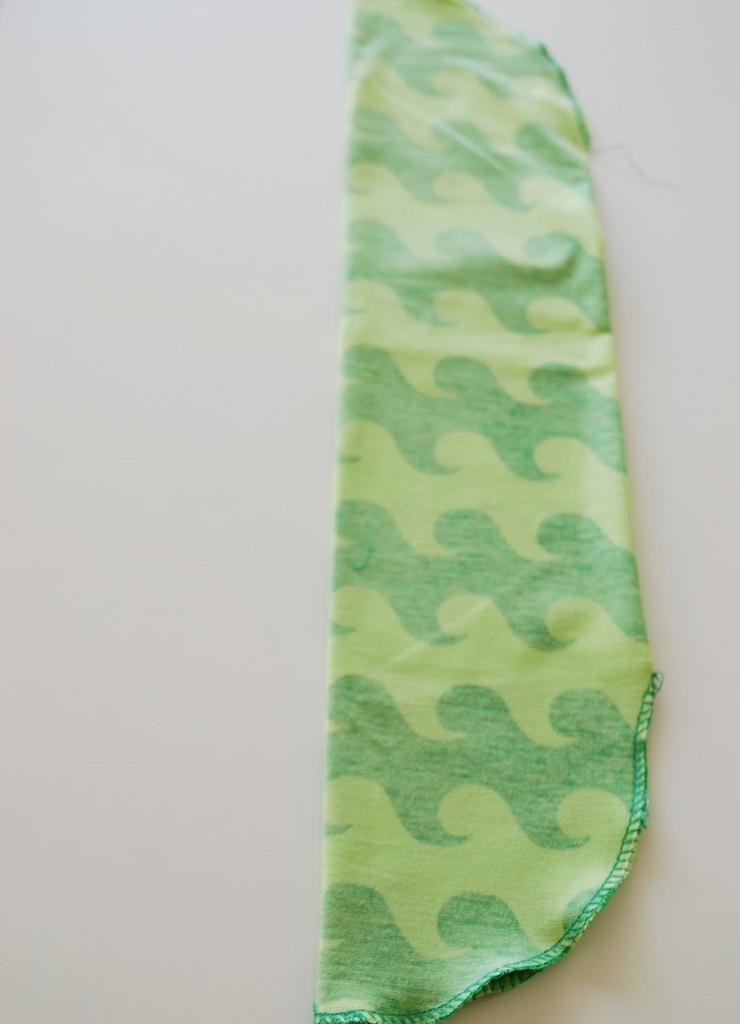
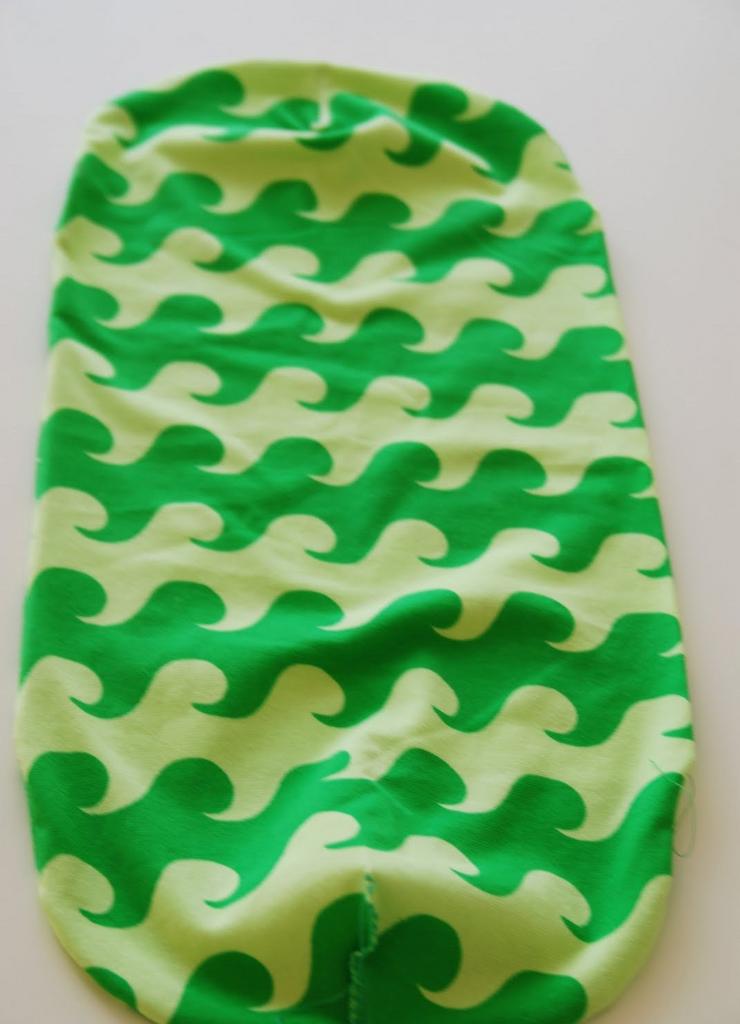
- Cut out a knitted rectangle with dimensions 50 cm and 46 width, and then fold it in half. Apply the template to one edge of the fabric and, having receded from it 3-4 mm, cut the corners. Do the same on the other side.
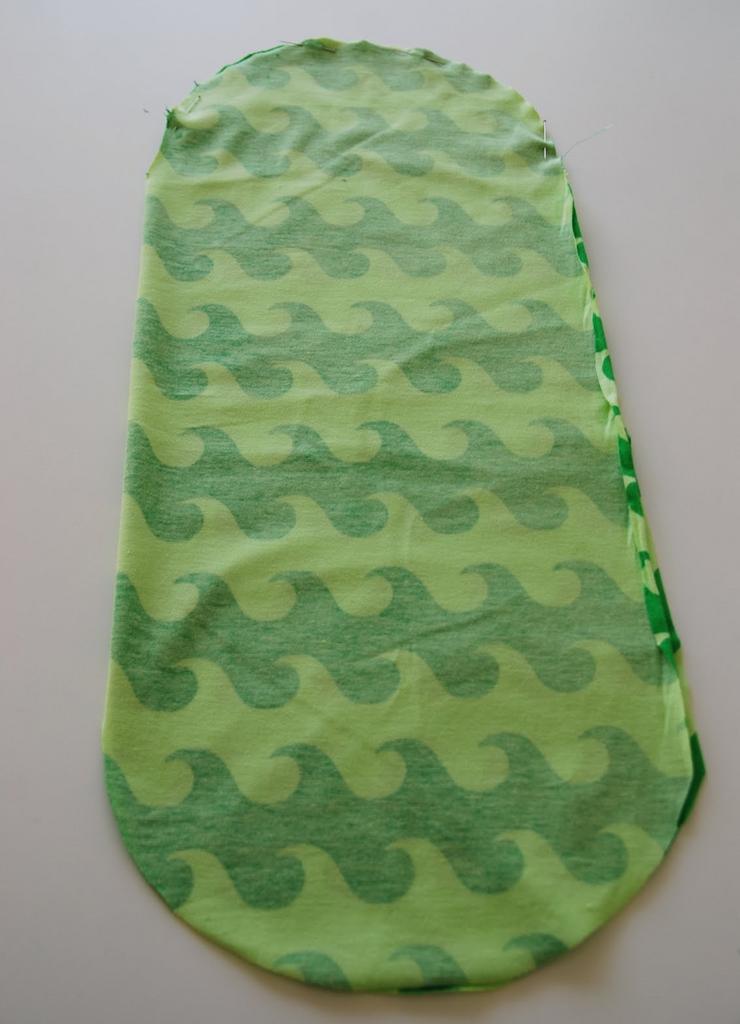
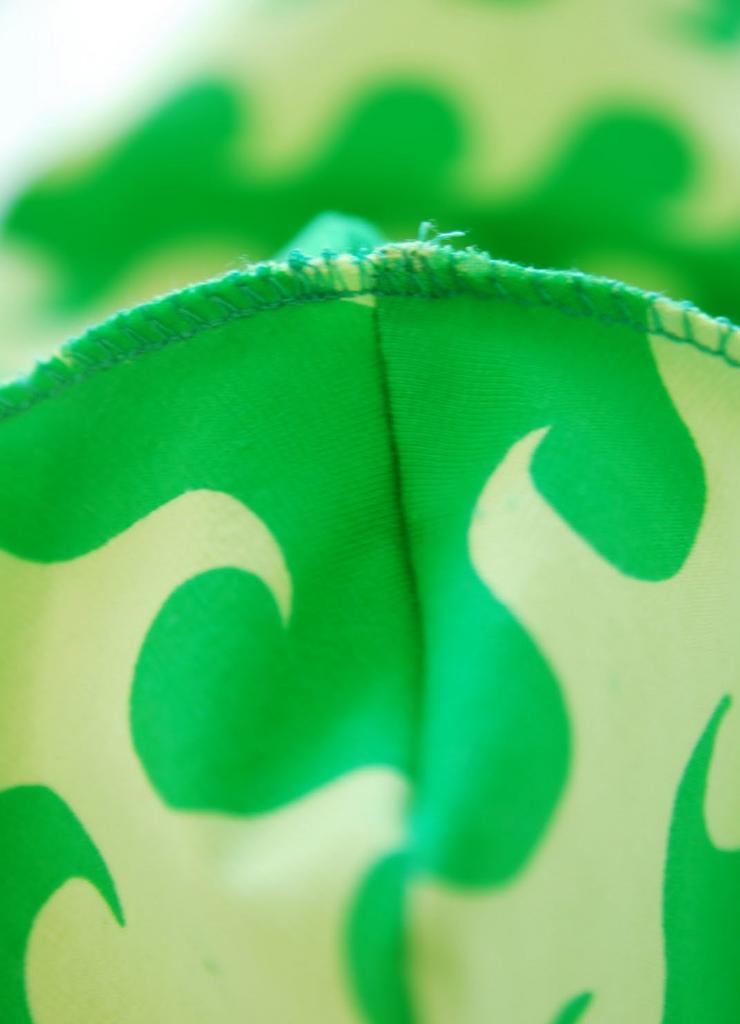
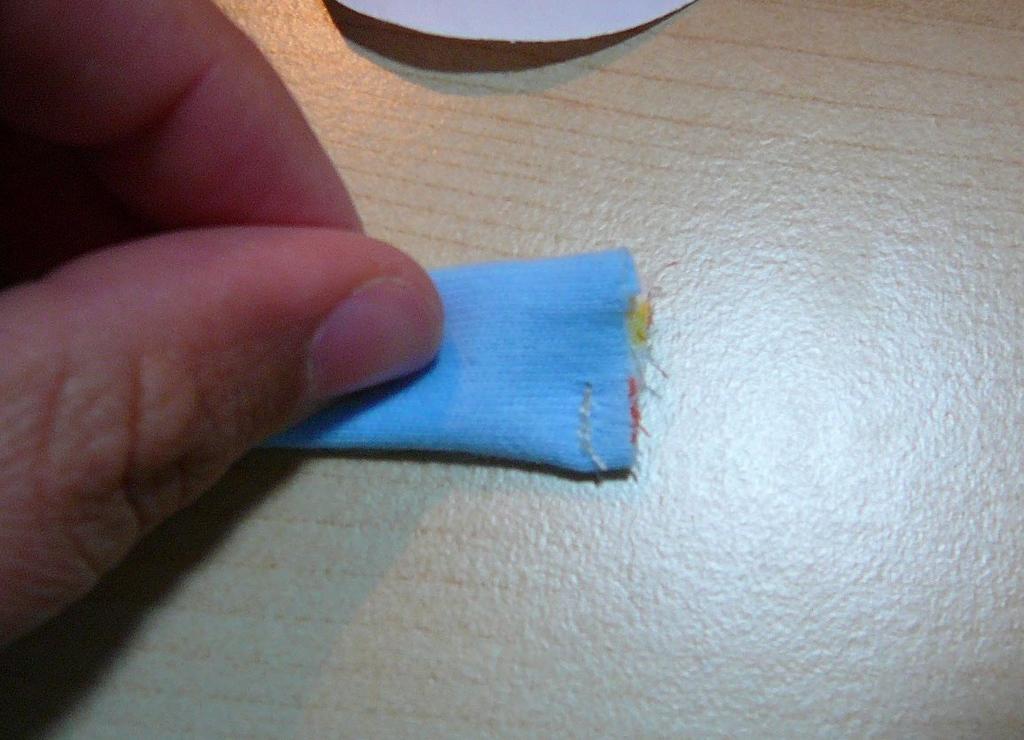
- The resulting blank is turned inside out and covered with a suture seam along the edge.
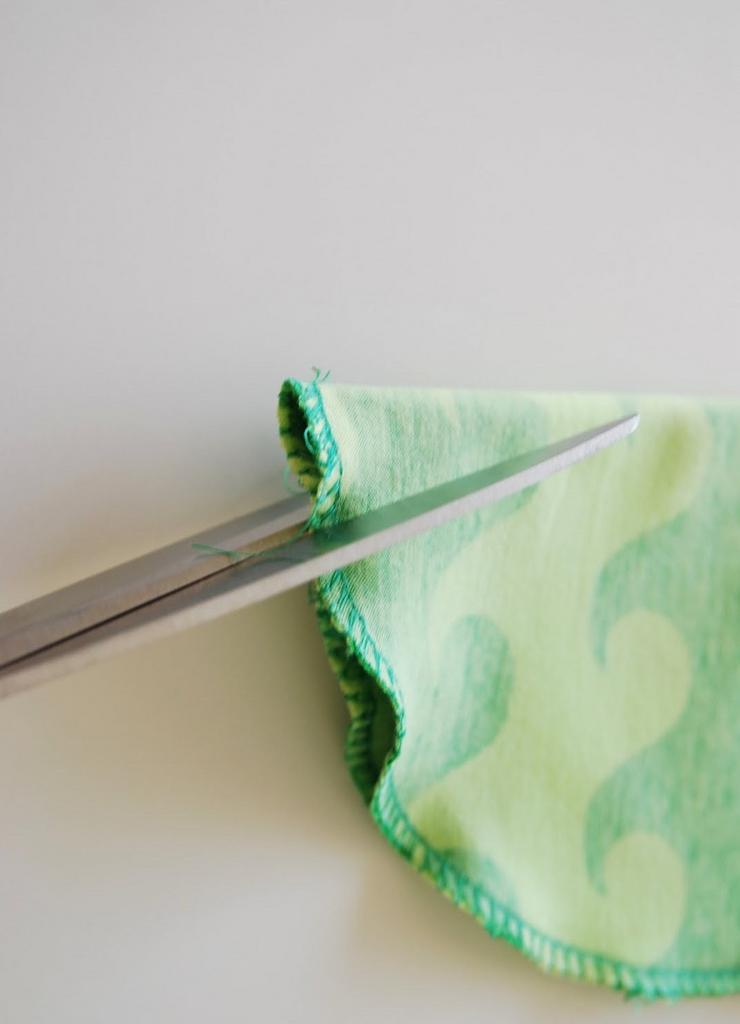
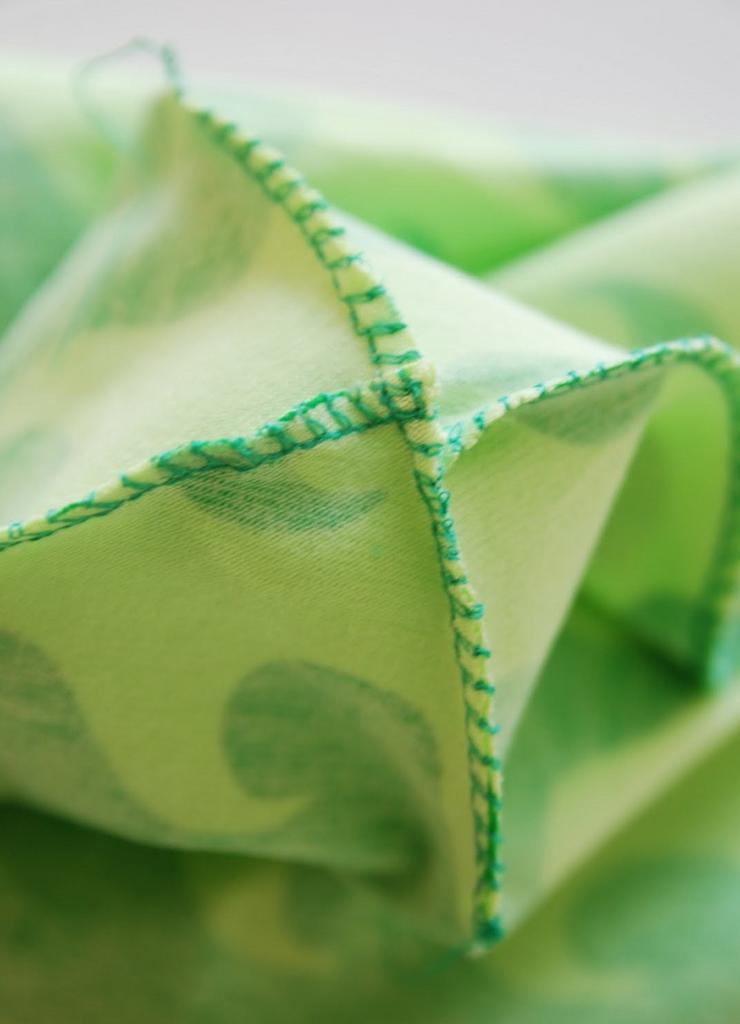
- Fold it in half and make a triangular incision from above and below.
- Having arranged the cuts opposite each other, we sew them with a seam wrap.
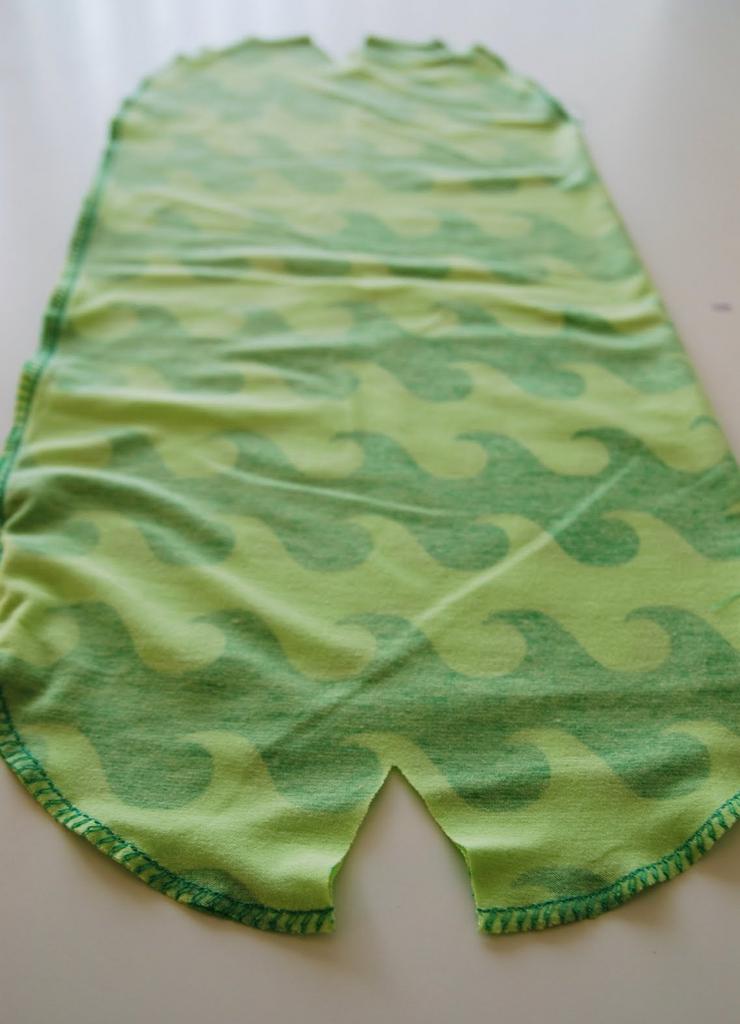
- We turn the cap through the second notch inside out and sew up the hole.
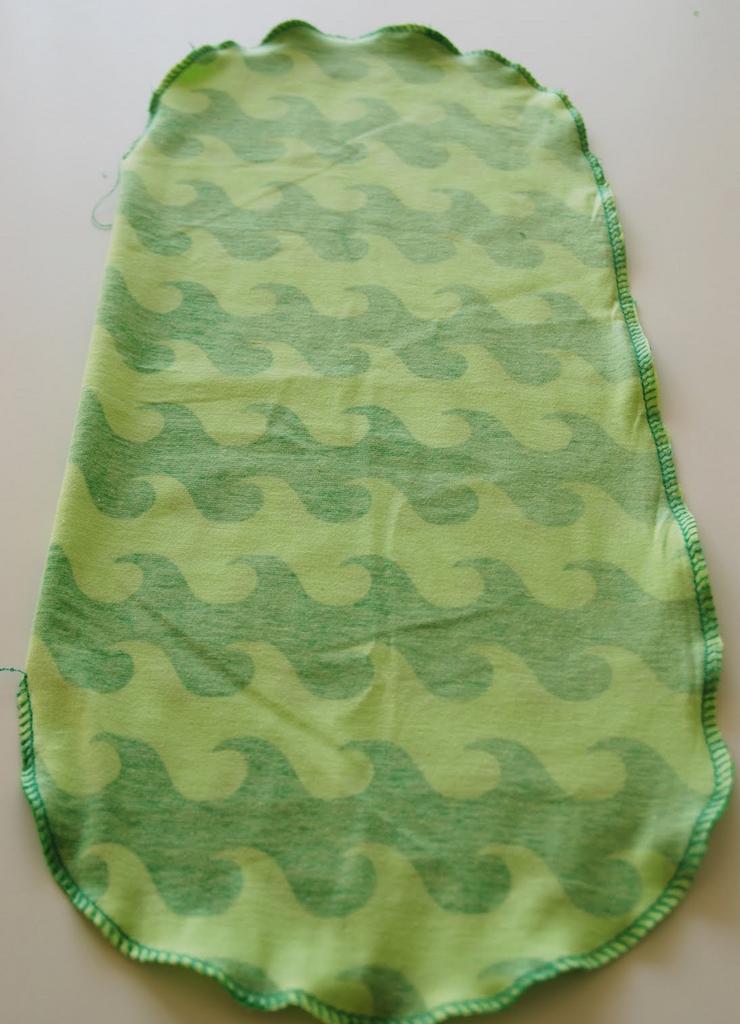
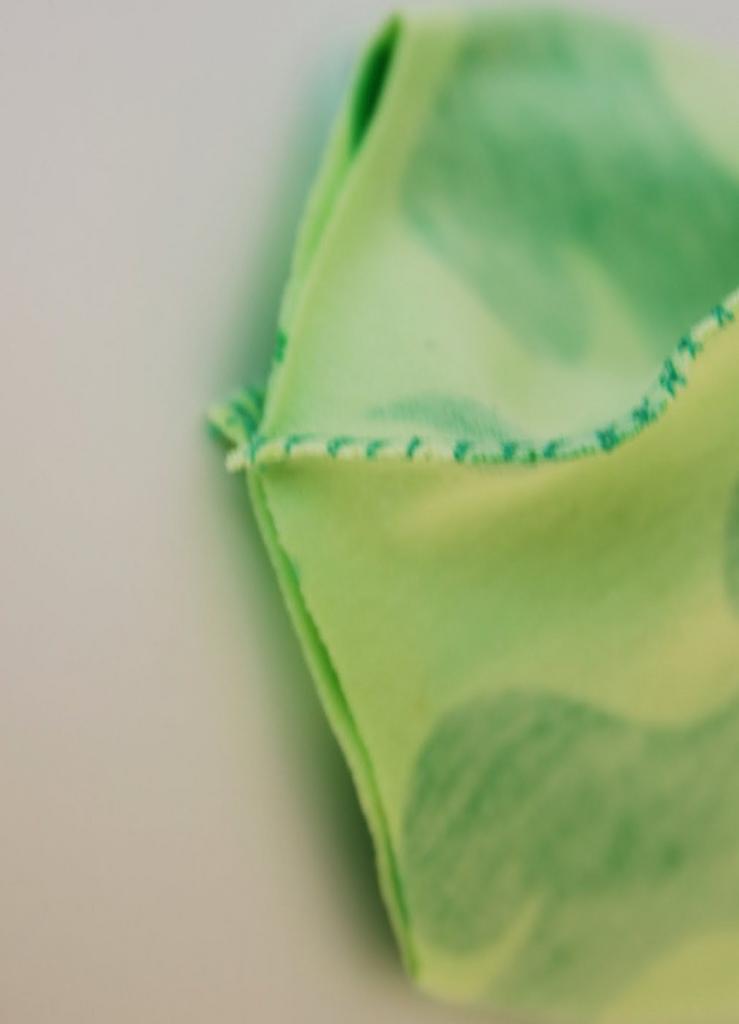
- Straighten the workpiece, at the bottom we have cuts that have been sewn by hand. The lower end is lifted to the top (inward).
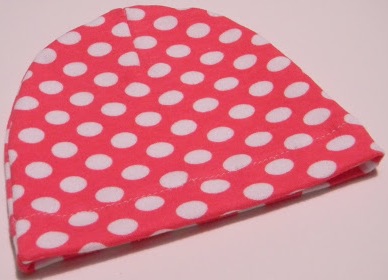
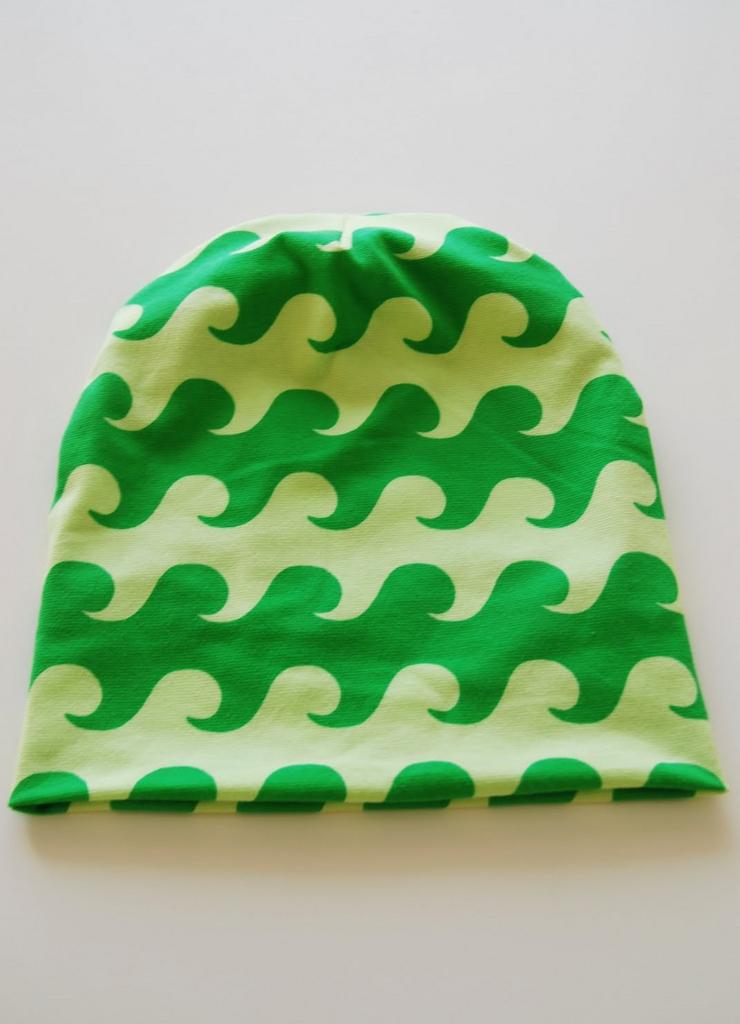
- This is an easy hat, so it looks great if you sew it from materials of bright colors.
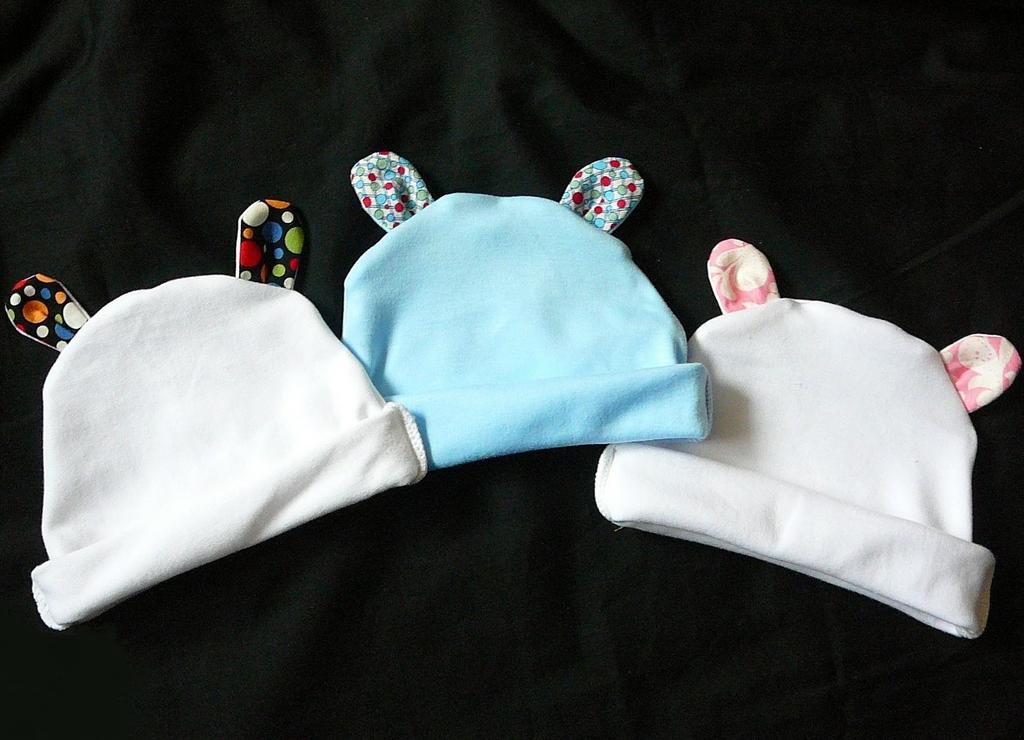
For very young children, a cap with additional elements that imitate the muzzle of an animal is very popular: ears, eyes, a nose with a mustache.
Master class №3: how to sew a children's hat with ears
It will take:
- jersey: white and colored;
- sewing accessories.
- From white knitwear we cut out 2 details for the cap and 2 details of the ears. Of the color cut out only 2 parts for the ears.
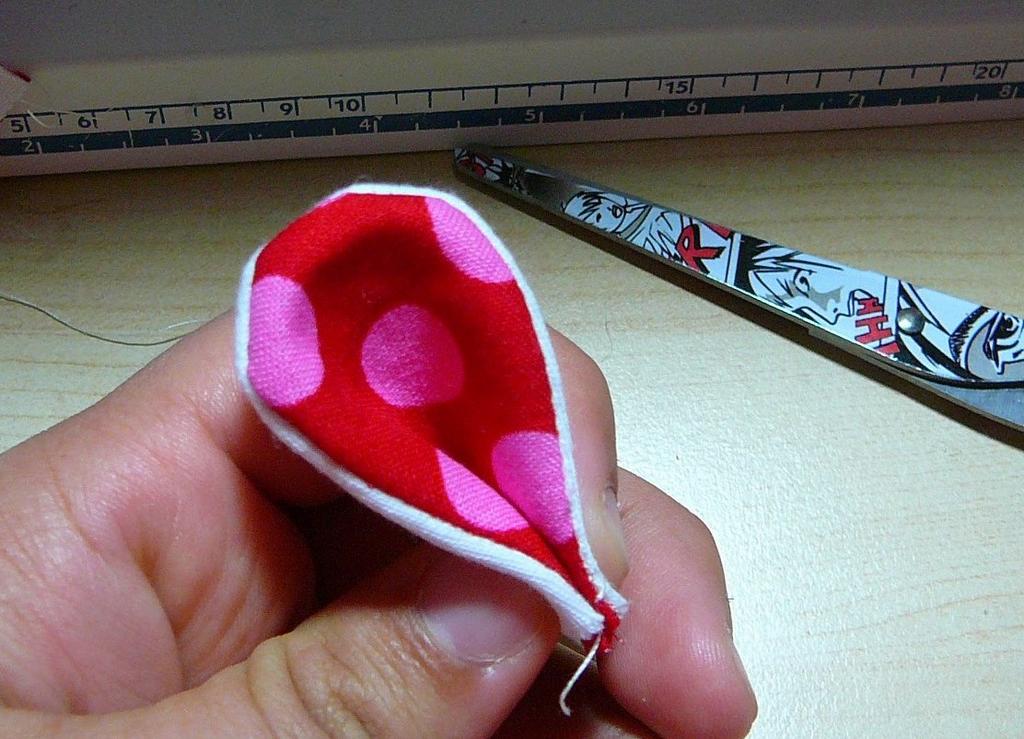
- We fold the details for the ears with the faces and spread out all around the perimeter, except for the bottom edge.
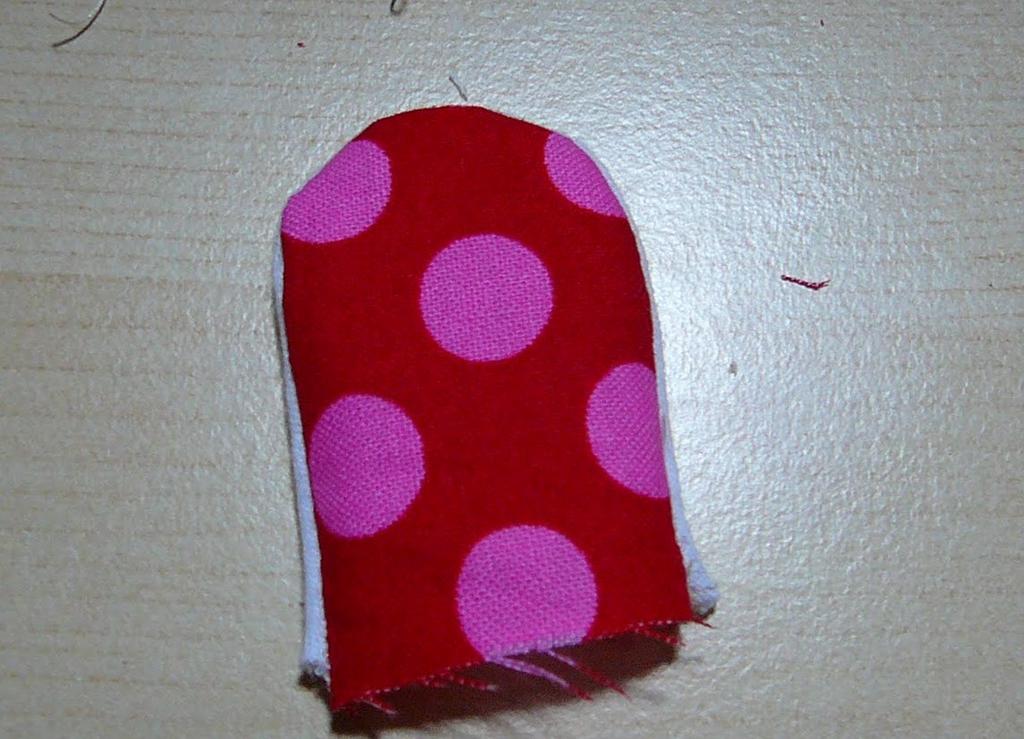
- We turn the workpiece for the ears to the front side, fold it in half and spread out from the middle of 2-3 mm.
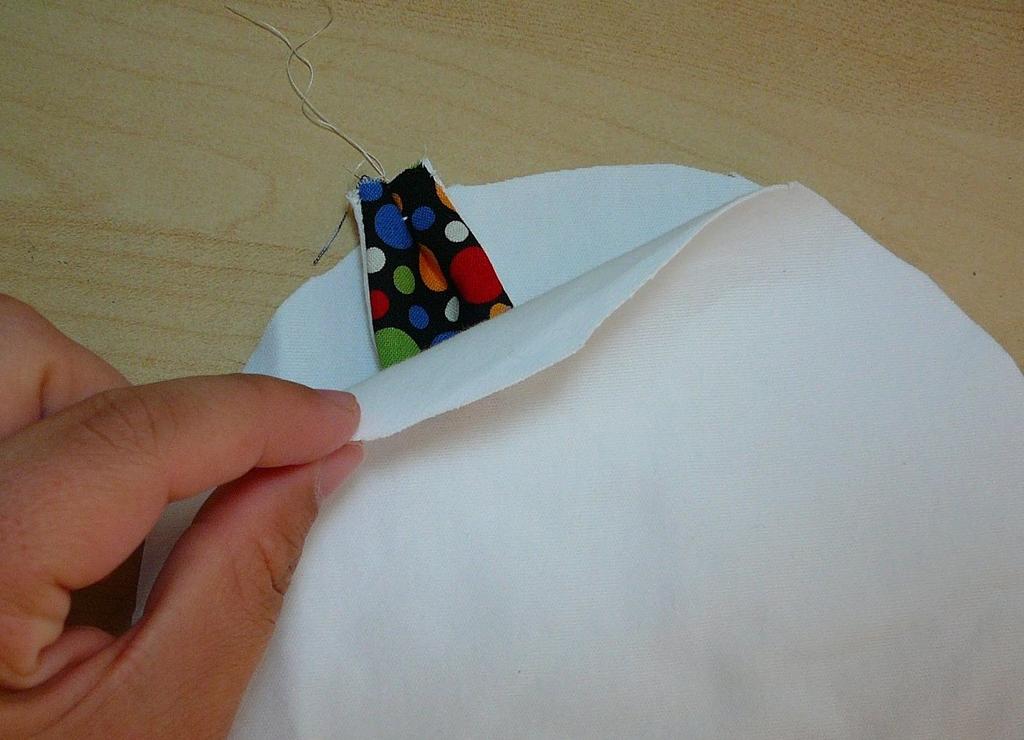
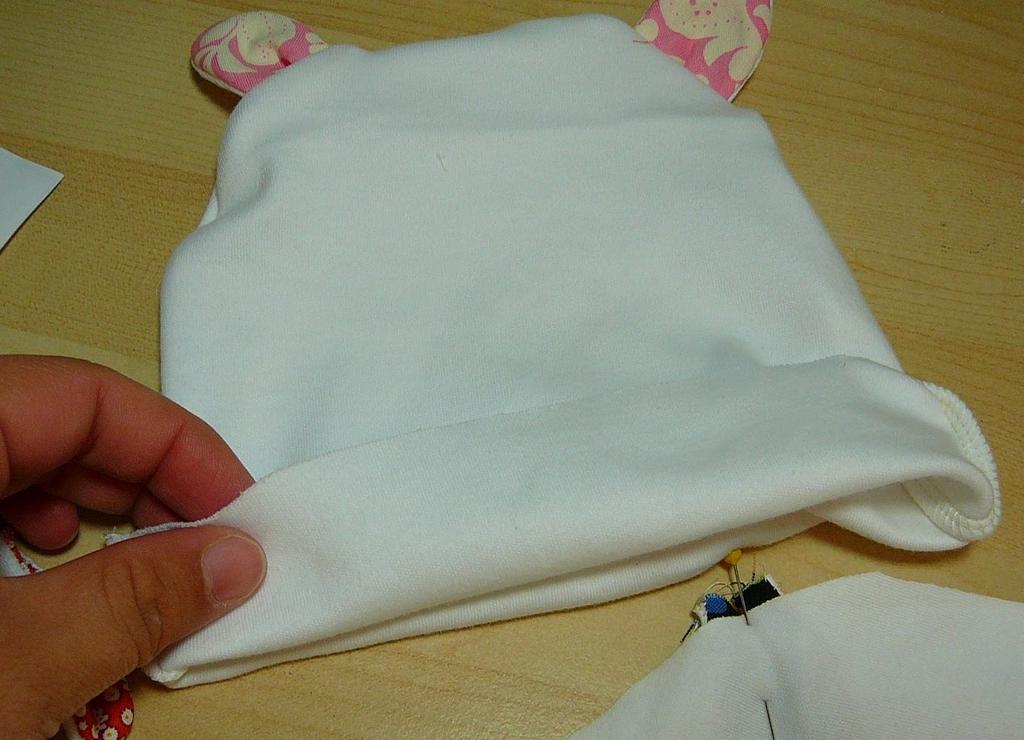
- Fold the details for the cap with the faces, and between them put the ear piece, as shown in the picture.
- Spread on the edge of the rounded part and turn it to the front. The bottom edge is wrapped upward 2 times and fixed on the sides. The hat is ready.