A beautiful well-kept garden is always pleasing to the eye. To make it more comfortable will help garden sculptures, which can be made self-careably, for example from old tires or mounting foam . One of the most popular is the stork. In this article, we'll look at what you can make a stork.
How to make a stork with your hands from plastic bottles?
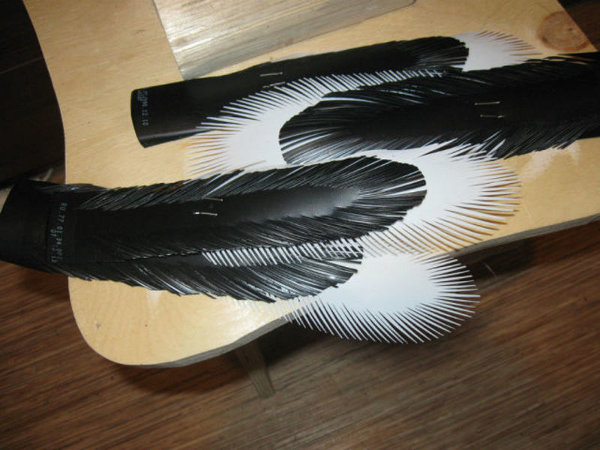
For work it is necessary to cut out a template from a sheet of plywood. This is the body of the bird and wings on the sides. Also prepare plastic opaque bottles of white and black colors, screws and red electrical tape.
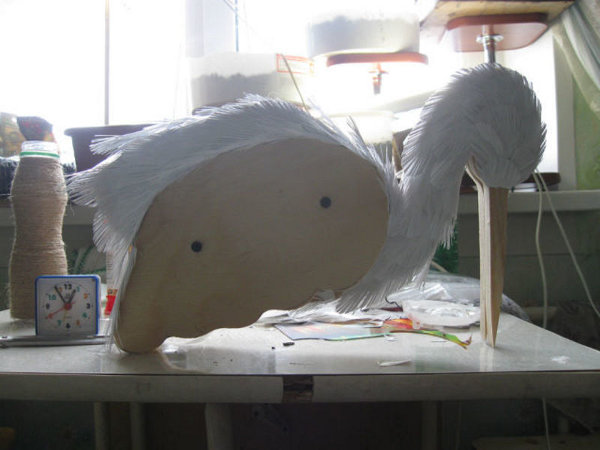
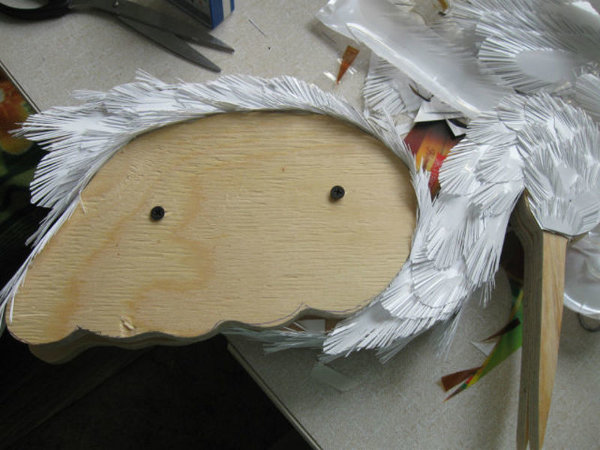
- We fasten the patterns together with self-tapping screws.
- For feathers we use bottles made of plastic from milk. We cut them into strips of the same width and make fringe at the edges.
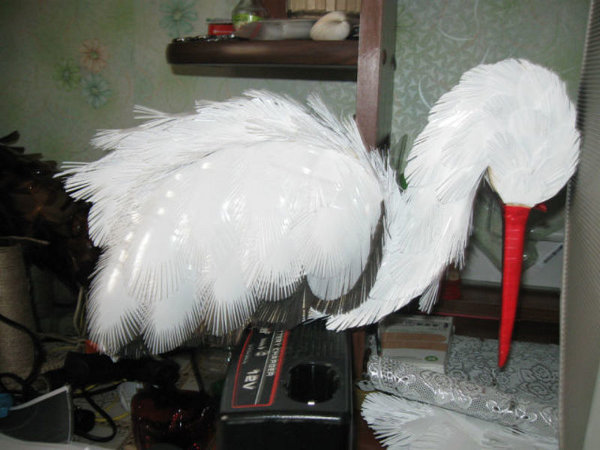
- Next, using a glue gun, attach the feathers to the body of the bird.
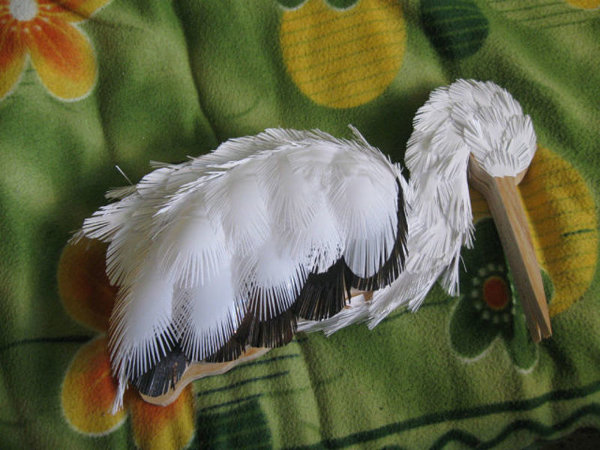
- For the tail and the lower part of the body we use bottles of black color from under the shampoo.
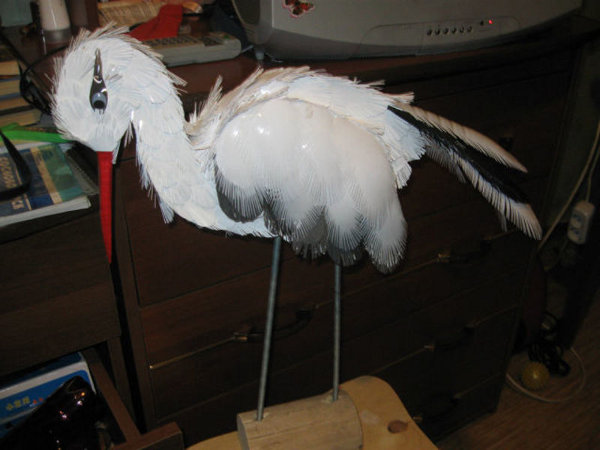
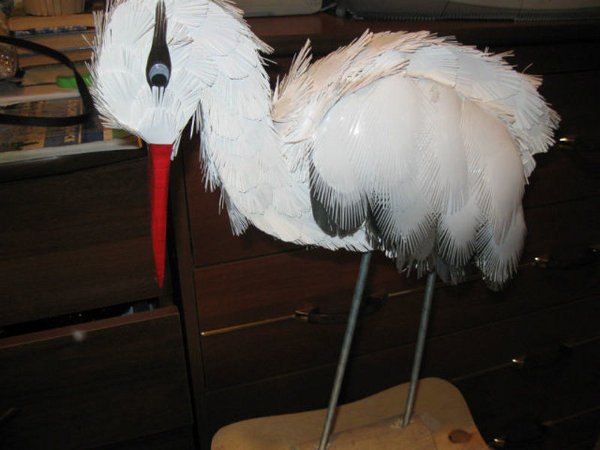
- We wrap the beak with red tape.
- The legs can be made of wire. A toy eyes to buy in the store for needlework.
- Stork for the garden with your own hands is ready!
| | | |
| | | |
We make by our own hands the stork from the mounting foam
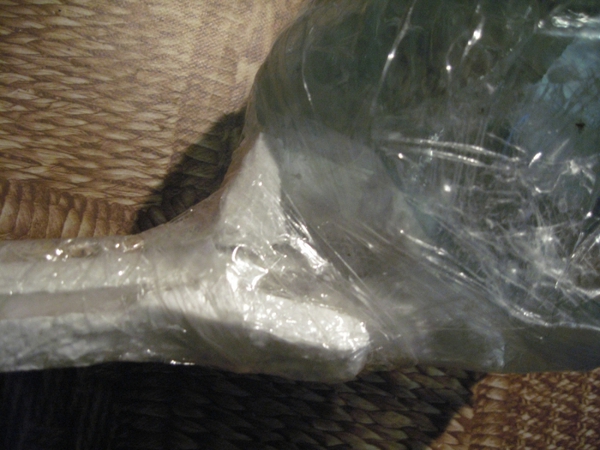
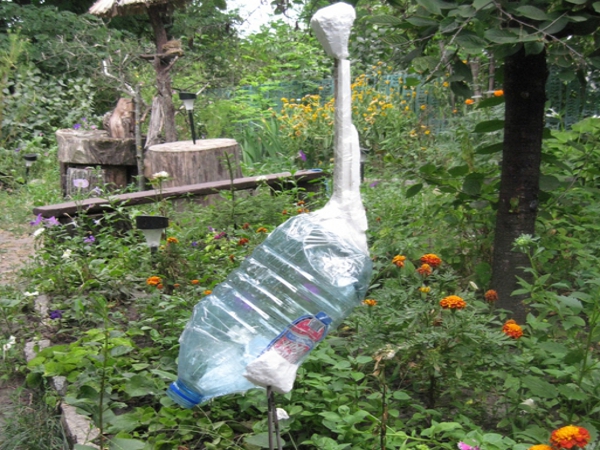
Now consider another option, how you can make a stork of your own. In this case, we use a five-liter container, an adhesive tape with foam and a mounting foam.
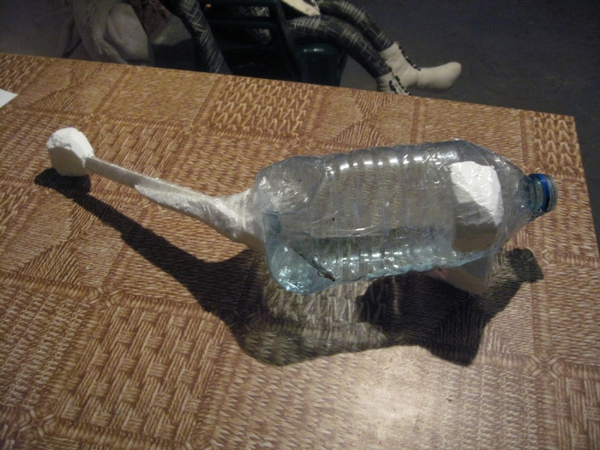
- Using adhesive tape, attach parts of the body to the plastic container. The neck consists of a wire covered with foam plastic pieces.
- For hips we also use pieces of foam plastic.
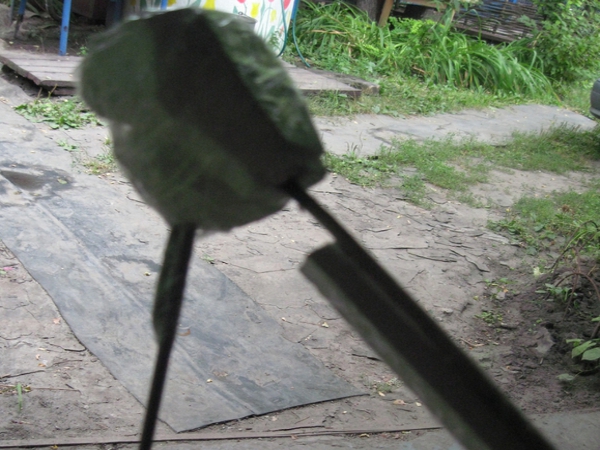
- To make a beak, a big nail will do.
- This is what the procurement looks like at this stage.
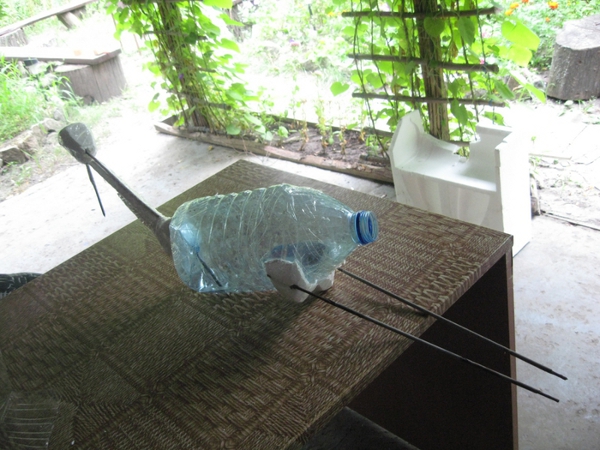
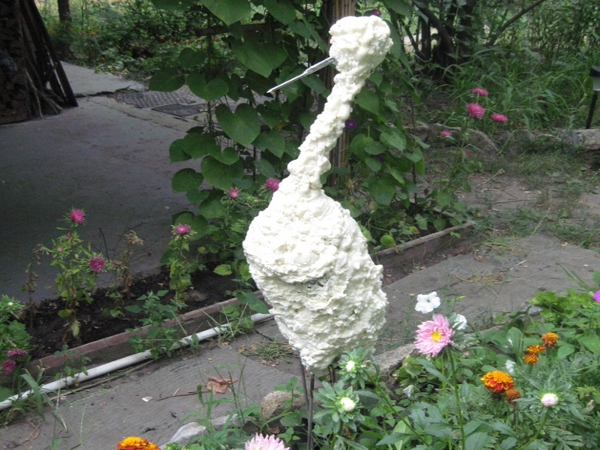
- Legs the author of the lesson proposes to make out of spent electrodes. You can choose a similar material: it can be metal rods or thick wire in several turns.
- Before proceeding to the next stage of manufacture, check the reliability of the support.
- Next, just apply the mounting foam on top of the layout.
- Crop excess.
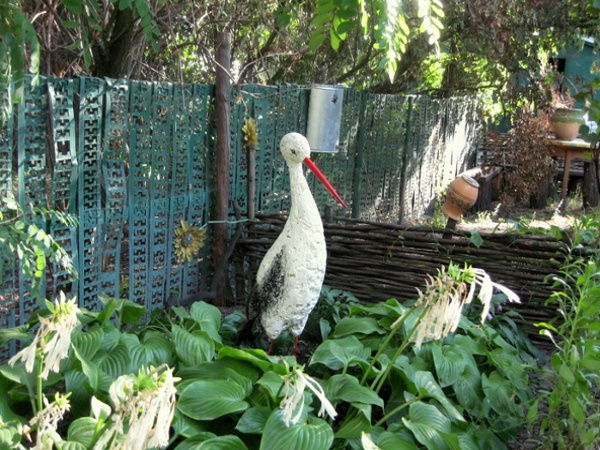
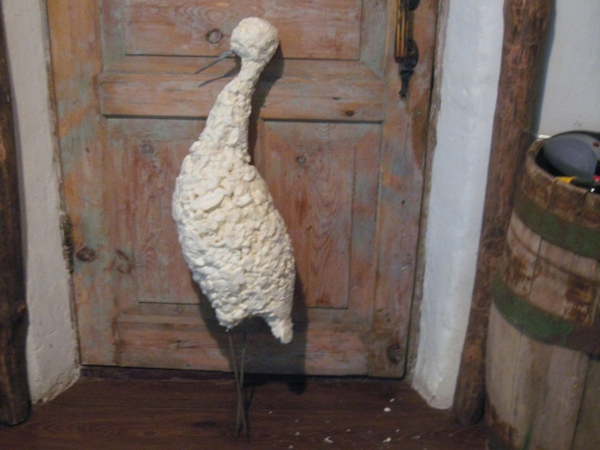
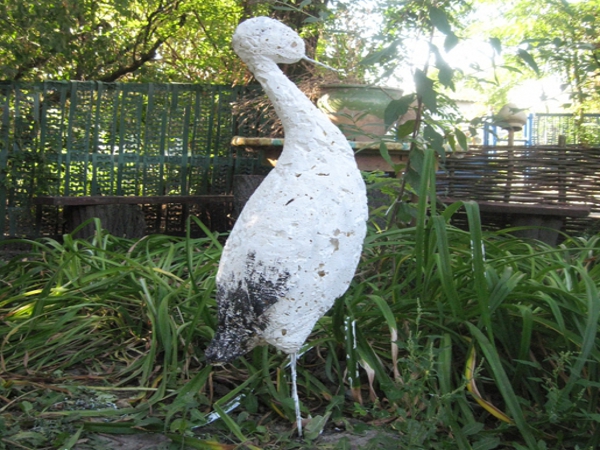
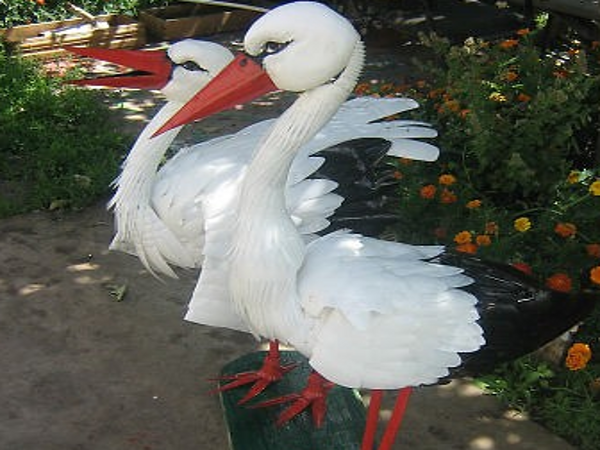
- The ready sculpture is painted with acrylic paints.
- From the piece of wood we finish the nose and attach it to the nail.
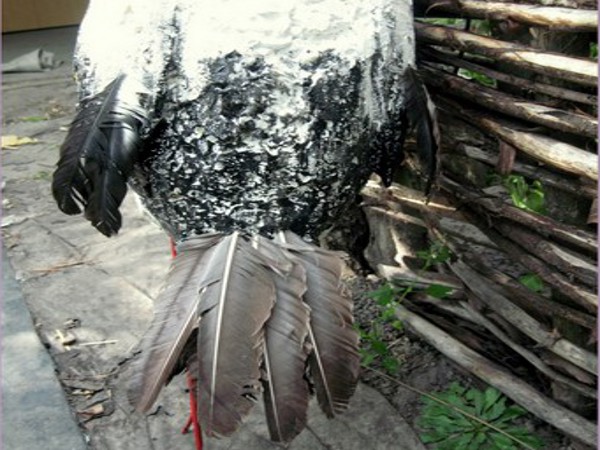
- To the stork looked like a real one, we put real feathers into the tail and wings.
- Here is such a wonderful stork turned out.
| | | |
| | | |
| | | |
| | | |
Making a stork with your own hands from a canister
For work the following materials will be needed:
- five-liter canister;
- strong thick wire and plastic tubes;
- grid;
- Styrofoam;
- white and dark plastic bottles;
- corrugation.
Now consider step by step all the stages of manufacturing.
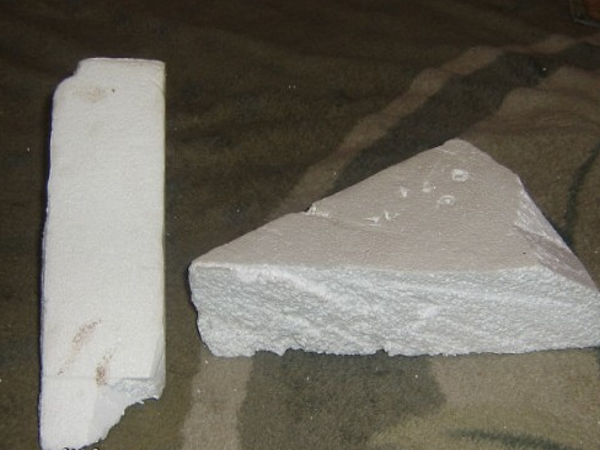
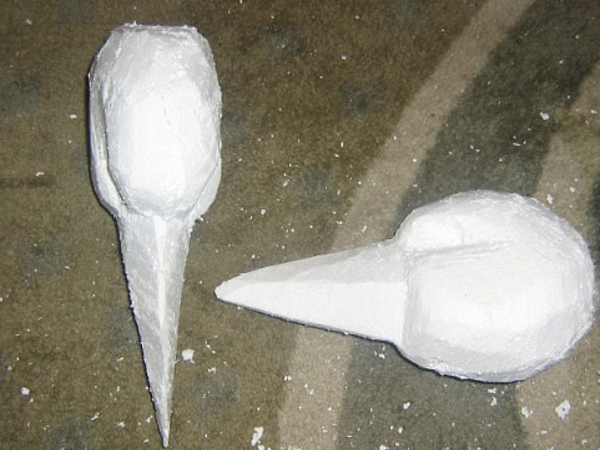
- From the sheet foam we cut the workpieces.
- Then knife we give them the shape of the head.
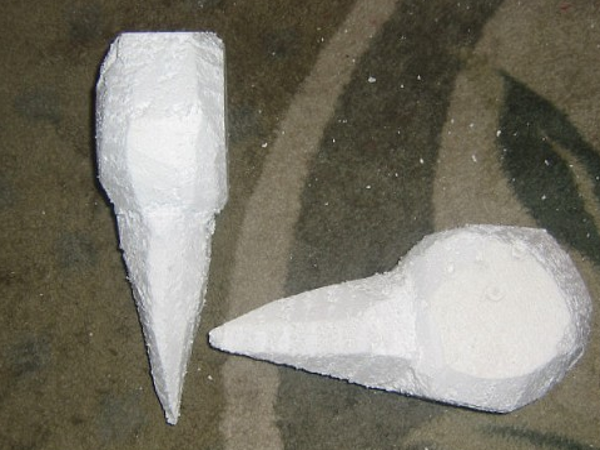
- We give the beak a more flat shape and cut out the eye sockets.
- Using a sanding pad, make the surface smooth. In the eye sockets we insert toy eyes.
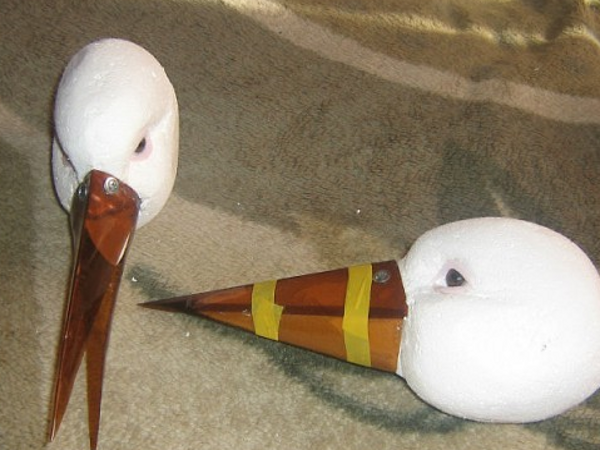
- From a plastic bottle we cut out a beak and we fix it on glue "Titan".
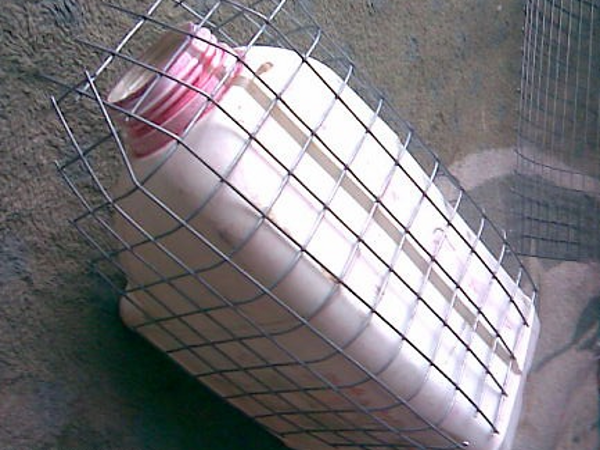
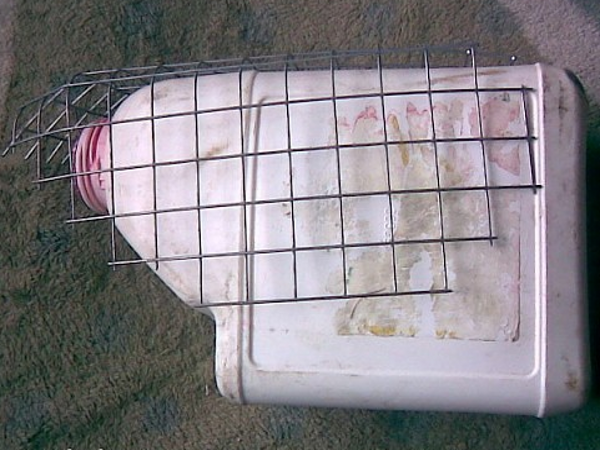
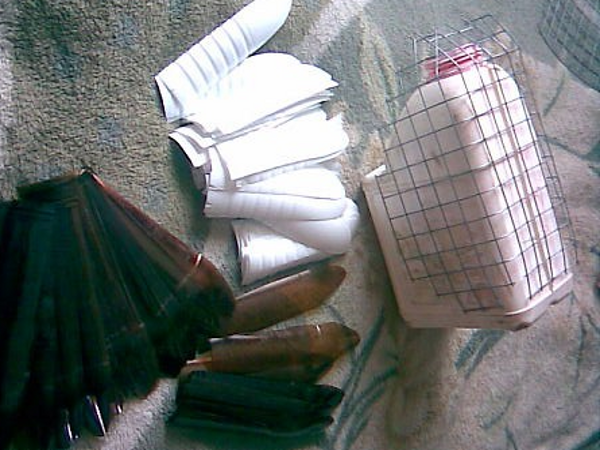
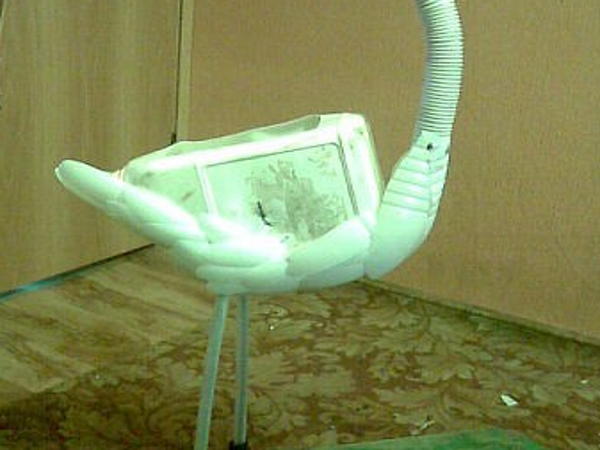
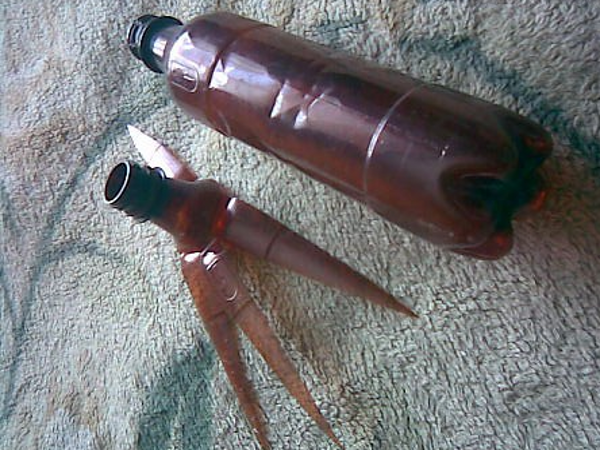
- We make a trunk for a stork with our own hands from a plastic canister.
- We cut off the handle.
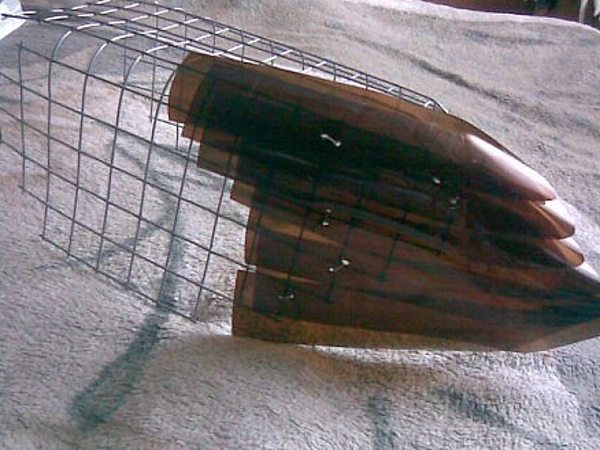
- From the grid we cut out a piece so that it can be wrapped around a canister.
- A little rounded the grid, so that it was more like wings.
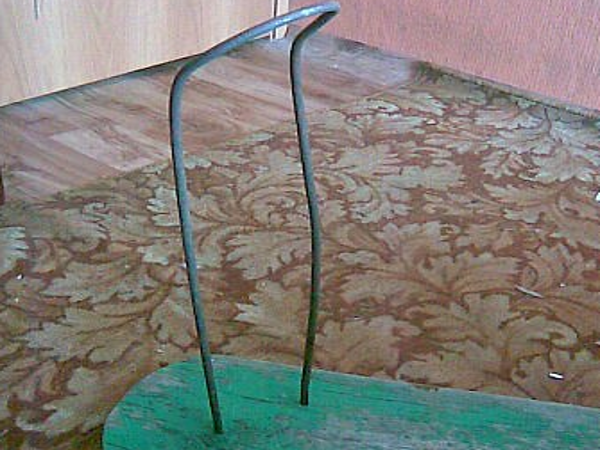
- We bend a thick rod and make our legs.
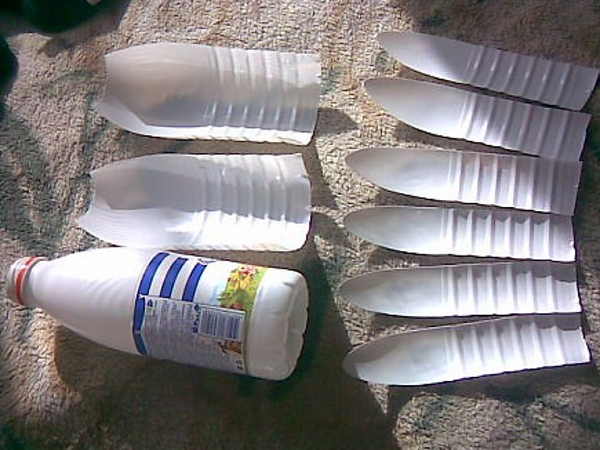
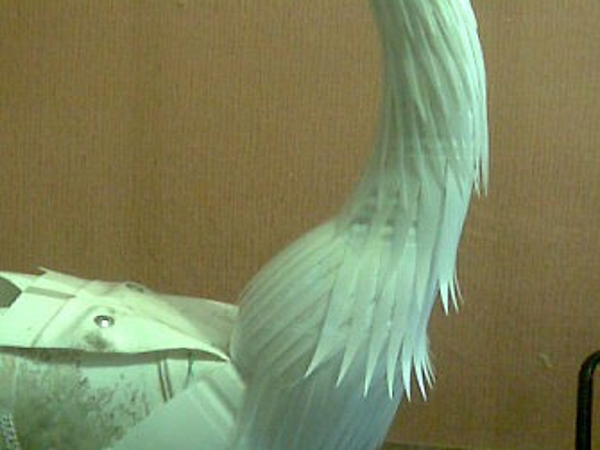
- Of white bottles we cut feathers.
- Now you can start assembling all the components together.
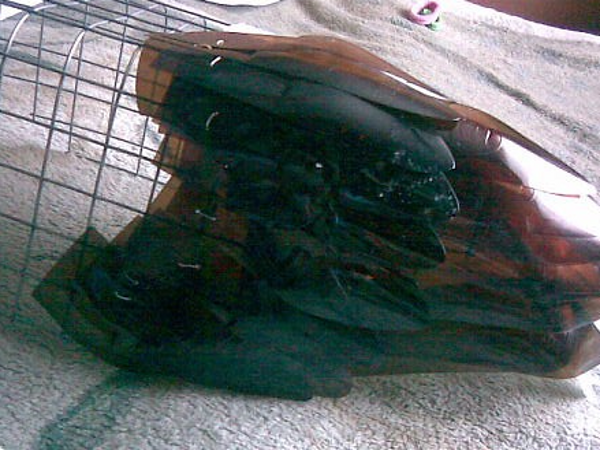
- Work begins with the tail.
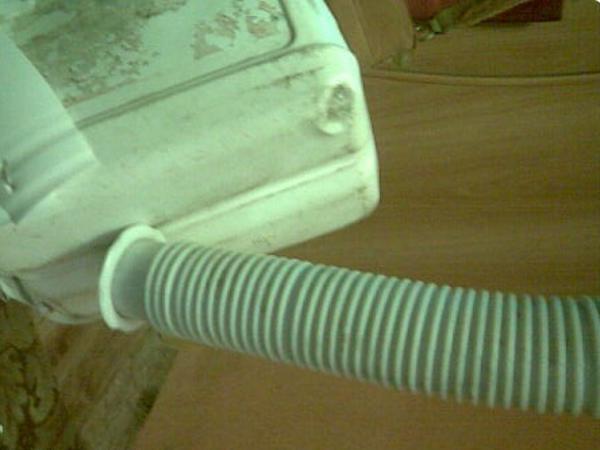
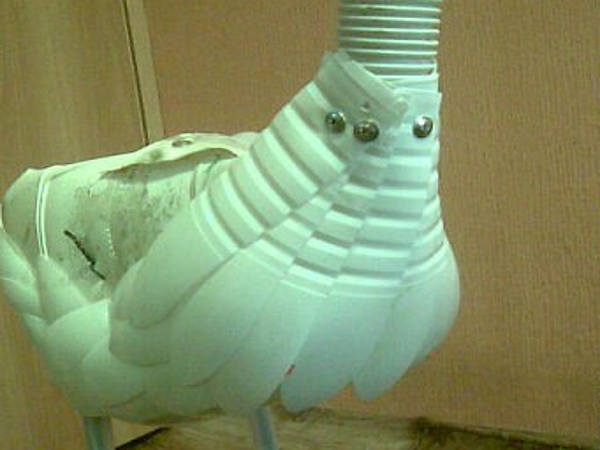
- To make a neck, we put on the wire a corrugated hose from a vacuum cleaner or a similar part.
- All feathers are attached to self-tapping screws.
- Since the stork's wings are folded, it's enough to attach the feathers to the belly and slightly to the sides.
- Cut the white bottles in half and make cuts in the form of fringe. We attach them to the neck on the scotch tape.
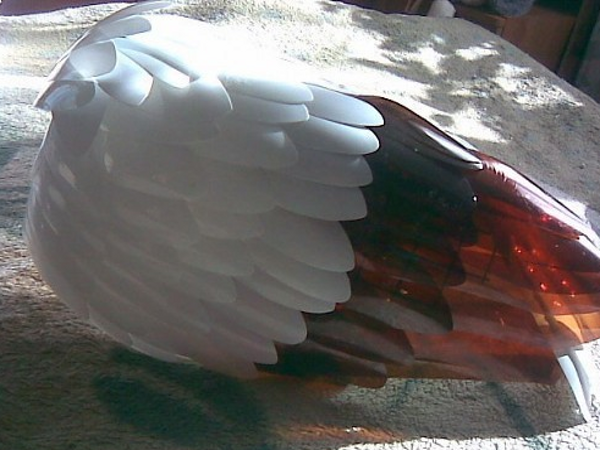
- We begin to make wings from the edge of the grid.
- The next row covers the previous one by one third.
- Starting with the third row, we use white plastic.
- To make the legs, cut out the blanks from half a liter bottles.
- In the end, we color the bird's beak and legs in red.
- Stork for the garden with their own hands is ready.
| | | |
| | | |
| | | |
| | | |
| | | |
| | | |
| | | |