Making a paper parrot is very easy. You will need a standard sheet of A4 paper and a little patience. And now let's look at how to make a parrot from the paper with our own hands.
Origami parrot made of paper
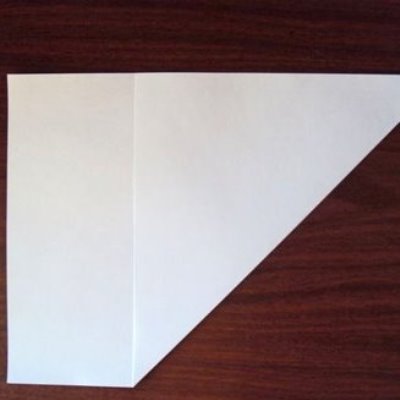
- So, prepare a sheet of white paper.
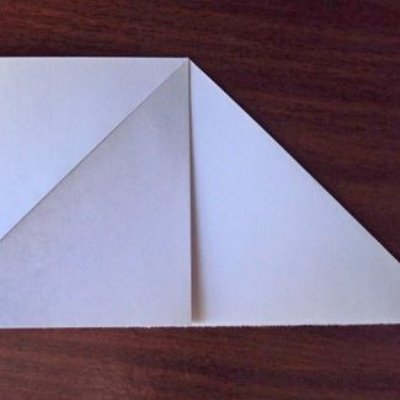
- Bend it to the right bottom corner, forming a triangle.
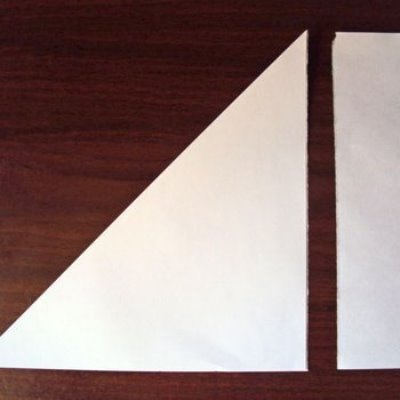
- Using a ruler, tear off a rectangular "tail" - it will be superfluous.
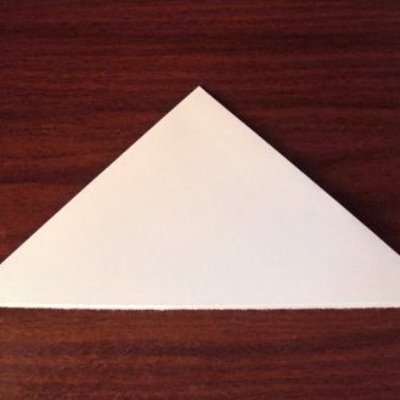
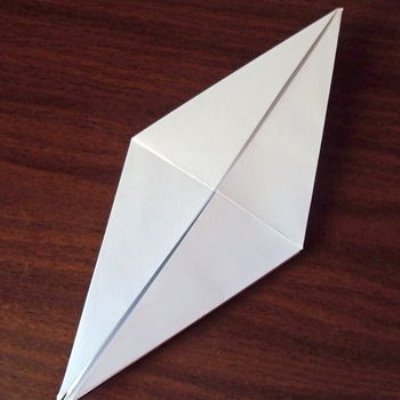
- You will get a double folded triangle.
- Fold it again, getting a smaller triangle.
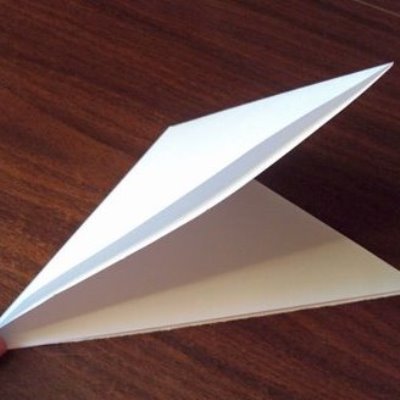
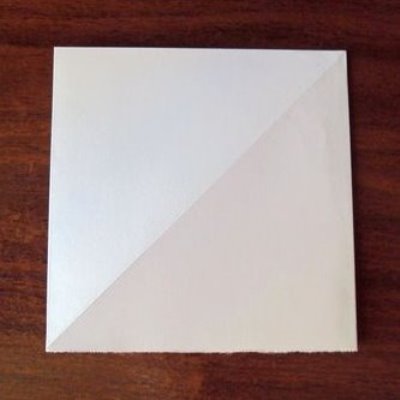
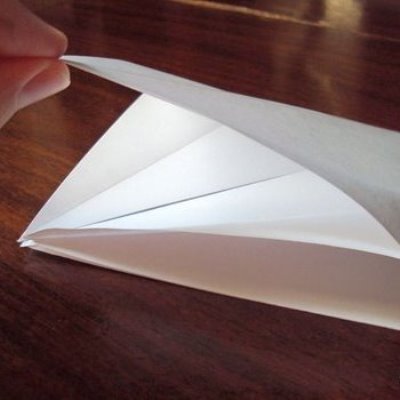
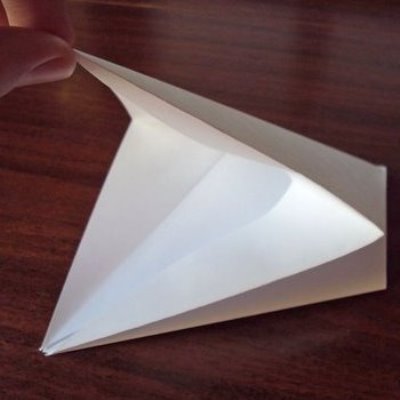
- Gently cut one of the folds and bend this part of the sheet, turning the corner of the triangle into a square.
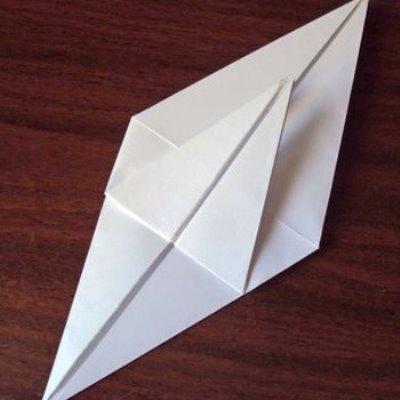
- Turn the paper over and perform the same manipulation on the reverse side. If done correctly, you should have a square.
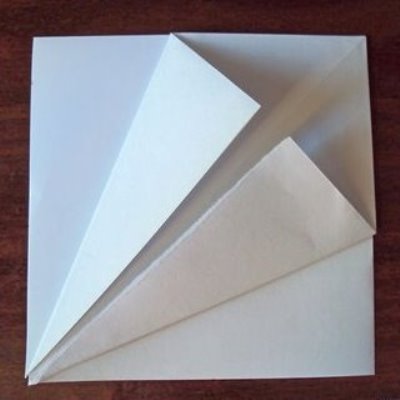
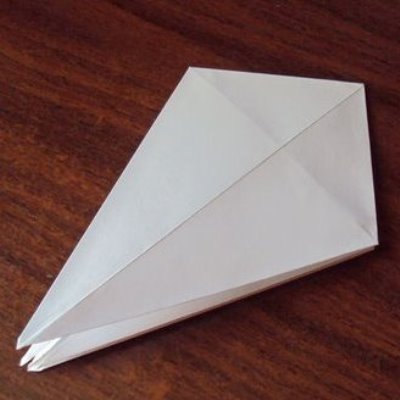
- That part of it, which is currently located on top, bend on both sides, as shown in the figure.
- Do the same with the other side - and you'll get a shape that looks a bit like a rhombus.
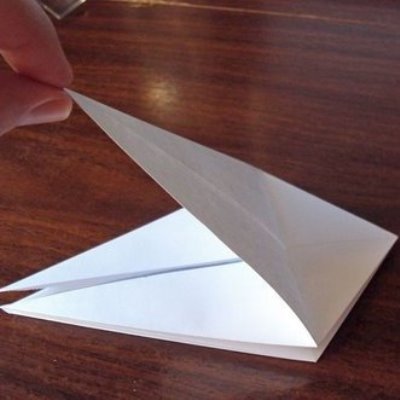
- The next action is probably the most difficult in this craft. You should go back to step 4, when you had a triangle folded in your hand. Take the lower acute angle of the triangle.
- And bend those parts of it, the fold lines of which were carried out in the following paragraphs, only in the opposite direction. Then repeat the same actions by turning the hand-crafted item.
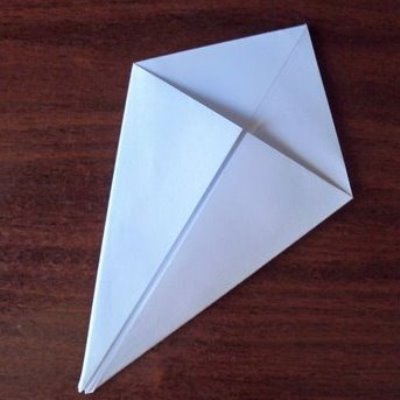
- You again get a shape that looks like a rhombus, only with sides of different lengths.
- Unfold its corner and you will see that the resulting paper figure consists of three layers.
- Fold the top layer along the horizontal fold line to the top.
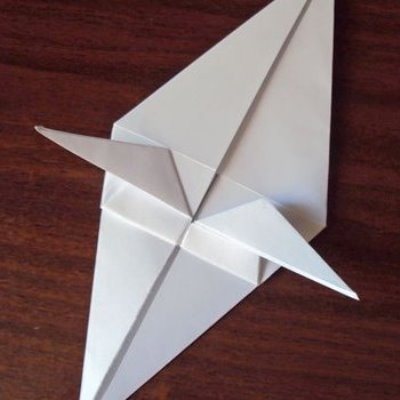
- Now there are two layers left below. The second, which was previously medium, bend upwards by 2/3 of its length.
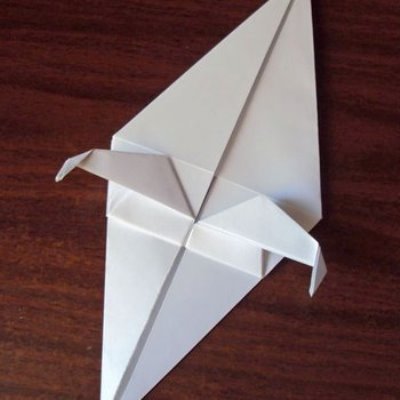
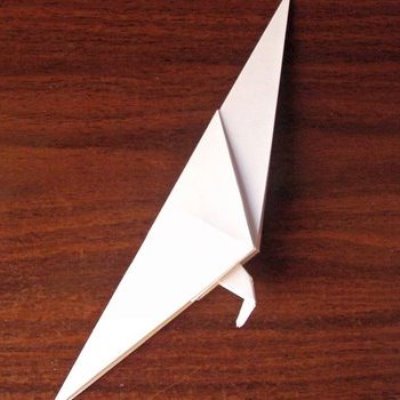
- And two of his "tail" bend first down, and then to the right and left, respectively.
- The ends of them bend down again - these will be the legs of a parrot.
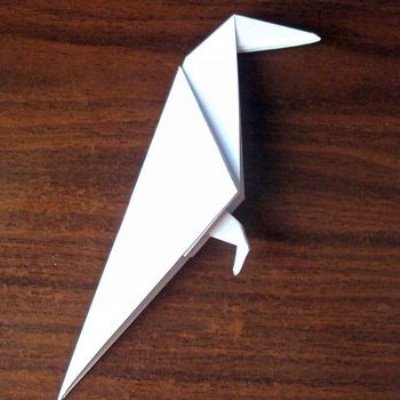
- Fold the article in half, and you will see that it gradually becomes like a paper bird.
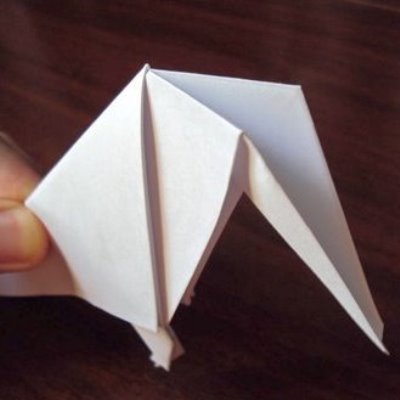
- The head of a parrot is made as most of the similar elements in origami technique. The upper part (neck) must be bent down and at the same time inside, having formed a head with a beak of the required length.
- This is how it looks from above.
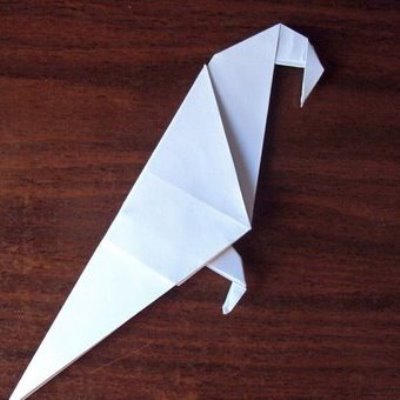
- And to make the beak more sharp and hooked, like real parrots, once again bend it down.
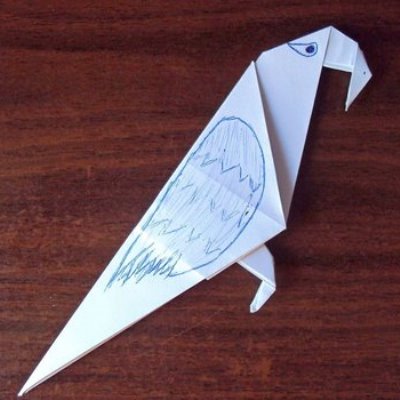
After doing all the "paper work" is recommended to paint the parrot with pencils or colored pens or at least draw his eyes and wings.
As can be seen from the master class, making such a hand-made paper is not difficult; you can also master the making of a parrot in the technique of modular origami or quilling .