Each young parent knows that developing textile toys give a big push to the development of the baby by stimulating the fine motor skills of the little fingers, so all moms and dads get a dozen of these toys, but they are very expensive.
It's also hard to argue with the fact that toys made for the child with their own hands are special, bearing a part of the parents' warmth. We will combine these two important factors and make a developing finger toy with our own hands.
How to make toys out of felt?
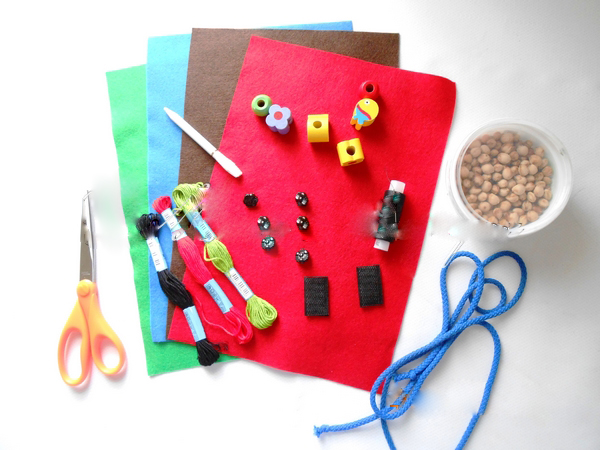
In the master class, we show how you can make your own hands a developing toy of felt in the form of a ladybug. For this we need:
- multi-colored felt sheets for needlework;
- Thread floss for sewing felt, whenever possible in tone;
- scissors;
- 6 black buttons on legs;
- black threads floss for sewing buttons and lace;
- blue (or any other color) lace length 1.3 meters;
- 100 - 150 grams of cherry pits;
- a needle with a wide eye;
- 2 pieces of Velcro to 3 cm;
- white pencil for needlework or ordinary chalk;
- wooden decorative beads.
Toy of felt - master class
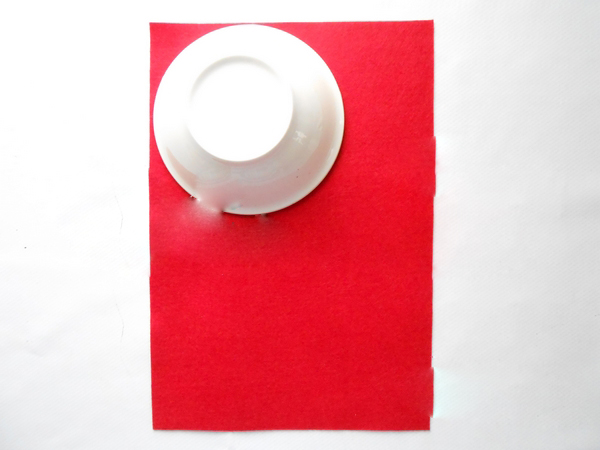
- Let's start making a ladybird with wings. Take a sheet of red felt, draw a circle. If you do not have a compass on hand, take a saucer or a piano.
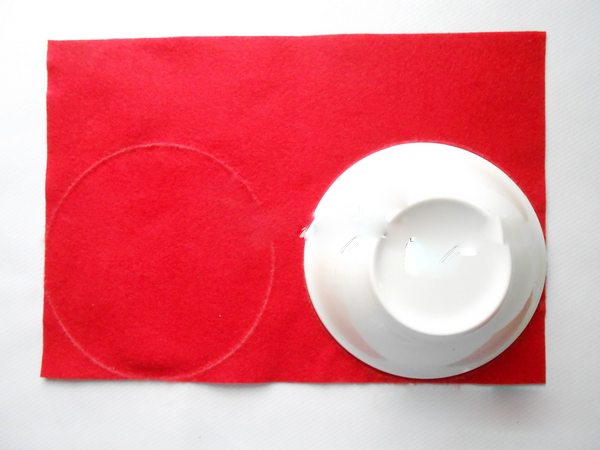
- We draw another circle.
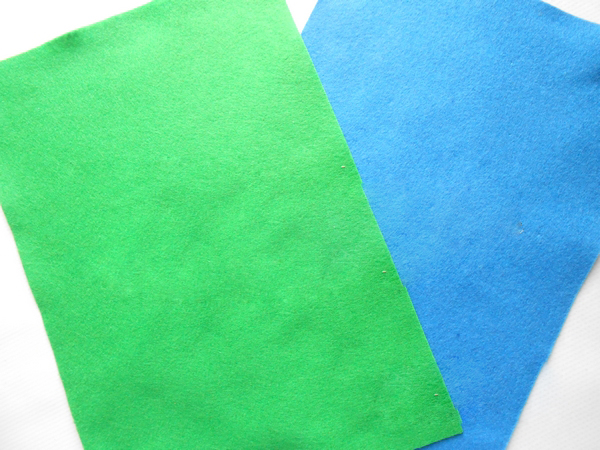
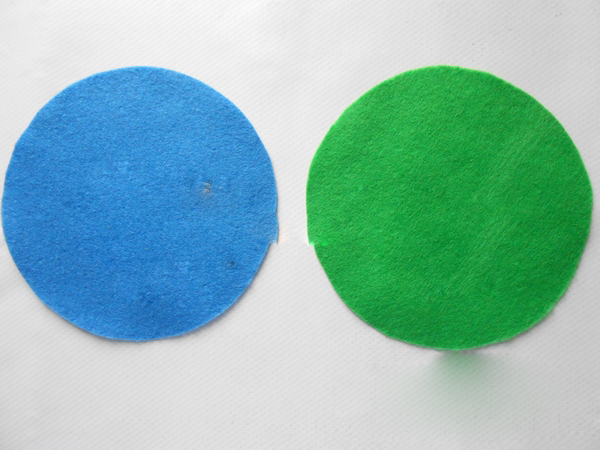
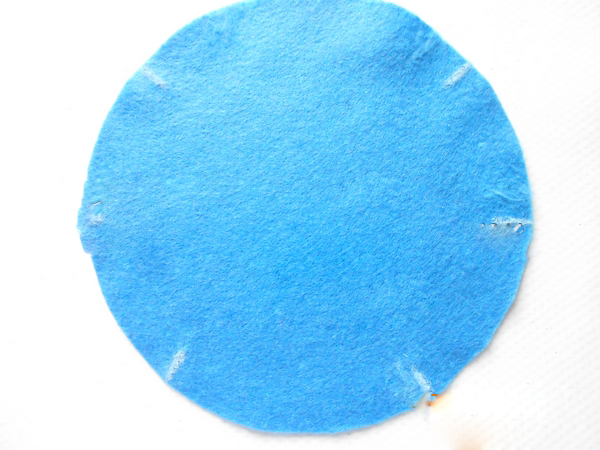
- Prepare for the torso 2 more sheets of felt bright colors.
- We draw the same circles for making the upper and lower parts of the trunk.
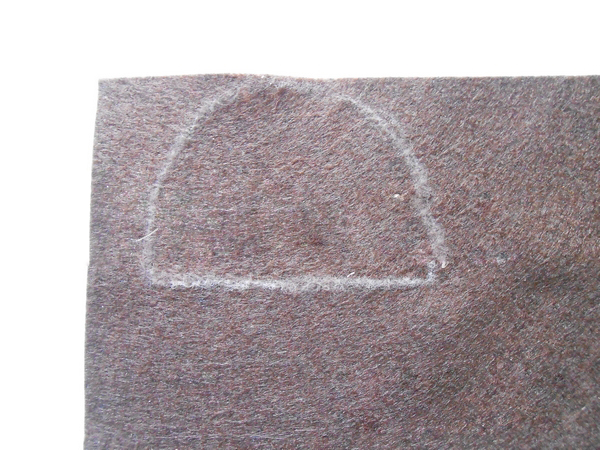
- Take a sheet of brown or black felt and draw a pattern of the head of a ladybug.
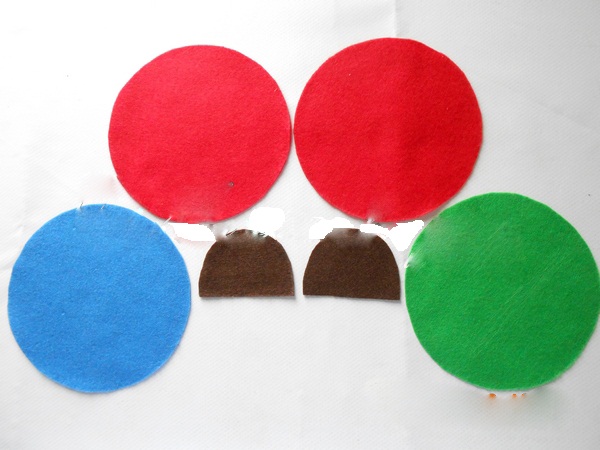
- Next, cut out the drawn circles.
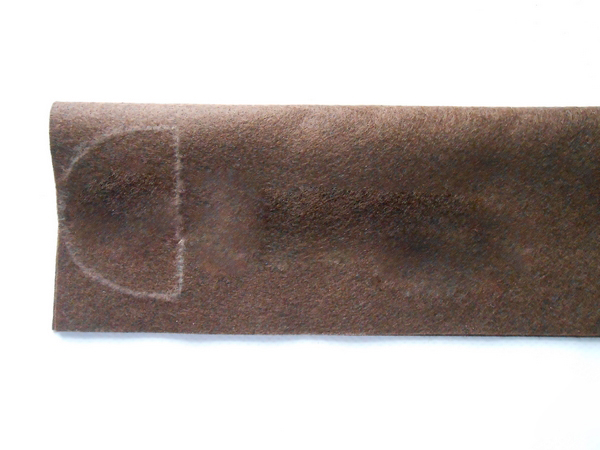
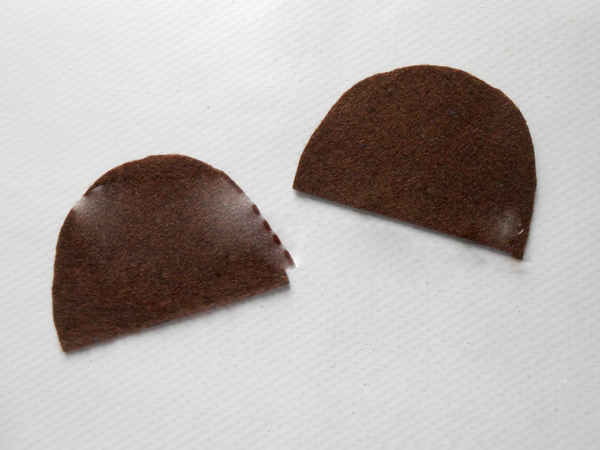
- Take the felt with the toy's head, put it in half and cut out the workpiece. We get two details.
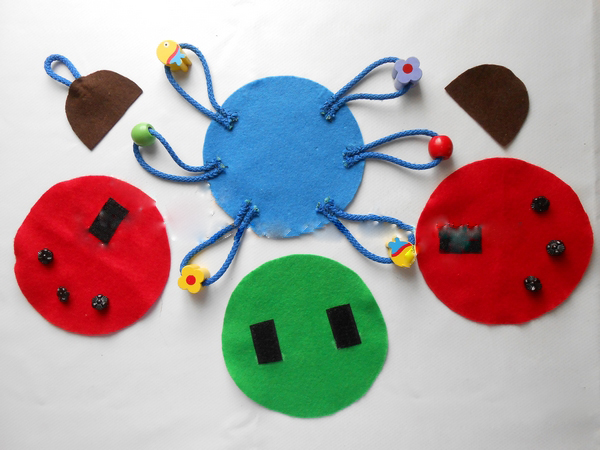
- We get six details of the toy from felt.
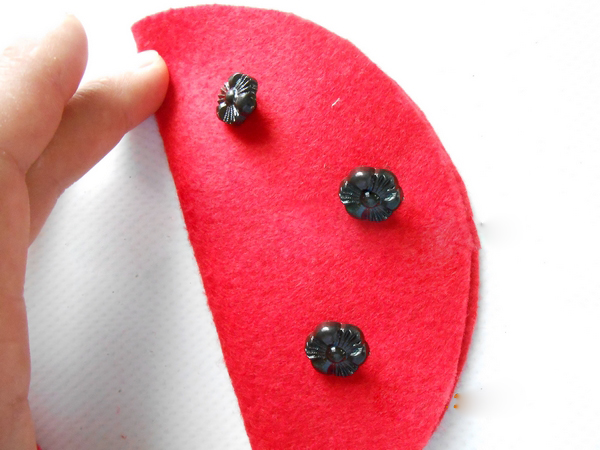
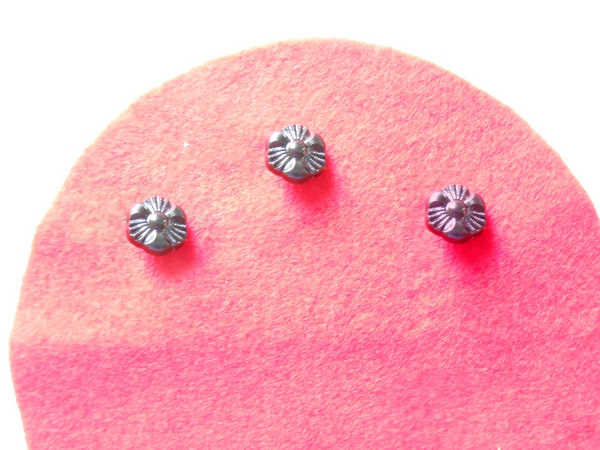
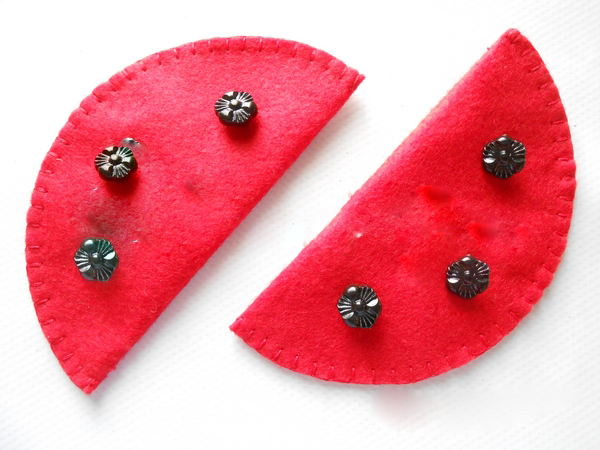
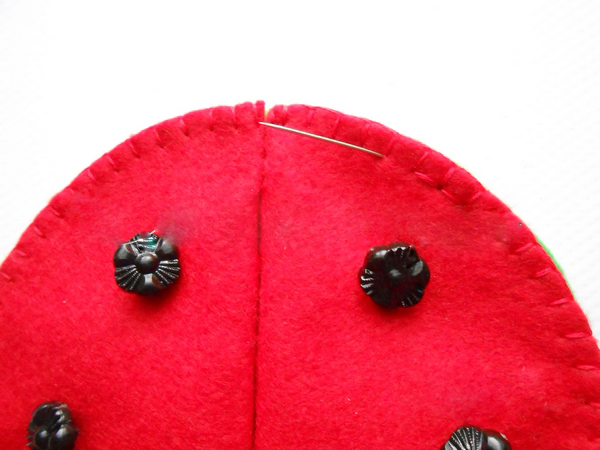
- Let's do wings. Take 2 red circles and fold them in half.
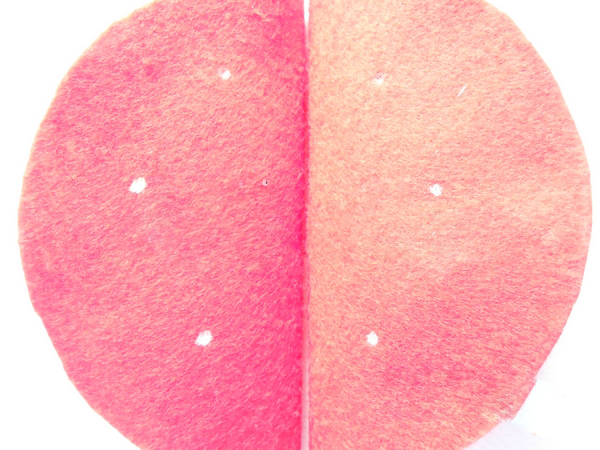
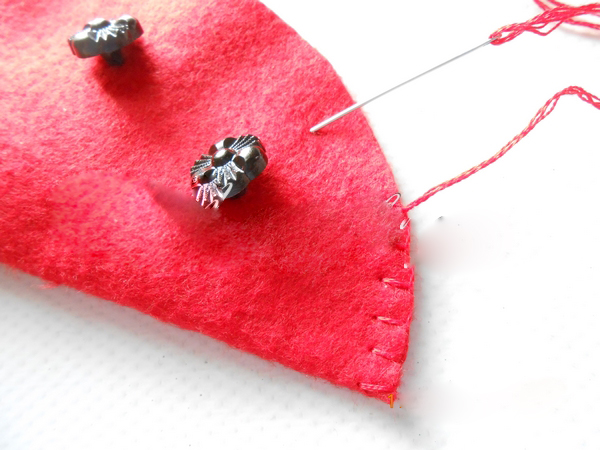
- Apply the buttons to the wings, determining their exact place, and make marks in pencil.
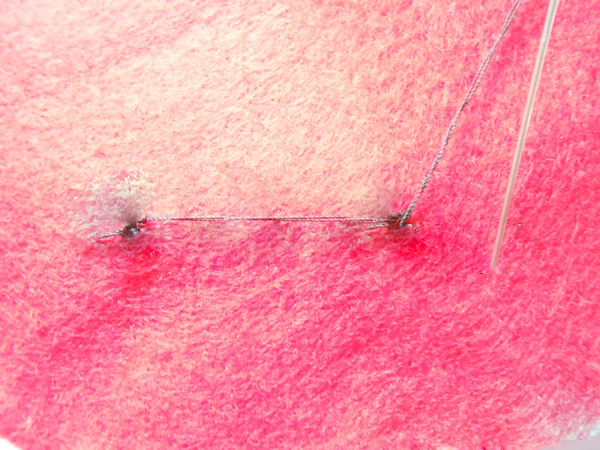
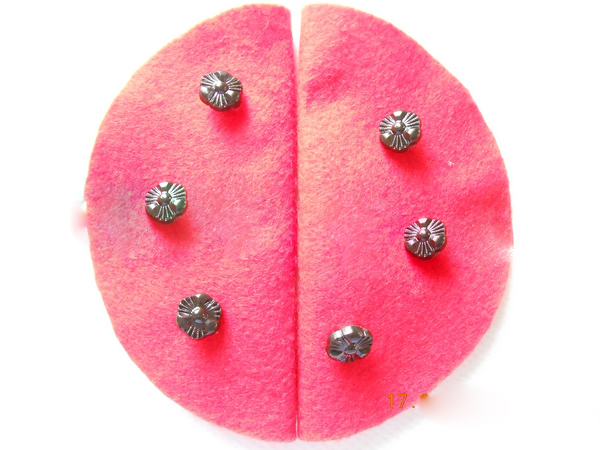
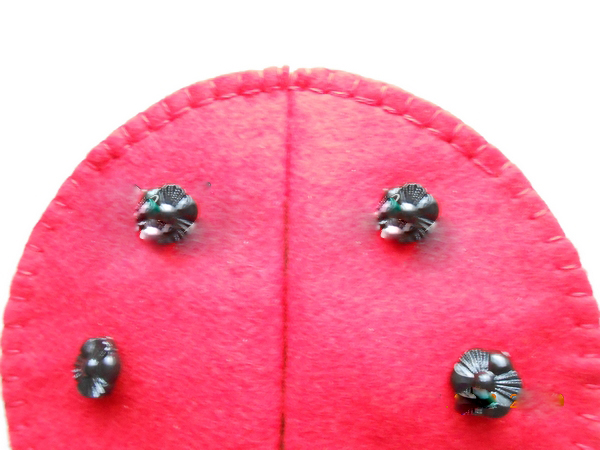
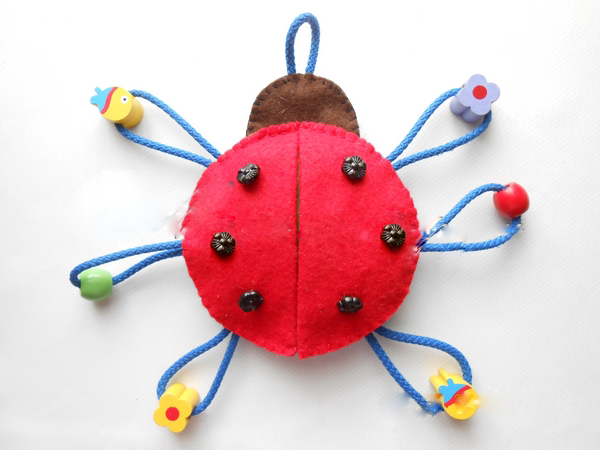
- Then sew buttons to the wings, forming black dots.
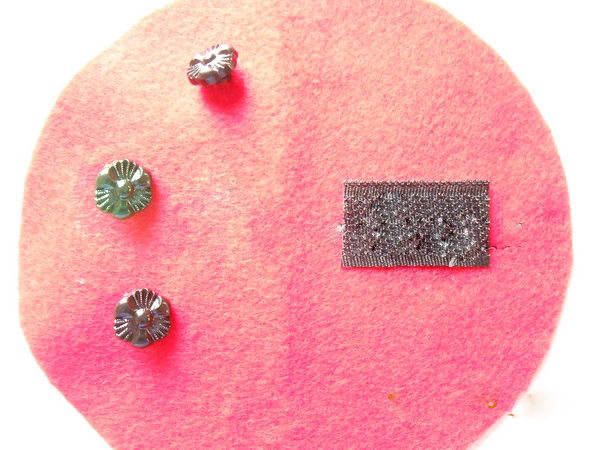
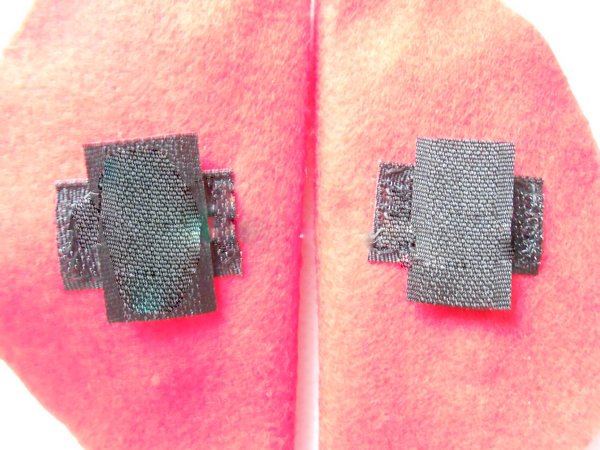
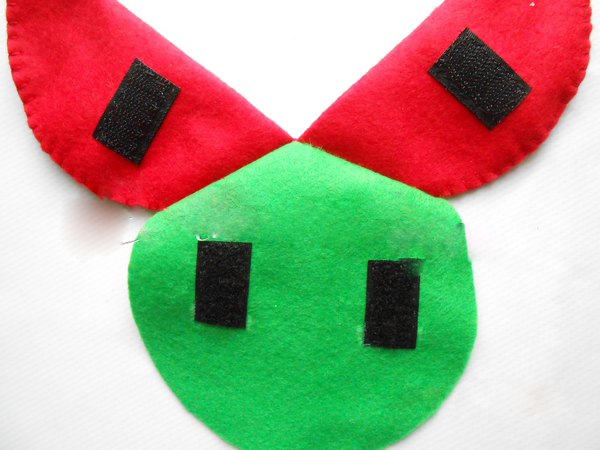
- Straighten the circle, on the other side we sew velcro.
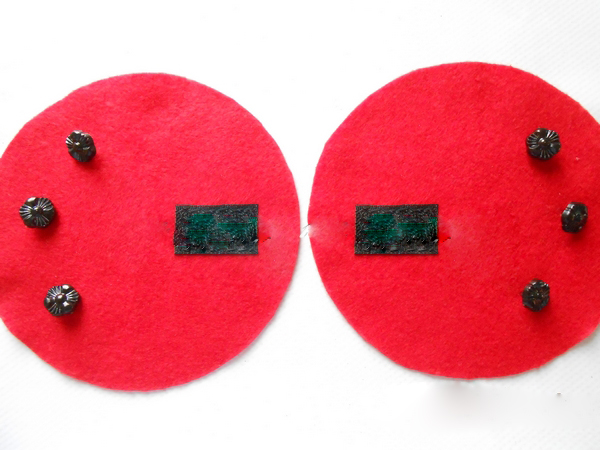
- The same is done on the second red circle.
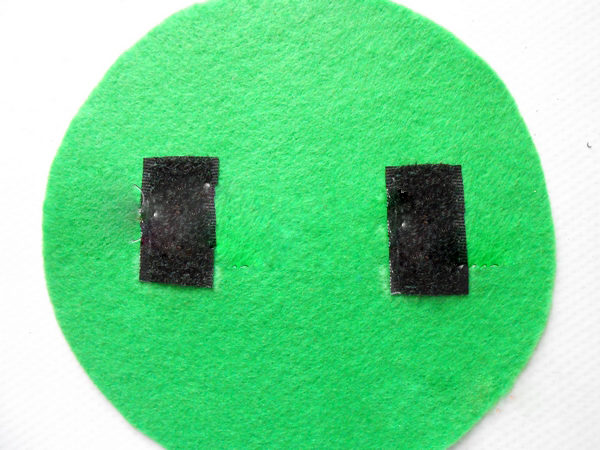
- Next, attach the second part of the Velcro to the sewn, apply the fabric with Velcro to the fabric, where we will sew them, make marks in pencil, and then sew on the marked places.
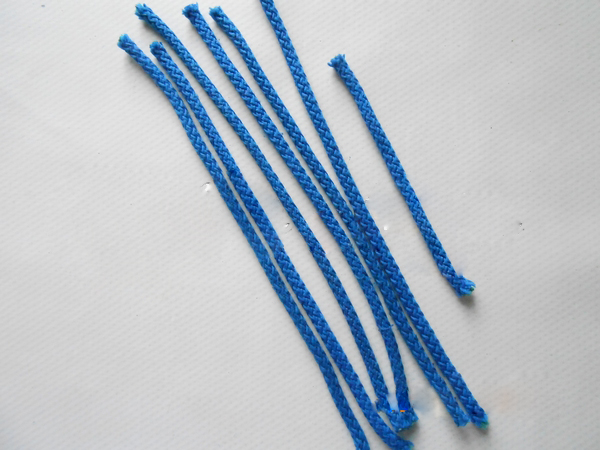
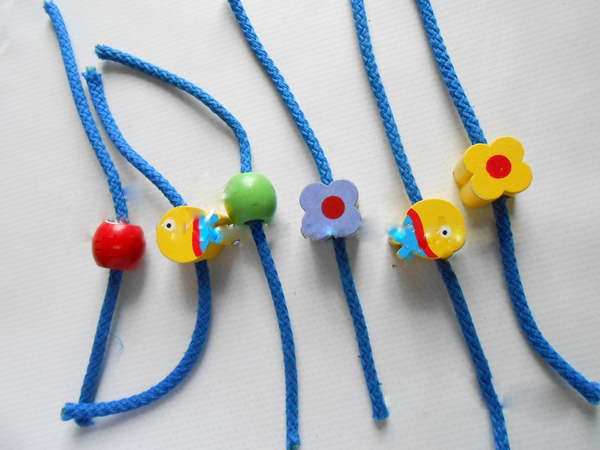
- Now we will work on the shoelace - cut it into 6 equal parts of 20 cm, and there is one more piece 10 cm long, we will need it, too.
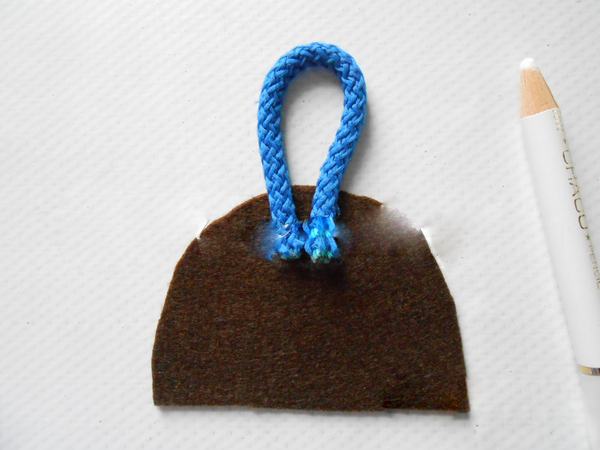
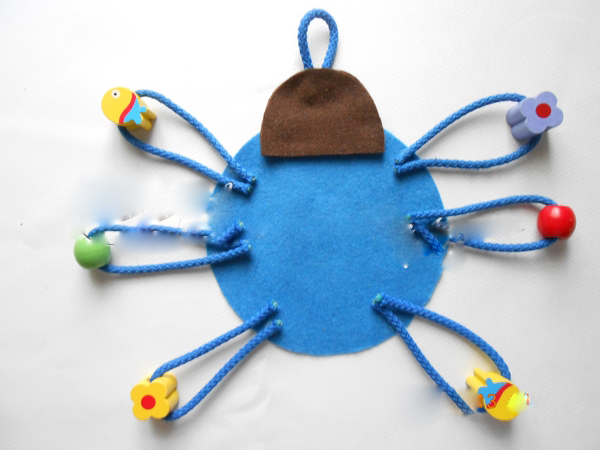
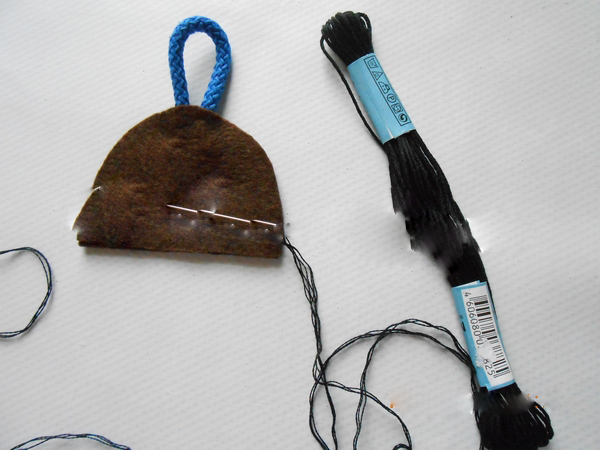
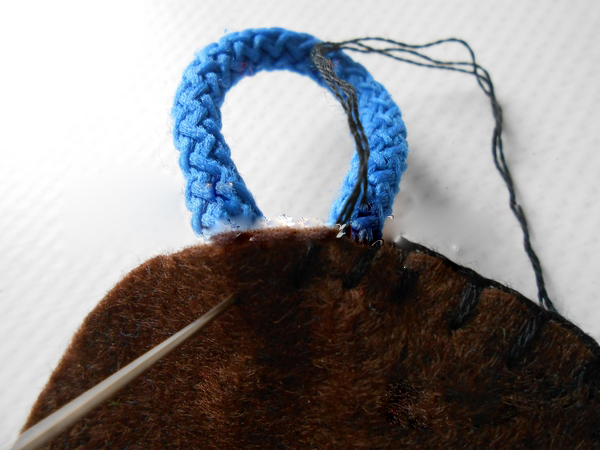
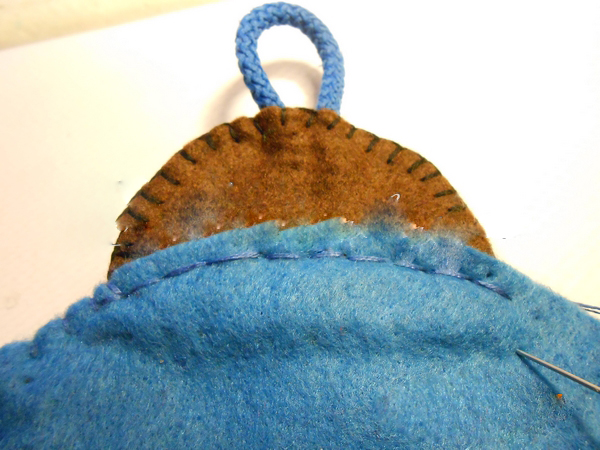
- From the smallest cut of the lace we make a loop, apply it to the future head of the toy and make a mark.
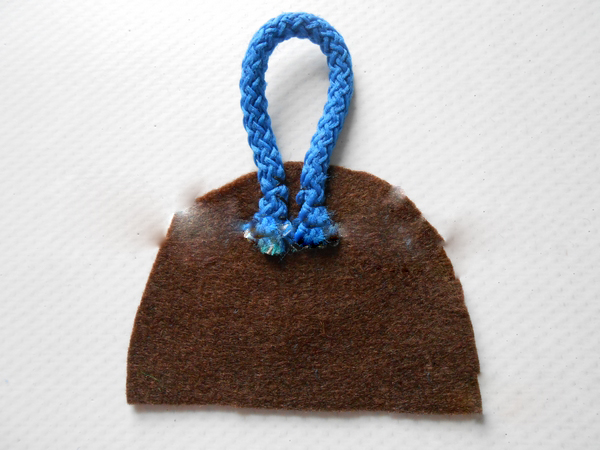
- Then gently, but very firmly sew the lace.
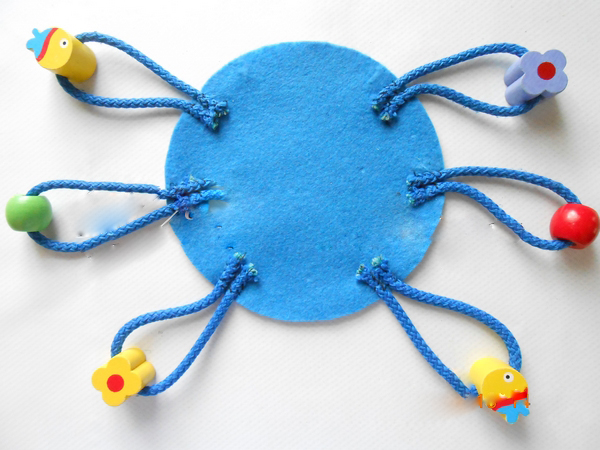
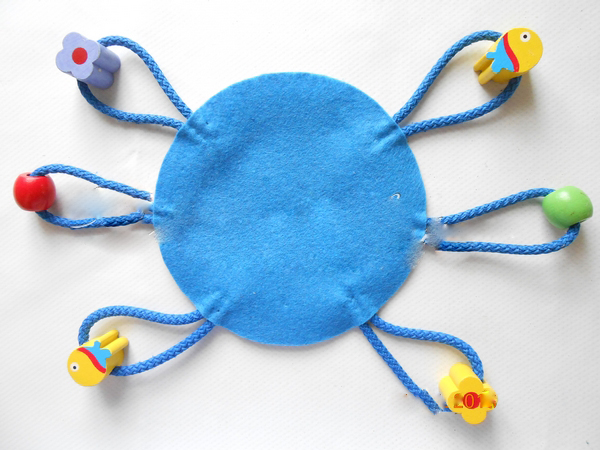
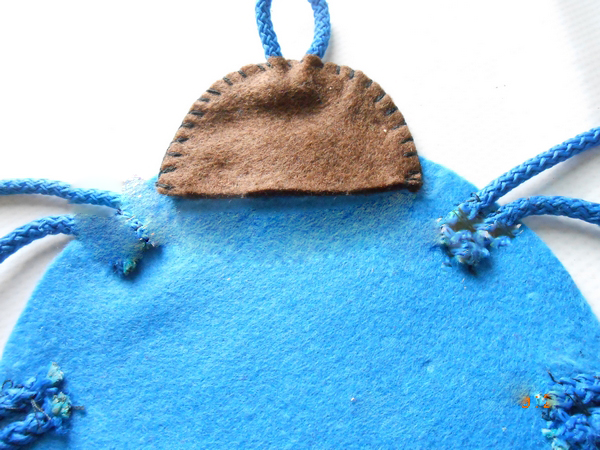
- On the lower part of the trunk, we make six marks for sewing the feet.
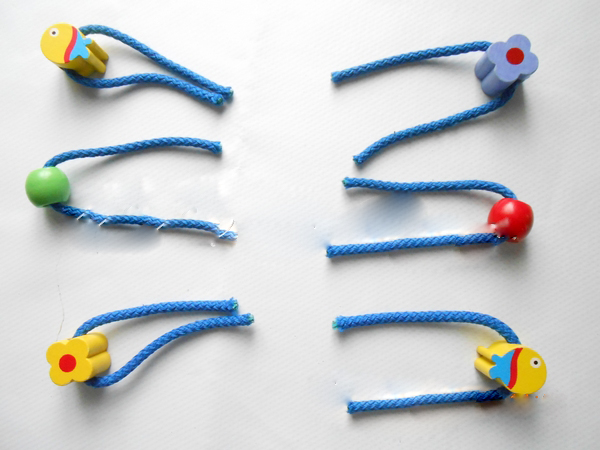
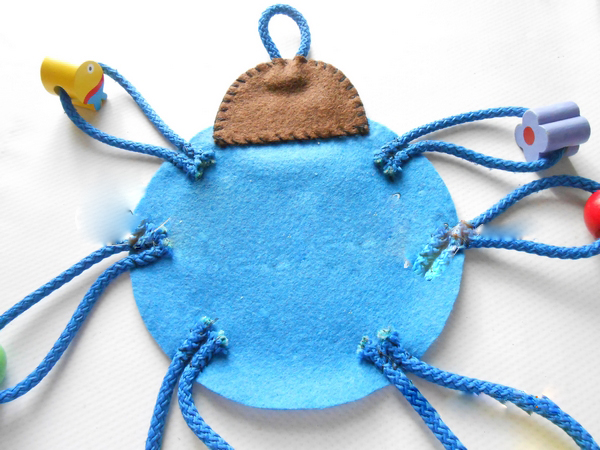
- Next, we put on the remaining 6 pieces of lace beads - this will be the paws of the toy made of felt.
- The edges of the lace will be burned with a candle so that they do not begin to hurry.
- And, finally, we sew up the feet to the body, picking up the threads in tone.
- Now we have all the details ready, we'll start sewing.
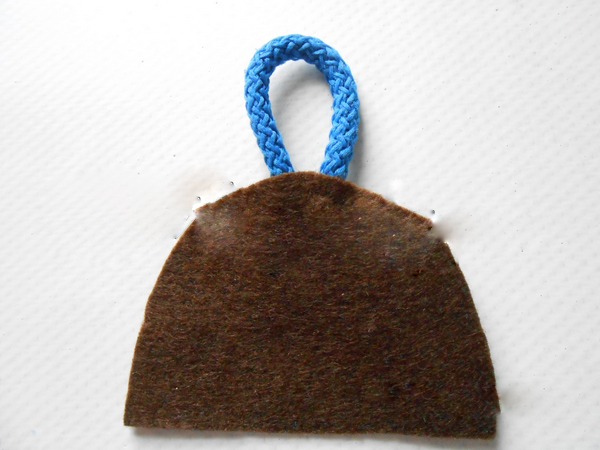
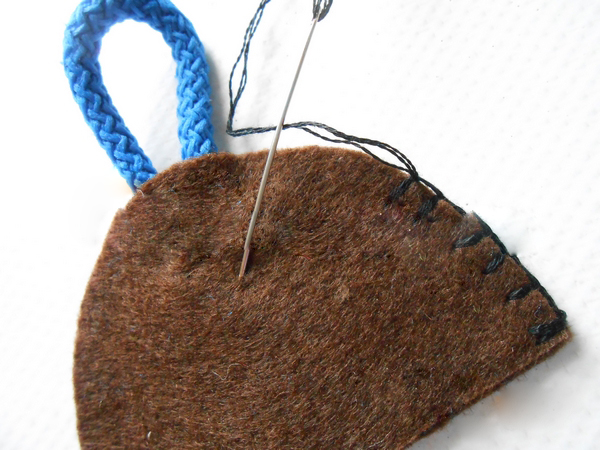
- We'll sew the head of the ladybug. We put the two halves together and start sewing with a seam wrap.
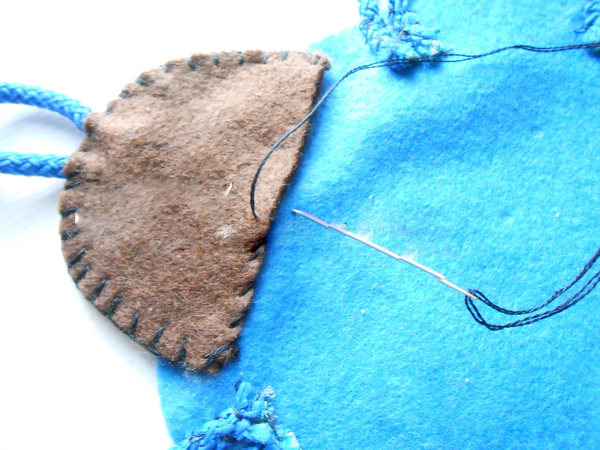
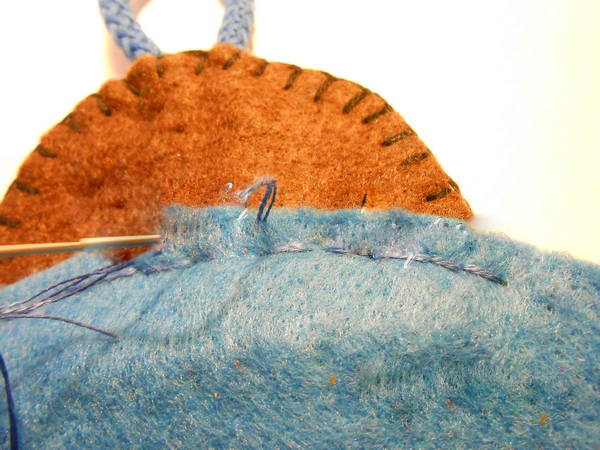
- We place the head on the toy body of felt and sew.
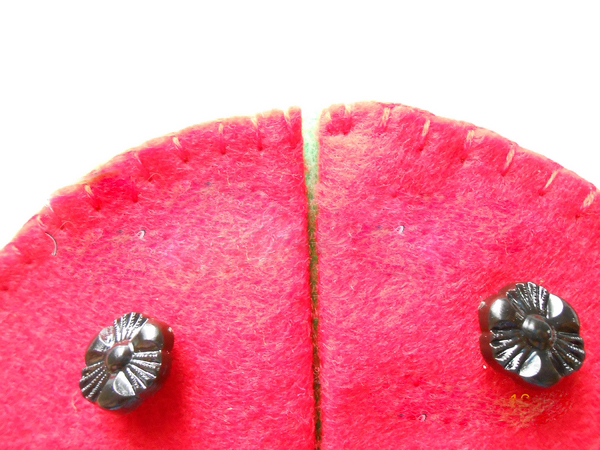
- Then again fold in half the workpieces for the wings of the ladybug and also sew on the edge with a suture seam.
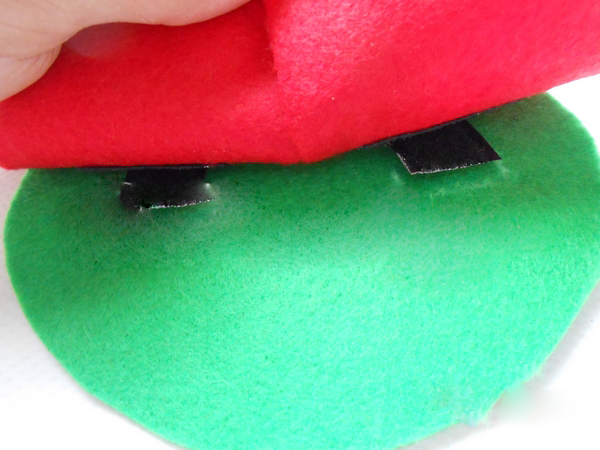
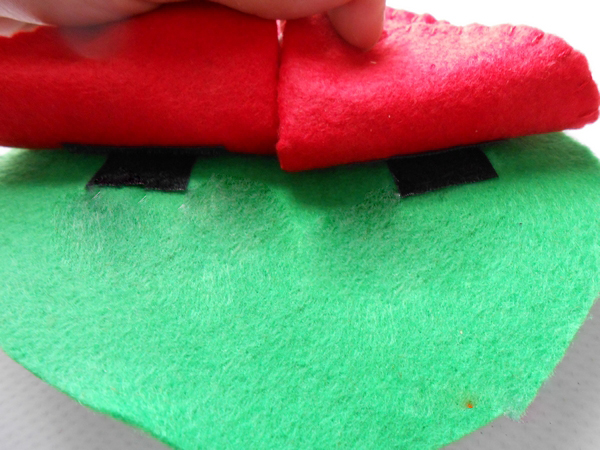
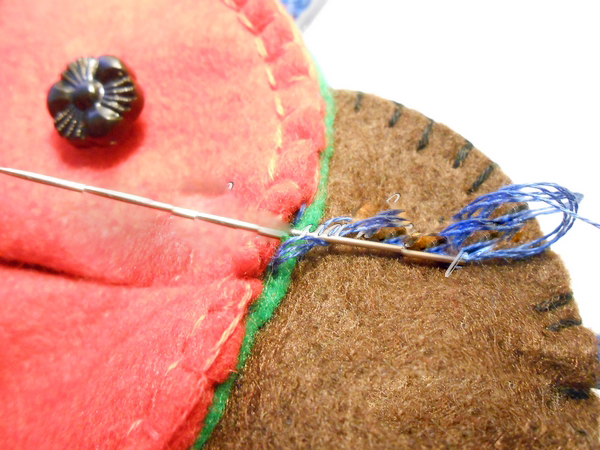
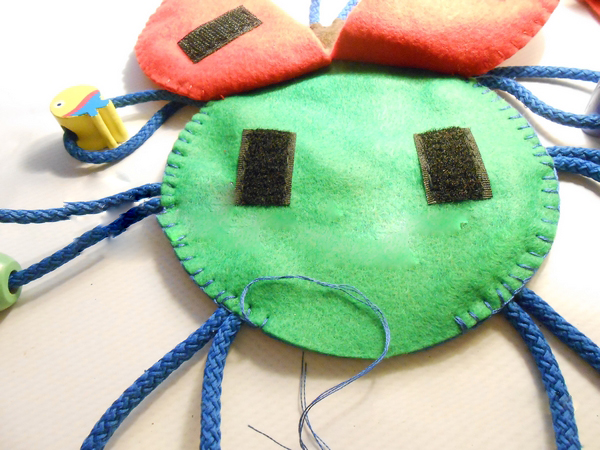
- Then apply the wings to the green workpiece so that the hooks match, and gently sew a small patch along the edge.
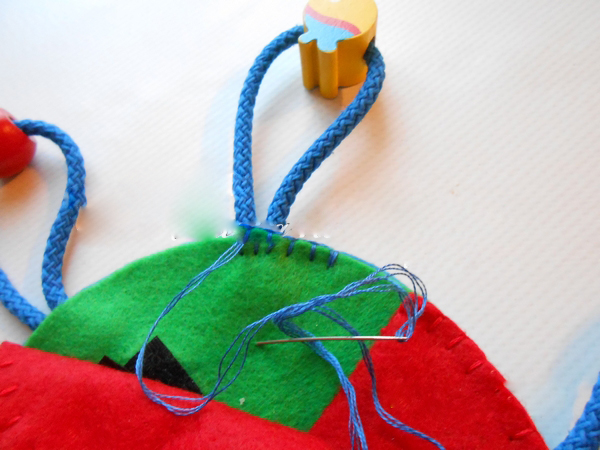
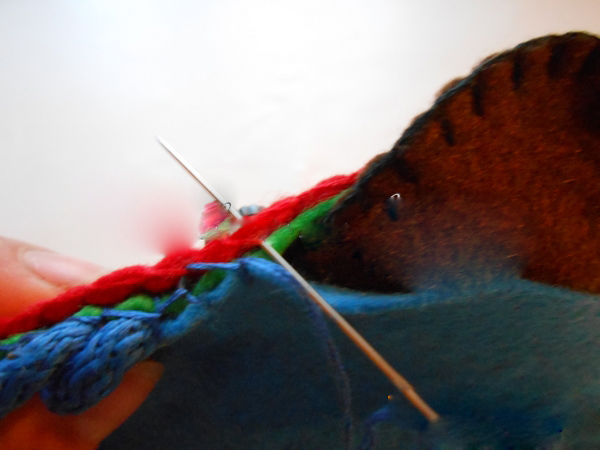
- We fold the two parts of the trunk and sew them with blue threads.
- We sew in a circle, then we leave a section 2-3 centimeters long.
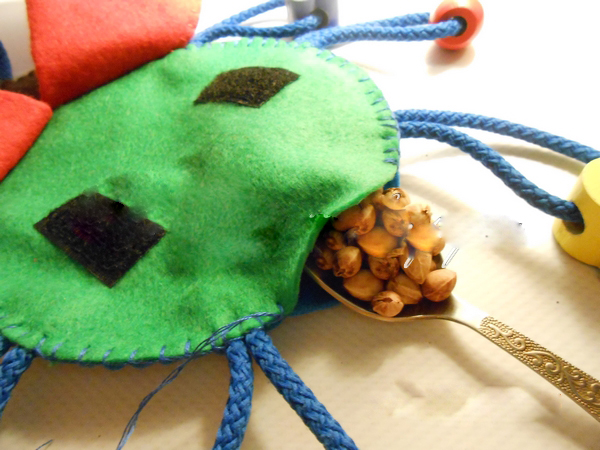
- Next, fill the toy with cherry stones and sew the circle to the end, distribute the filler evenly.
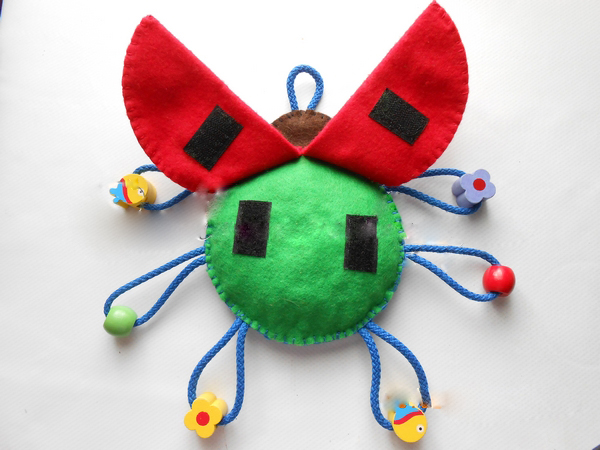
Our developing toy of felt, bright and useful, ready! We hasten to please our kids.
In addition to toys made of felt you can create flowers and other interesting crafts !