Not only a flat star can be made from paper with your own hands, but also a volume one. There are several options for making such a figure. In this article we introduce you to some of them.
Master class №1 - three-dimensional star from paper
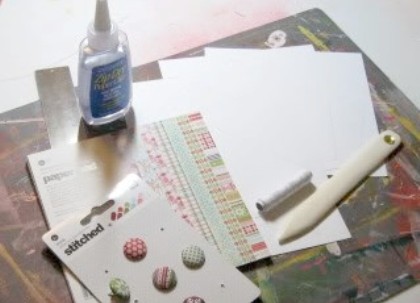
It will take:
- sheets of colored paper with a pattern;
- glue;
- buttons;
- white thread;
- plastic spatula;
- template;
- scissors.
| | |
Progress:
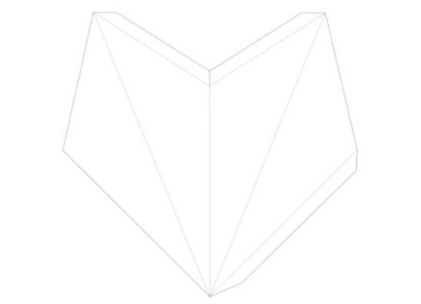
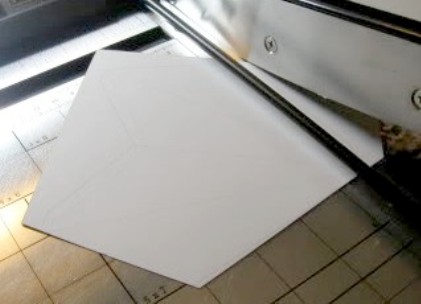
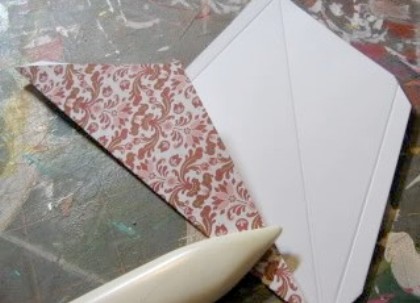
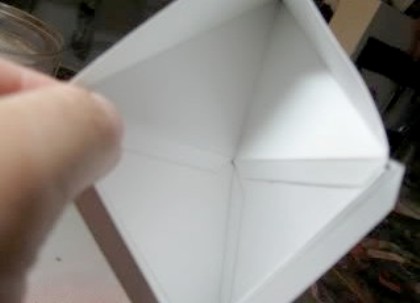
- Circle the pattern on 6 sheets of paper, then cut off the edges.
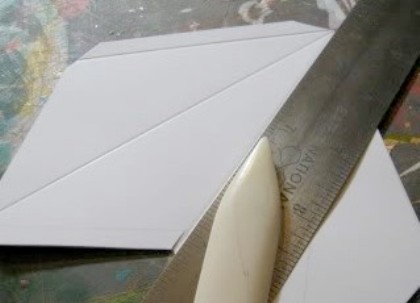
- We press all the lines with a spatula and a ruler.
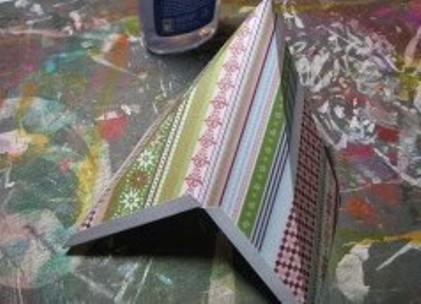
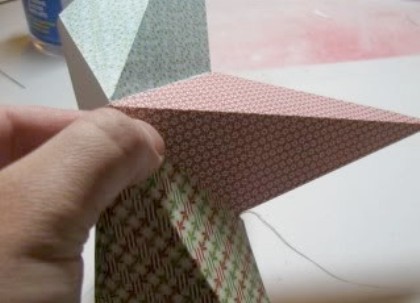
- We apply glue on the side allowances and connect them. We do so with all 6 blanks.
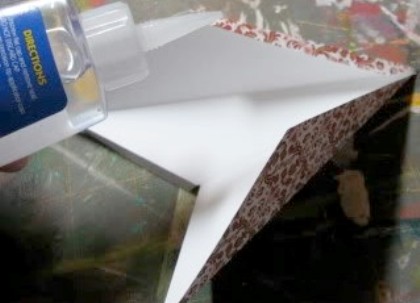
- After all the rays have dried, you can proceed to connect them together. To do this, we apply glue to the lower allowances and connect them to the second part, from the side where there are no such allowances. To ensure that they are well bonded, place the connection with your fingers for a few minutes.
- To the third ray we glue the thread so that it protrudes outward.
- We apply glue on the sticking allowances of the second part. Similarly to point 4, we attach the third ray.
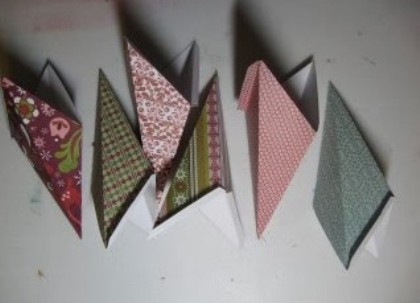
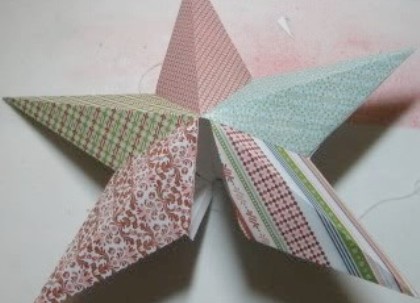
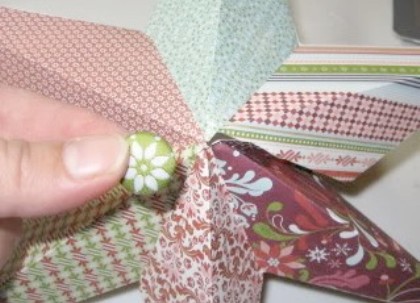
- Binds one by one all the other rays. After they are all connected, in the center we glue the button.
| | |
| | | |
| | | |
| | |
| | |
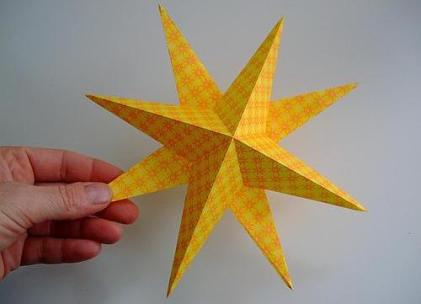
Our star is ready.
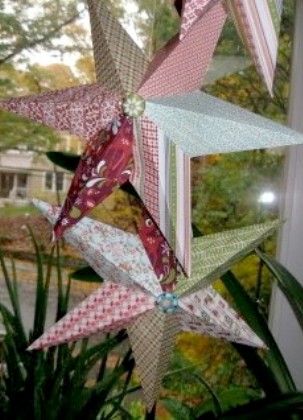
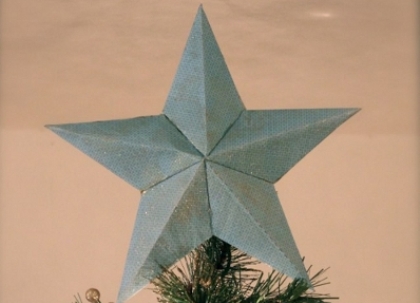
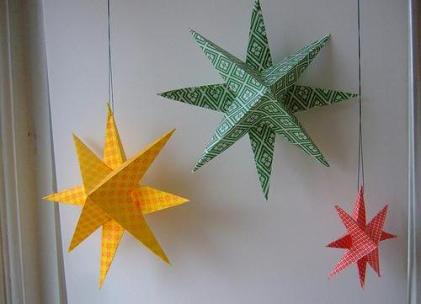
If we make a three-dimensional star by this instruction from shiny paper, but by 5 rays, we get a good Christmas decoration. The Christmas star for decor is most often done with 6 or 8 rays, but, in principle, the decisive for it is the style of execution (color, texture, decor), and not the number of rays.
Master class №2 - how to make a Christmas star with your own hands
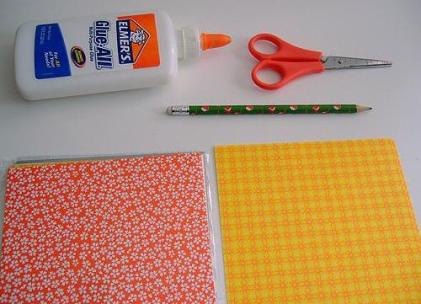
It will take:
- 2 sheets of colored paper;
- PVA glue;
- scissors;
- pencil.
Performance:
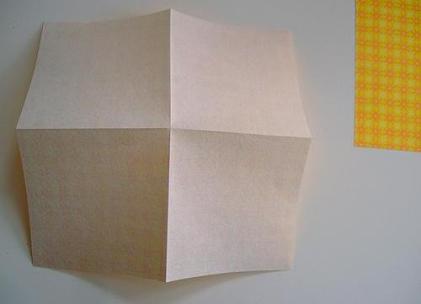
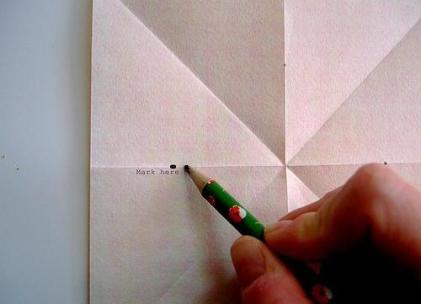
- Each sheet is cut to a square and added twice so that the resulting lines divide it into 4 equal parts.
- Then we add the square diagonally. To do this, bend the paper so that the opposite corners are connected. We do this twice.
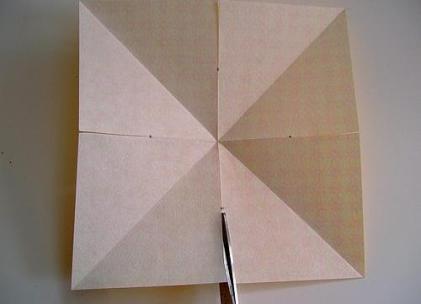
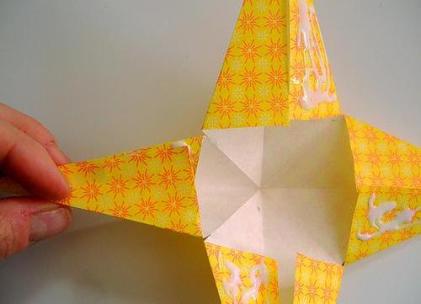
- We open our square. We mark the middle on the lines dividing the sides in half. Cut through the line to this mark.
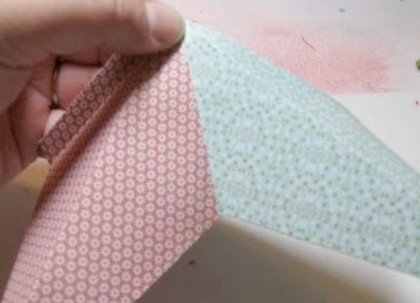
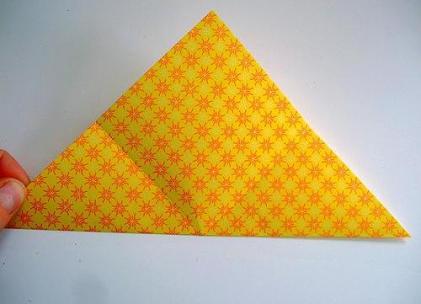
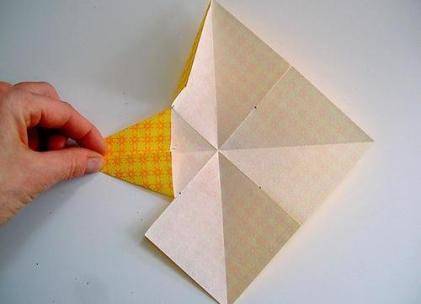
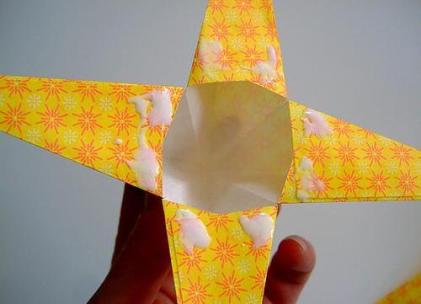
- We make the rays. To do this, add the paper to the line that goes diagonally, as shown in the picture. We bend so on all four sides.
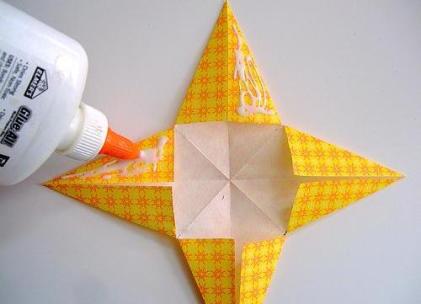
- Apply the glue on the right bent half and glue the second one to it. The first workpiece is ready.
- In the same way do the second workpiece.
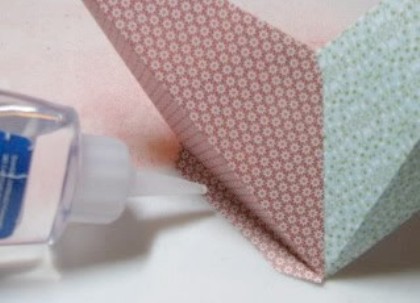
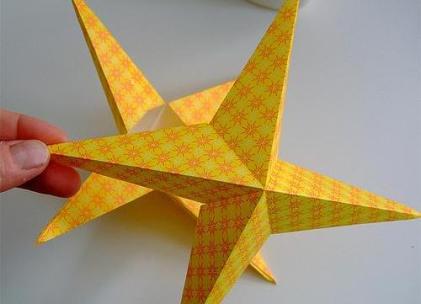
- Lubricate the glue rays of the first billet of our star from the inner side closer to the middle and glue the second. We arrange it so that they do not coincide, but are in between.
| | |
| | | |
| | |
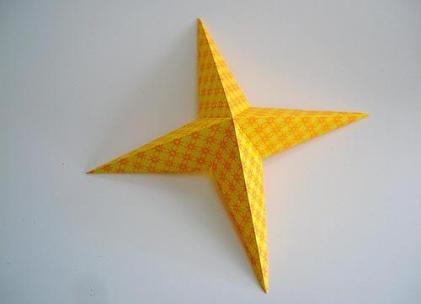
The star is ready.
By attaching a string to one of the beams, such a star can be suspended.
A three-dimensional star from paper can not only serve as an element of decor, but also serve as a box.
Master class №3 - star-box
It will take:
- yellow cardboard;
- PVA glue;
- a compass or pattern;
- pencil;
- scissors;
- small round candy.
Progress:
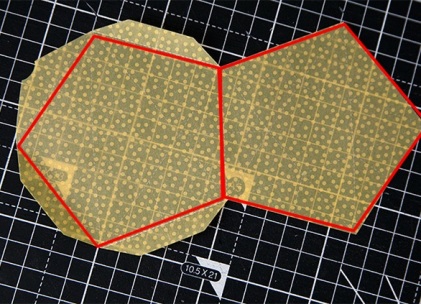
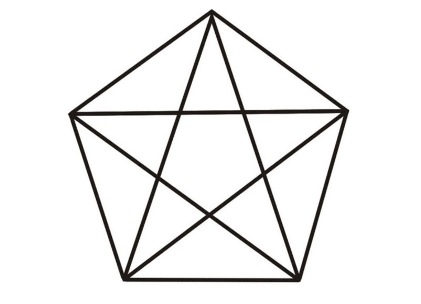
- We take a ready-made template, consisting of two equilateral pentagons with allowances for gluing, and cut out the blank from cardboard.
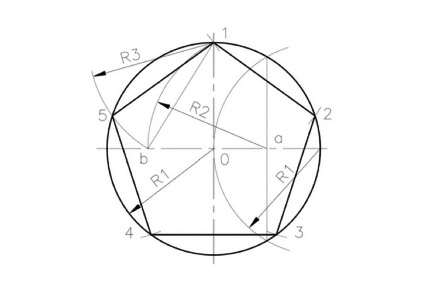
- If it is not, then the template can be easily done by dividing the circle into 5 equal parts and connecting these points in straight lines.
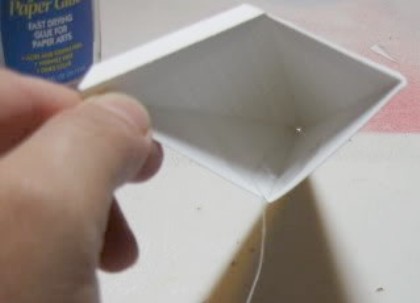
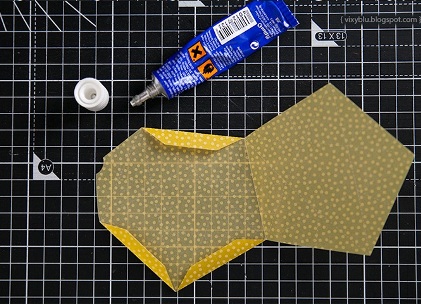
- We bend allowances for gluing, and also we punch a star on each pentagon.
- We apply glue on the allowances, except for one part, and press the second pentagon to them.
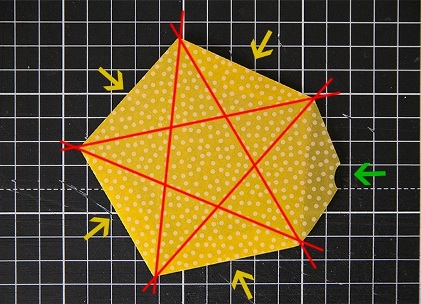
- After the parts are glued together, click on the sides of the pentagon and form a star.
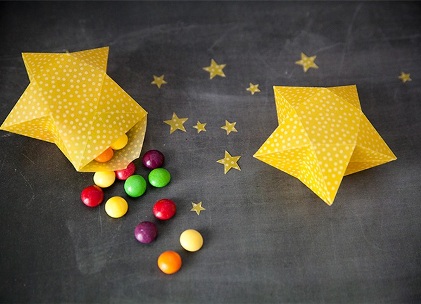
- We fall asleep in the space formed inside, sweets and bend the non-sealed pieces.
Such a star can be hung on the tree, if you paste a ribbon, or just present it as a gift.