Tradition to lay out name cards came to us from the West. This is a good decision if you plan to collect a large number of guests or simply emphasize your quivering attitude towards the invited. Let's consider several ideas of seating cards, which can be fully implemented independently.
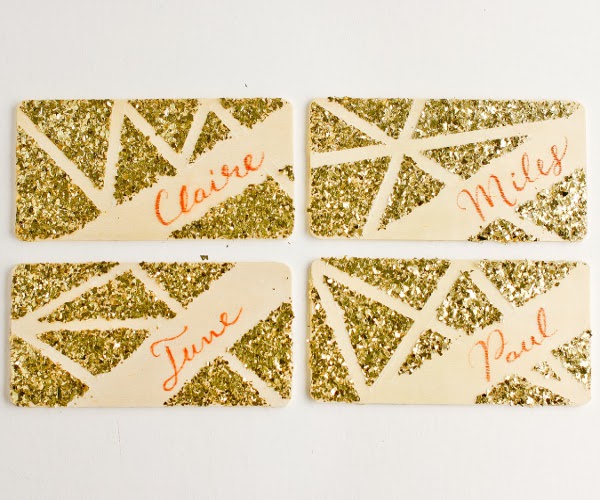
Seating cards for guests
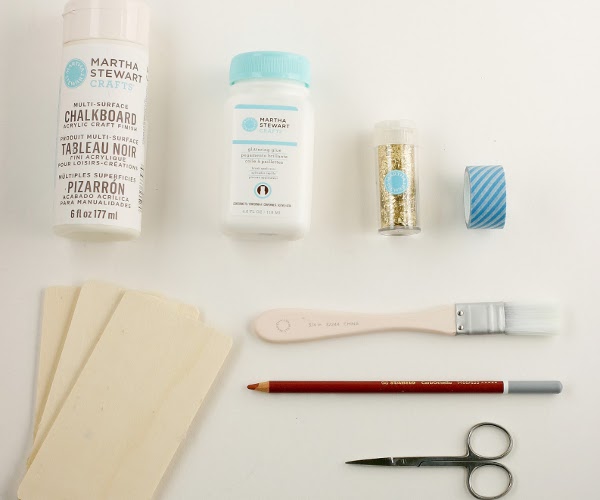
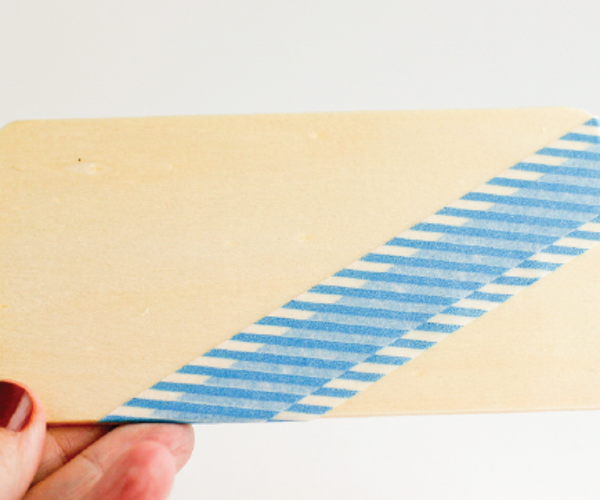
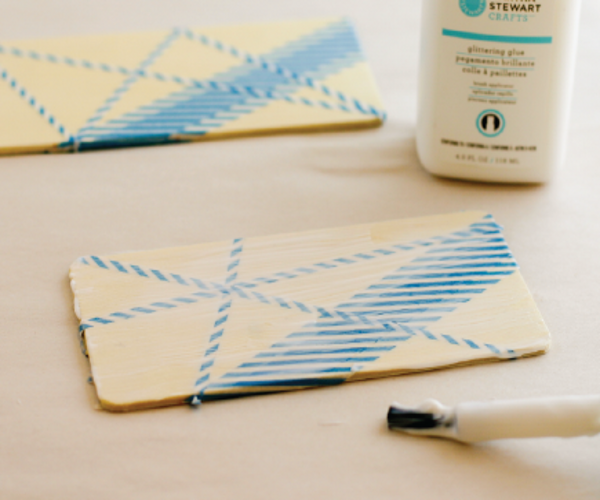
- For work, we will need workpieces in the form of rectangular cards from plywood, white paint, glue with glitter.
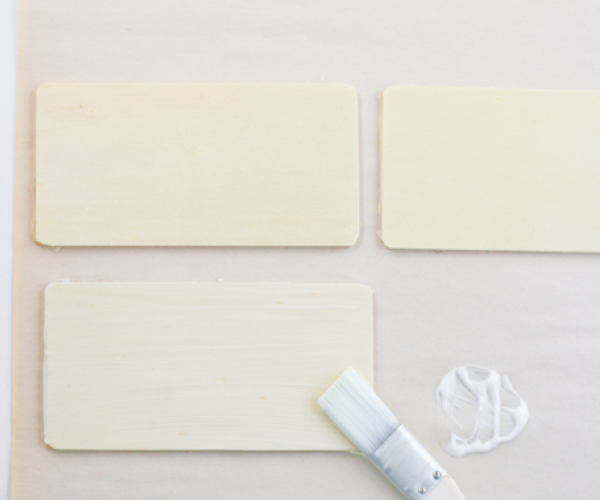
- We cover the workpieces with ground.
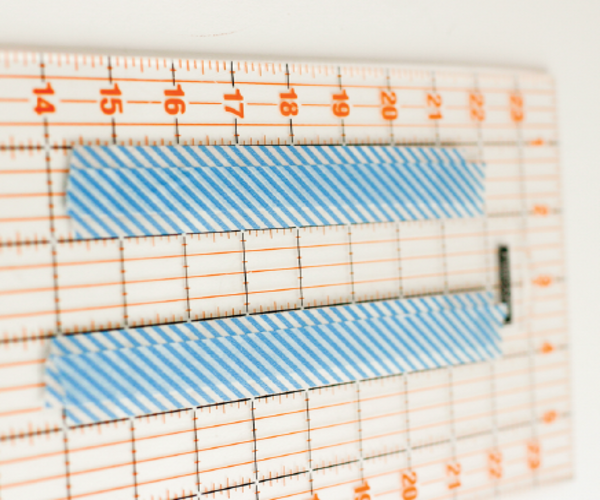
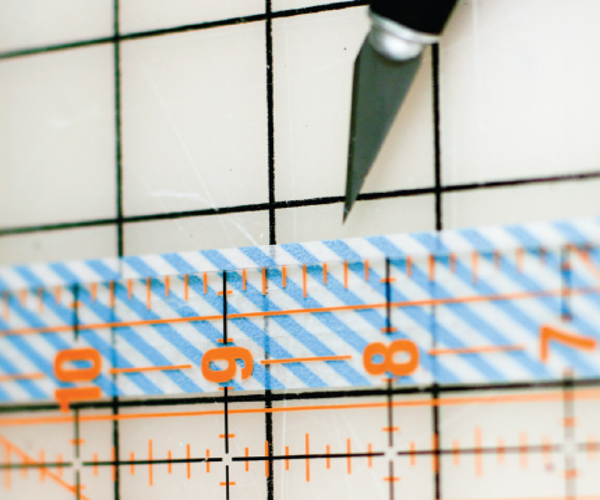
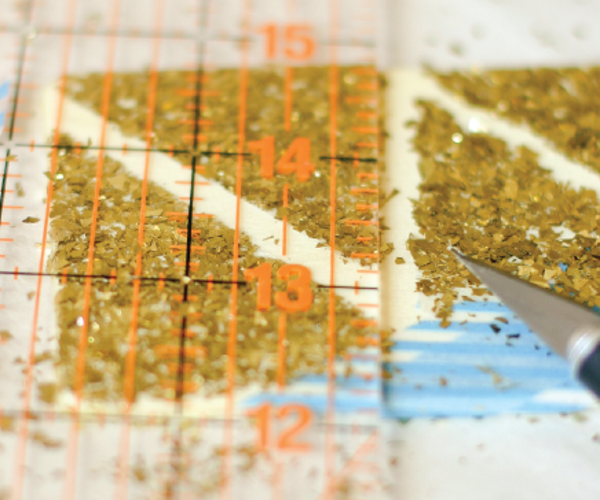
- Then cut the strips of scotch. We paste on painted card stock.
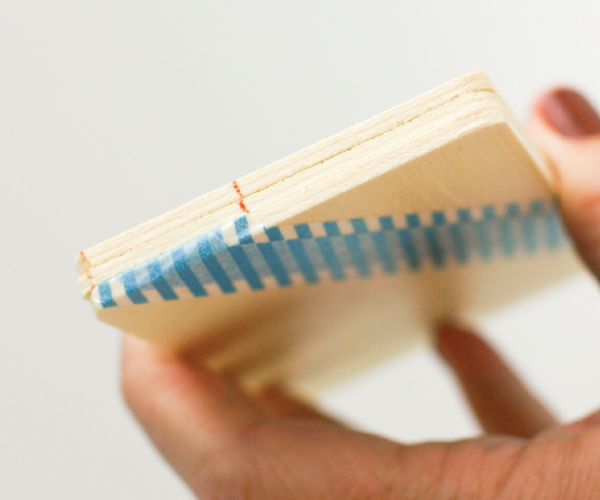
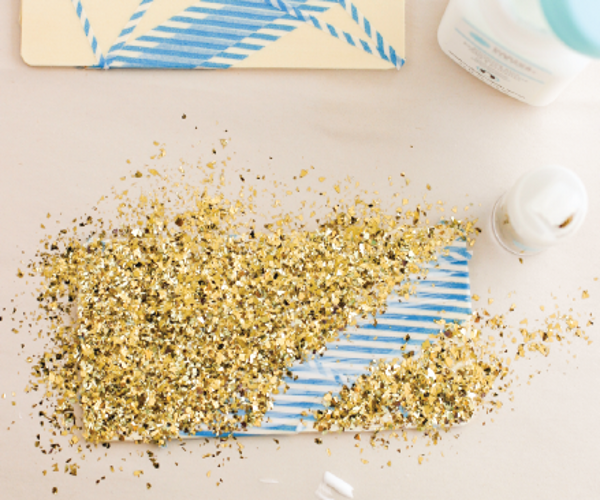
- The next stage in the manufacture of guest seating cards is the adhesive layer.
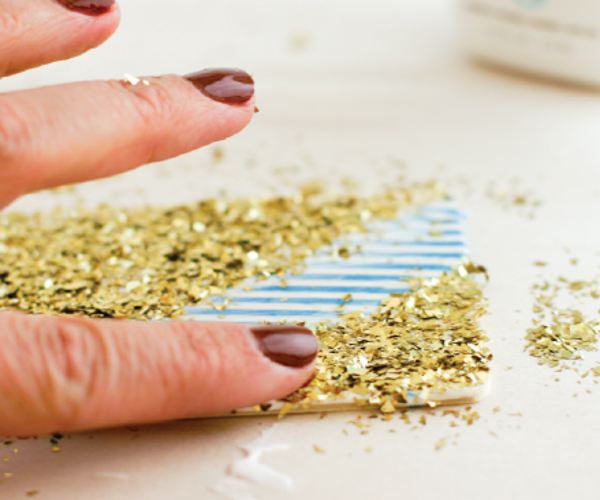
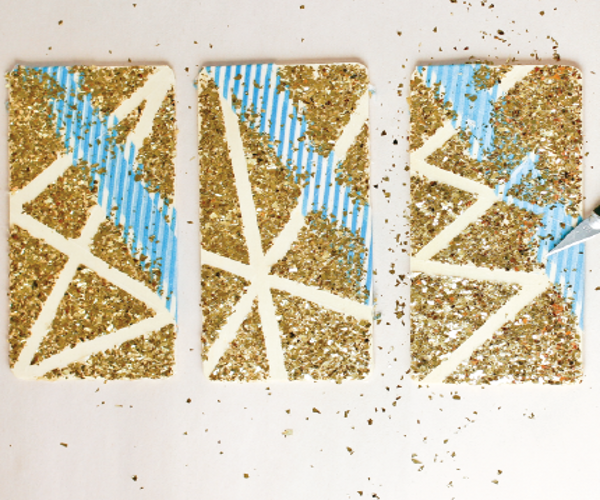
- Sprinkle the surface with glitter.
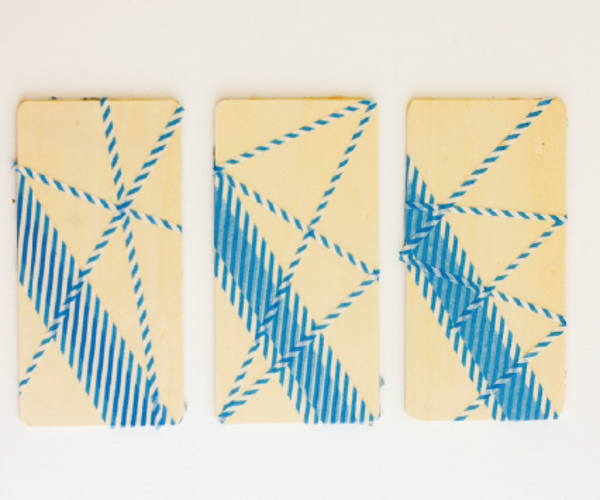
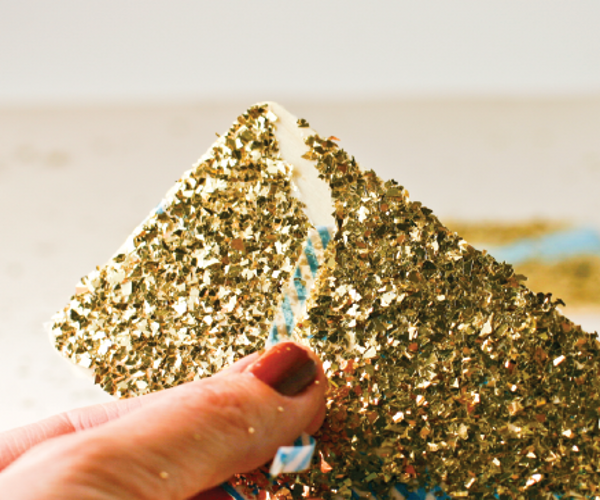
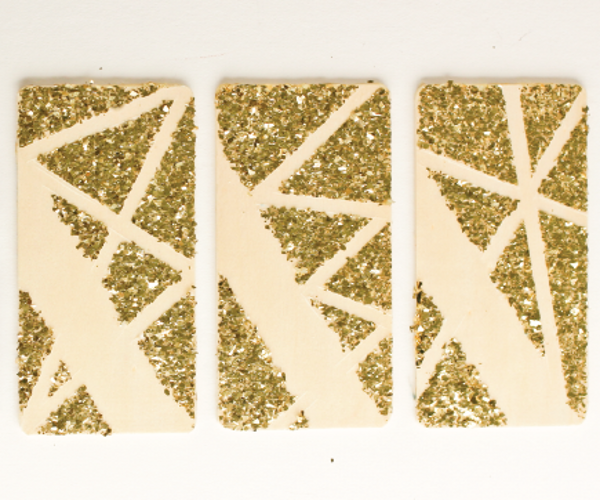
- When everything is cold, remove strips of scotch.
- Cardboard cards with your own hands are ready!
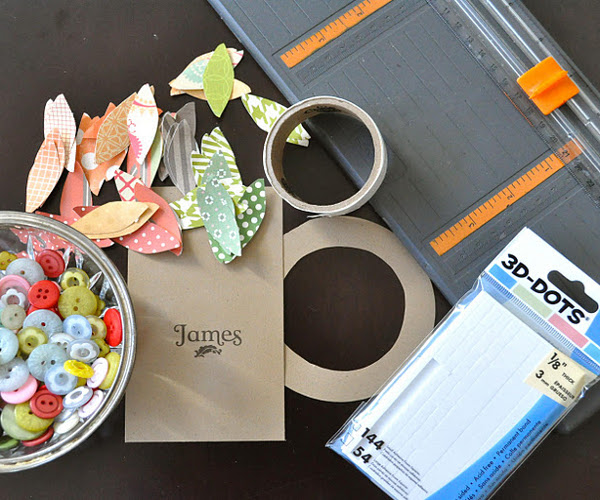
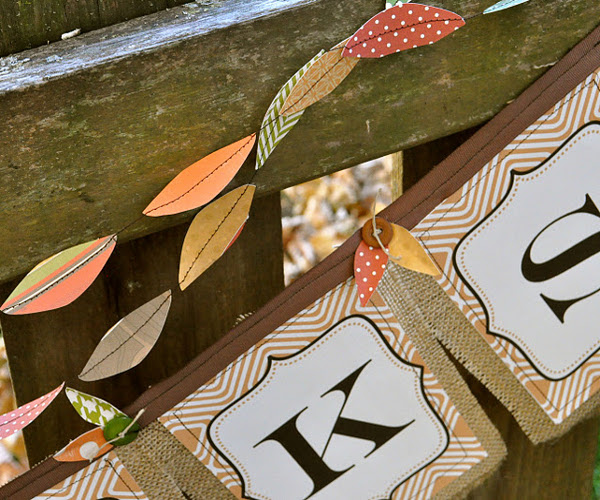
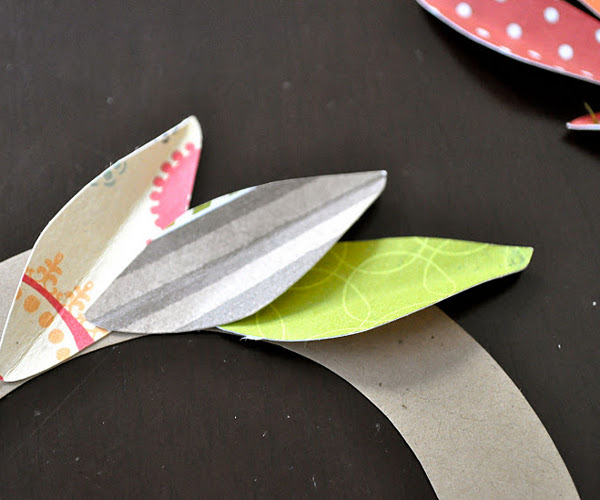
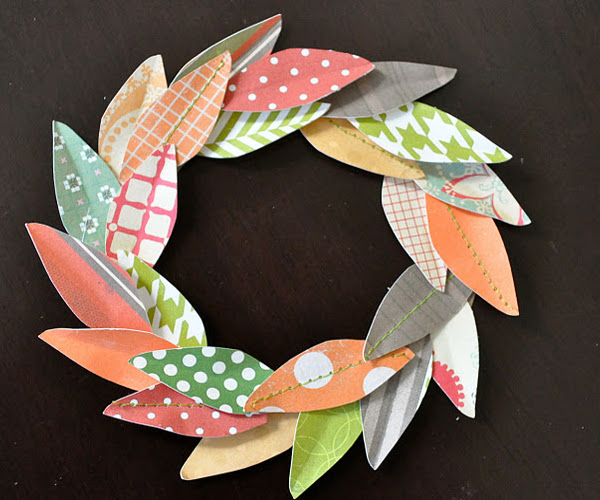
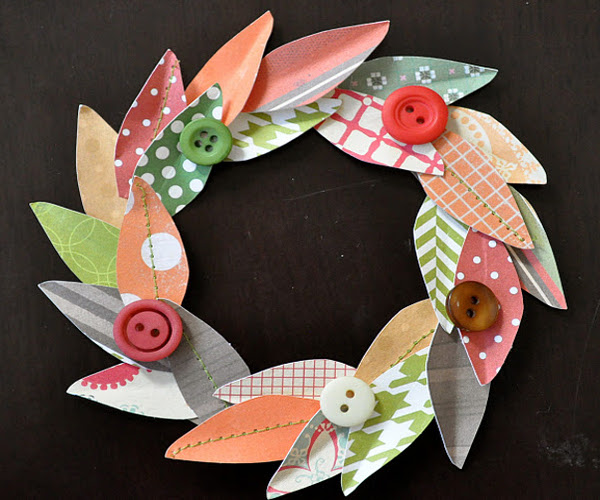
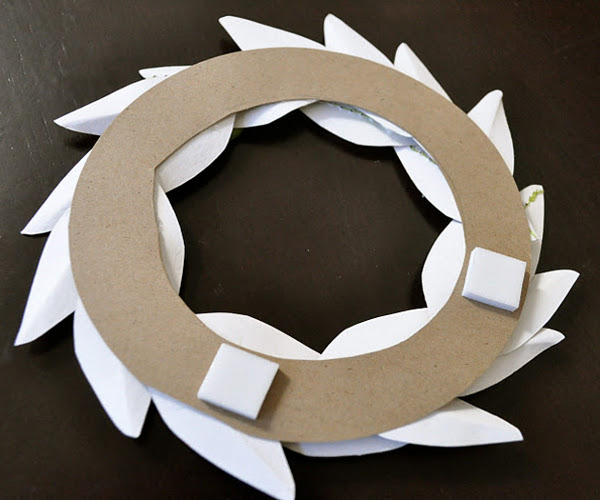
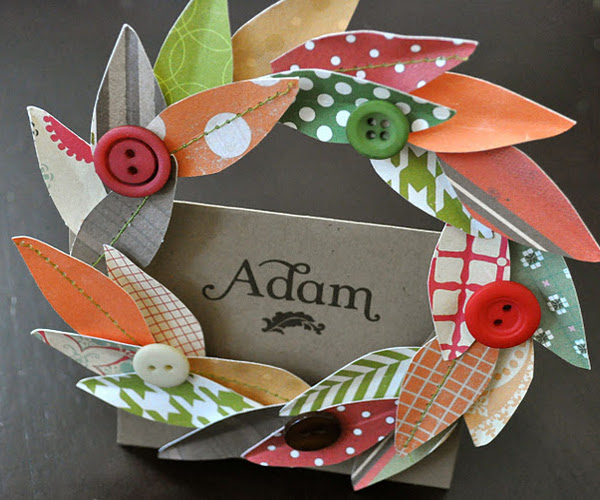
Master class - transfer cards with application
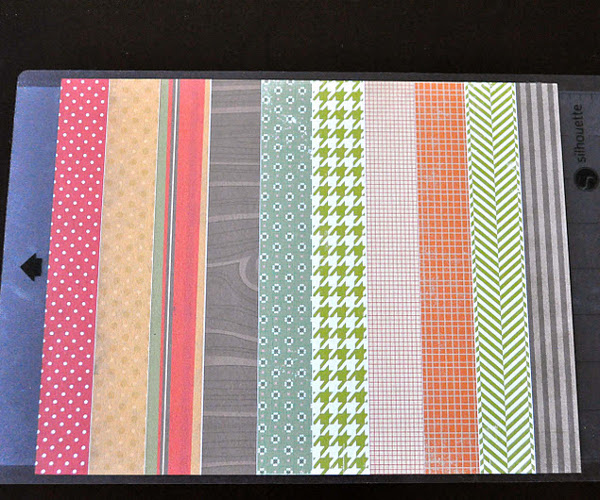
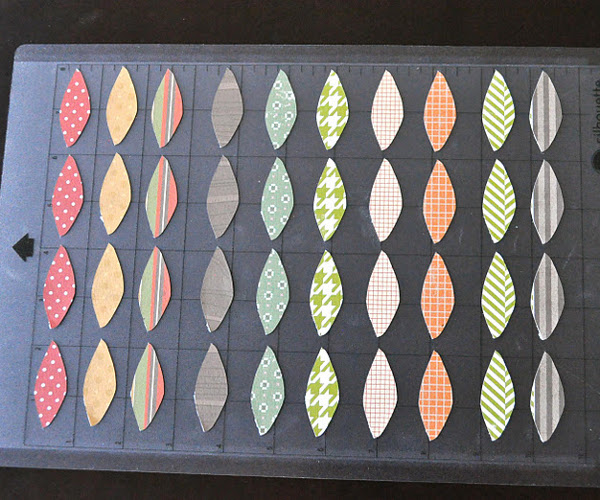
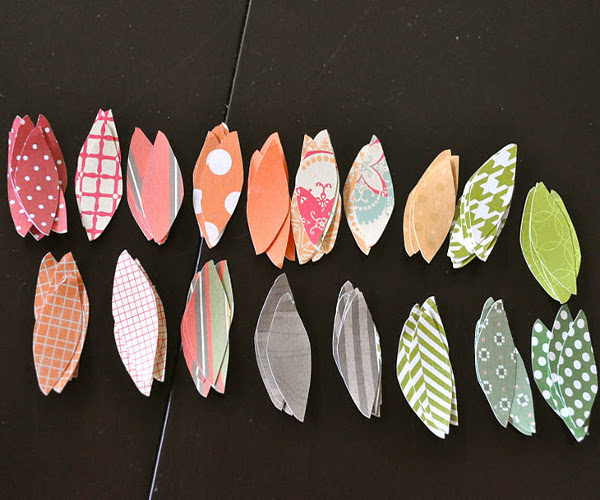
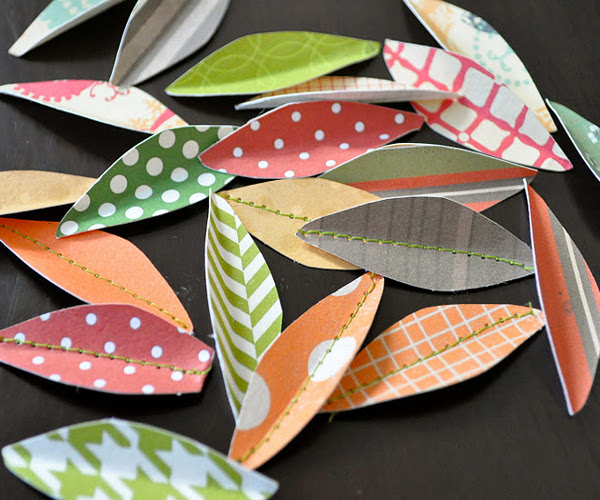
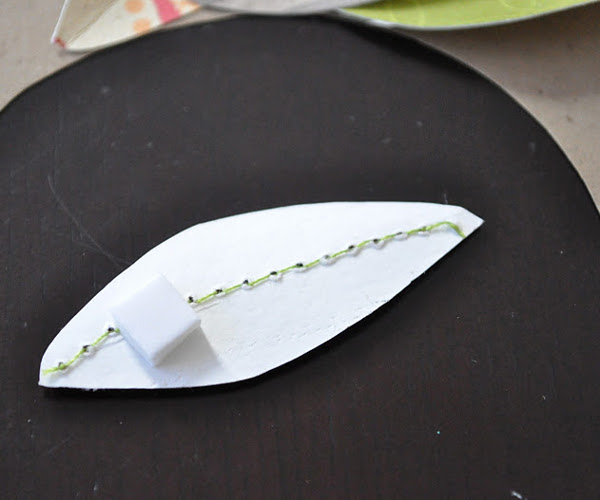
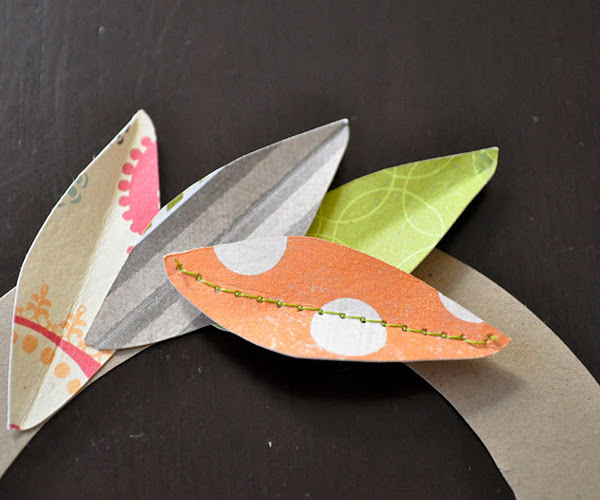
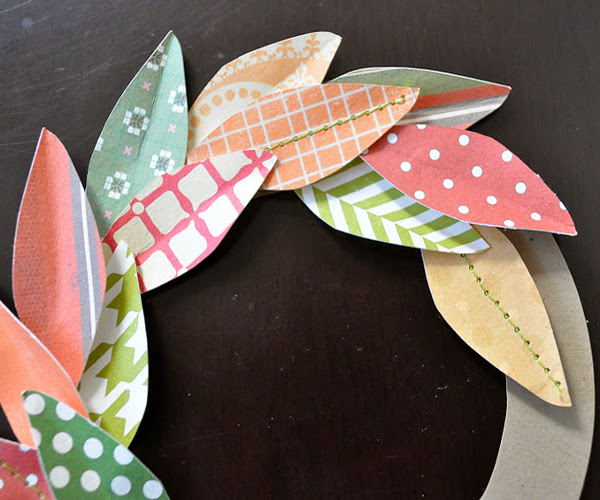
- From the thick paper for scrap-booking we cut out the blanks in the form of leaves.
- Some of them can be stitched on the machine to make them more decorative.
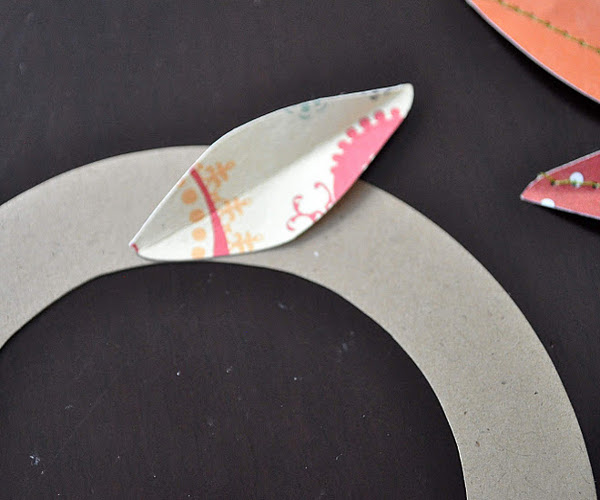
- According to the size of the seeding cards, we cut out the "bagel". On it we will fasten our preparations in the form of leaflets.
- It is best to use double-sided scotch.
- We move in a circle and try to glue the leaves as tightly as possible. You can stick on the top buttons.
- Here are such colorful seating cards, made by yourself, decorate your table.
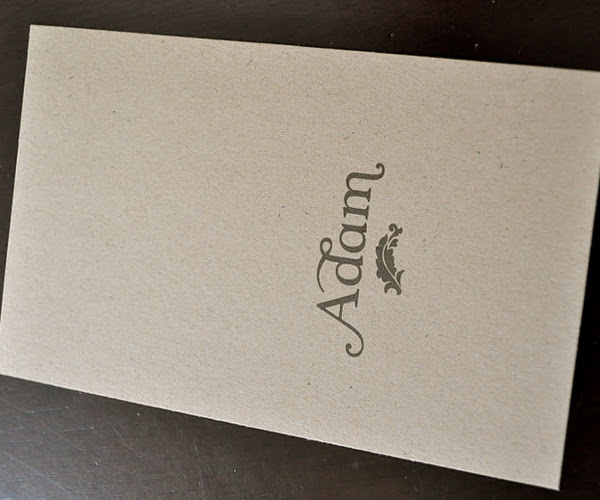
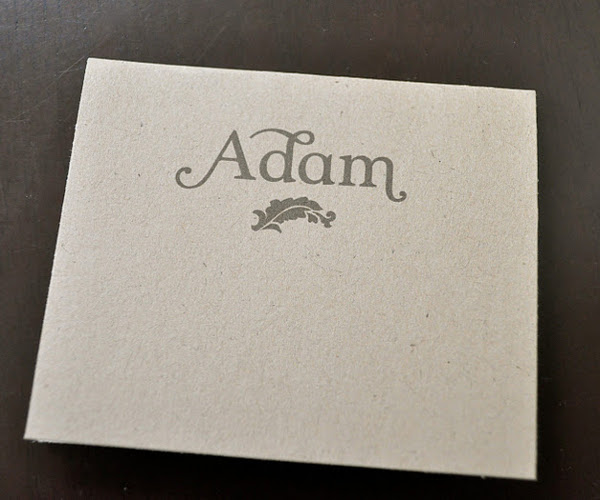
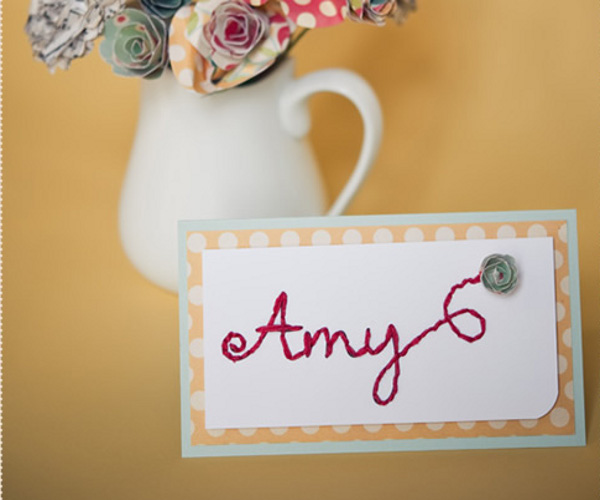
Seating cards for guests - quickly and creatively
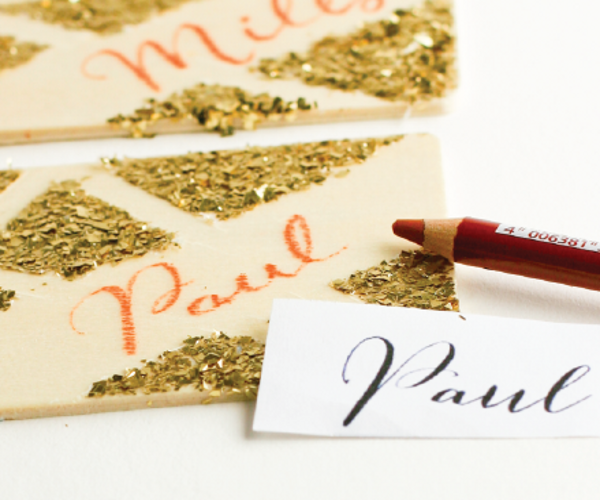
- Cut out the appropriate size of the seeding cards and write the names of the invitees on them.
- Then, using an awl or other sharp tool, make holes.
- Now, with a needle and thread for embroidery, we make stitches along the line of the inscription.
- It turns out unusual and very nice cards, and time is spent minimum. Simply glue the workpiece to the substrate - and you're done!
Also, guest cards can be decorated with dies , which can also be done on their own.