To decorate the interior with a tree of flowers today has become quite fashionable. Craftsmen make a variety of intricate flowers from tapes for topiary in different techniques and use for this purpose any textures. The most popular is the topiary of satin ribbons.
How to make a topiary from tapes?
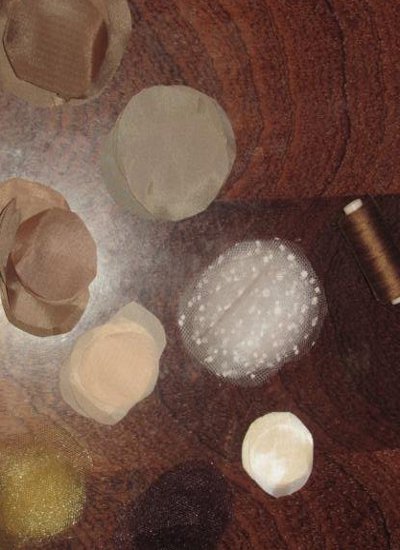
We offer to make a similar decor for the room yourself. To make a topiary from tapes with your own hands, you will need the following materials:
- tape from satin and organza, rayon and mesh;
- scissors, glue (Moment "crystal" and "Super-Moment Gel"), thread with a needle;
- pot and gypsum, stick for the trunk, paint.
Now consider step-by-step instructions on how to make a topiary from tapes.
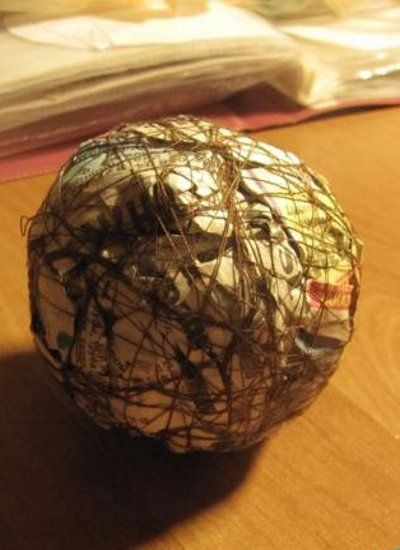
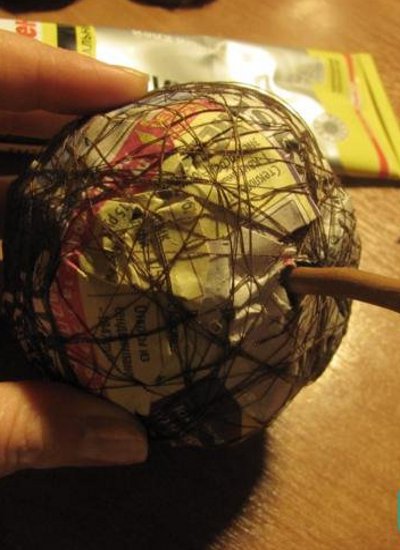
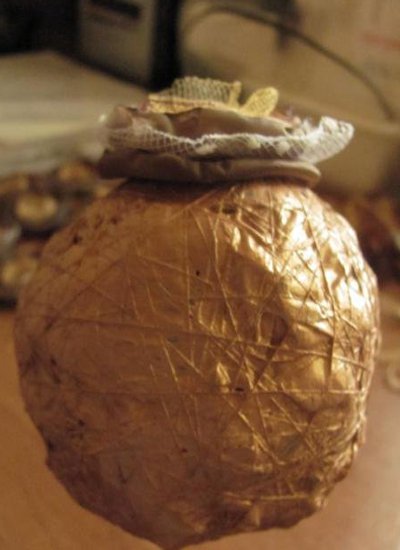
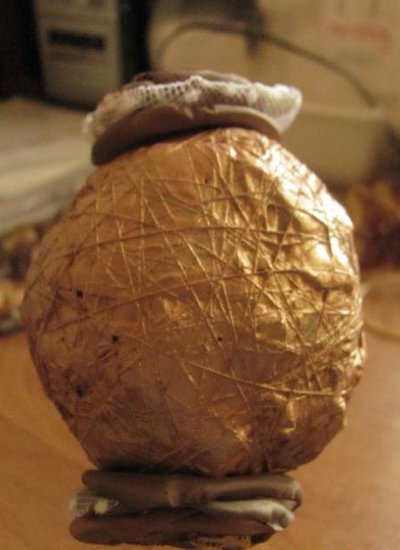
- We crush the newsprint and form a ball.
- We wind it with threads.
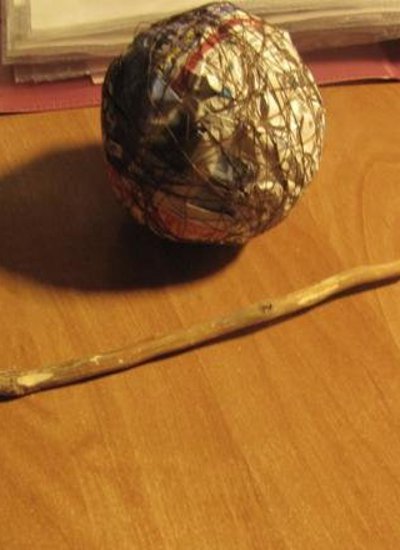
- We remove the bark from the wand, but do not rush it.
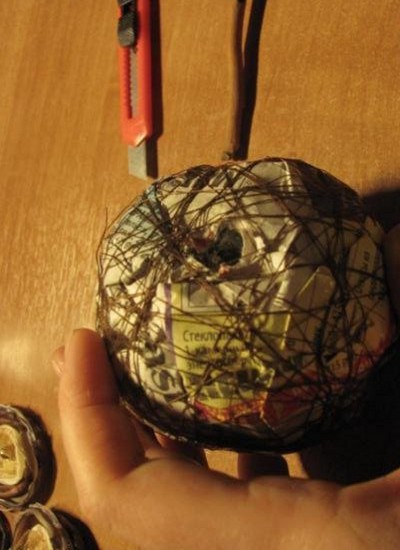
- We make a hole in the ball (with a knife) to the diameter of the barrel.
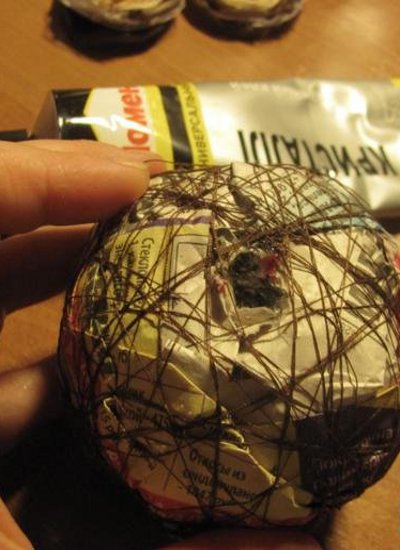
- Fill the glue with the "Moment crystal".
- We insert the barrel and wait for complete drying.
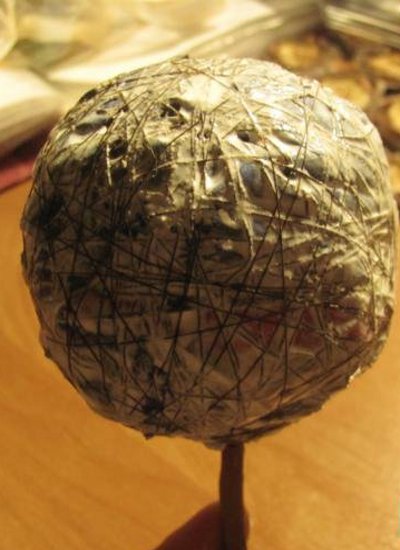
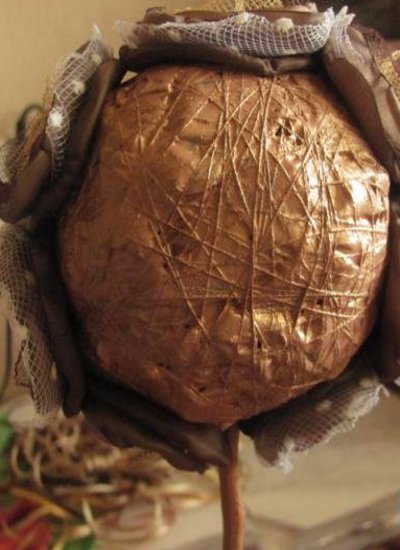
- The workpiece is well lubricated with a layer of PVA.
- We rewind the threads to give a more spherical shape to the workpiece.
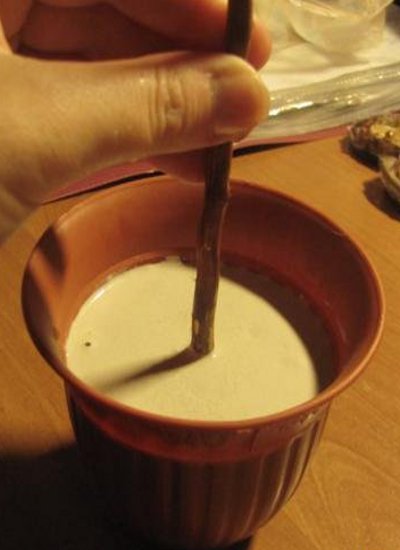
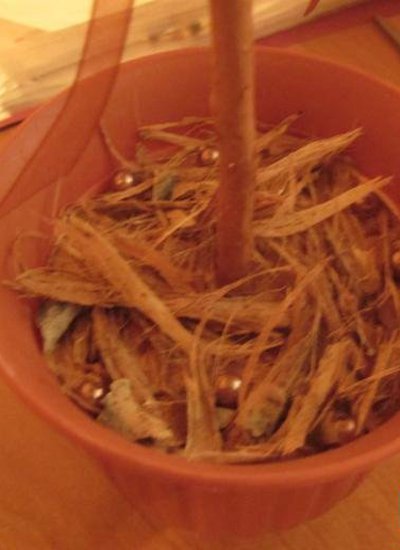
- We fill the plaster in the pot and insert the future tree there. We'll have to hold it a little while the gypsum does not grasp.
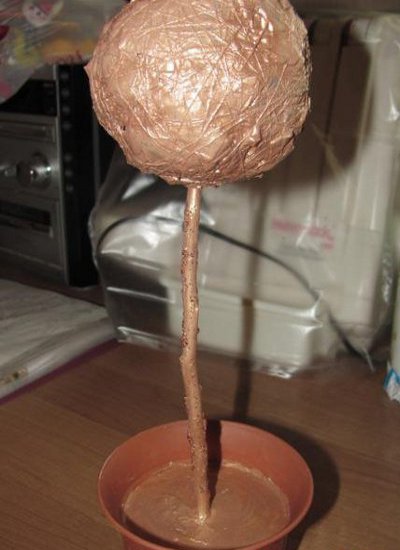
- We paint the wood with paint (in this case a bronze shade). We apply two layers, after letting completely dry the first one. Be sure to apply the paint and the plaster base, in order to later zadekorirovat.
- The trunk can be covered with glitter glitter with sparkles.
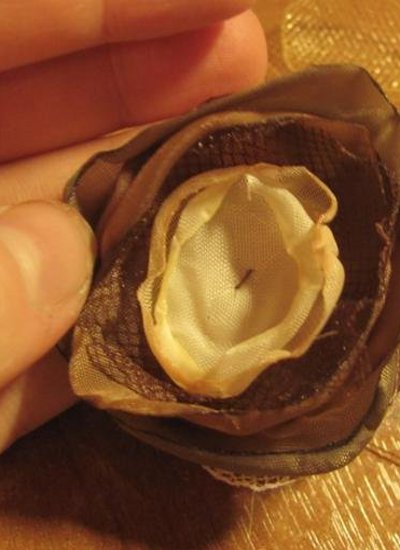
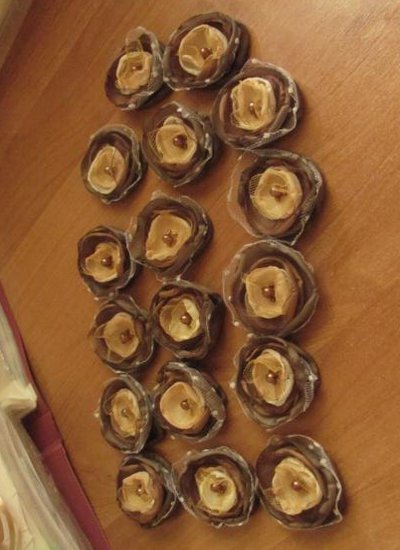
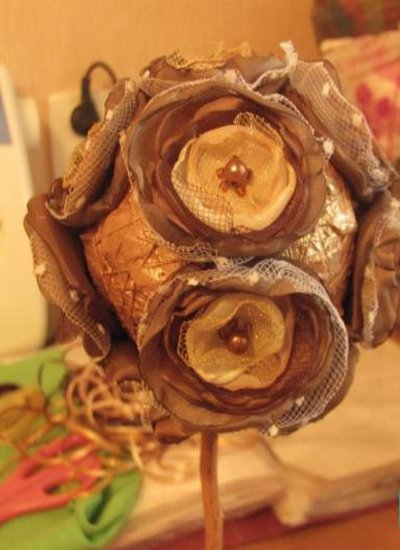
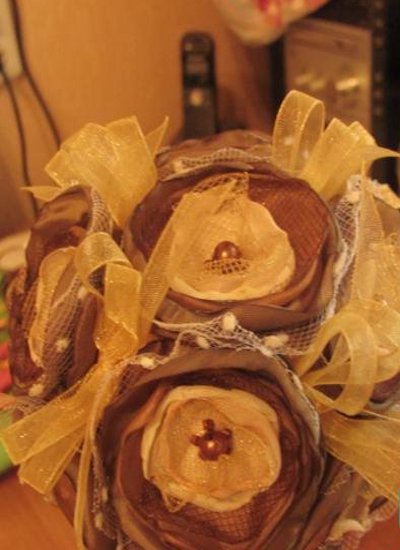
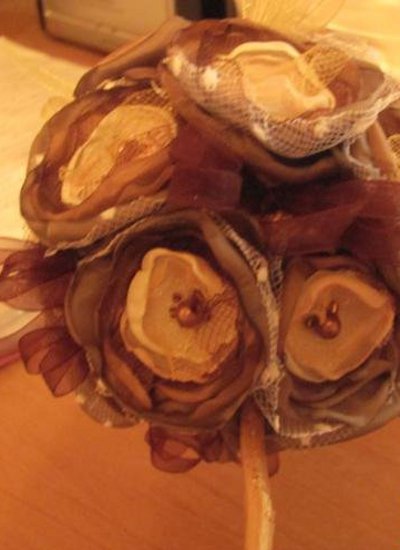
- To decorate our topiary, we make of ribbons of roses. From artificial silk, mesh we cut out circles of different diameters. Instead of cutting off silk, wide ribbons will fit. For a ball with a diameter of about 10 cm, you need about 17 colors with a circle of 6 cm.
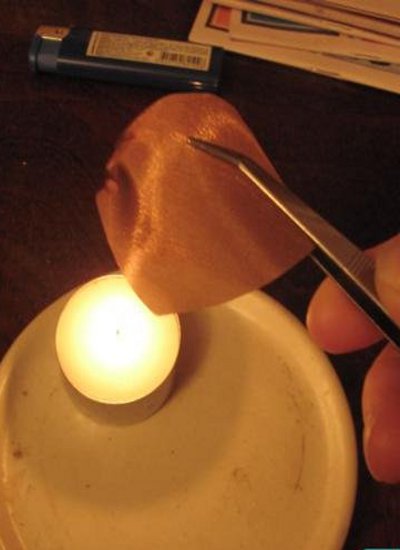
- Each piece is carefully processed over the candles: try not to let the edges darken.
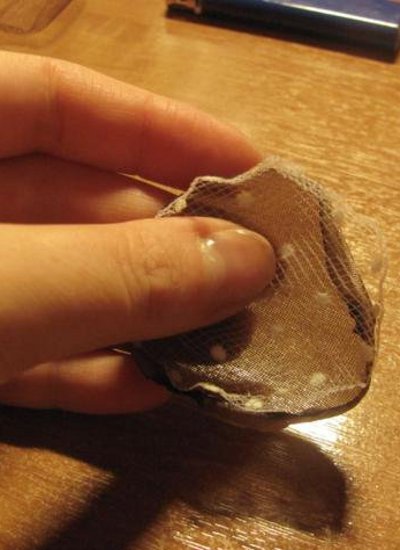
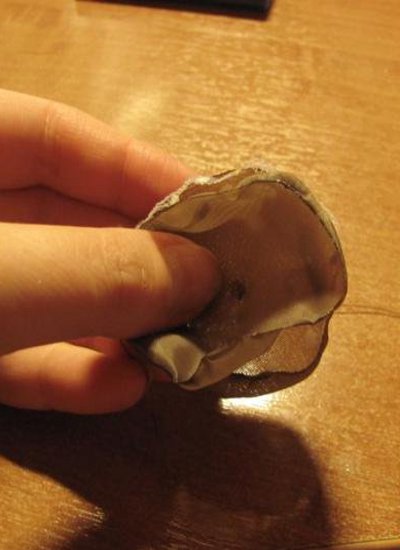
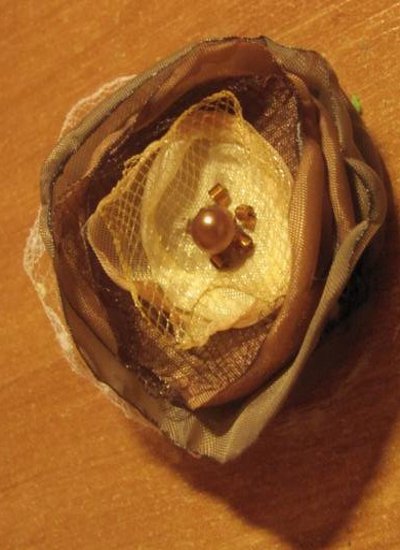
- Now it only remains to collect the roses. For this, we simply stack the workpieces one on top of the other.
- We fix everything with a thread. In the center we sew beads or beads.
- Flowers for the topiary are ready.
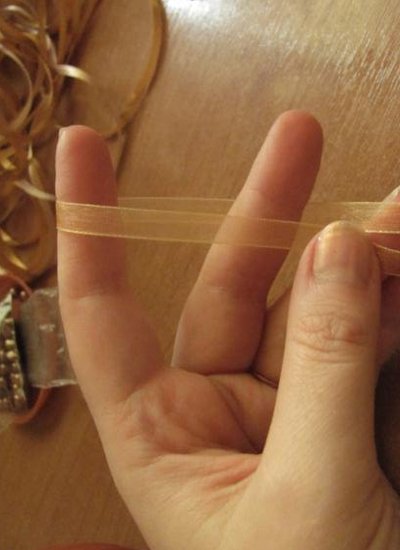
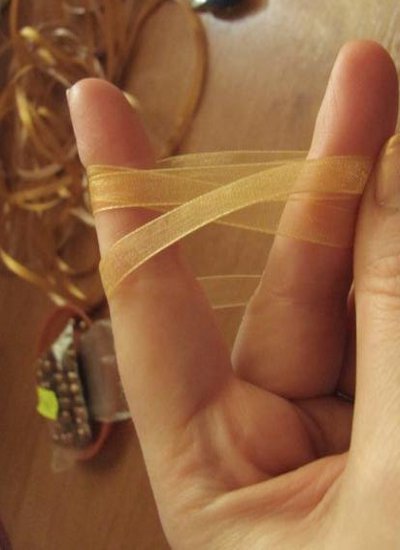
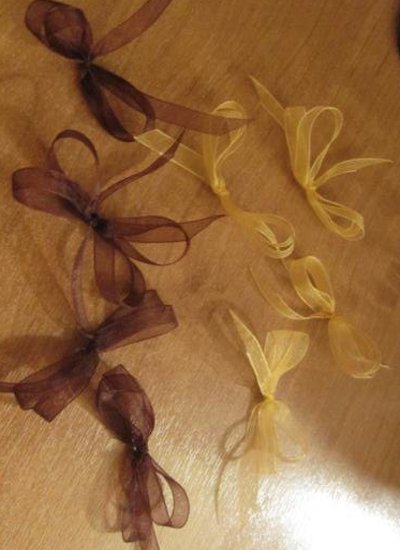
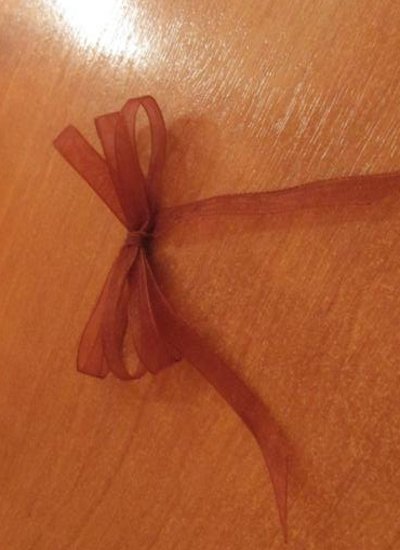
- From a thin ribbon from organza we will make bows. We will use them to fill the spaces between the roses.
- We wind the tape twice on the index and middle fingers. You can make more turns, then the bow is more fluffy.
- The last coil is filled between the fingers.
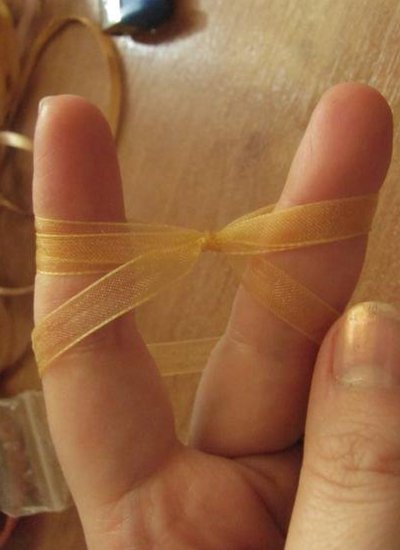
- We encircle the wound ribbons in the middle and do the loop.
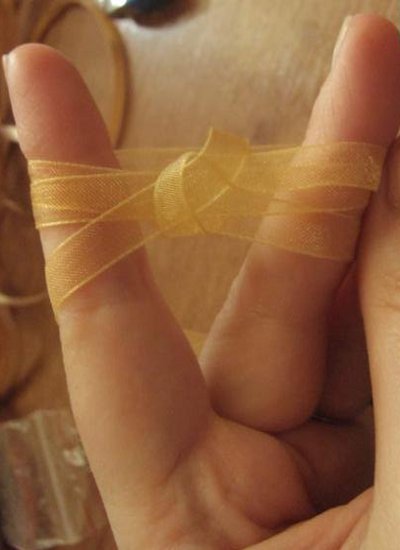
- We tighten the knot and scorch the edges.
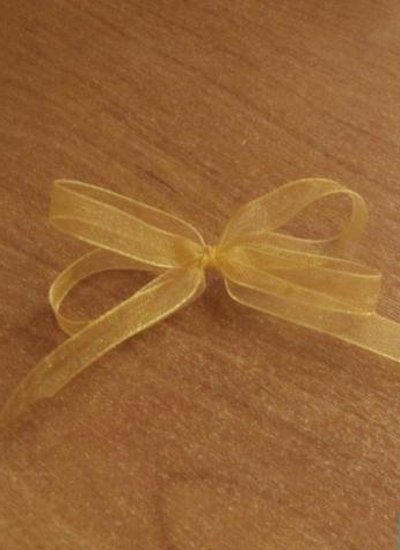
- We make the same number of these bows of light and dark shades.
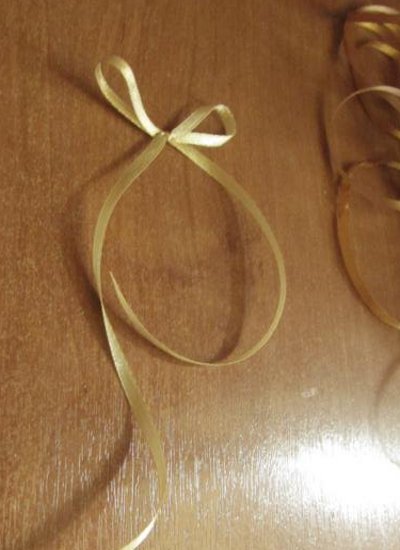
- Now let's make jewelry from a thin satin ribbon.
- This is the simplest bow, but with rather long tips.
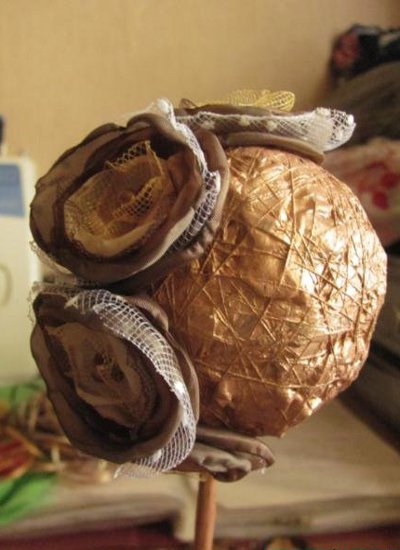
- The last stage of making the topiary came from the tapes: the assembly of the crown. At the top with glue "Super-Moment Gel" we fix the first rose.
- The second flower is fastened near the base as tightly as possible to the trunk.
- Then glue two more flowers between them.
- Do the same on the opposite side.
- It will be something like a ring around our ball.
- Perpendicularly attach another such "ring".
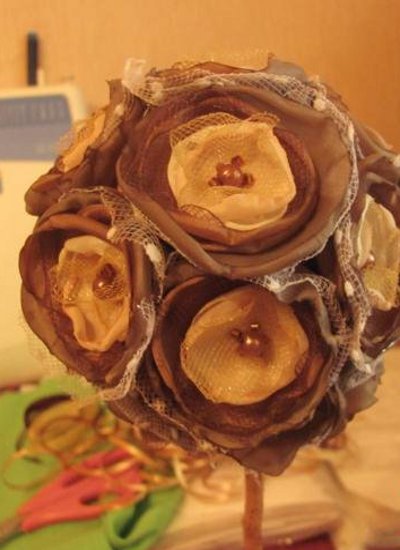
- We close the vacant places with the remaining roses.
- Around the upper flower glue light bows of organza.
- From below we attach dark ones.
- Above them we have light bows of silk.
- Now we decorate the trunk with an organza tape. We make in a familiar way a ribbon from the ribbon, this time you can make more turns. We fix the decoration with glue on the barrel.
- 3We apply a layer of glue on the base and attach the remaining bark, you can add beads or other decorative elements.
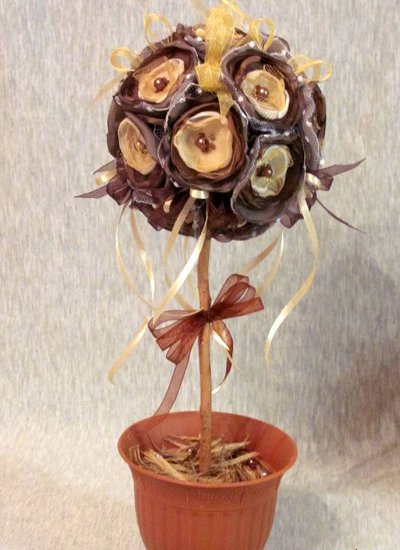
- The topiary of satin ribbons is ready!
| | |
| | |