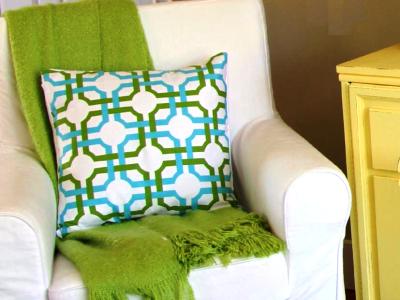
Whichever style you use in interior design of your house, various pillows, rollers and padded stools will always look harmonious in it, if you choose the right coloring for the pillowcase and the shape of the product itself. In the shopping network you can see pillows for every taste, but you can make them yourself, if you stock up with the necessary materials. In this master class we will tell you in detail how to properly sew a pillow of standard rectangular shape with your own hands .
We will need:
- fabric for tailoring pillow cases;
- fabric for tailoring the inner case;
- filler (sintepon, synthetic fiber, feathers, down, etc.);
- scissors;
- sewing machine.
- The first thing you need to do is determine the size of the pillow you need. Eurostandard - pillows 50x70 centimeters. Then decide whether a soft or hard pillow should be produced as a result of your labors. The amount of filler depends on this. The inner cover is sewn easily. It is enough to cut out two rectangular details of the appropriate size and sew them around the perimeter. Then put the filler and sew the hole. Do not want to waste time? Get a ready pillow or use an old one.
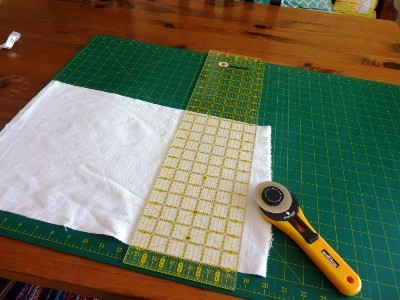
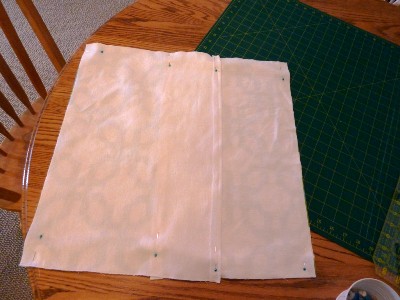
- So, let's start building a pillow pattern. In our case, we need a piece of cloth measuring 150x55 centimeters. The fabric that you plan to use for sewing the outer cover, which will be filled with filler, must be divided into two parts in a ratio of 1: 3. The first detail should be equal to 2/3, the second - 1/3. You can use a fabric of different colors, so that the pillow from the front and back sides is different.
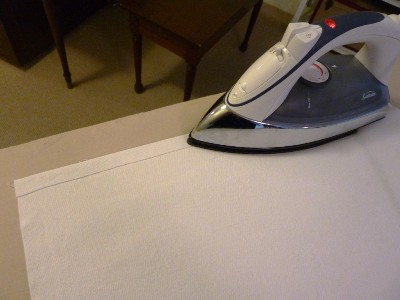
- After you have cut out both parts, proceed to sewing the outer cover (pillowcase). To do this, bend the top section of the first and second by 2-3 centimeters and iron it properly. Then, in the same way, treat the lower sections of both parts. After you have prepared both parts, you can proceed with their stitching.
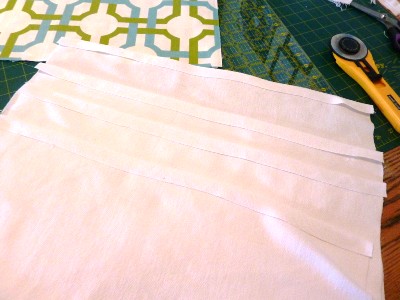
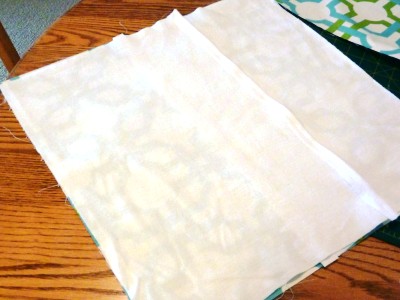
- First, stitch the part along the left and right edges, making a semblance of the envelope, which is necessary in order to put the cover on the pillow. Then fold both details of the cover face down and grind with pins so that the fabric does not slip during sewing. Now you can stitch the product from all sides.
- Turn out the product on the front side, cut off excess strings, iron and put on the pillow itself. This completes the process of sewing the pillow with your own hands !
| | |
| | |
| | |
| | |
Do you want the pillow to be not only beautiful and served as a decoration for the interior? Then it is worth thinking about sewing a round cushion-cushion. These pillows not only look original on the couch or armchair, but are also very convenient, because they can relieve the burden from the cervical spine. The main difficulty in sewing cushion-rollers is the side parts, which should have a round shape. Sewing them is not easy, but there is a way out! We will tell you how to sew a round cushion-cushion with no round details. The first thing to do is to build a pattern. To do this, lay out a cloth on a flat surface and measure the length of the roller, not forgetting to add 3-4 centimeters to the allowance, and the width multiplied by two. From a fabric of other color cut out a rectangle, the length of which should be equal to the width of the pillow, and the width to the width of the pillow divided by six.
Proceed to stitching. First, stitch the main part, turning it to the wrong side.
Then tuck the edge of the smaller part by 3-4 centimeters, stitch it. After that, sew this part to the main one.
When you turn out the resulting product on the front side, you will get this kind of case.
Pass the ribbon or decorative cord into the lapel of the side piece, put the cover on the pillow and pull it off. The cushion is ready!