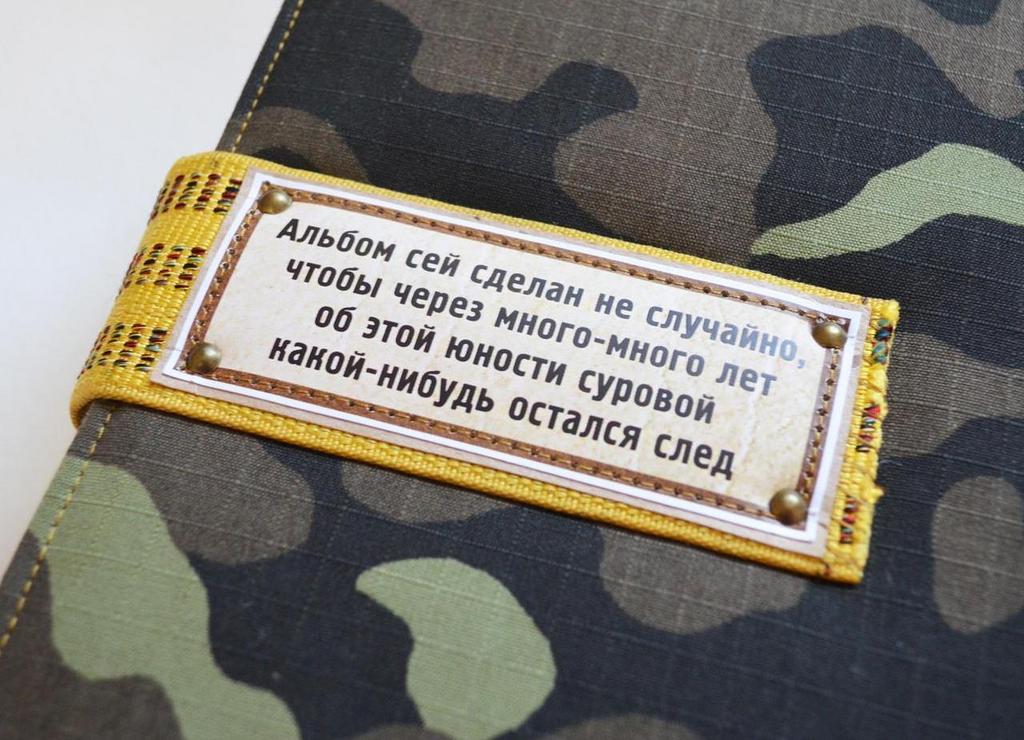
Dembelsky album can be called one of the most important in men's life, because it represents a very important milestone. It is this album the representatives of the stronger sex prefer to get in moments of nostalgia or gatherings with friends.
When you design a self-made album, you should not abuse the abundance of flowers and ornaments - this work should be restrained and orderly, like a real fighter.
Dembelsky album in the technique of scrapbooking - a master class
Necessary tools and materials:
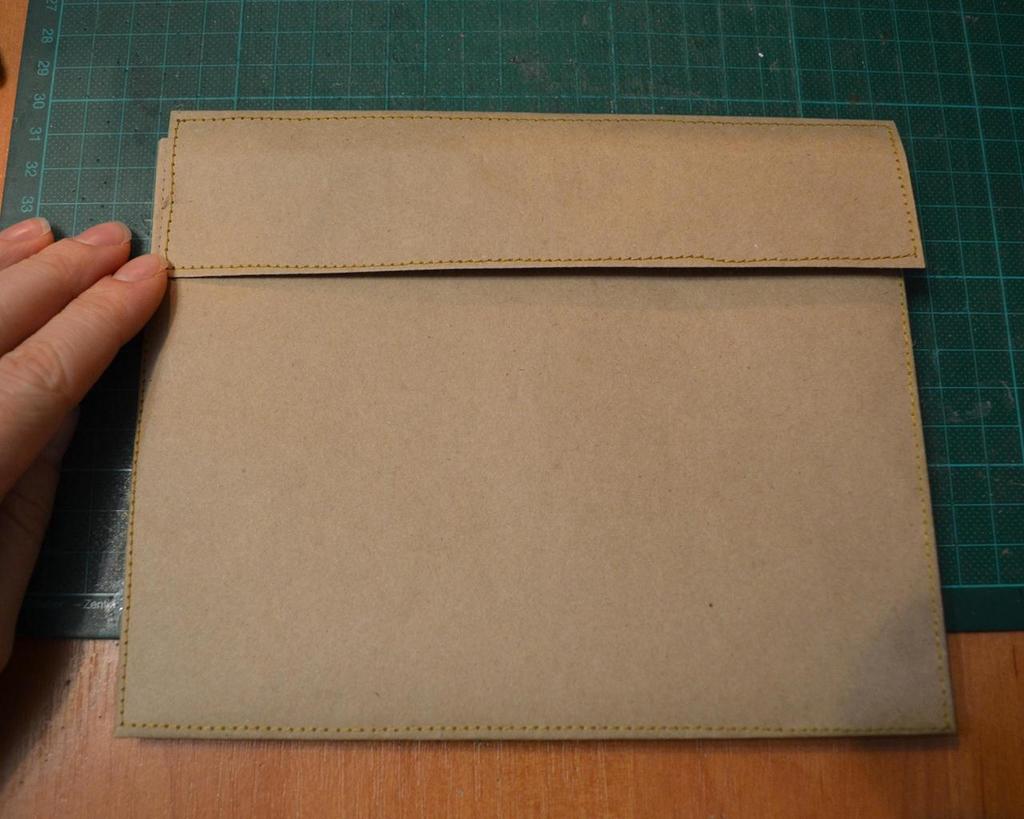
- the designed flight of 20x30 cm (how to make a cover you can see here, and the cover design here );
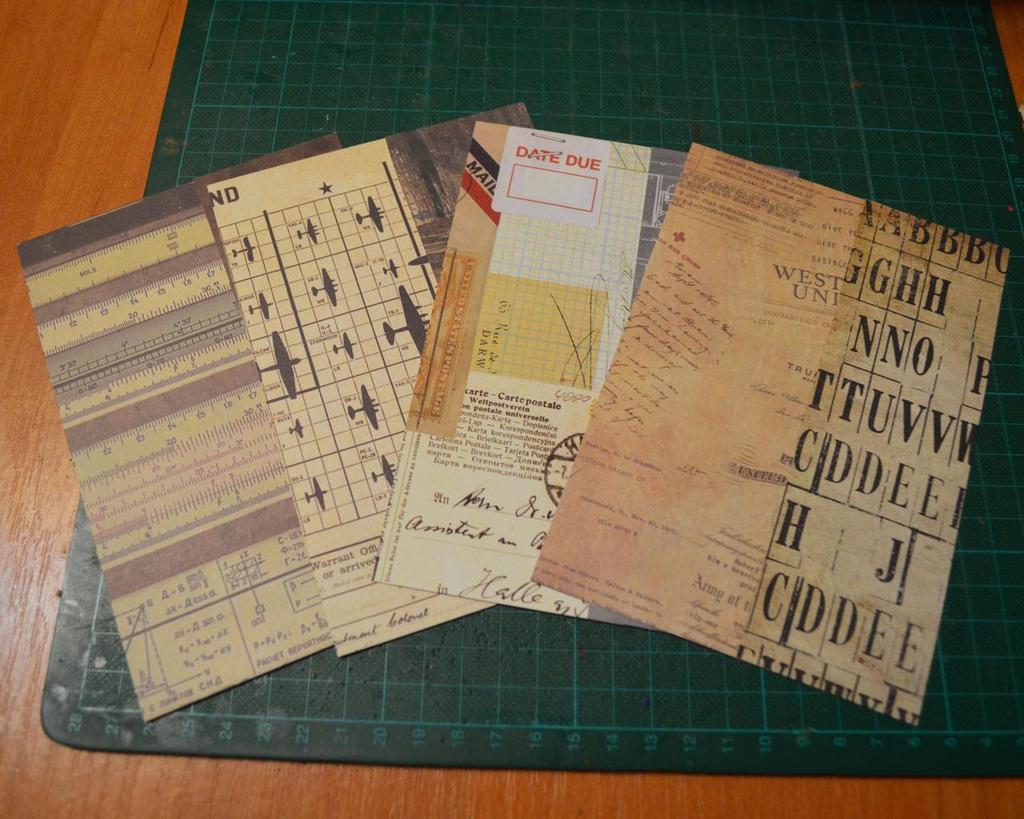
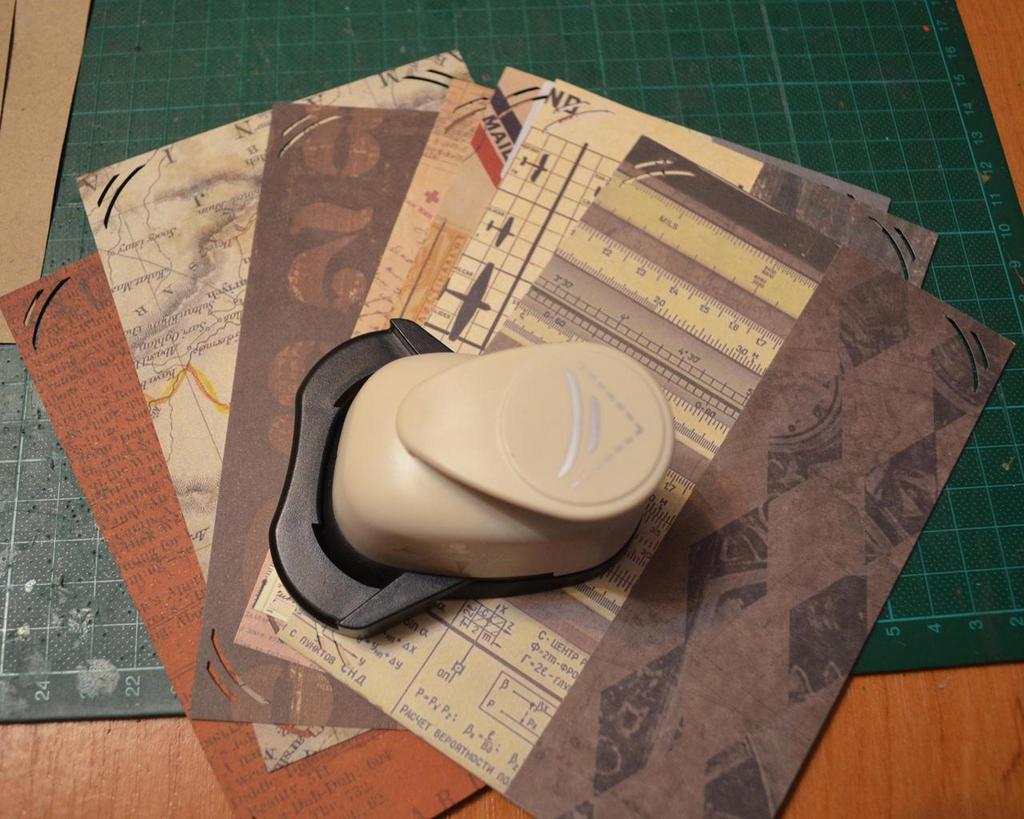
- paper for scrapbooking, kraft paper, kraft cardboard, beer cardboard;
- pictures for decoration;
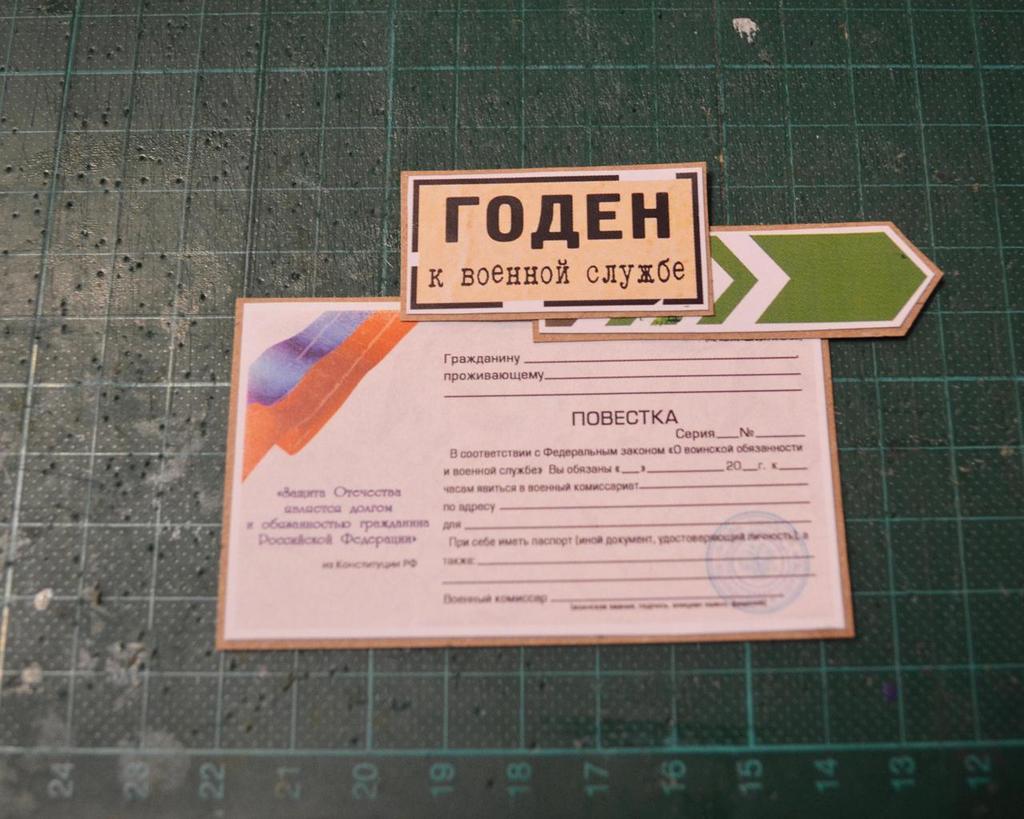
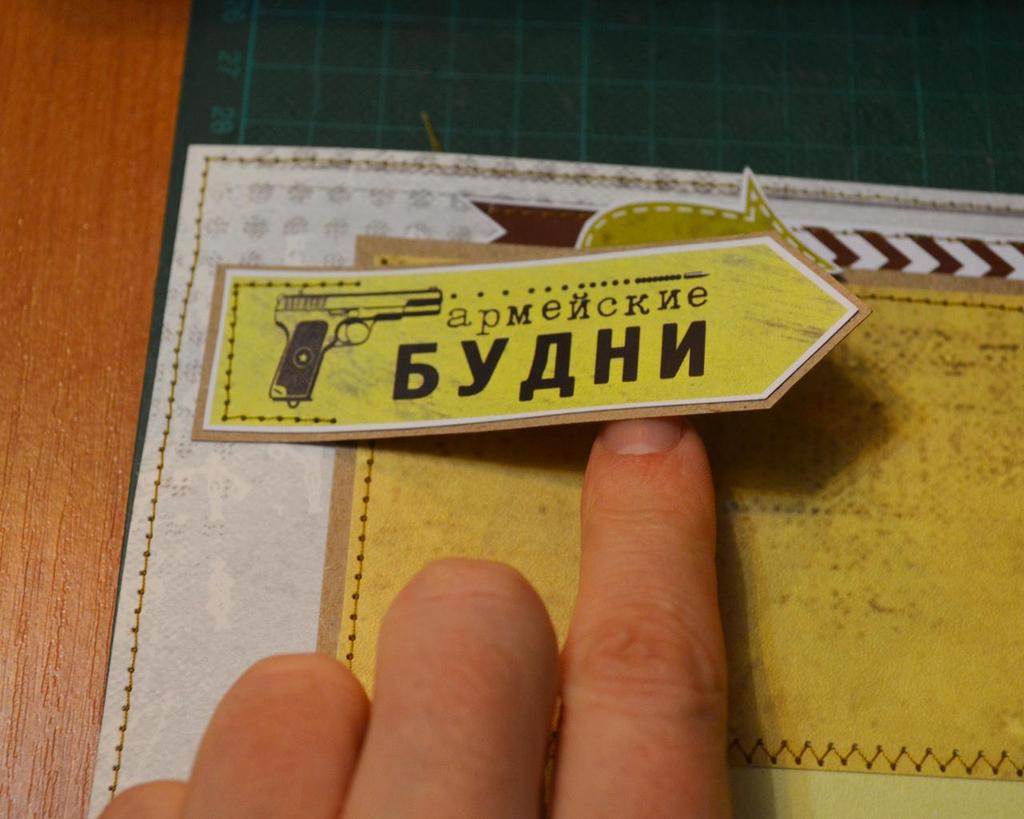
- cuttings, metal decorations (they can be purchased in the military department);
- brads, anchors, eyelets, installer of eyelets;
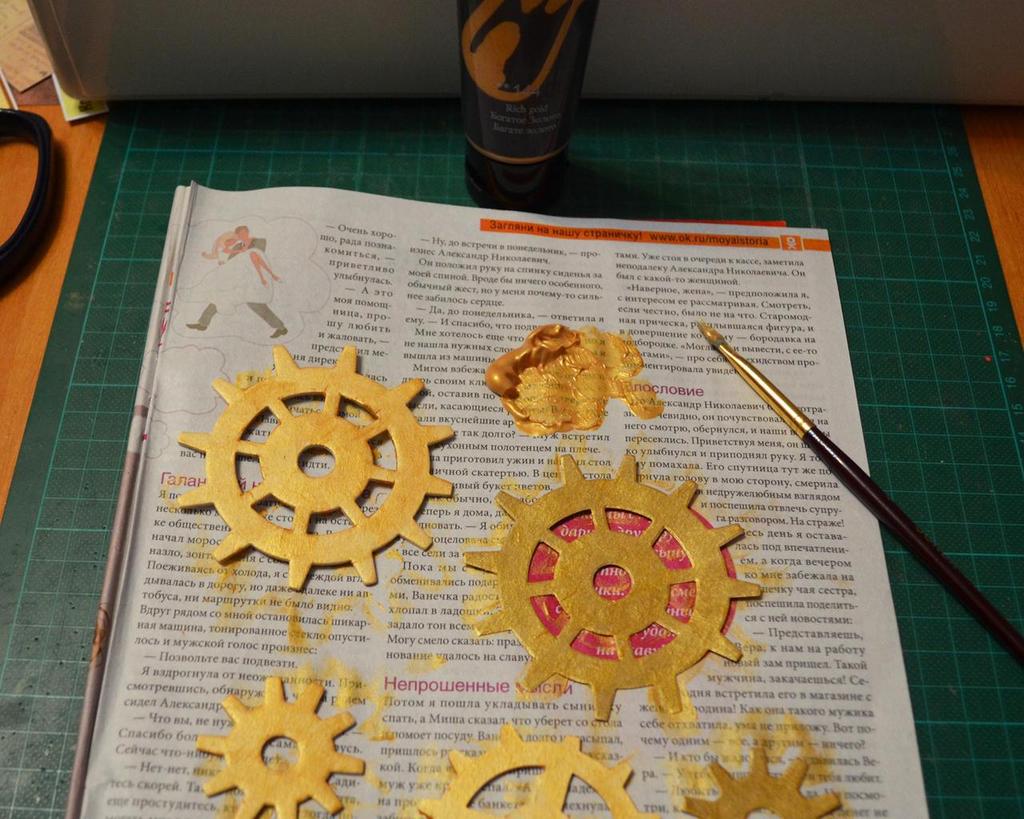
- twine, acrylic paints;
- adhesive, double-sided adhesive tape;
- scissors, stationery knife, ruler, hole punch angle;
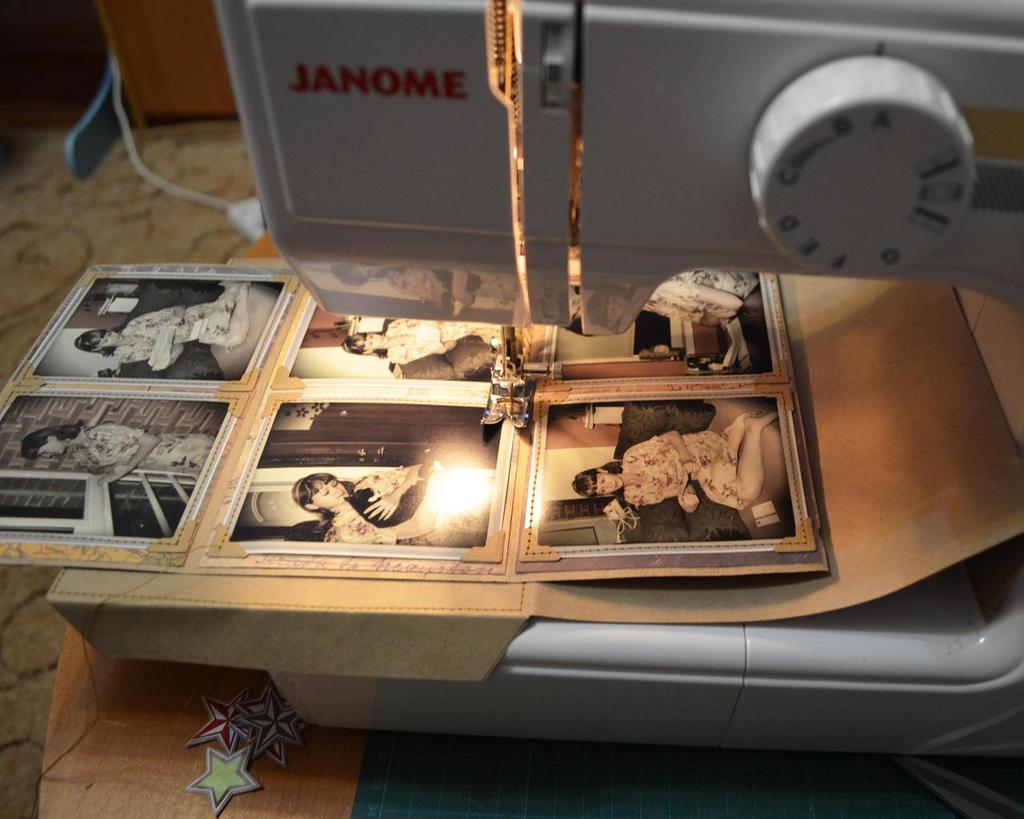
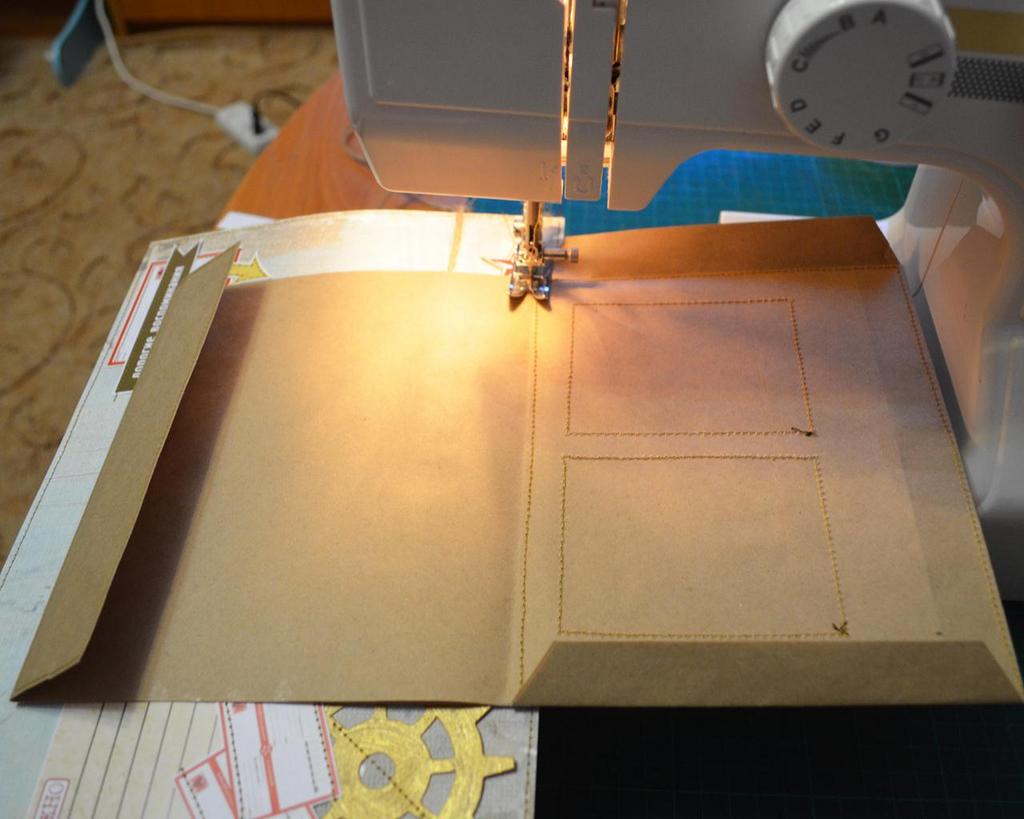
- sewing machine.
Progress:
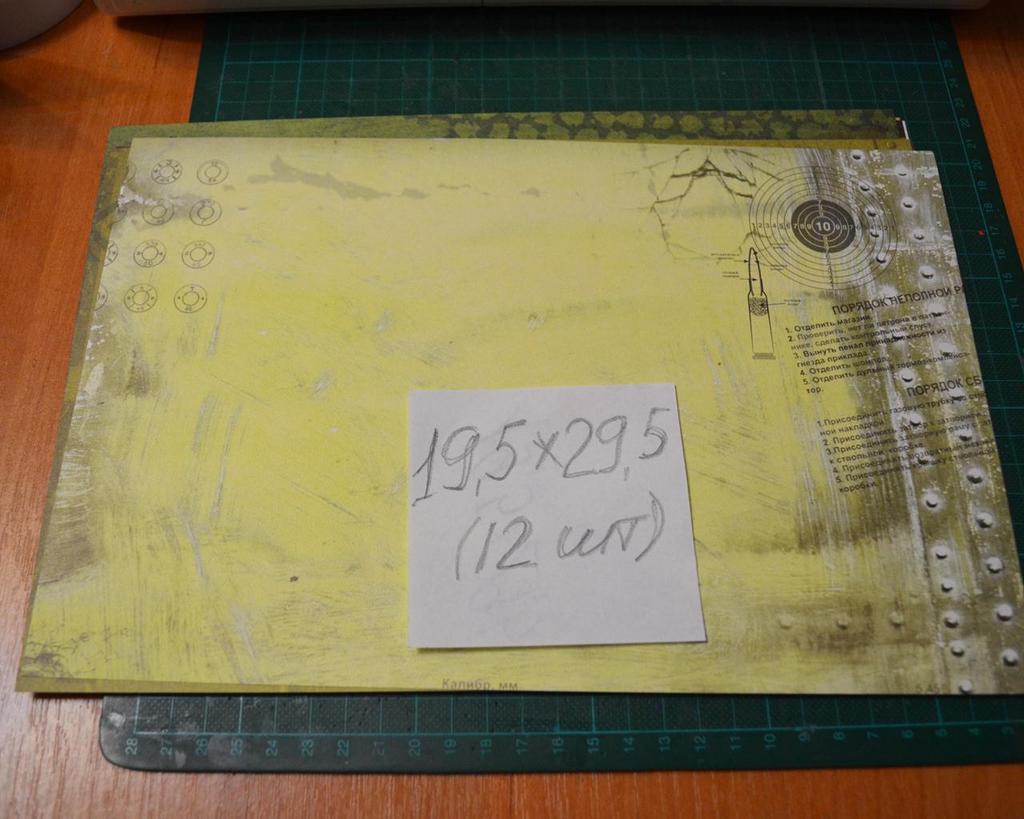
- Cut the paper into a piece of suitable size.
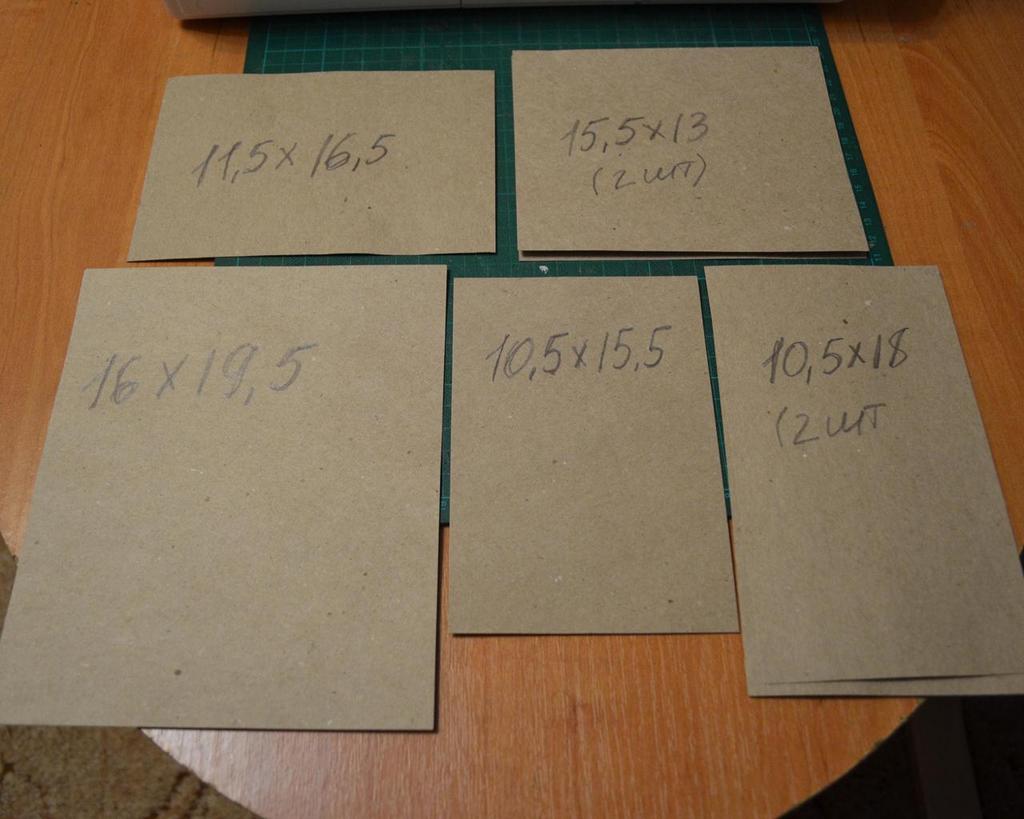
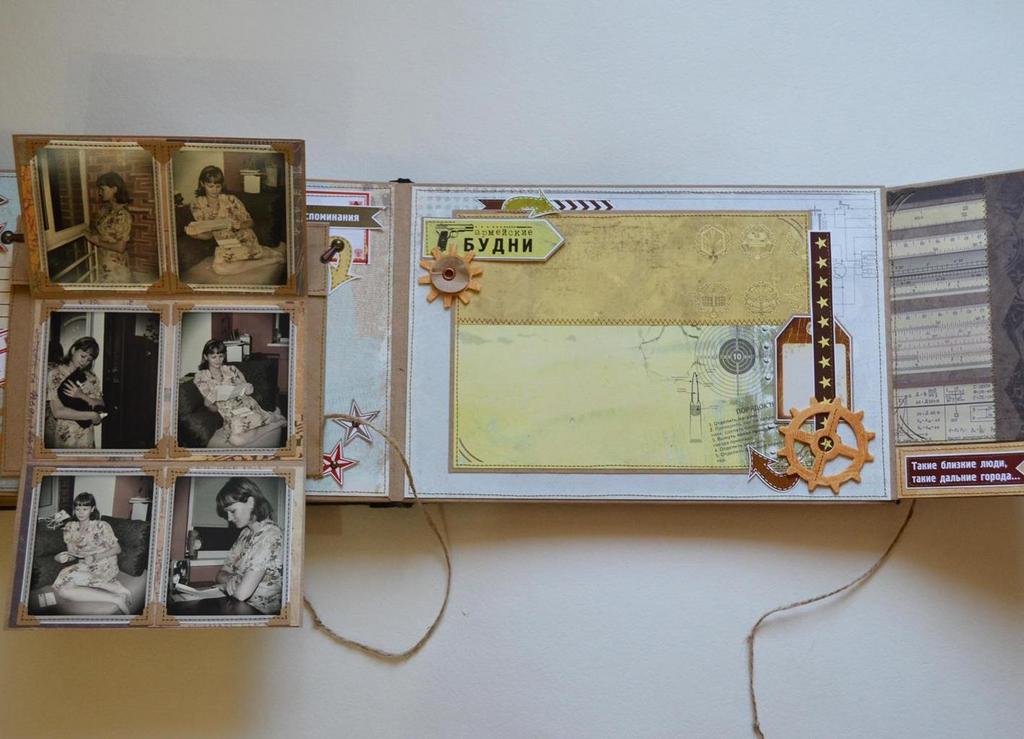
- Cardboard for the substrate can be cut to your own discretion. For example, for the first spread I got 7 elements of different sizes.
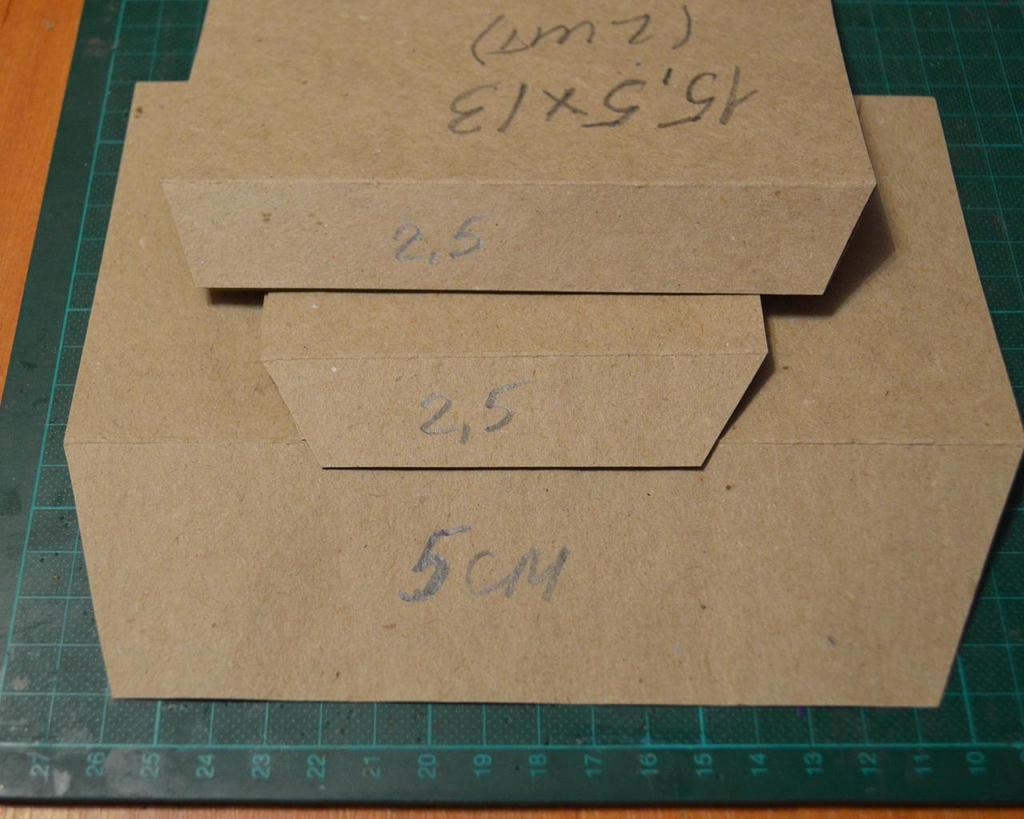
- The edges of the part of the substrate are bent and cut off the corners.
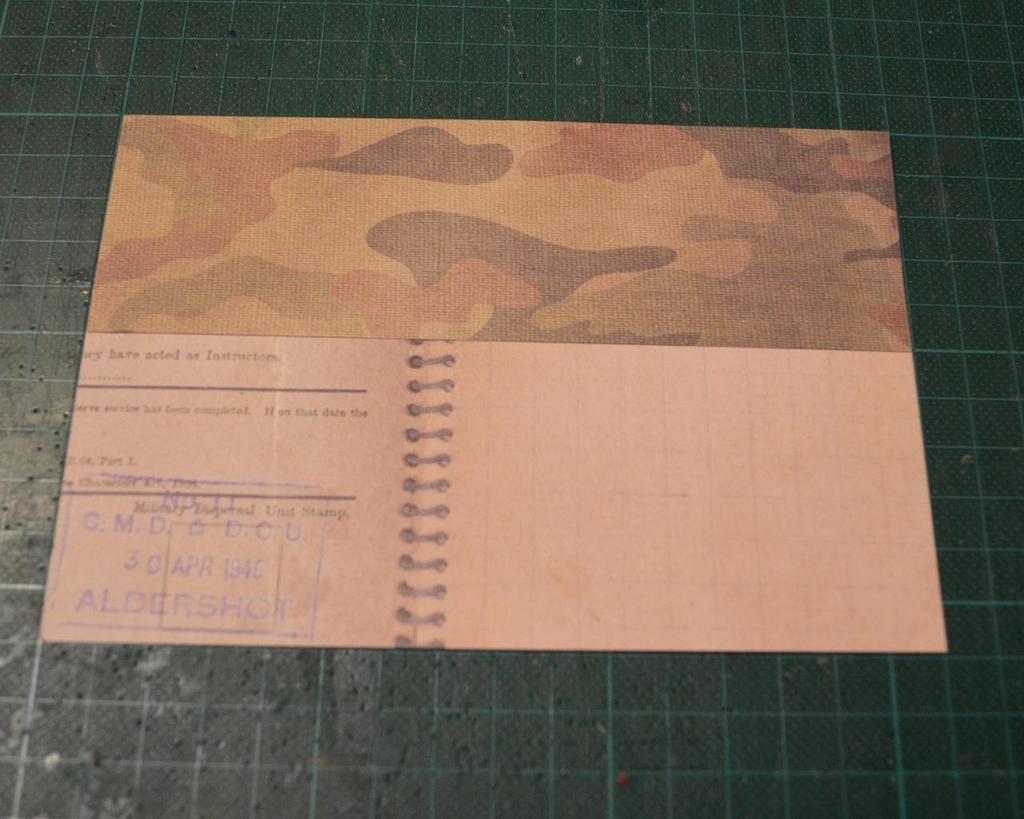
- The album is half full, and the second half of the substrates is supplemented with a layer of paper.
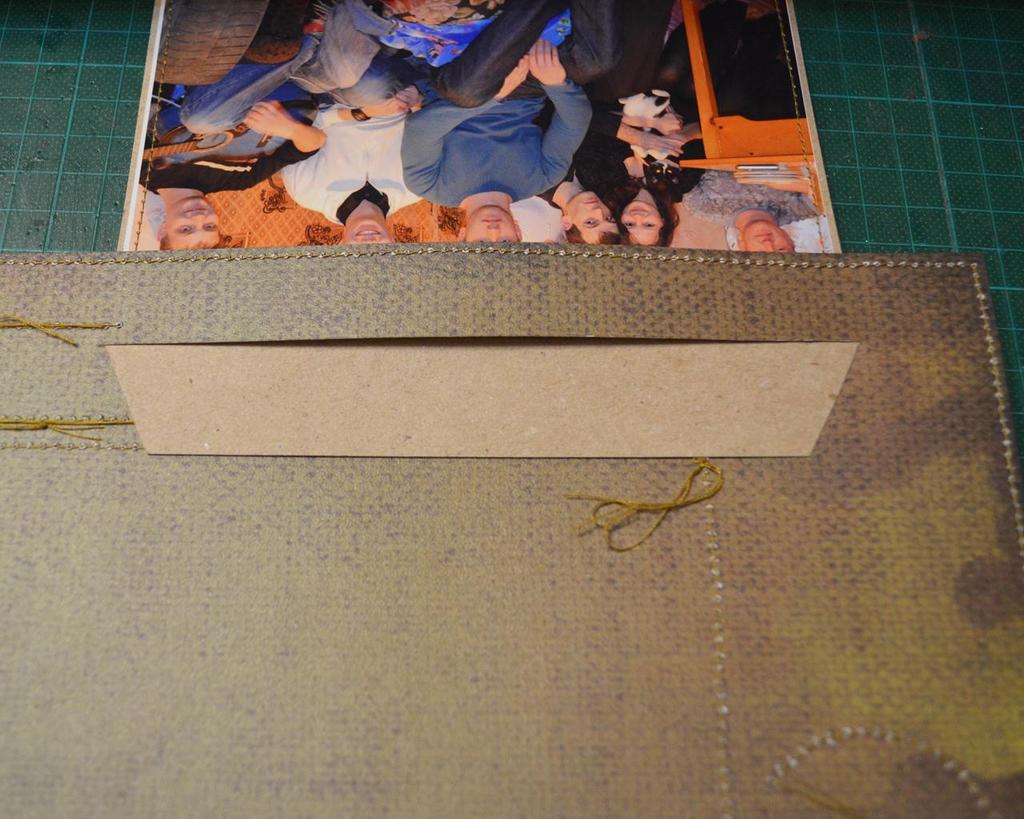
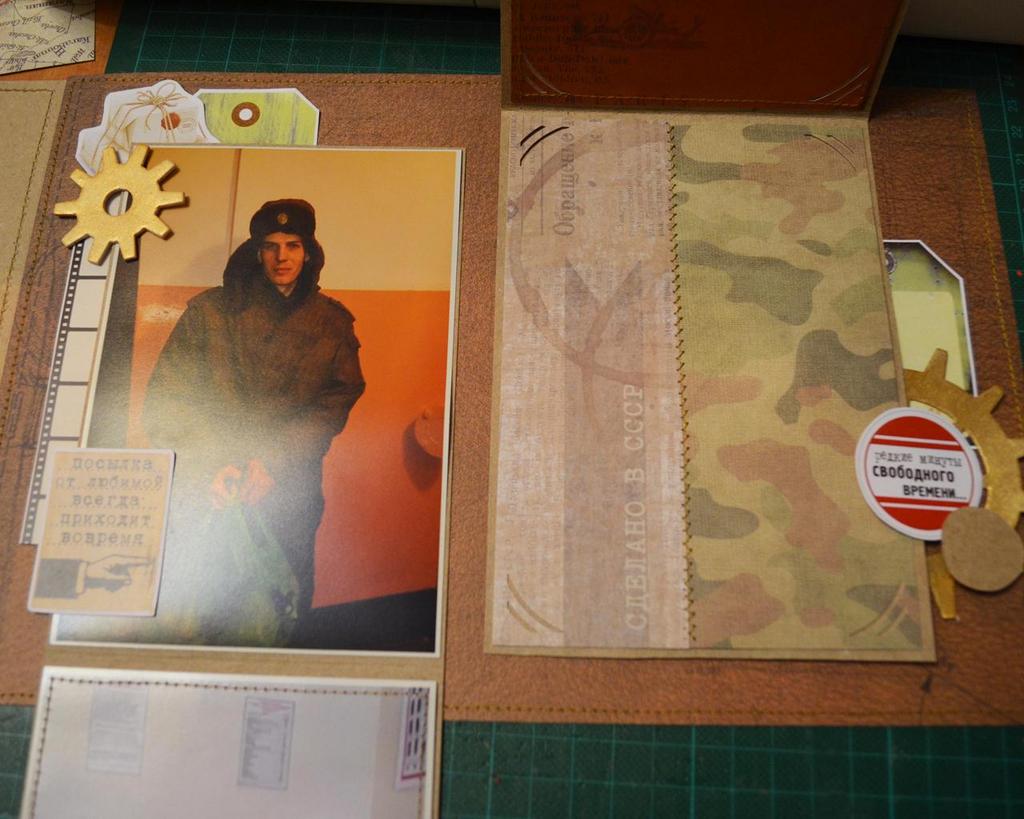
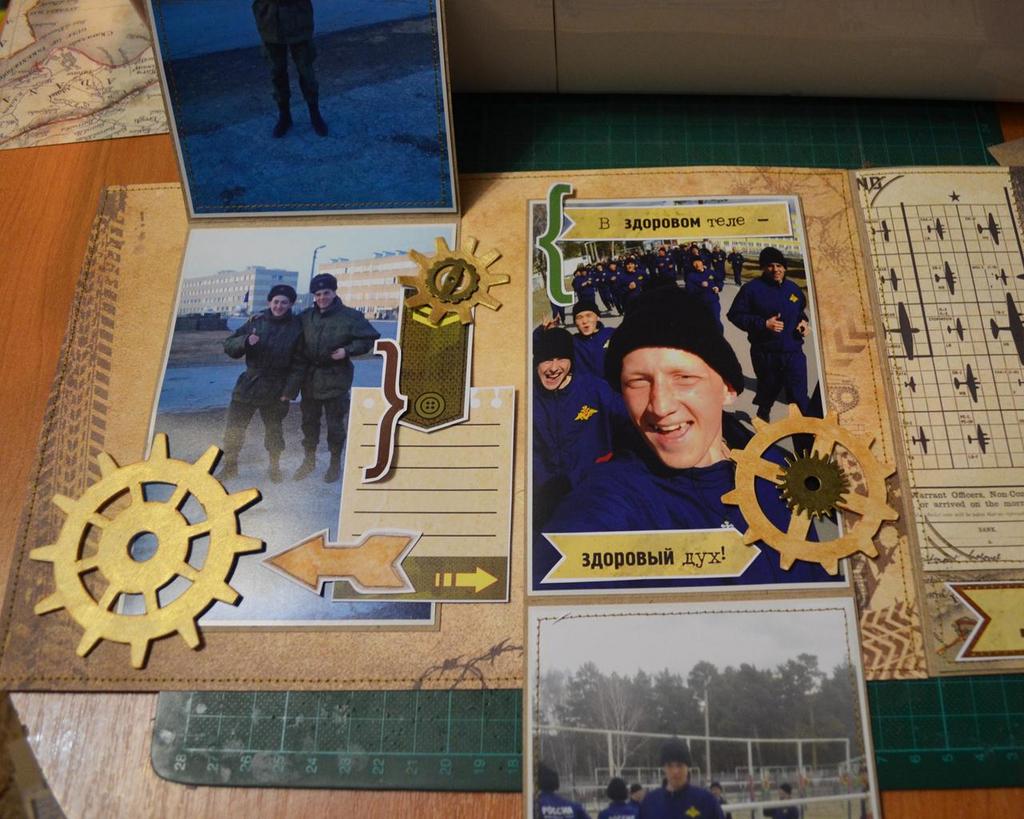
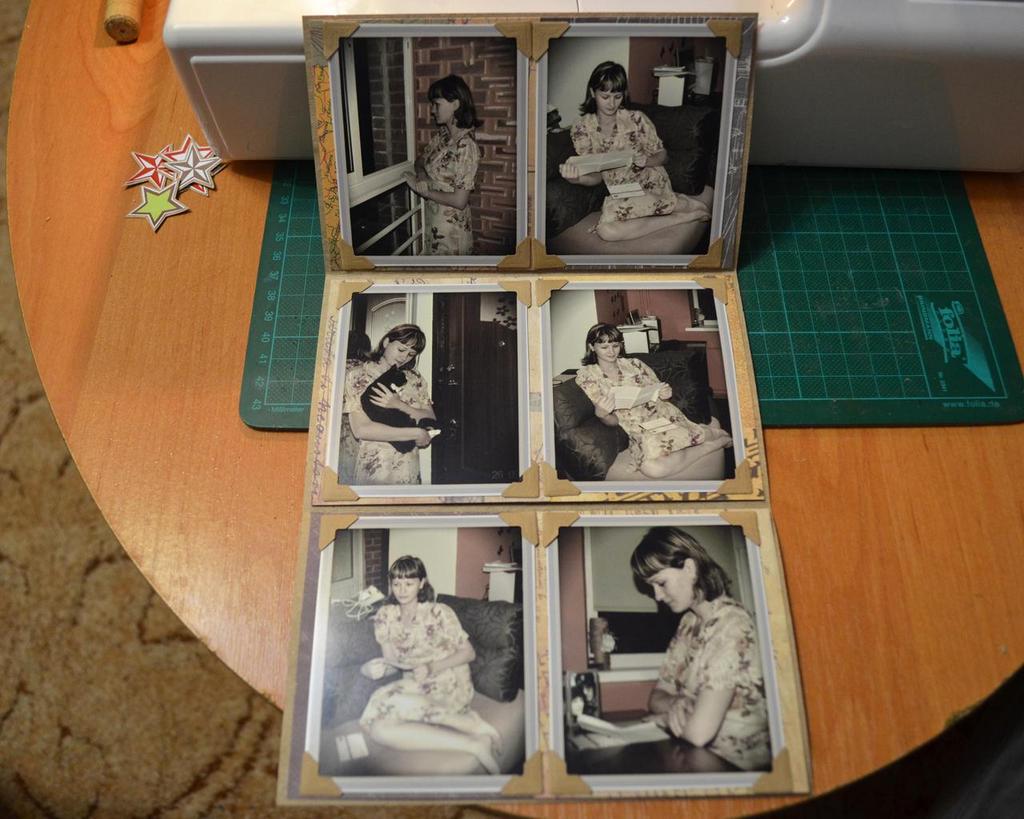
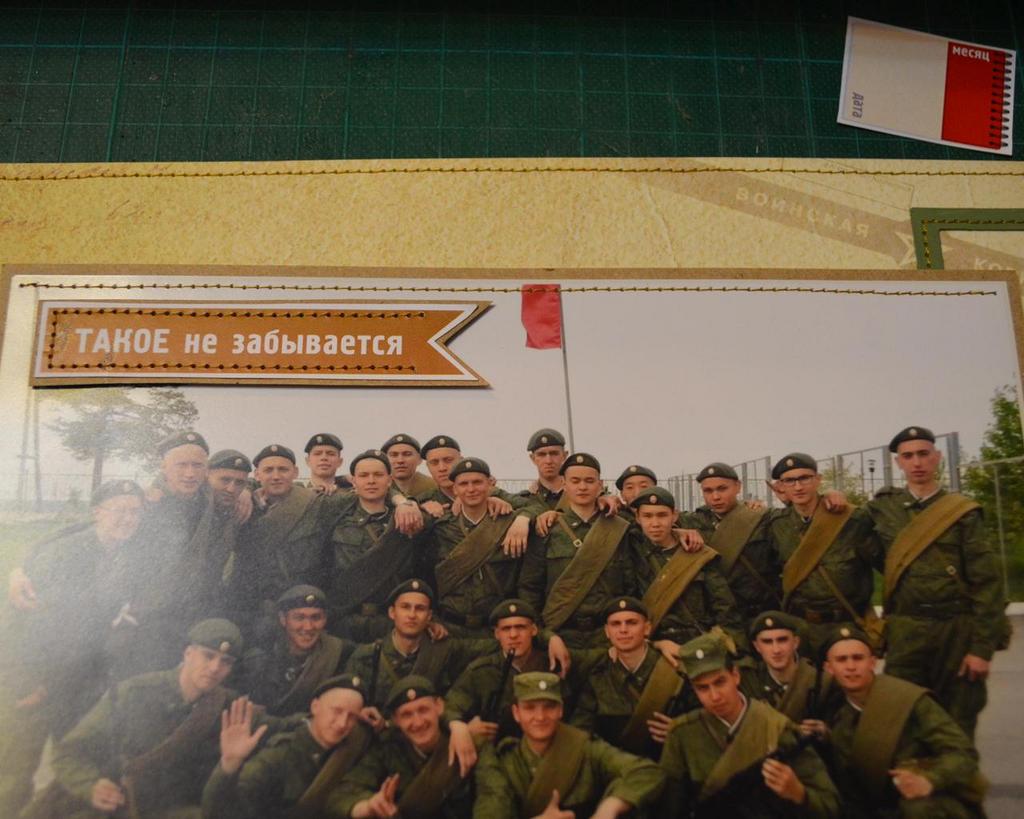
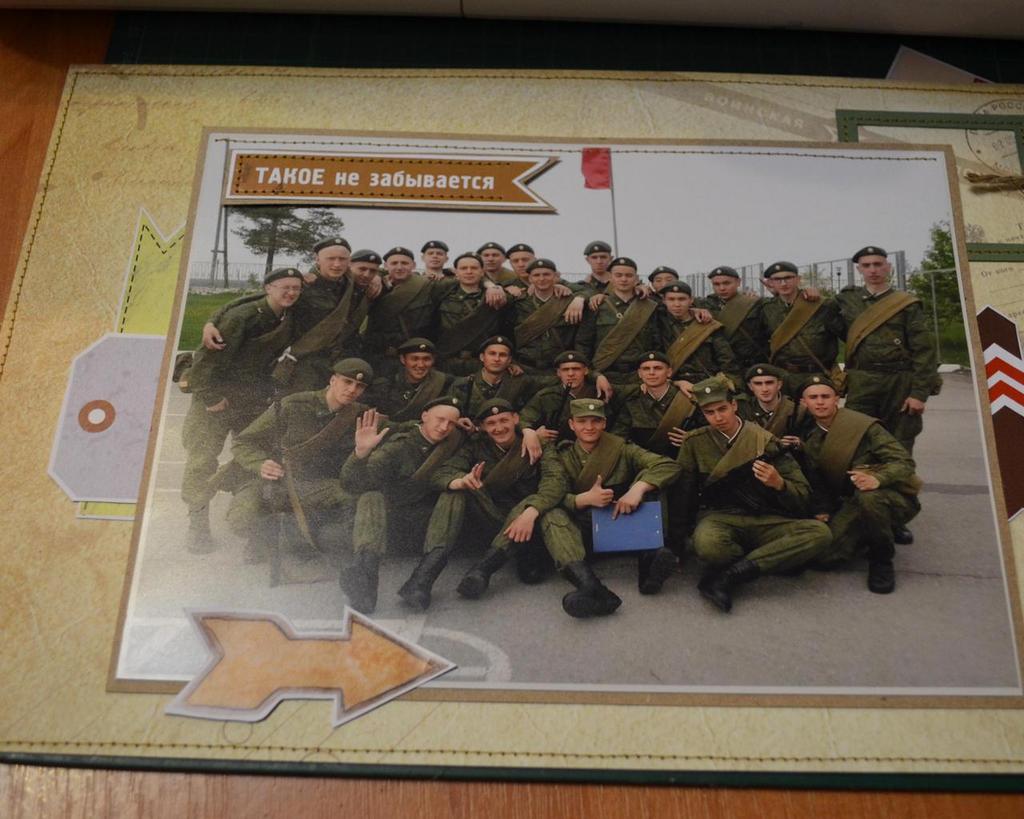
- On the cardboard paste pictures from one side and stitch.
- Just immediately make a layout (you can also take a picture, so as not to forget the location) - do not be afraid to impose details one on another.
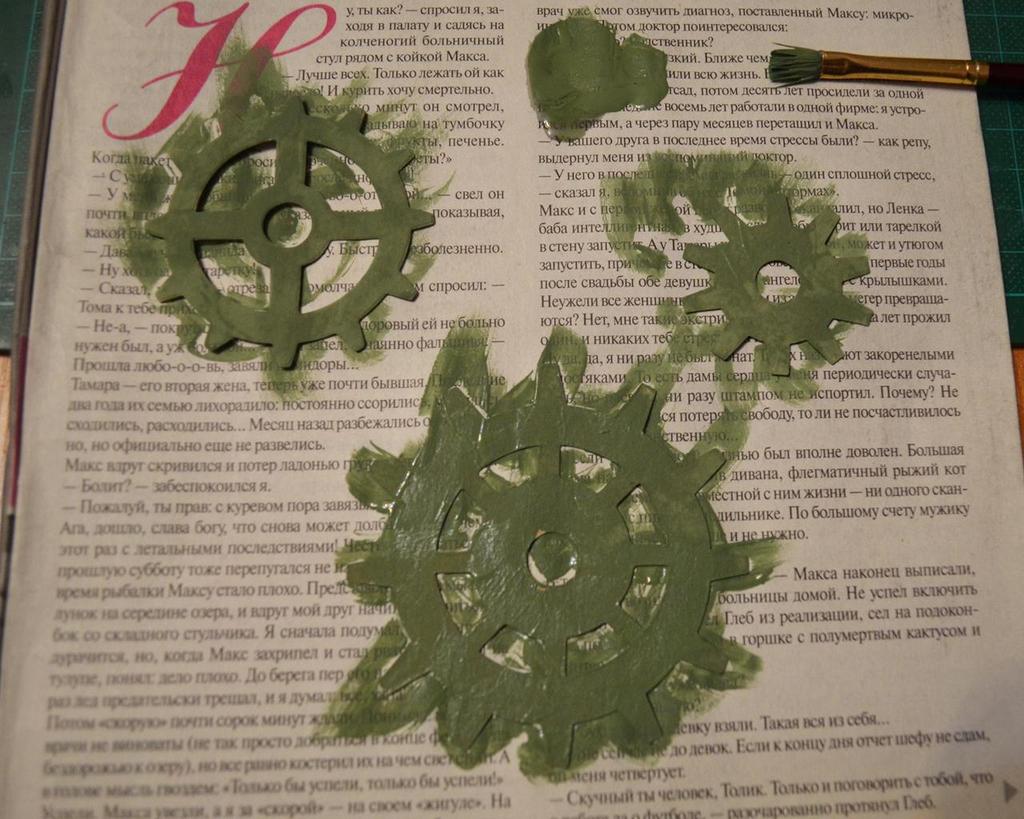
- Cardboard cuttings can be left in the original color, and you can paint with acrylic paint.
- Then we begin to paste and sew details gradually.
- In case the decoration is superimposed on a substrate without a photo, it should be glued and stitched in advance, and then fixed so that the photo was freely placed under it.
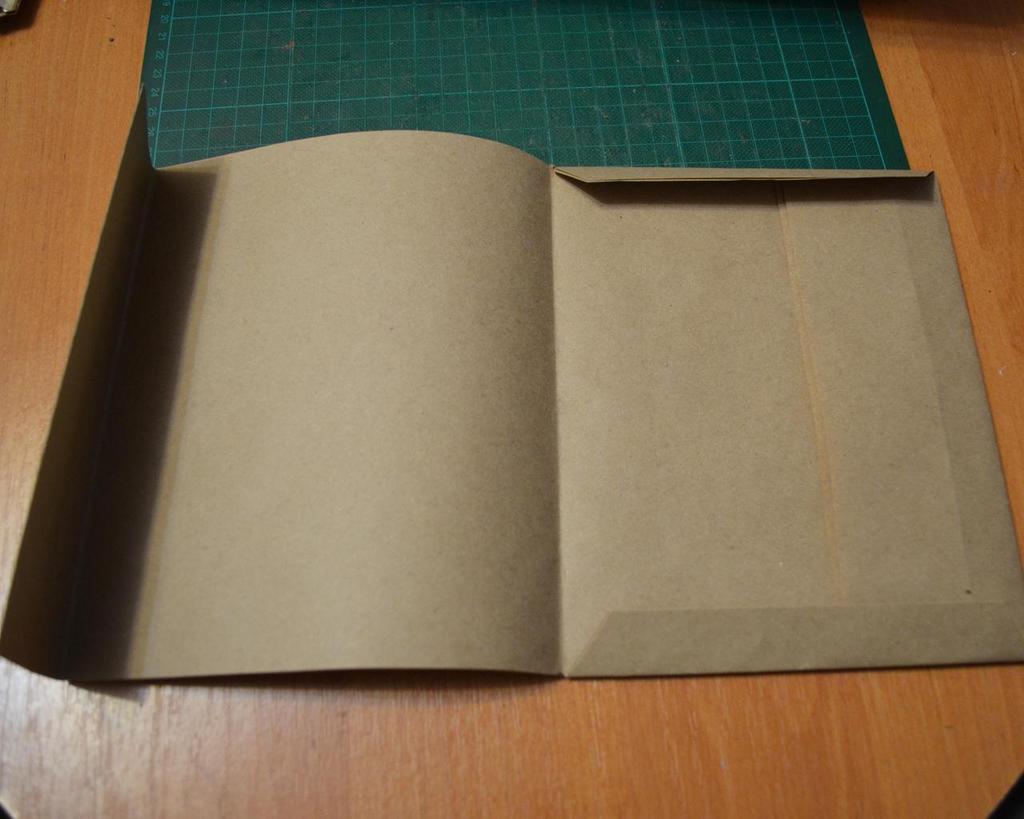
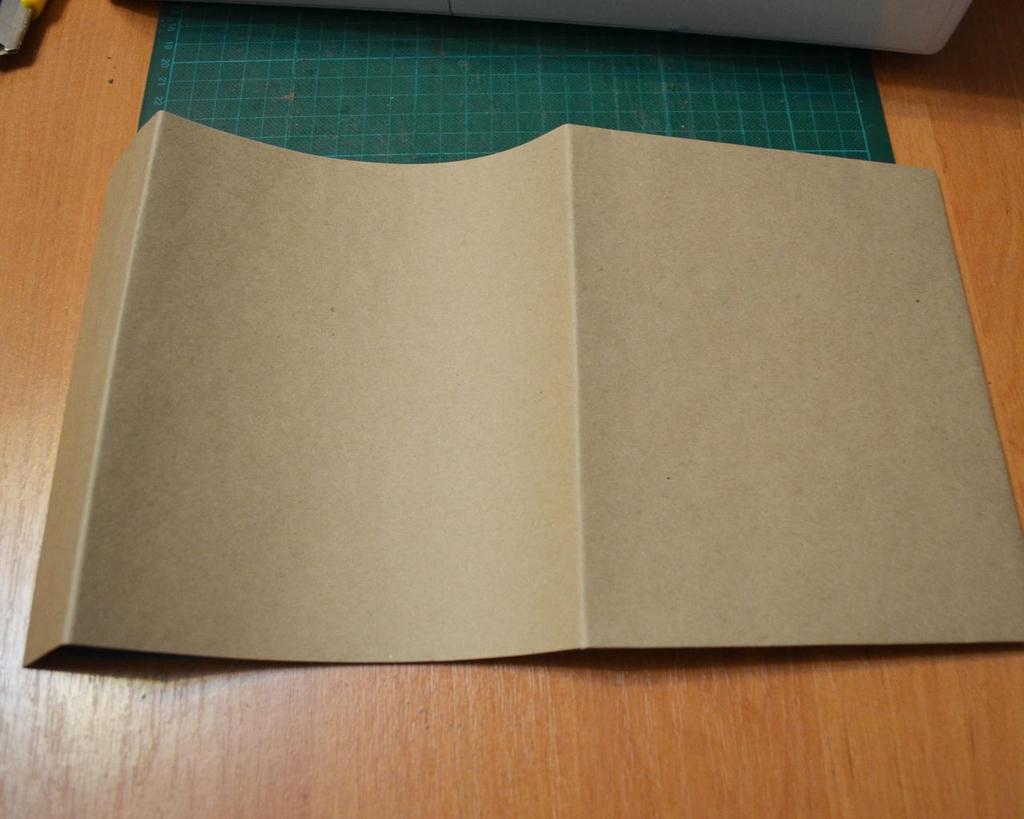
- Then fix the folding elements. On the page we make an incision and insert the folded edge of the substrate there.
- Just immediately we pass the twine in the same section, glue and stitch the photo from the front side and paste the remaining photos.
- As a holder, you can make a circle of cardboard, fixed with an eyelet.
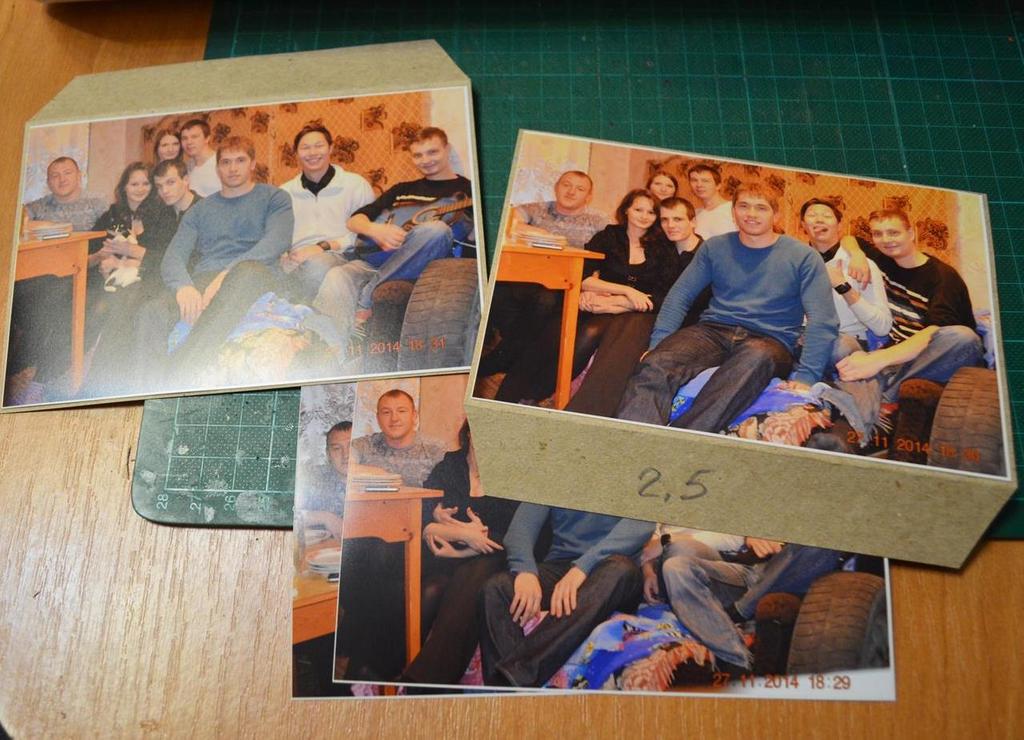
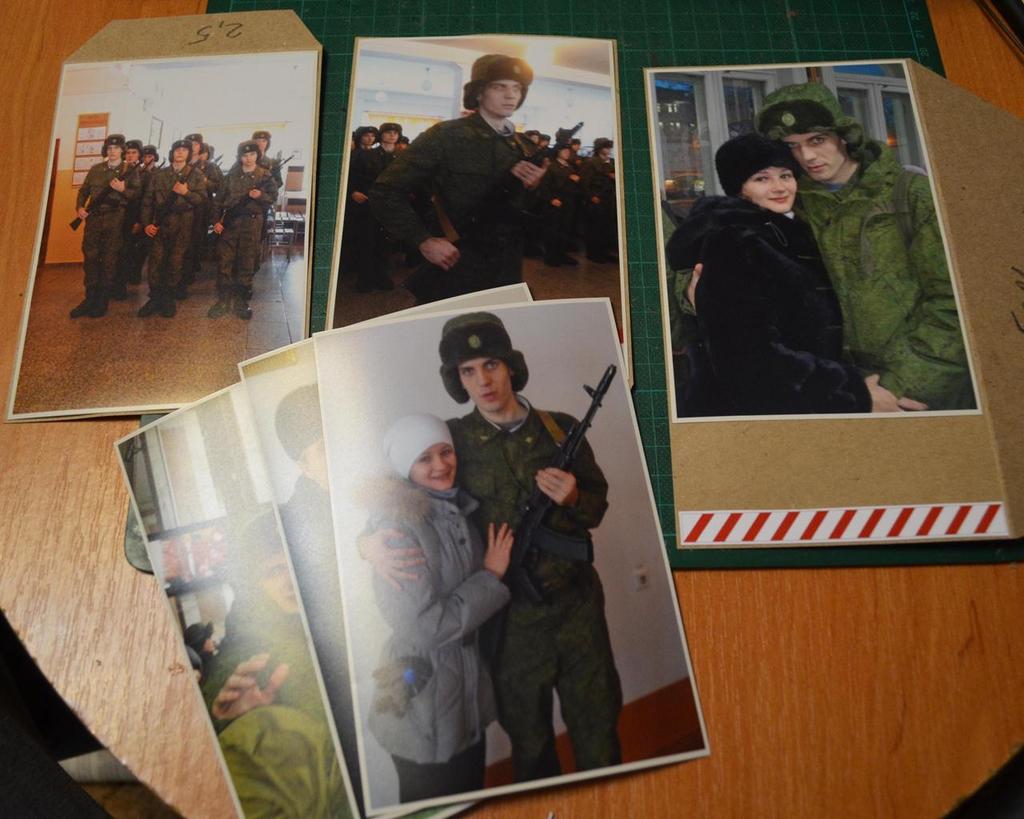
- For the next page, paste the photos on the same principle.
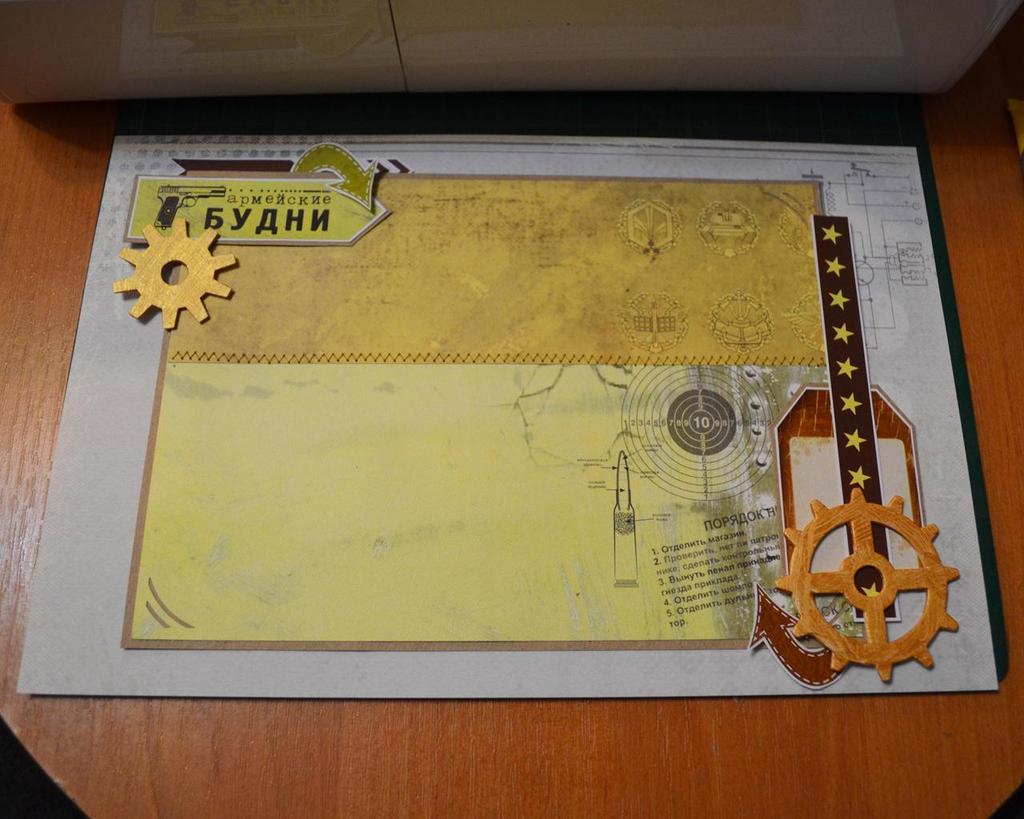
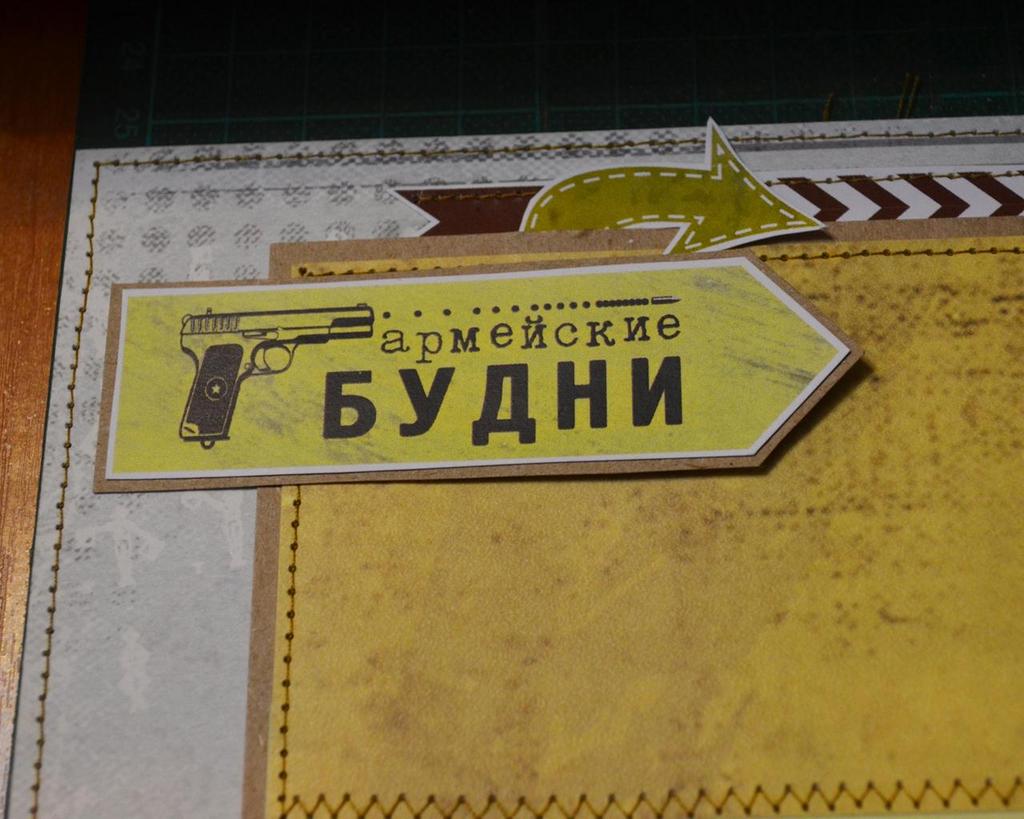
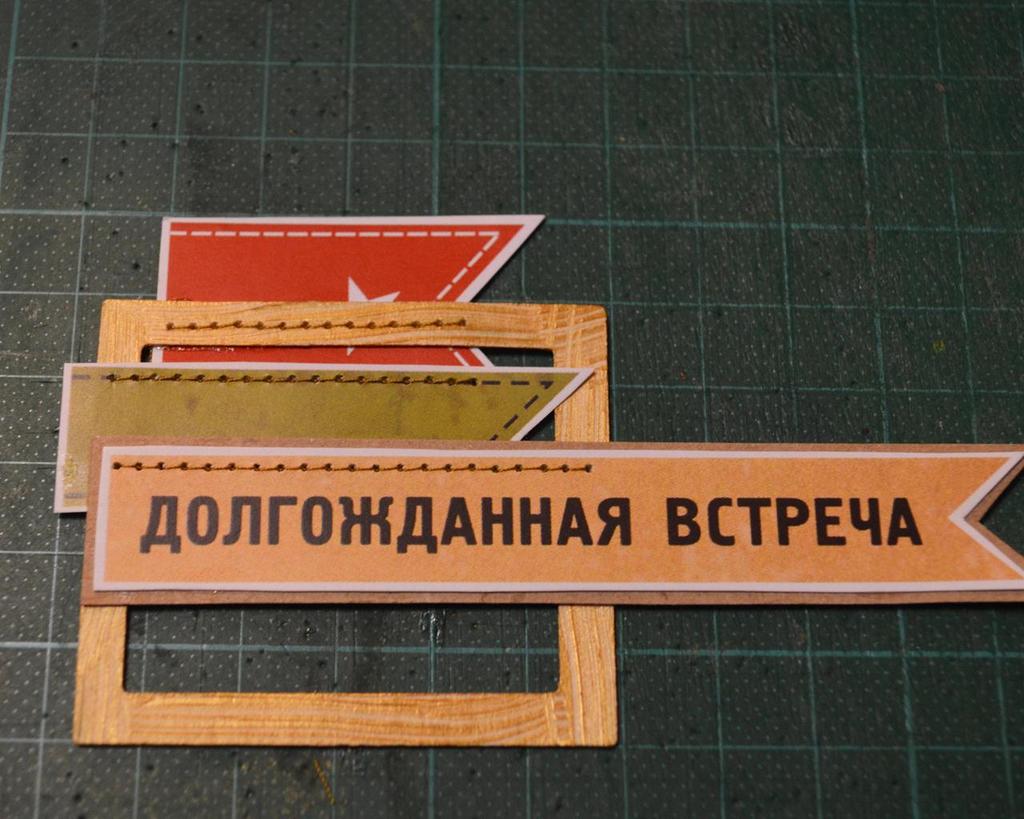
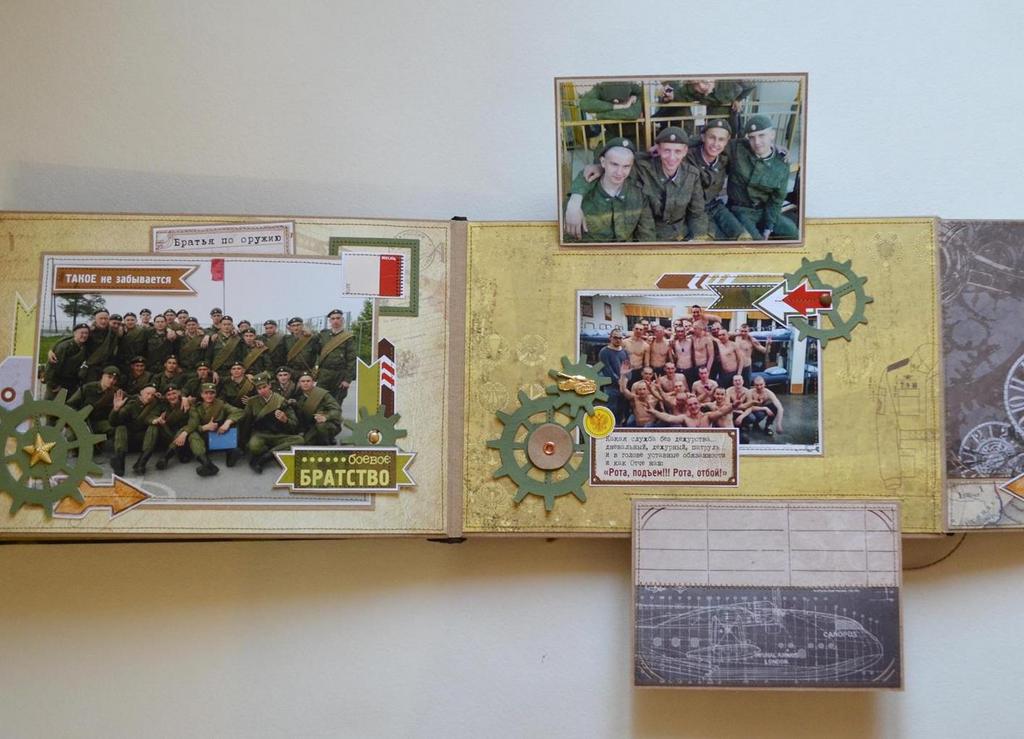
- One of the folding elements is bigger than the rest, so we supplement it with pictures and inscriptions, which can be pasted onto beer carton for volume. You can also add decorative details directly to the photo.
- Decor can be pasted and sewed directly on top of the photo - from the bottom layer to the top.
- A large "clamshell" is fixed from the back of the sheet, and then we stitch the page.
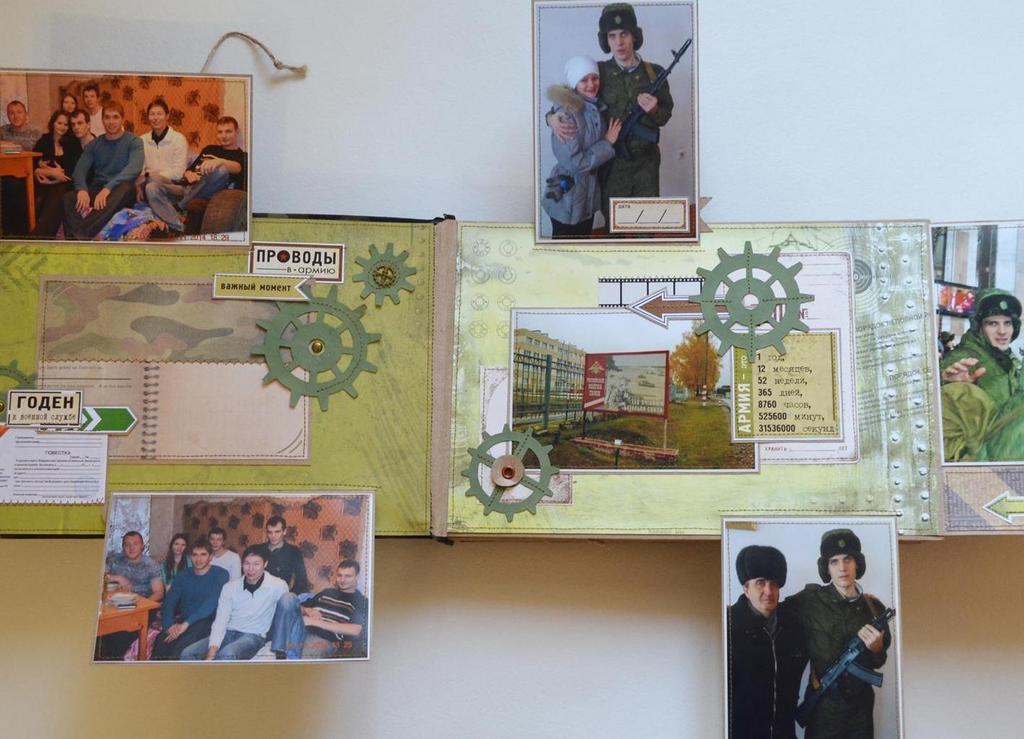
- On the next spread we will have a lot of substrates for self-posting photos.
- The substrate can be glued from different paper and punched corners using a punch.
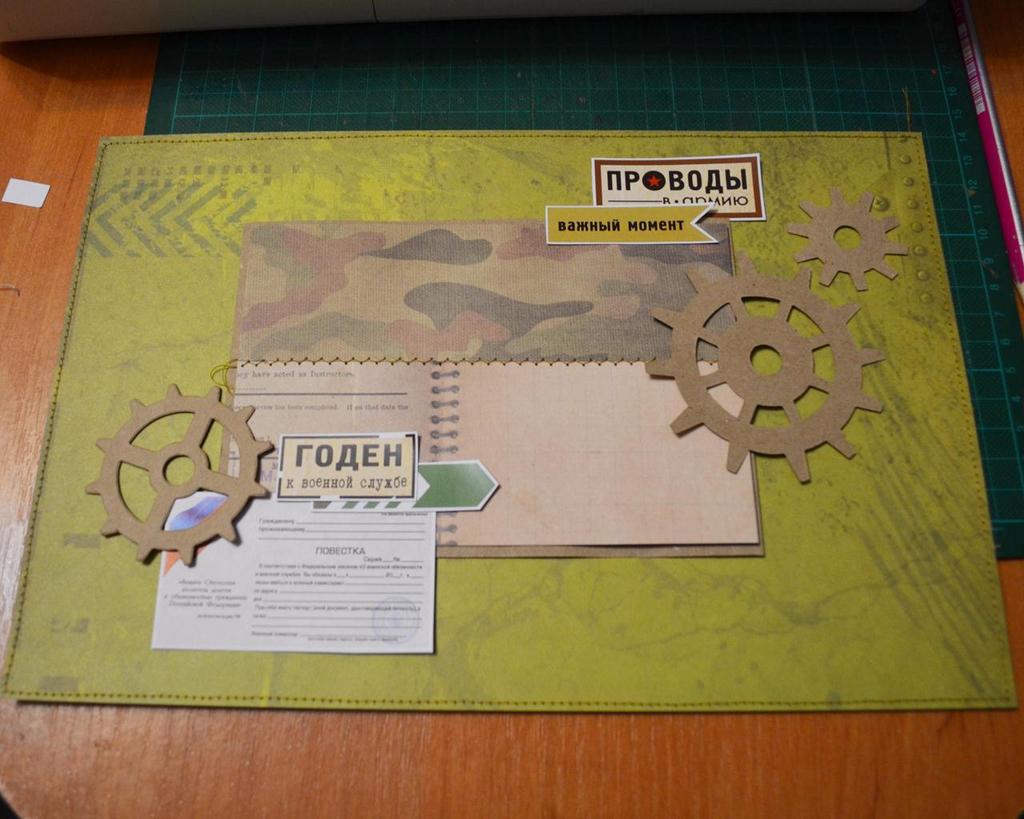
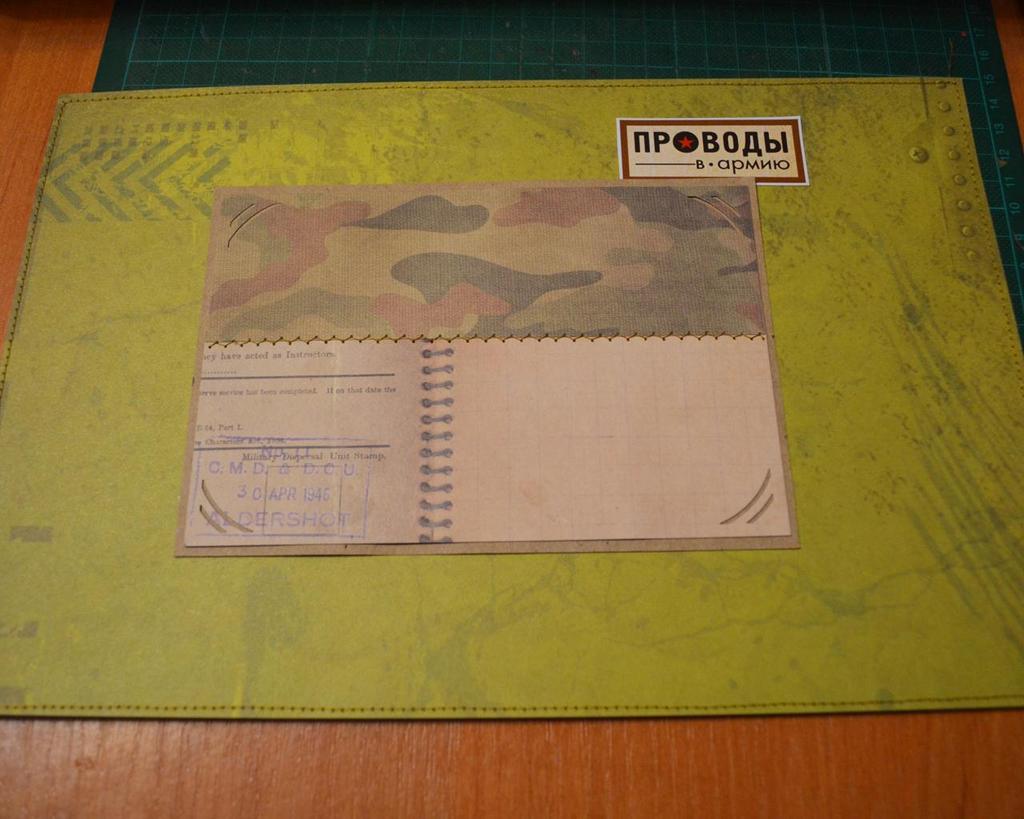
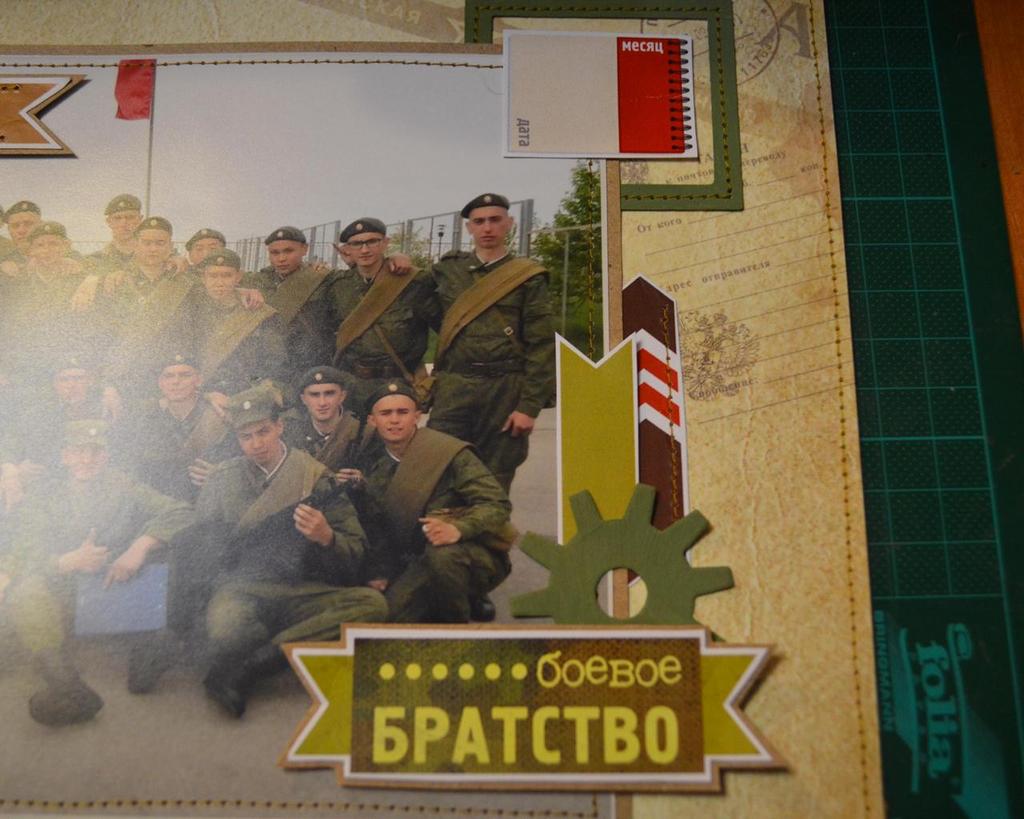
- Cutting - gears are present on every turn, but they are painted in different colors.
- We place all the photos in a convenient manner.
- Then we make a layout of ornaments and fix them.
- On some spreads most of the ornaments are hidden under the upper photos, so they should not be too bulky, but it is not necessary to make them all flat.
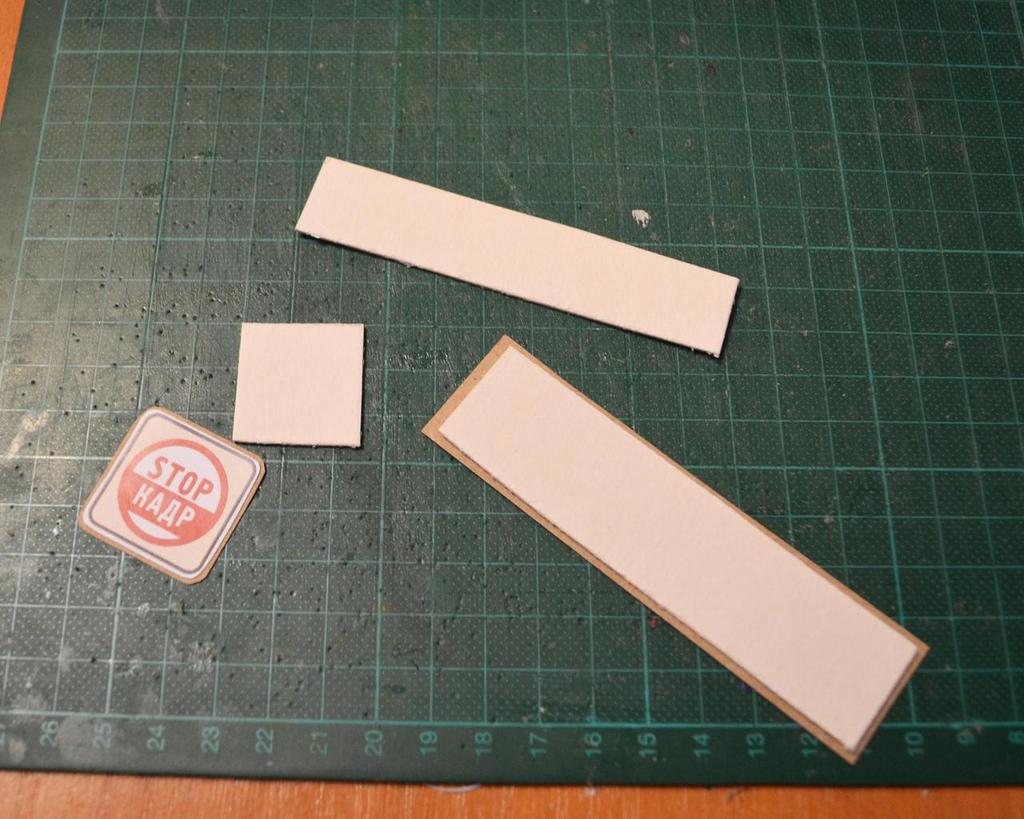
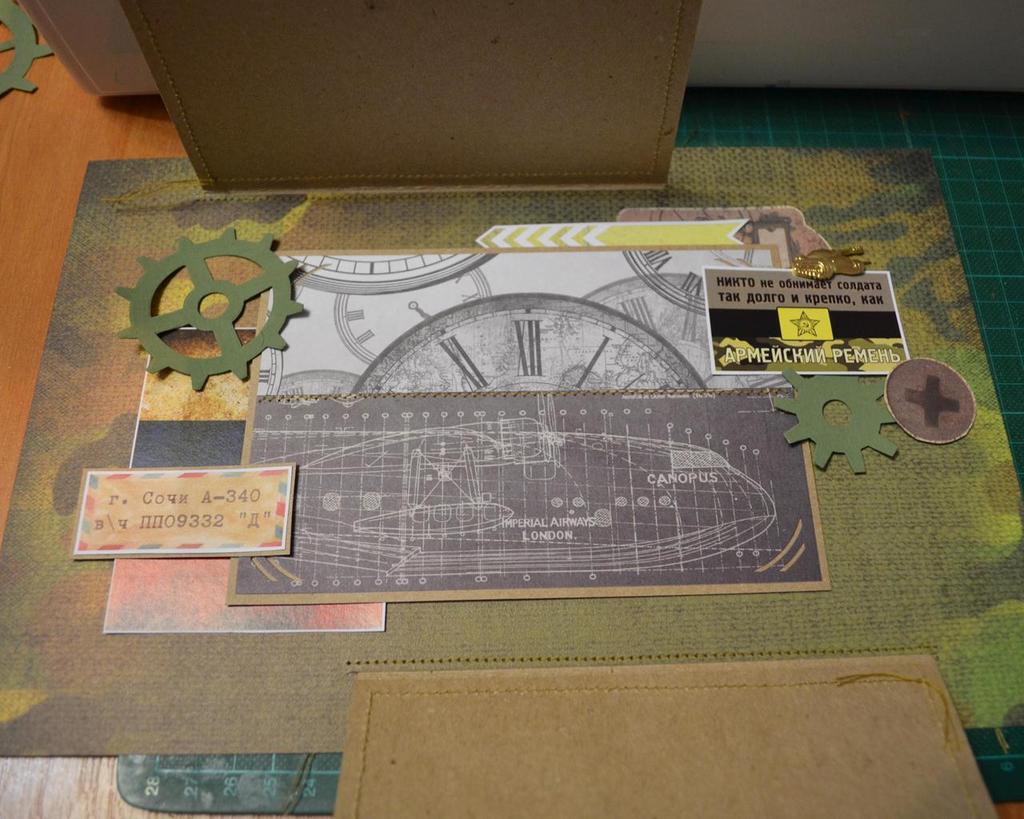
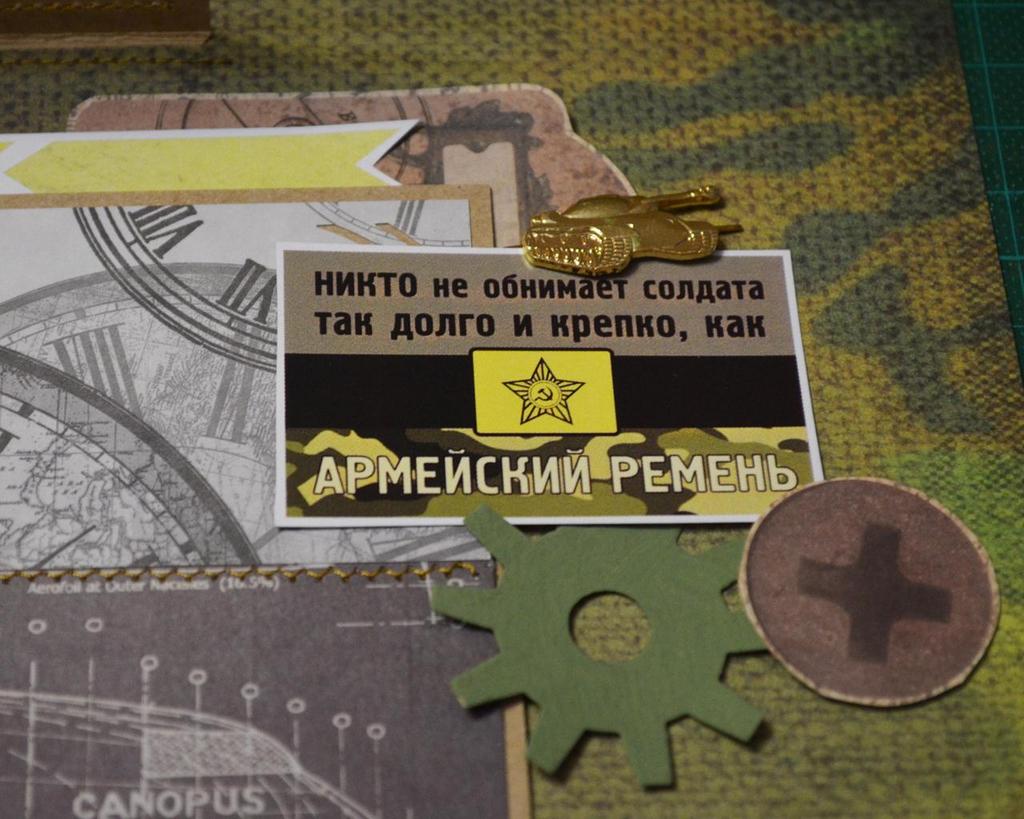
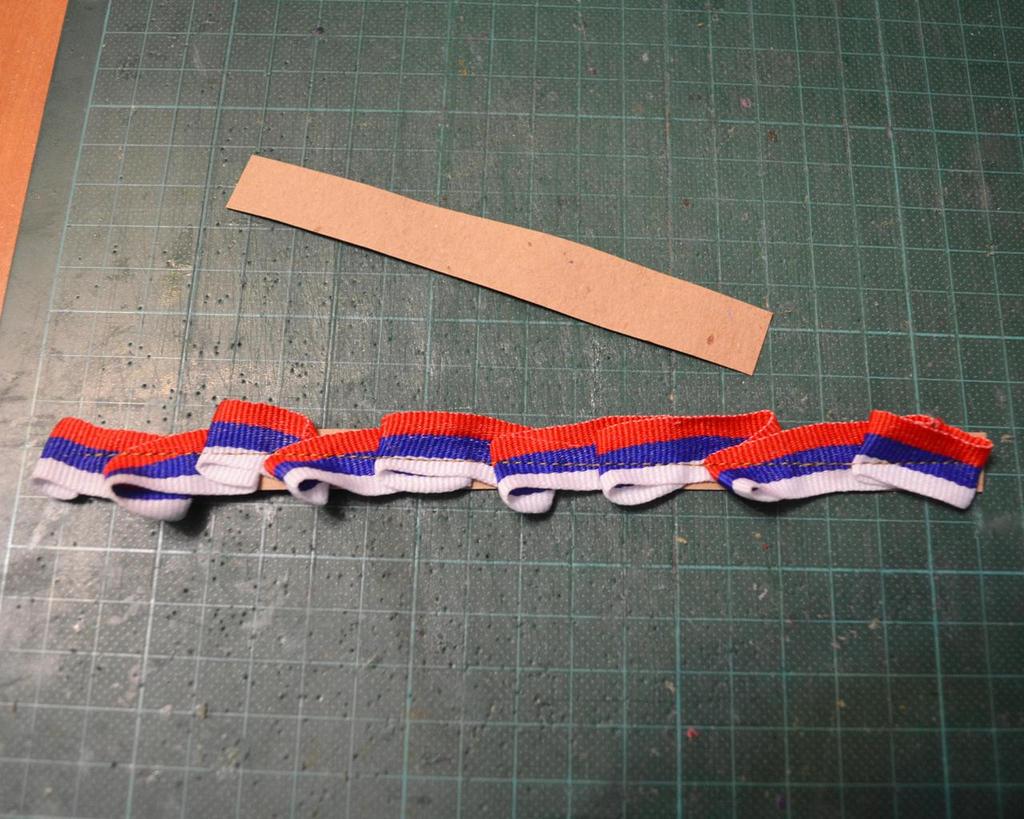
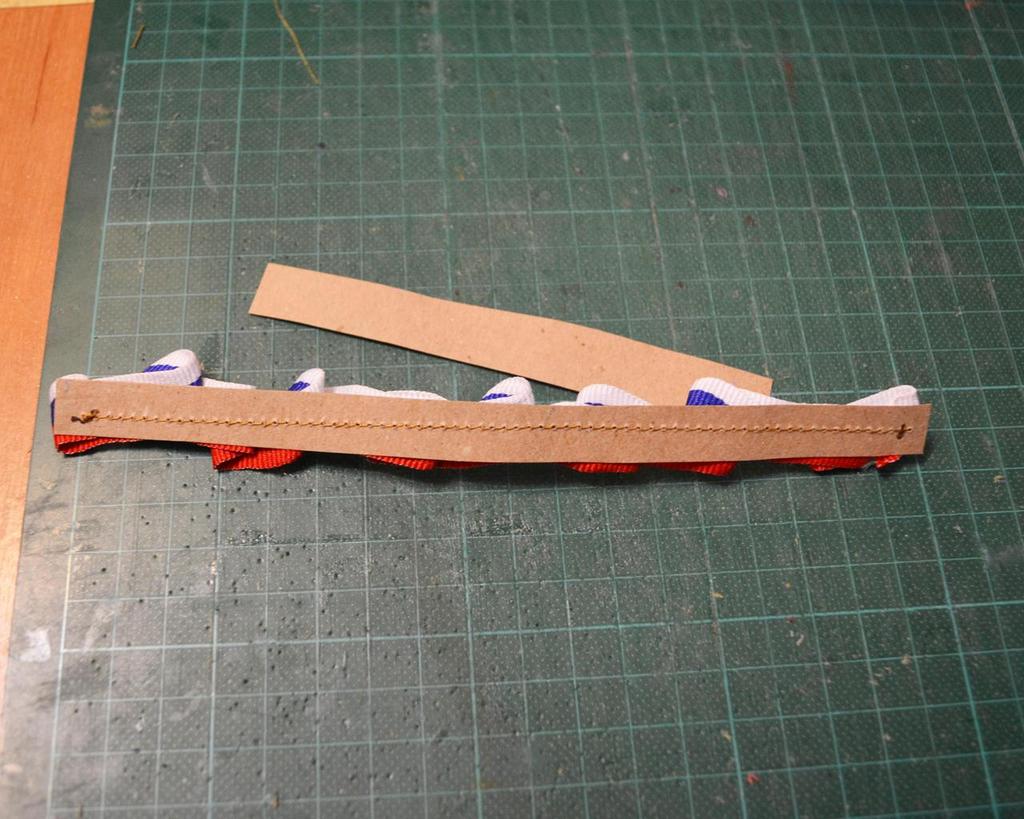
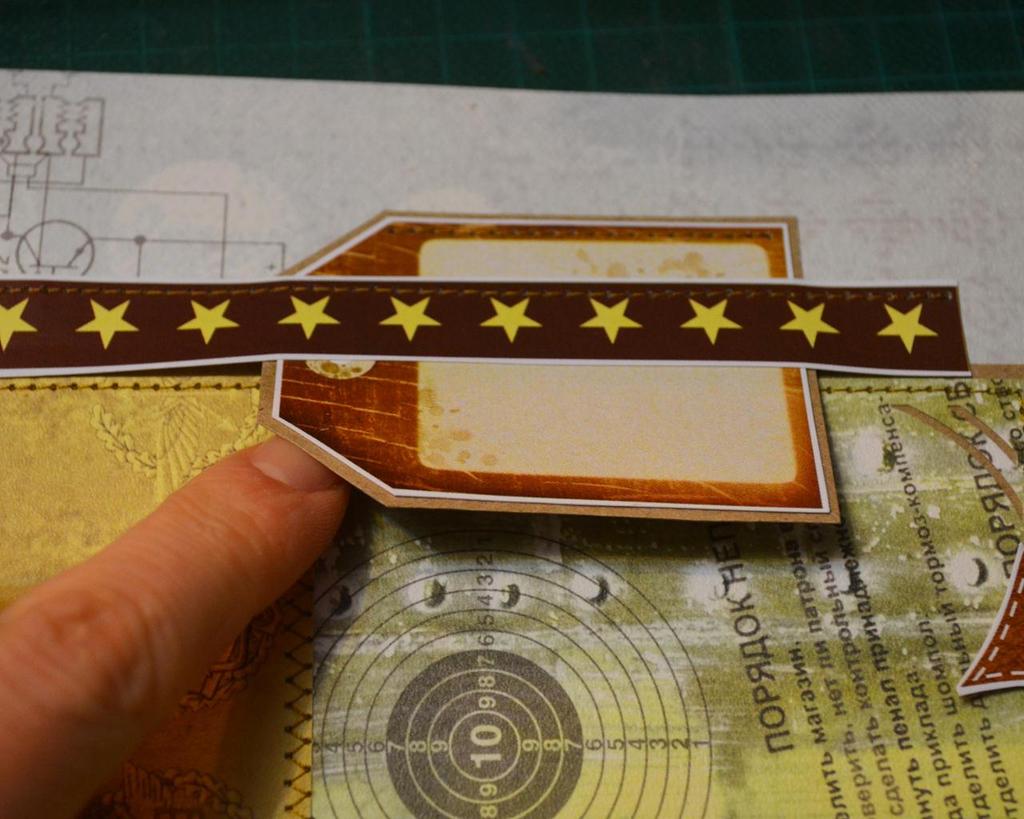
- For decoration, you can also use a ribbon sewn onto a cardboard strip - it will be easy to paste anywhere.
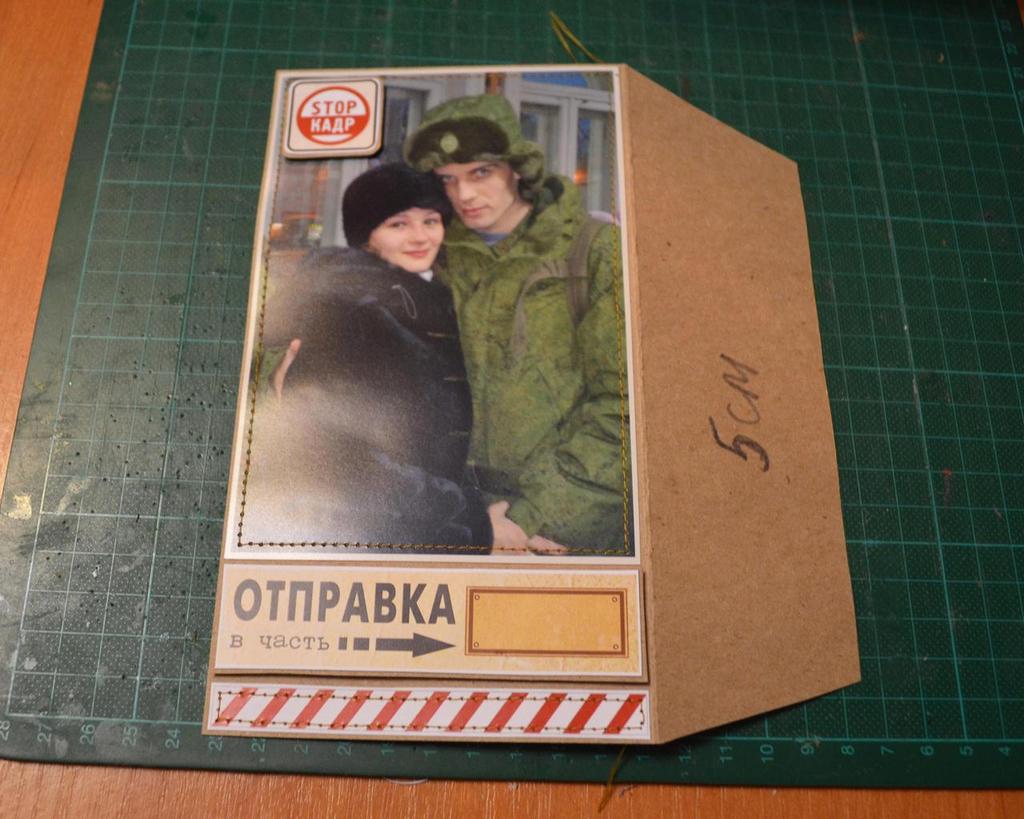
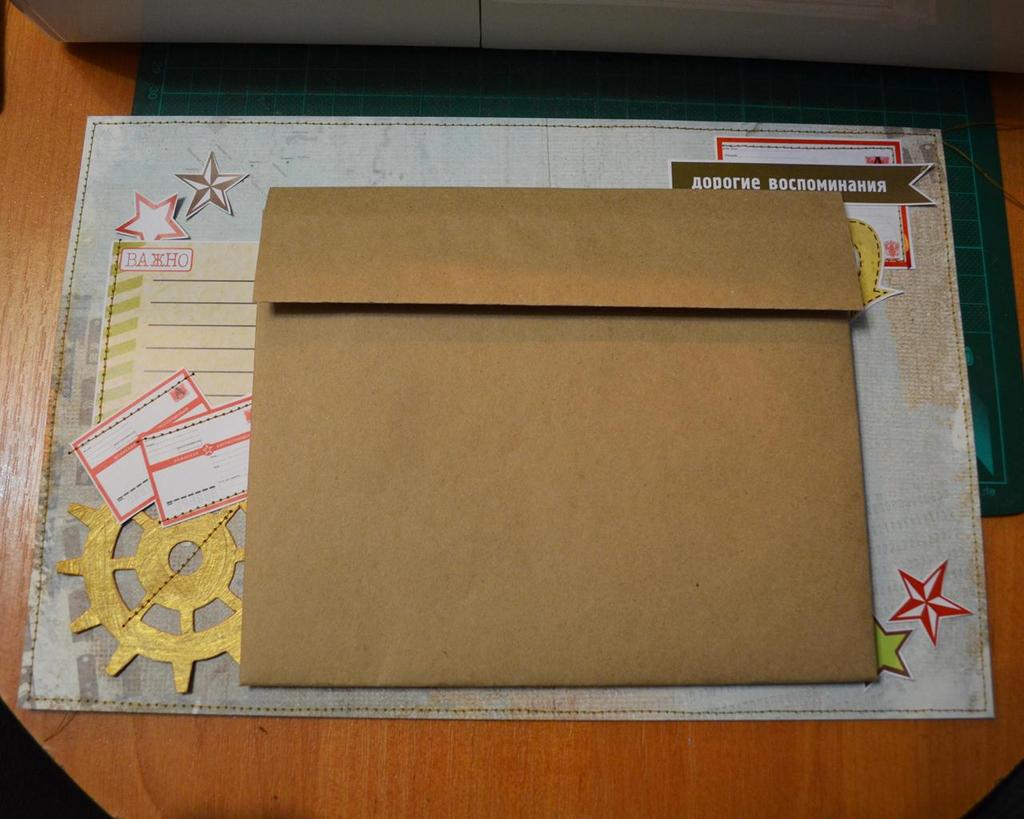
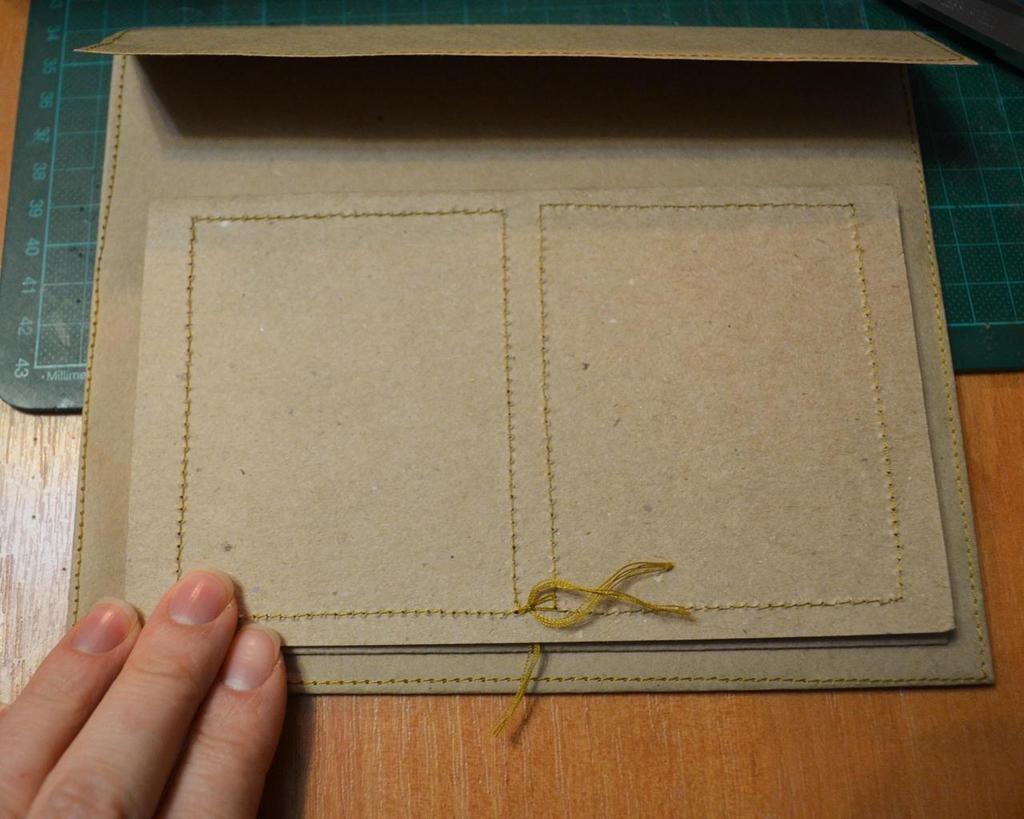
- You can add a highlight to the album - in this case it is an envelope for storing letters and a series of photos "Waiting for a Soldier". From the kraft paper we make the blank of the envelope, larger by 30 -40% than the standard envelope and stitch the front parts. Do not glue.
- Photos are glued inside the clamshell and stitched upper and lower, then we glue the clamshell to the envelope and stitch the central photos.
- Then we glue the envelope to the base and stitch it, and after that we glue and add the last photos.
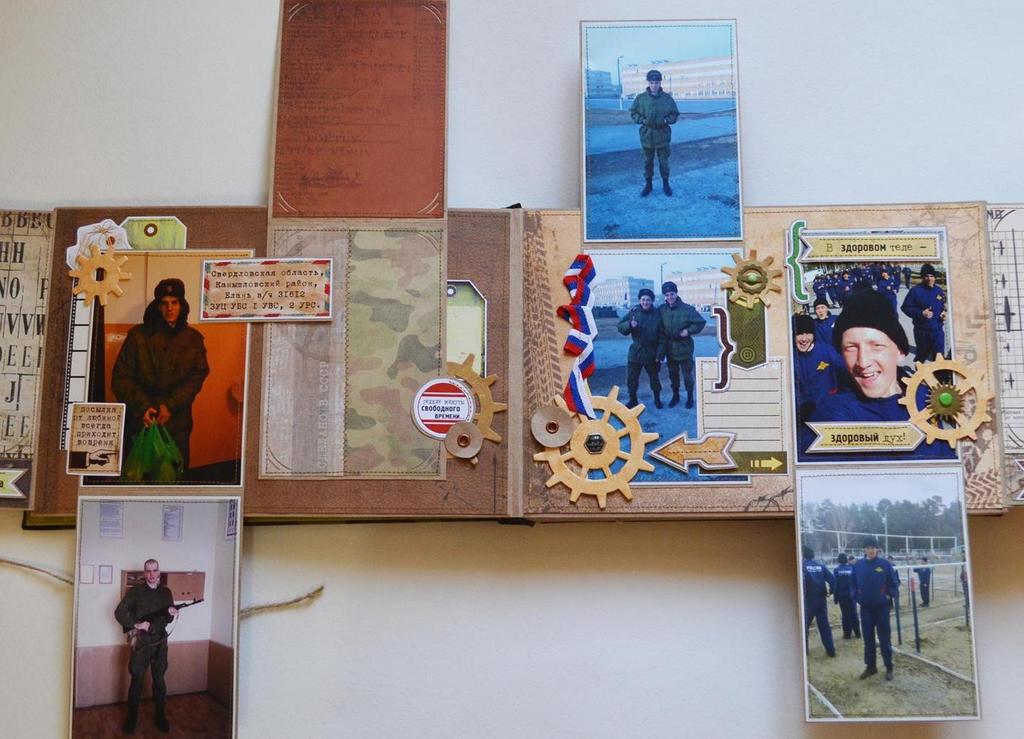
- You can also make a background for several large photos. The decorations here are also fixed in such a way as not to complicate the placement of pictures.
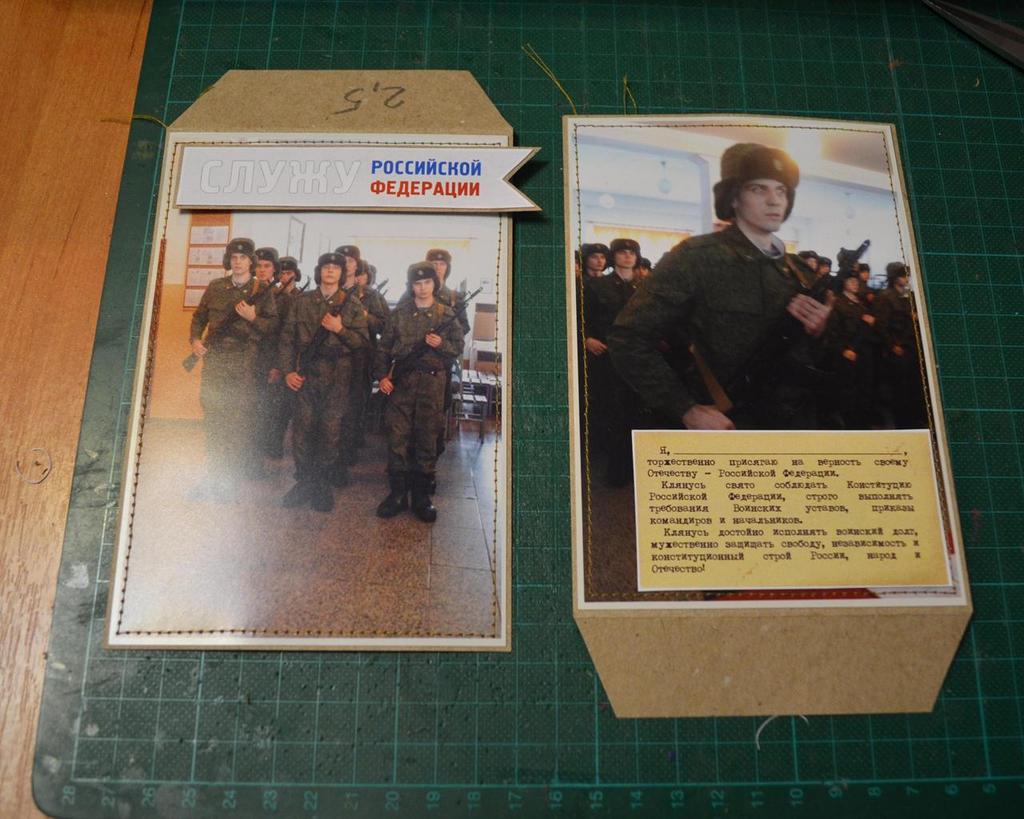
- Each serving man will necessarily have a group photo, which should not be covered by other elements, but it is possible to make a pocket behind him-for this we sew the picture over the top edge, then paste it on the corners and sew the remaining three sides.
- In the pocket, we'll put a card on which you can write down the names of co-workers.
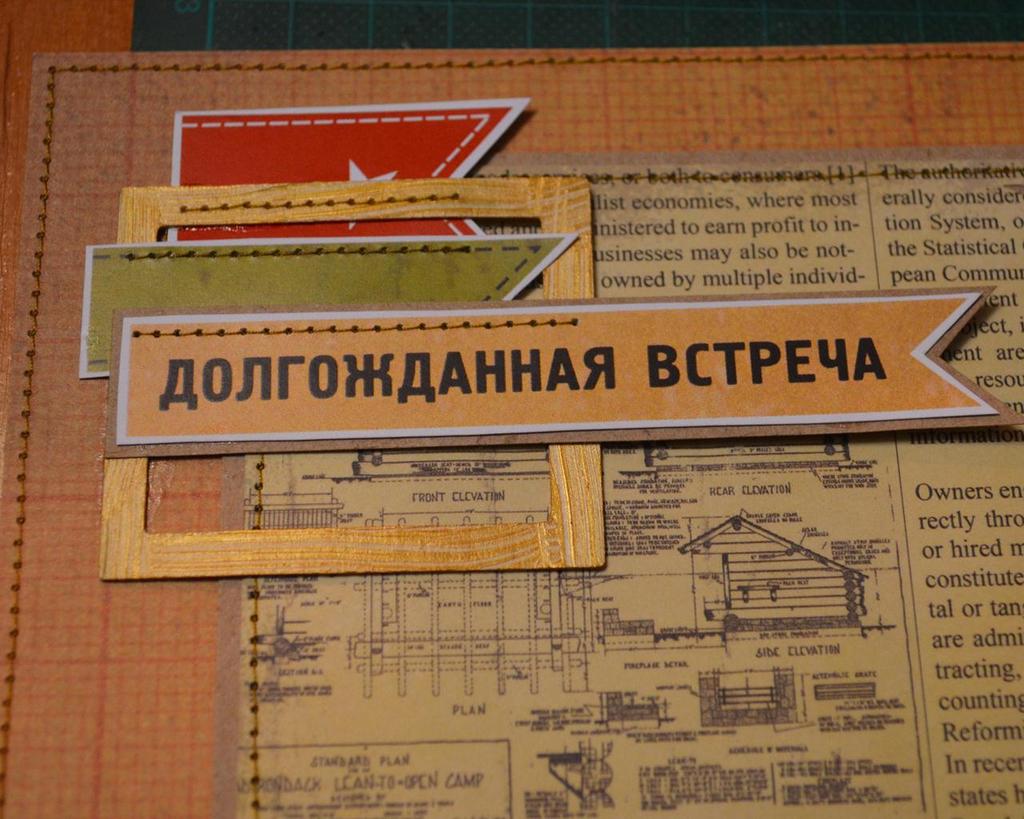
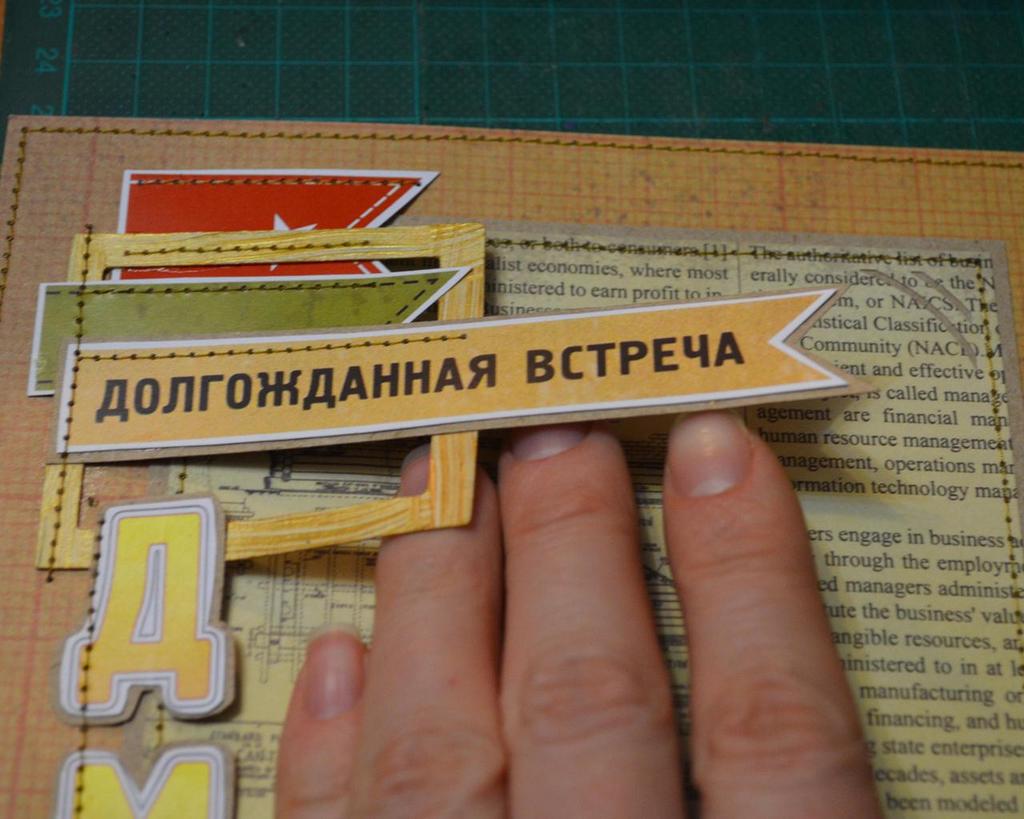
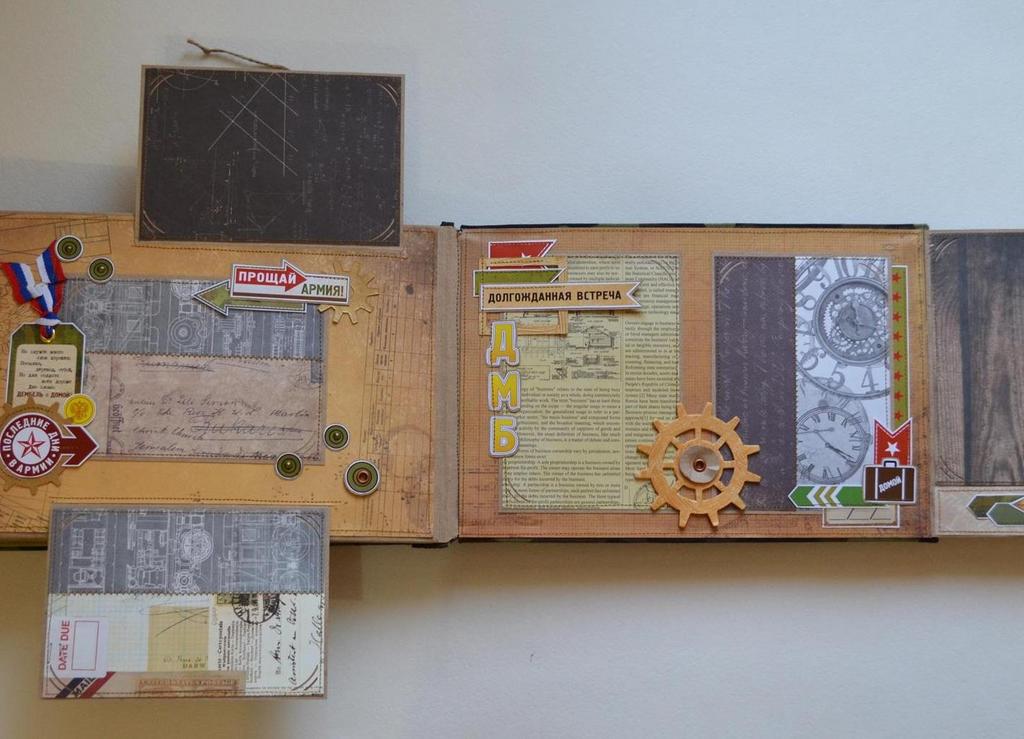
- The final turn, of course, should be devoted to a demobilization and meeting with relatives, therefore, the decor should also correspond.
- Adornments are glued together and sewed.
- In the end we glue the decorations along the edge and stitch it.
- It remains only to paste all the pages to the base.
It's quite difficult to demonstrate in detail in one MC how to make a self-made album, but you can catch the main moments. And, if you stick to the chosen style, then the album will certainly turn out, and your man will receive an unforgettable gift.
The author of the work is Maria Nikishova.