In our time, as never before, various techniques of needlework and hobbies that allow creating truly unique things are popular. Did not pass by the popularity and batik. This is the name of the type of painting on the fabric, performed by hand, using special reserving compounds. If you are interested in this technique, we will present a master class on batik for beginners.
How to make a batic with their own hands?
Homeland batik is Indonesia, the island of Java. From the regional language this word is translated as "drawing with hot wax". The basic principle in engineering is the principle of redundancy. This means that some places of the fabric are covered with special compounds (contours), which do not let the paint pass to those places of the fabric that should not be painted.
In general, in batik own hands there are several techniques: hot batik technique, nodal batik technique, airbrush painting, cold batik technique. It is better for beginners to try their hand at the last kind, where a reserve compound is used instead of wax, similar to rubber, which is applied by a glass tube or immediately from a tube.
To work in this technique you need different materials, but we'll tell you what is useful for our master class on batik:
- a piece of white silk fabric 30x40 cm;
- brushes number 3, 5, 6, 7;
- silk washable;
- gold contour on silk;
- paints for fabric : blue, yellow, red;
- a bottle for rinsing water;
- paper tape;
- frame;
- clerical buttons.
Batik technique - master class
So, when all the necessary materials will be available, we proceed to create a picture of the batik himself.
Preparatory stage:
- Wash the detachment of silk with detergent, rinse and dry.
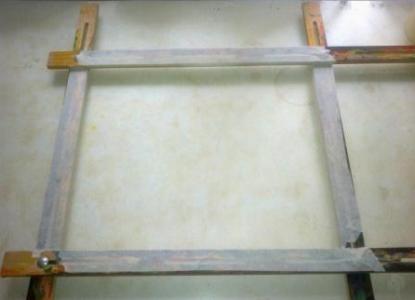
- Assemble the frame, cover it with paper tape. This measure will not allow you to accidentally stain the frame paints.
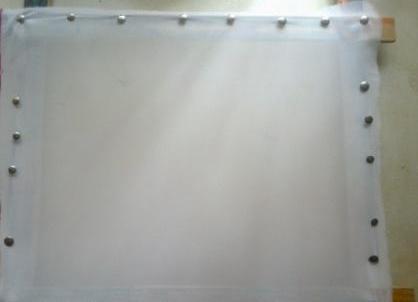
- We pull on the frame the prepared cut of fabric. First, we fix with a button-studs one corner, then the rest. Silk should be tightened well and evenly, so that there is no distortion, fixing with buttons every 5 cm.
Applying the template:
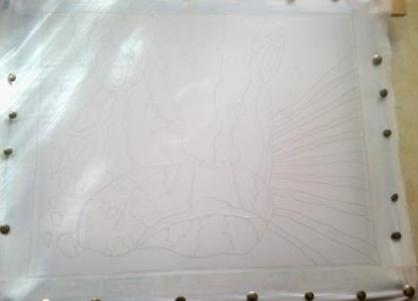
- Selected and printed on paper sketch can be transferred to the fabric first with a pencil, laying the picture below.
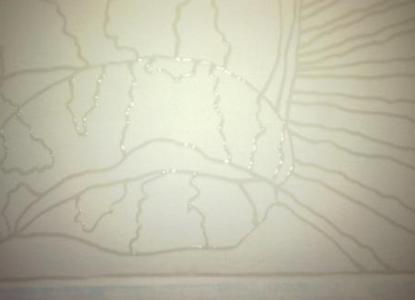
- After that, the outlines are outlined by the reserve. This is the crucial point in the work. Spout the tube slowly from the top left corner to the right. Extrude the reserve should be evenly and with a weak force of pressure.
- We leave the fabric for drying.
| | |
Tissue staining:
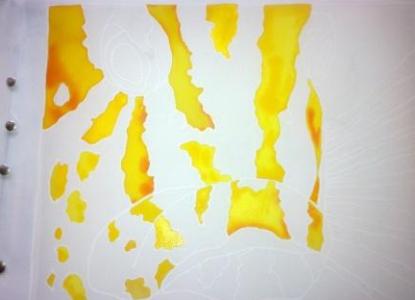
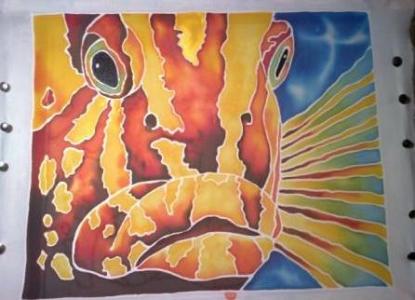
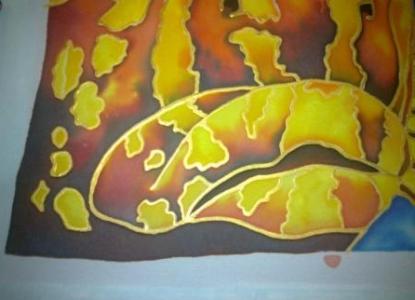
- When the reserve dries, you can start painting. Keep in mind that the paint for batik dries very quickly, so try not to be distracted by extraneous noise. The work begins, as a rule, with light shades. In our case it is yellow. Brush the fabric into the yellow stripes. Add, where you need red paint, shading in orange.
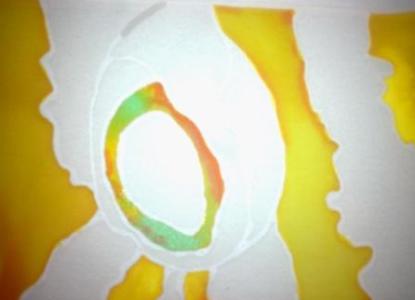
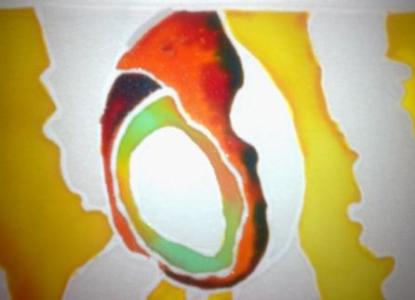
- We pass to the eye of the fish. Here in some places green is visible, it is created by mixing yellow paint with a drop of blue.
- To red color was darker, almost black, it is mixed with blue paint.
- Note that the fish eye has a round pupil. It is outlined in advance by the reserve.
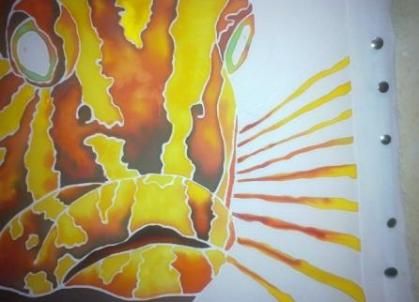
- When all the fish is depicted, we turn to coloring the tissue in the form of sea water. Wet the cloth lightly with water. Then we put the blue paint stains so that they do not contact each other. The paint will flow. Again, we apply stains to the center of the already existing blue divorces. Repeat the action up to 4 times and get the sea water.
The final stage:
- Leave the picture to dry, you can speed this process with a hair dryer.
- On the reverse side, iron the silk with a hot iron through a cotton cloth so that the paint is fixed.
- Then gently wash the cloth with detergent to wash off the reserving agent.
- Dry the fabric, iron and pull on the frame. It is necessary to decorate the picture with a gold outline where, after the washing off of the reserve, there are white stripes. We dry.
That's all!
It remains to put the picture in a beautiful frame and hang on the wall so that the home and guests can appreciate your talents.