A postcard is a universal way to please a person who is not indifferent to you. And so you want it to be not only beautiful, but also original. The choice of postcards is so great that it will not be worth choosing the right one. But there is another solution - to make a card with your own hands. In this master class we offer a detailed photo essay on how to make a card in the form of a dress with your own hands, using materials for scrapbooking. If you are ready, then let's get to work.
We will need:
- white cardboard;
- embossed scrapbooking paper;
- tape from organza;
- bead;
- glue;
- scissors.
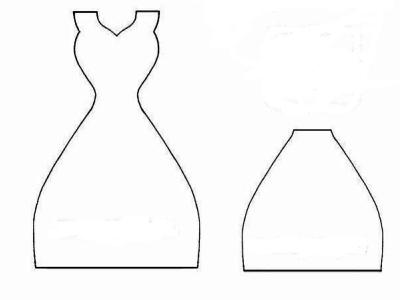
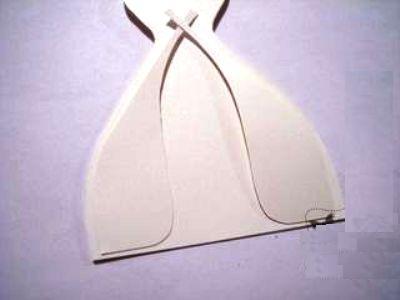
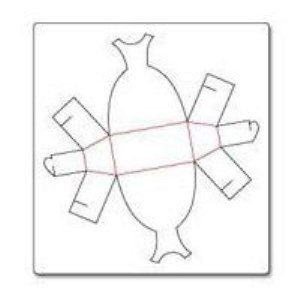
- To make a card in the form of a dress, we need a template. Increase it to the required size, print and cut out the contour. Then fold a sheet of white cardboard in half so that the fold line is on top. Attach the dress-pattern to the cardboard, aligning its upper part with the fold line. Circle the pattern around the outline with a pencil.
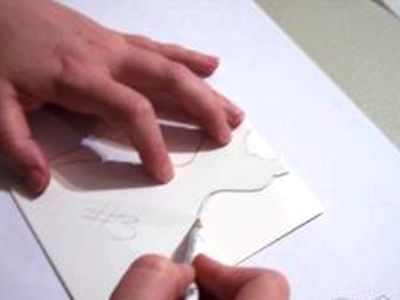
- Carefully cut out the part. Make sure that the sheet of cardboard in the fold line remains untouched with scissors. The pieces of cardboard that you cut off, do not discard. They will still be needed.
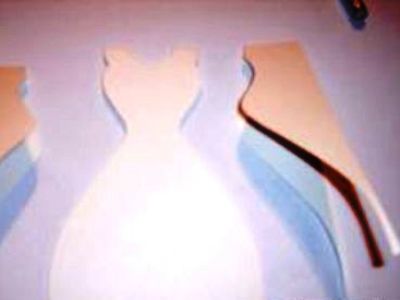
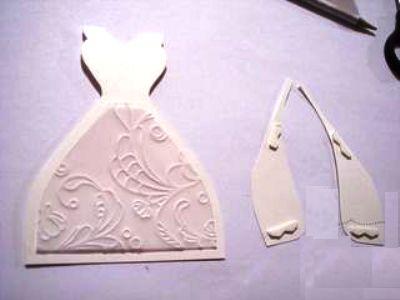
- Attach one of the remaining pieces of cardboard to the cut out dress, aligning it with the hem of the dress. This will help make the dress in the waist narrower. Similarly, process the second part. At the end of this stage, you should get a dress with two overlaid details.
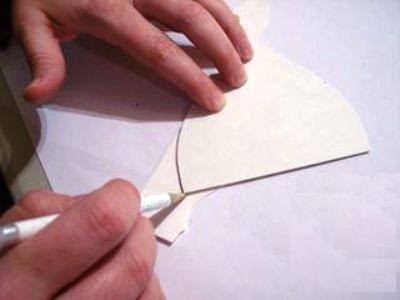
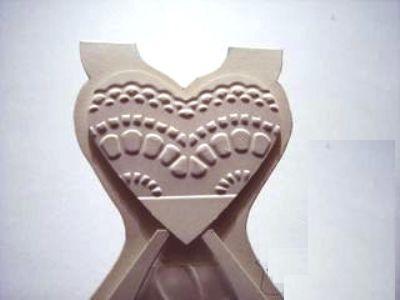
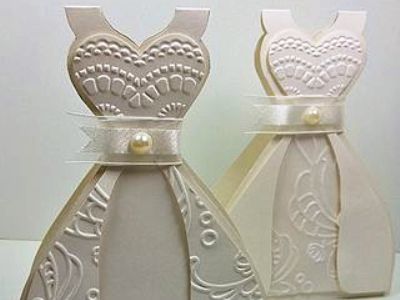
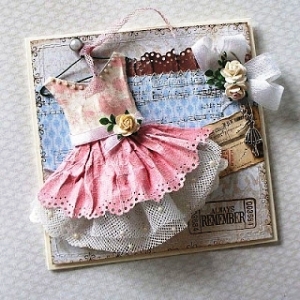
- Cut out a piece of embossed paper, which in shape coincides with the shape of the bottom of the dress, but 2-3 mm less on all sides. Glue it to the dress, greasing the top or bottom with glue. This will help to avoid spots on the back of the postcard. Small details of arbitrary shape, cut from embossed paper, decorate two overlaid details. To decorate the bodice of the dress, use a heart shaped piece carved from embossed paper. To give the workpiece a volume, paste the parts on a small piece of foam rubber.
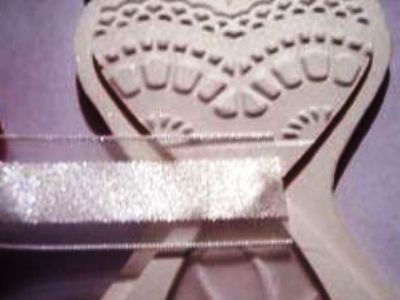
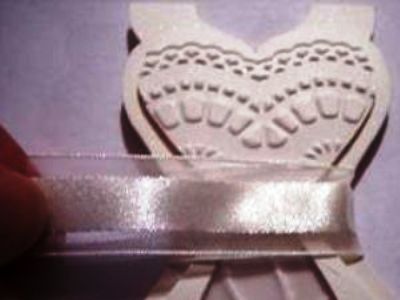
- Now you can start decorating the belt. To do this, use a narrow band of organza. Measure out the required length and attach it to the waist. To hide the ends of the ribbon, tuck them under the overhead ornaments on the dress, having greased them with a small amount of glue.
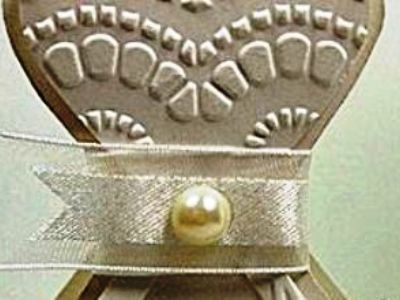
- The free end of the tape is cut in the form of denticles, and from above attach a large bead. Make sure that the belt covers only the top of the postcard, without interfering with its opening. Wait for the glue to dry completely, and proceed with the text on the back of the postcard.
Interesting ideas
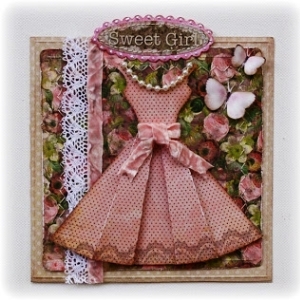
Paper dresses on postcards can store a small surprise - a box in which you can put a gift. Making such a postcard does not take much time. First, you need to cut out a pattern of thick cardboard, then fold it and glue it in several places. Decorating the artwork with paper ruffles, a girdle and decorative flower made of paper or multi-colored ribbons, you will get an unusual and very effective souvenir, and in the box you can hide a ring, earrings or another gift that you want to please a loved one.
A paper dress can also serve as a postcard, and play the role of a decorative element on a postcard of a standard form. In this case, the imagination of needlewomen is unlimited. Using a variety of color and texture paper, laces, ribbons, beads, braid and other materials that are used in scrapbooking, you can create real masterpieces. To please relatives is so easy!
With your own hands, you can also make other postcards, for example bulk or in the quilling technique.