You can diversify your leisure time in different ways. One of the options for how to fill your free time, can be needlework. We propose to try our hand at patchwork technology without a needle, or a kineusage . It allows you to create beautiful and bright patchwork without the needles. This technique is simple, but to start your work better with patchwork without a needle for beginners.
Patchwork materials without needles
For work you will need the following materials:
- thin foam plastic;
- adhesive PVA and glue gun;
- stationery knife;
- thin nail file or stack;
- scraps of cloth;
- scissors;
- pencil;
- wooden frame;
- brush.
Patchwork without a needle - a master class
So, let's get down to work:
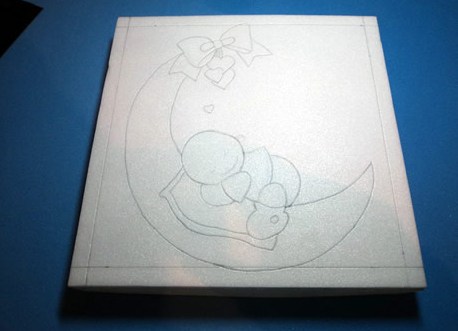
- Cut out a square or rectangle of the desired size from the foam.
- Then we apply the contours of the drawing to the foam plastic with a pencil. In general, you can draw such outlines yourself. Many needlewomen prefer to print ready-made templates for patchwork without a needle. Do not forget to paint the frame for the picture, thanks to which your future masterpiece will look finished. The distance from the edge of the foam should reach 1-1.5 cm.
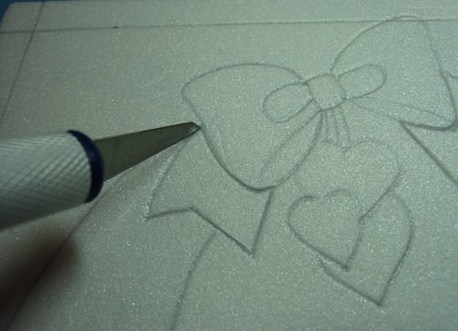
- Then, the cuts along the contour are carefully made with a clerical knife.
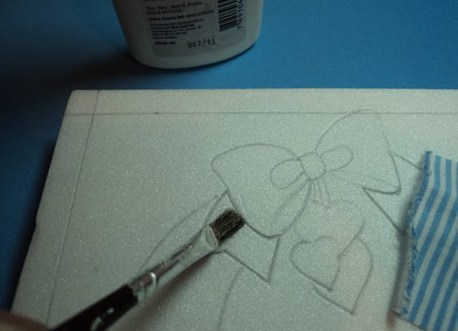
- After this, all the resulting incisions should be greased with PVA glue. Use the brush.
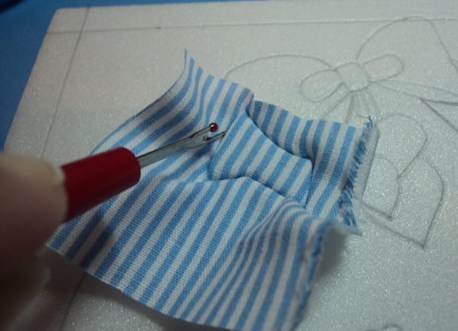
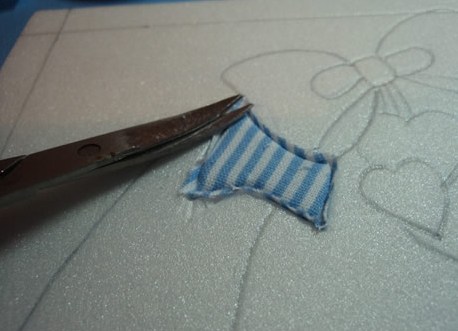
- Now let's get acquainted with the basics of patchwork technique without needles. The drawing will be depicted by pieces of cloth that do not connect with each other with a thread. The edges of the flaps are placed in the previously made cuts in the foam and so secure. So, cut out a small piece of fabric, a bit larger than the pattern element. Gently push the edge of the flap into the notches with a stack or nail file.
- Scissors carefully remove all unnecessary.
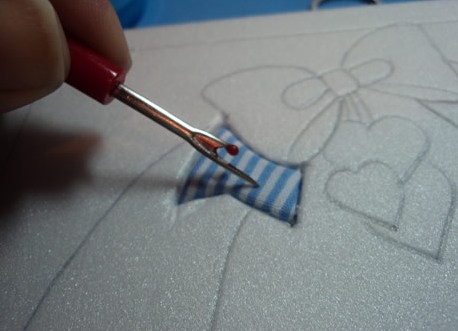
- After this, completely hide the edges of the fabric in the notches with a nail file or stack.
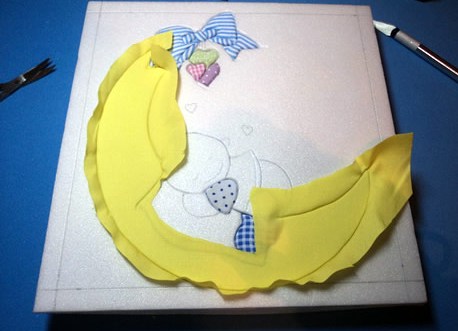
- In the same way, the remaining elements of the picture are decorated. It should be said that it is always better to start with small details, gradually moving to larger ones.
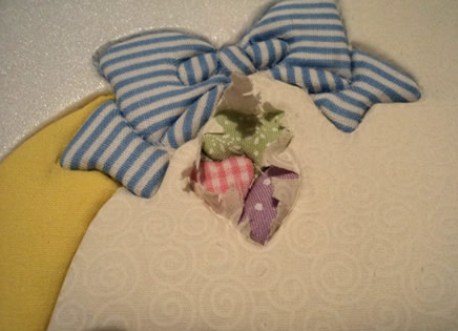
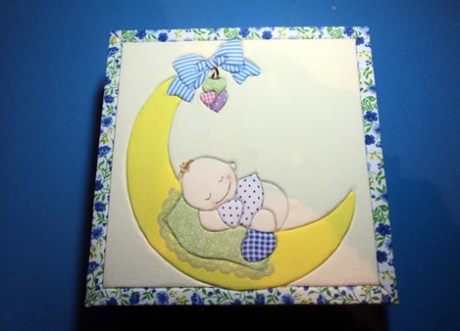
- Some parts of the picture can be painted with a pencil (for example, as in our case the baby's head and his face).
- When the main drawing is executed, we recommend covering the foam with a background. In his role can serve any fabric. In our case, white fabric is more suitable for contrast. The fabric is also cut into rags of the required shape with a slightly larger size. The edges of the background are hidden in the notches.
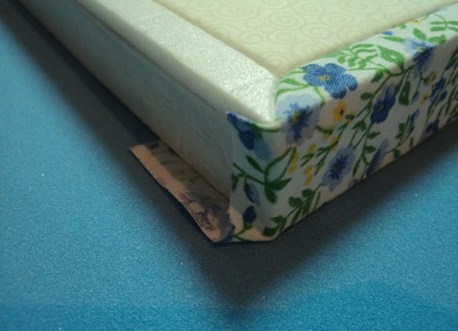
- Do not forget about the edging picture. Foam is fixed to a wooden frame with a glue gun. Then the edge of the picture is wrapped in stripes of fabric. On the front side of the fabric we fill in the notches, and with the reverse side - fix it to the wooden frame with glue.
That's all!