Polymer clay has recently become a very popular material. In stores now you can see a huge variety of jewelry made of polymer clay, which rivet the eyes with bright colors and a stylish look. But among these ornaments it is possible to single out in a special row one thing - roses from polymer clay. These elegant flowers, skillfully fashioned from clay, fascinate with their tenderness and beauty. But where it is more interesting to make such jewelry yourself, rather than buying. Let's figure out how to make a rose from polymer clay.
Master class for making roses from polymer clay
Before proceeding to the process of making a rose from polymer clay, let's determine what materials will be needed during operation:
- polymer clay;
- a needle to cut petals;
- A glass or paste machine to roll out the polymer clay.
Materials, as you can see, need very little, it is this, among other things, needlewomen and attract polymer clay, because in order to start doing something of this material, in fact, only he himself is needed.
Well, with the necessary materials have been determined, and now - we are making a rose from polymer clay.
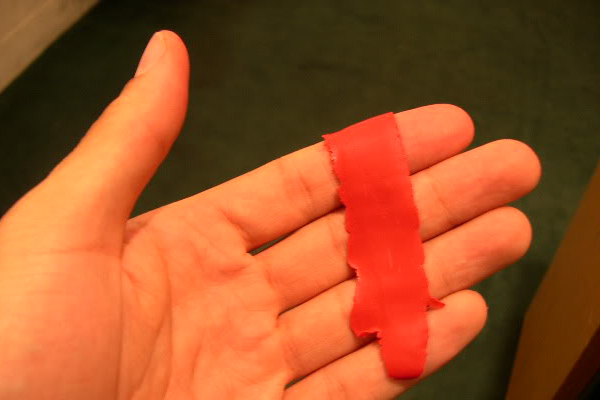
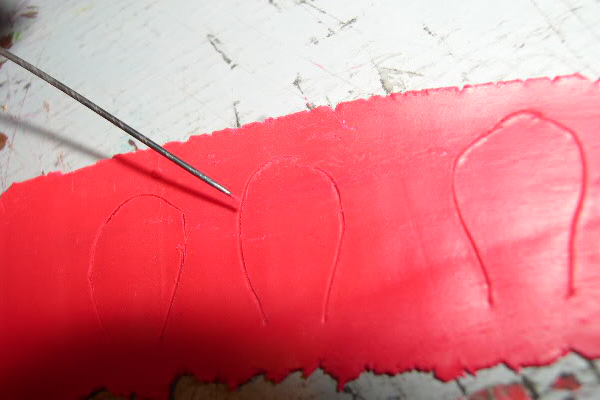
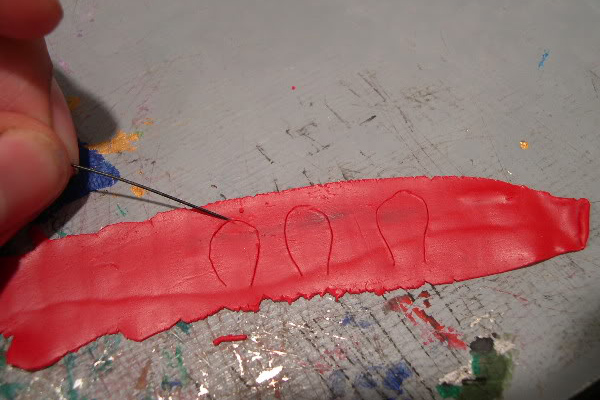
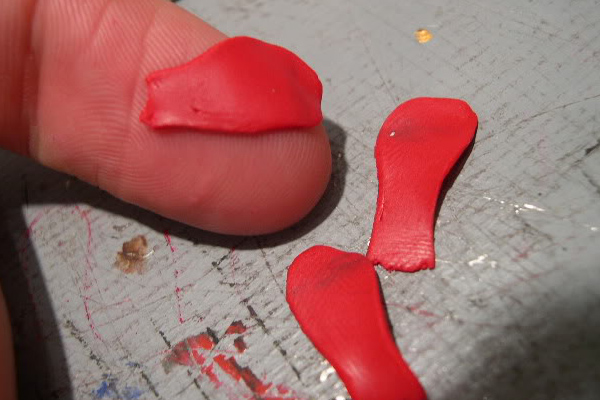
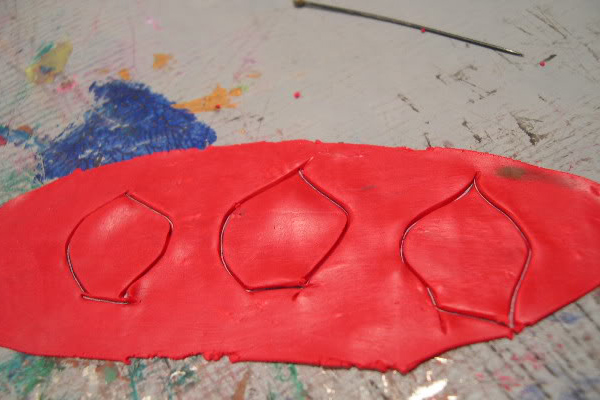
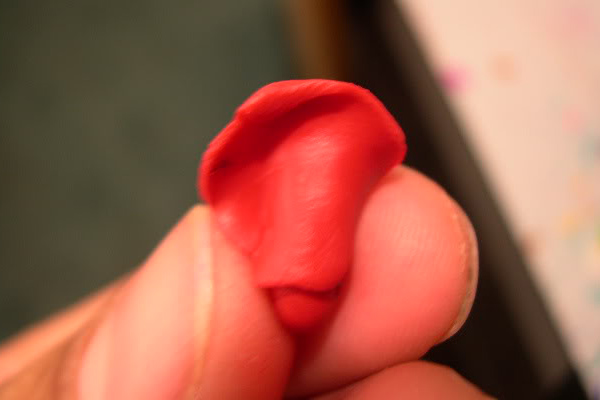
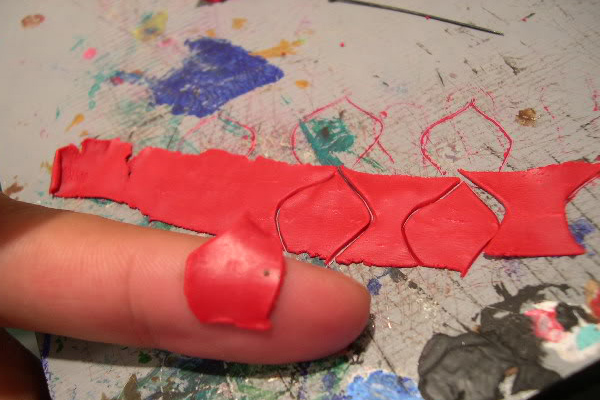
- Roll out the polymer clay into thin strips. Then, using a needle, cut three initial petals from one strip. The petals from which the rose is made can be divided into three groups, and the petals of each group are different in shape. The first petals are closer to the oval shape.
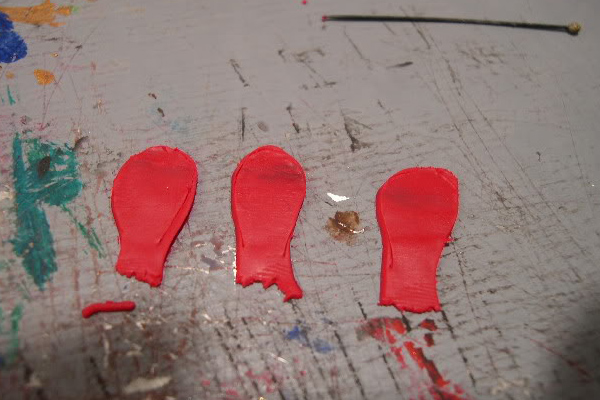
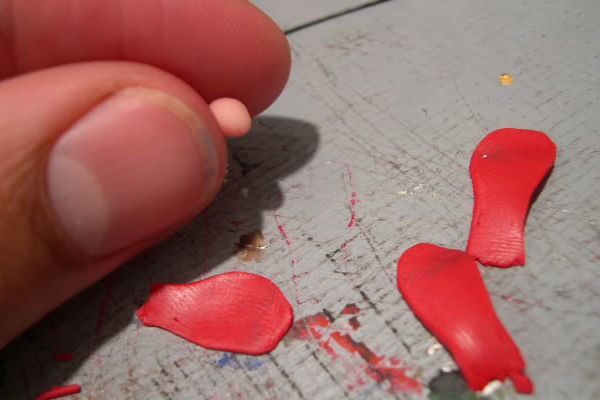
- Gently remove excess clay along the edges of the petals. Then, with your fingers, smooth the edges so that they are even (if you want the rose petals to be rougher, then do not do it).
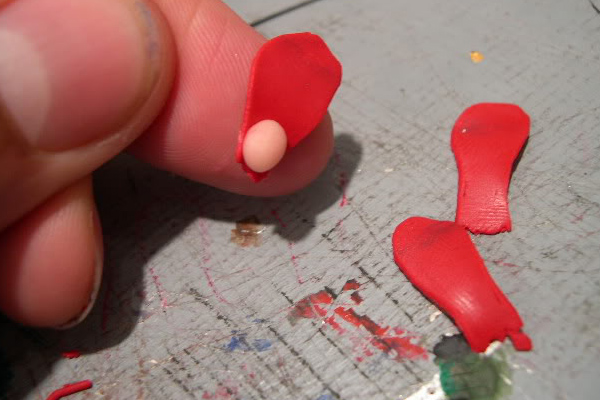
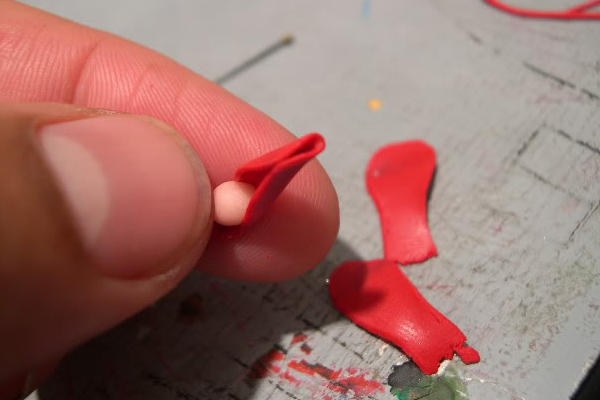
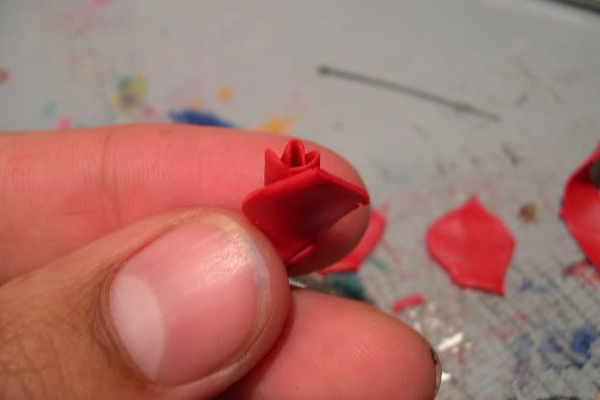
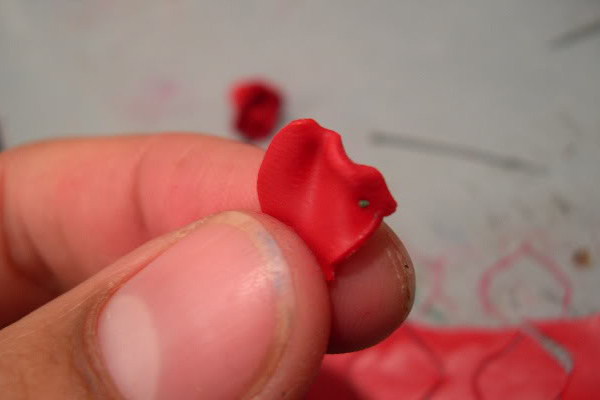
- Next, roll a small ball out of polymer clay. It will become the basis for the rose, around which the bud will be built up. Now take the carved petals. The first two in turn wrap around the base, creating a bud. The first petal should be more closed, but the second and third are already slightly opened, like the petals of this rose. You get a little rose, barely opened bud. In principle, it can already be used in decorations, supplementing large roses.
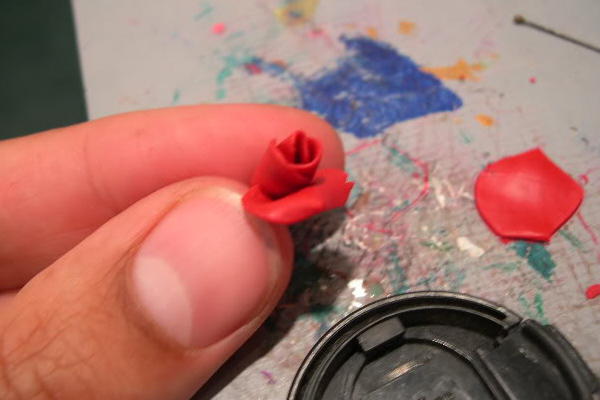
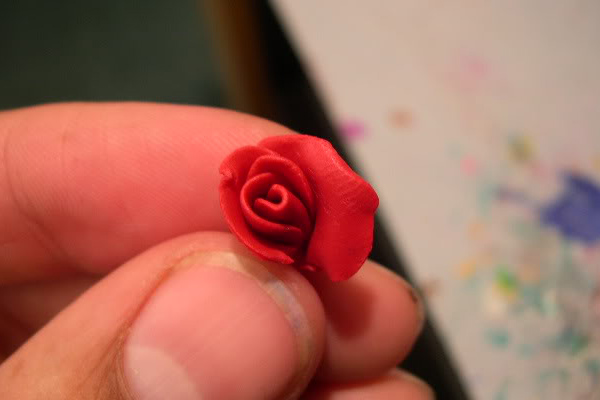
- Now go to the second group of petals, there will also be three of them. The form they have is somewhat different - they have a pointed upper part and large sizes. Cut out the petals and repeat with them Step 2. Next we attach the petals in our rose. Do not forget to give the edges of the petals a slightly more curved shape, since the even petals look unnatural. Attach the petals most conveniently in this way - the first two next to each other, and the third in the gap between them (it will partly cover themselves along the edges). Again, you can finish the roses at this stage and use it in products.
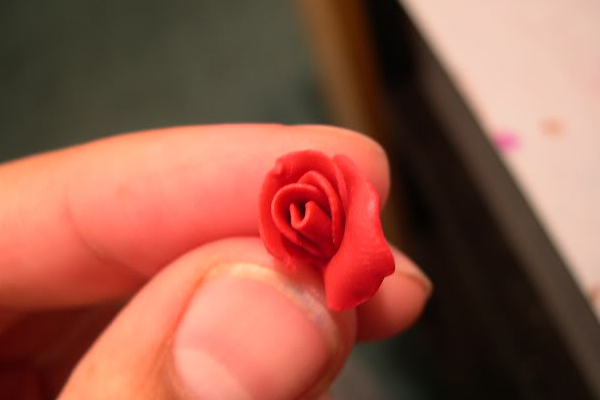
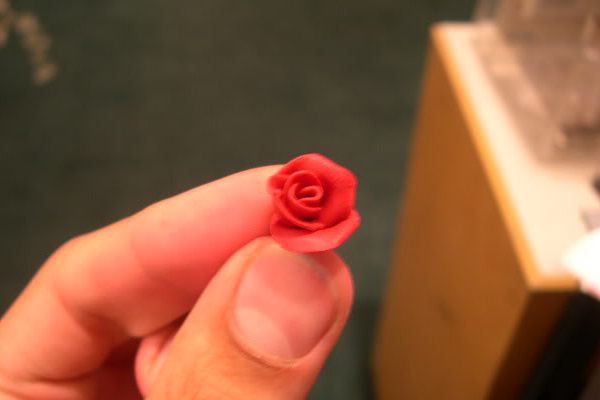
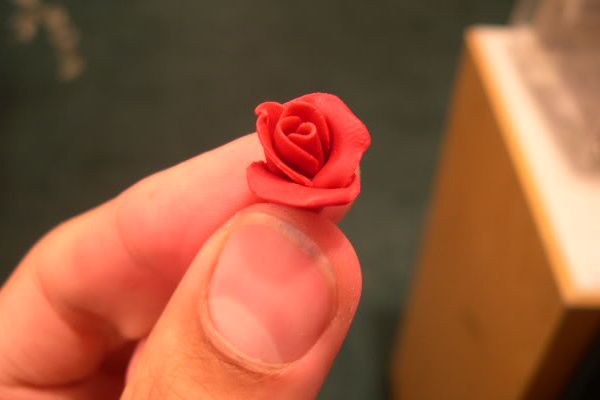
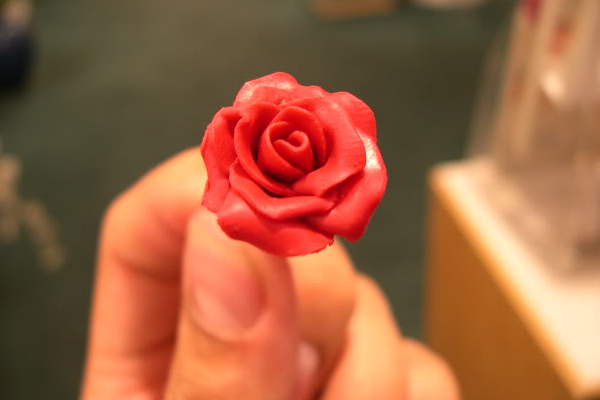
- Now go to the last step in creating the rose and the last group of petals. They are similar in shape to the petals from the third group, but they should be larger in size, and this time the petals are not three, but four. Do not forget, again, a little "wrinkle" the edges of the petals to give them realism. Fasten these last petals around the already finished part of the rose, forming an already opened bud. After that, it remains only to bake a rose in the oven, so that the polymer clay hardens.
| | |
| | |
| | | |
| | | |
| | | |
| | | |
| | | |
| | |
That's how we make roses from polymer clay - easily and with pleasure!