For children who love everything unusual and colorful, patchwork quilts that can easily be sewn by their mothers with their own hands are perfect. They are completely different in form and pattern. In this article, you will learn two basic ways how to do them, based on which you can create any others.
Master-class №1 - blanket patchwork
You will need:
- 4 types of fabric of different colors;
- fleece;
- Sewing machine and other sewing accessories;
- Needle and thread for embroidery (mulina);
- scissors;
- iron.
When choosing tissues, it is necessary to take into account that the skin of the child will be constantly in contact with them, therefore it is necessary to take natural materials, and not synthetic ones.
Progress:
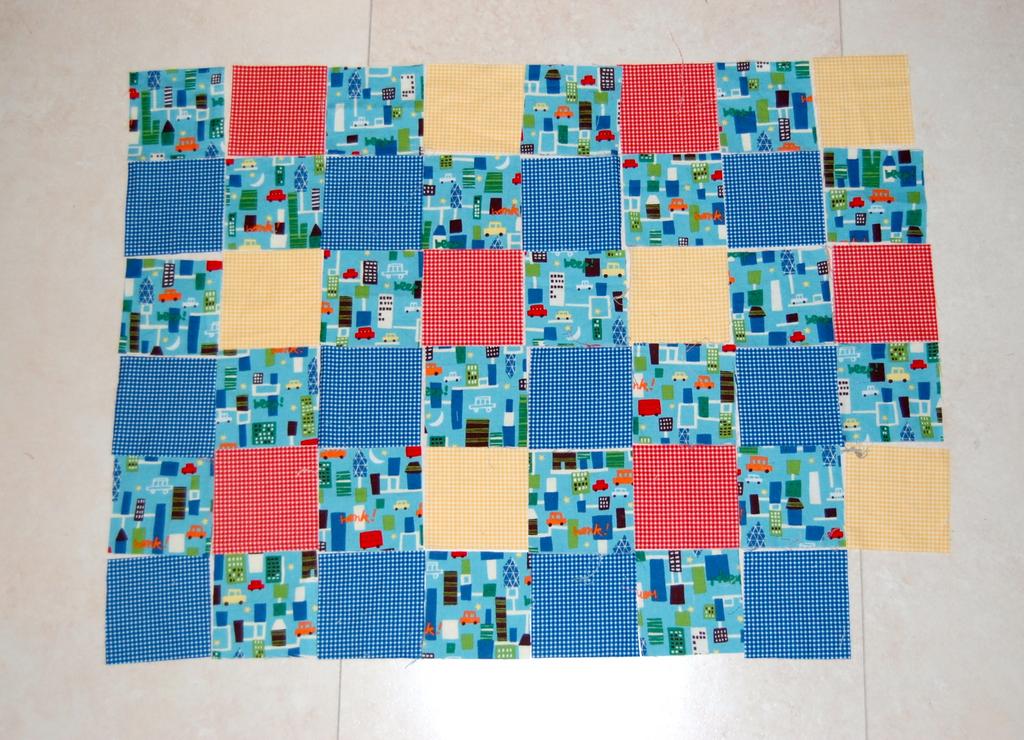
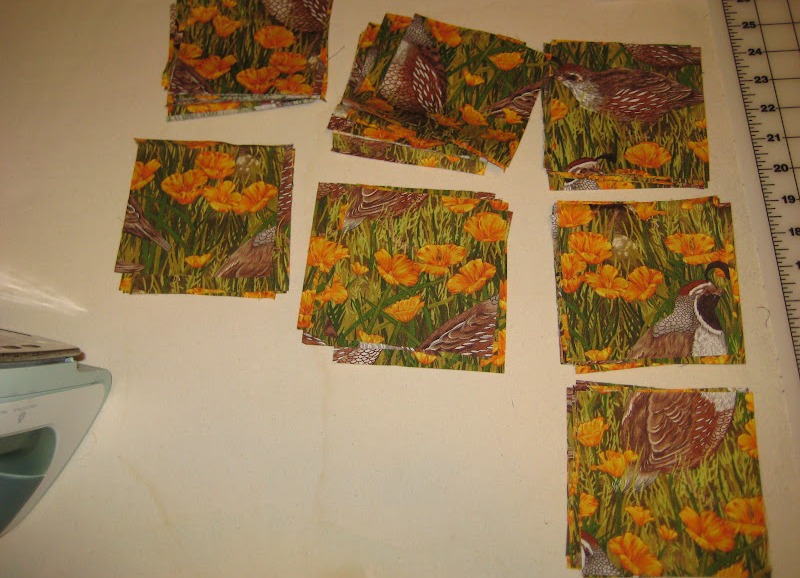
- Cut out 48 squares with a side of 8 cm. To know exactly how much you need to make details of a certain color, it is better to have a circuit. It will be easy to lay out on it. It should look like this:
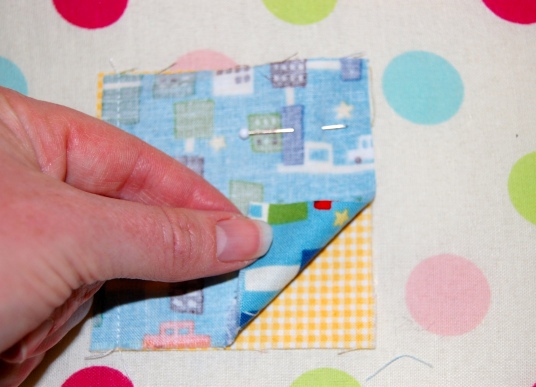
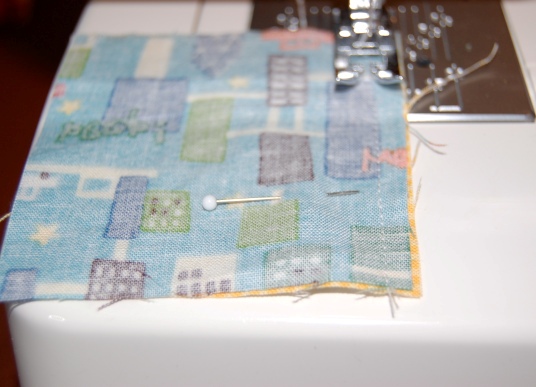
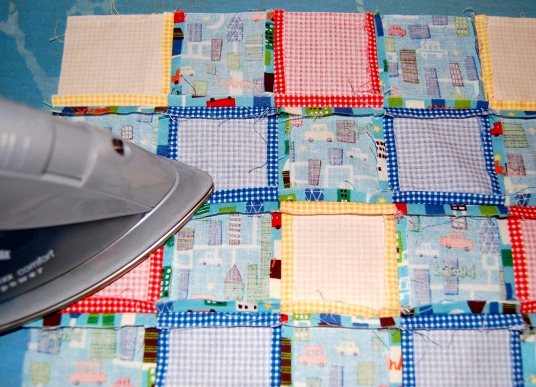
- Now we need to make them. To do this, add the adjacent squares beside the sides and squeeze out their contiguous sides, stepping back 1 cm. We must iron the allowances.
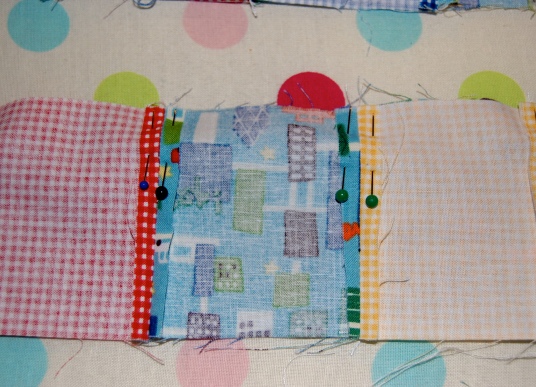
- We do so with the remaining squares. The received 24 pairs, we sew in the same way on 4. And then and received strips too. We smooth the patchwork from the wrong side.
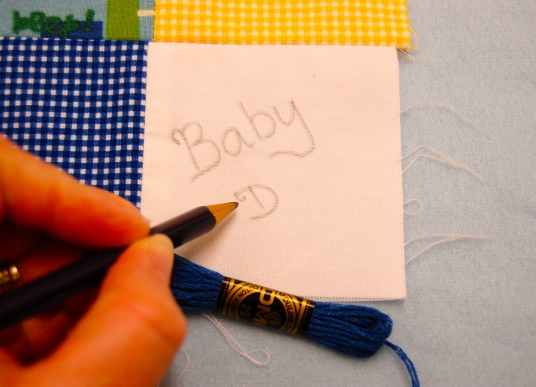
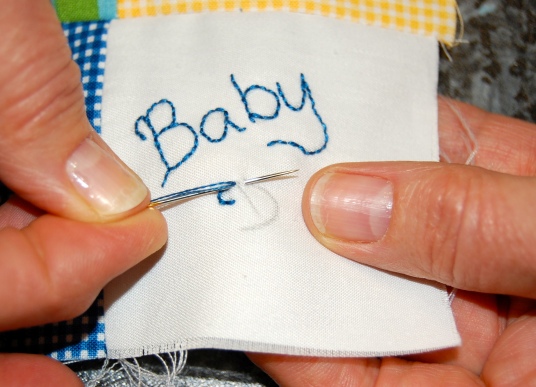
- Draw the inscription on the last white square and embroider it with blue threads with a "back needle" seam.
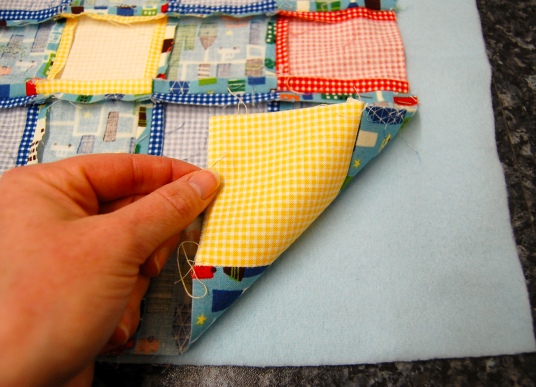
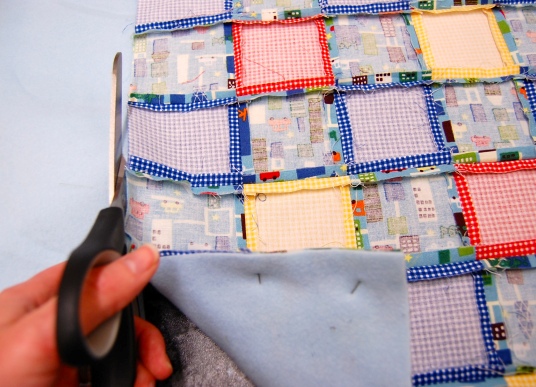
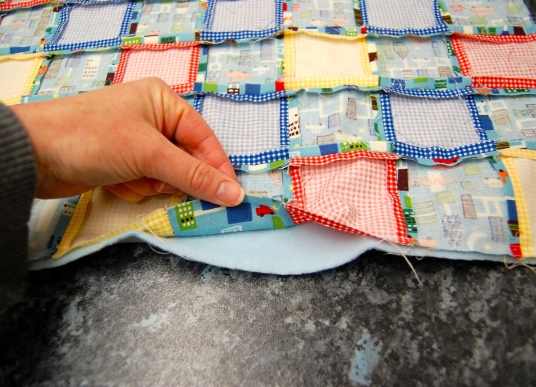
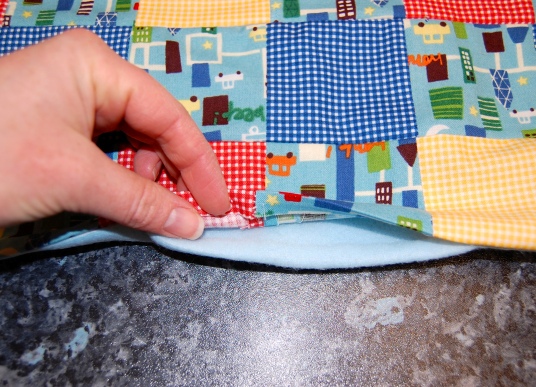
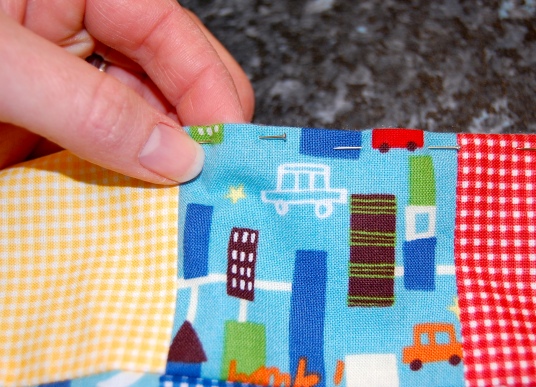
- We put our patchwork cloth on the front side on a piece of fleece, chop off and cut off excess.
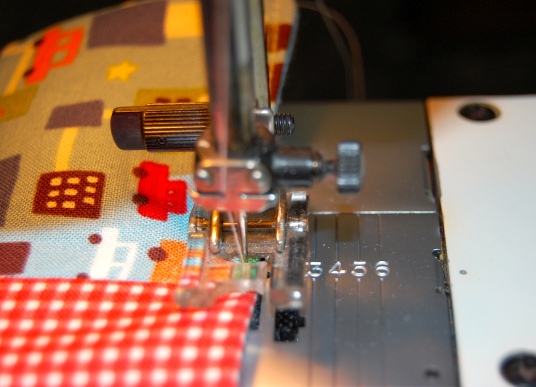
- We spend them around the edges, retreating 1 cm. A 10 cm hole should be left below.
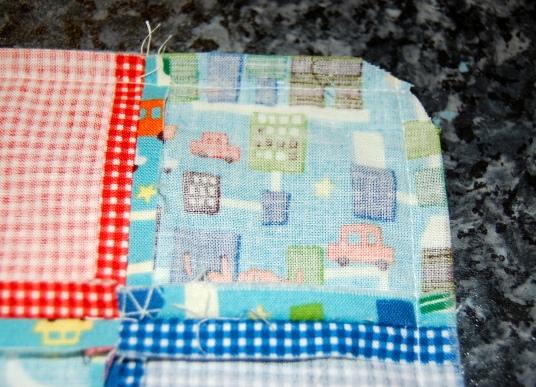
- The corners are rounded off.
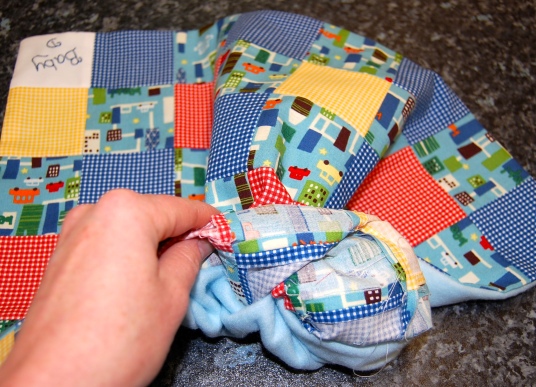
- Turn it to the front side and stop the hole.
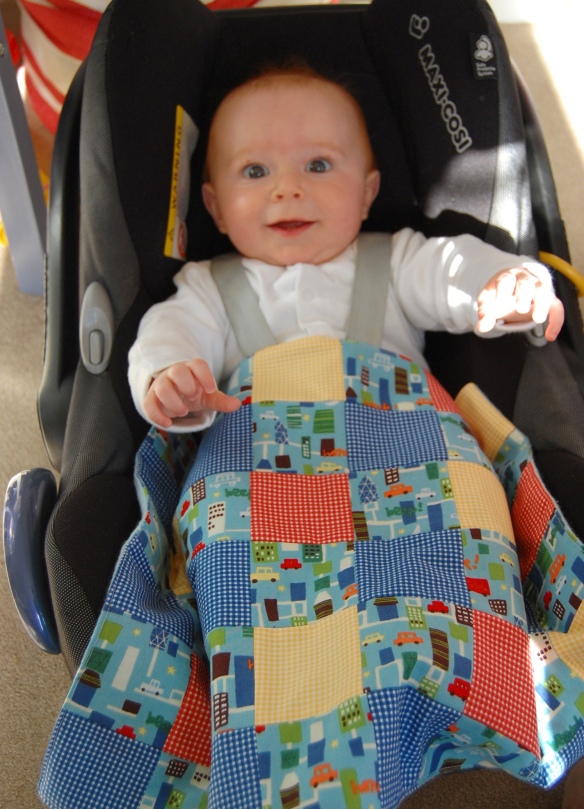
Our blanket is ready.
How to sew a bulk patchwork blanket?
It will take:
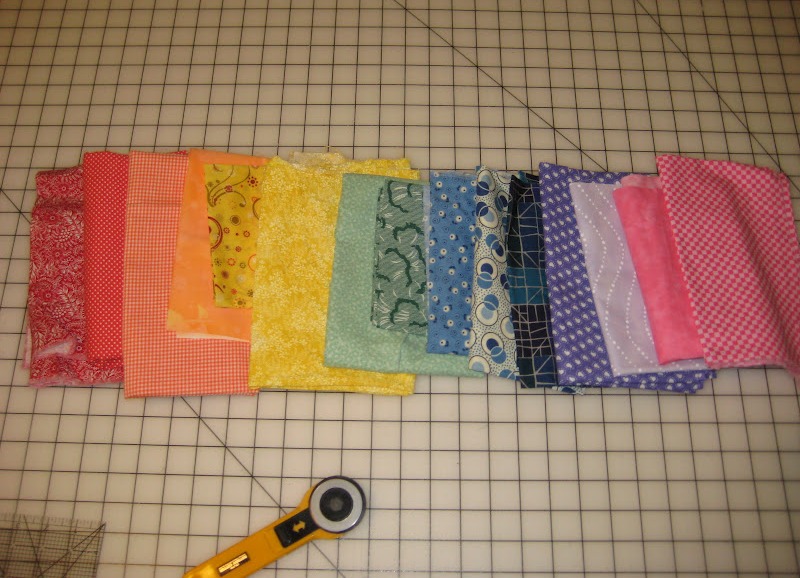
- fabrics of all colors of the rainbow (16 shades);
- 1 m of lining fabric;
- 1 m flannel or microfibre plush;
- 1.5 m of silk (or any other rustling material);
- sintepon;
- sewing accessories.
Progress:
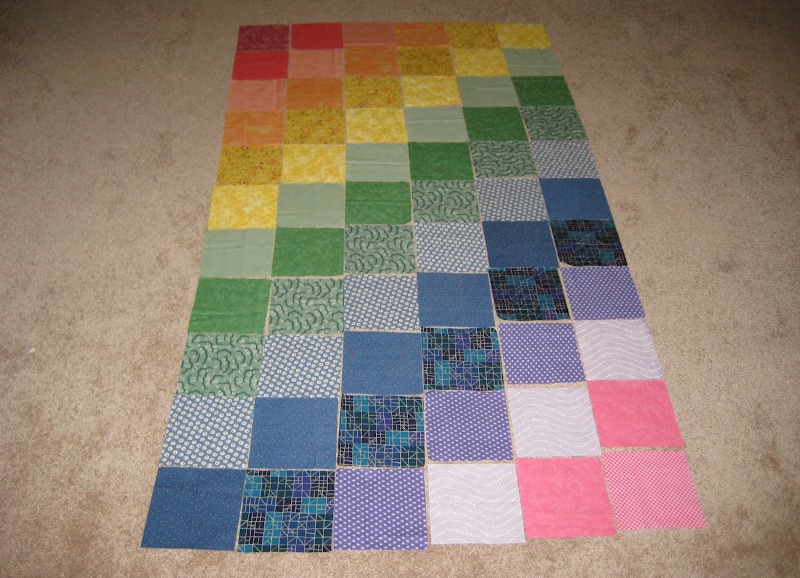
- Cut out from colorful fabrics 66 squares with a side of 15 cm. We spread out of them a rainbow rectangle.
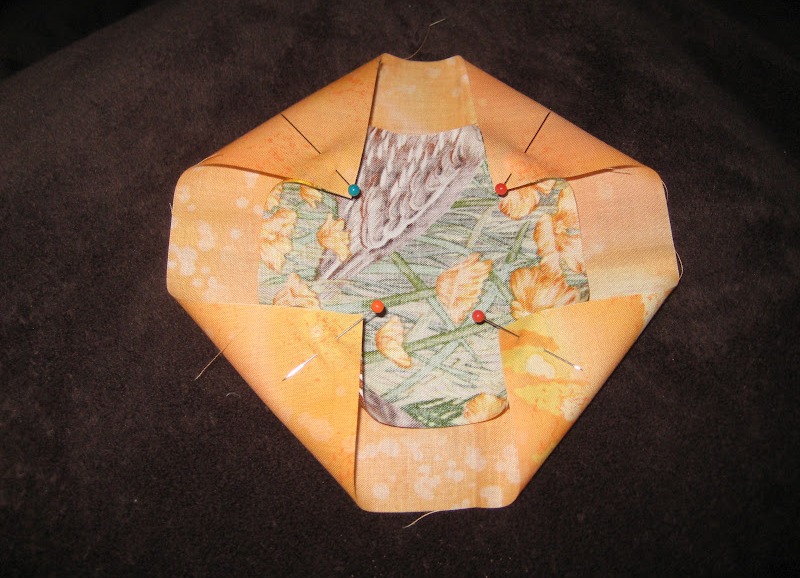
- Cut out from the lining fabric 66 squares with a side of 11.2 cm.
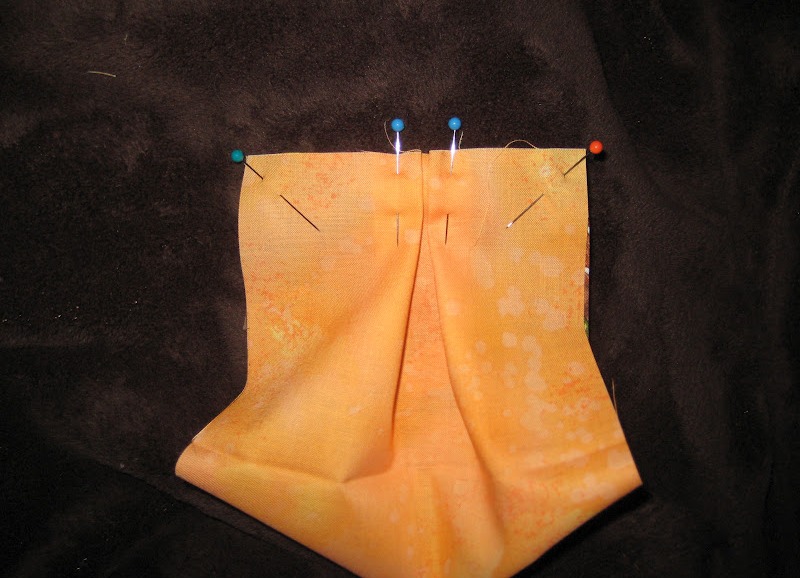
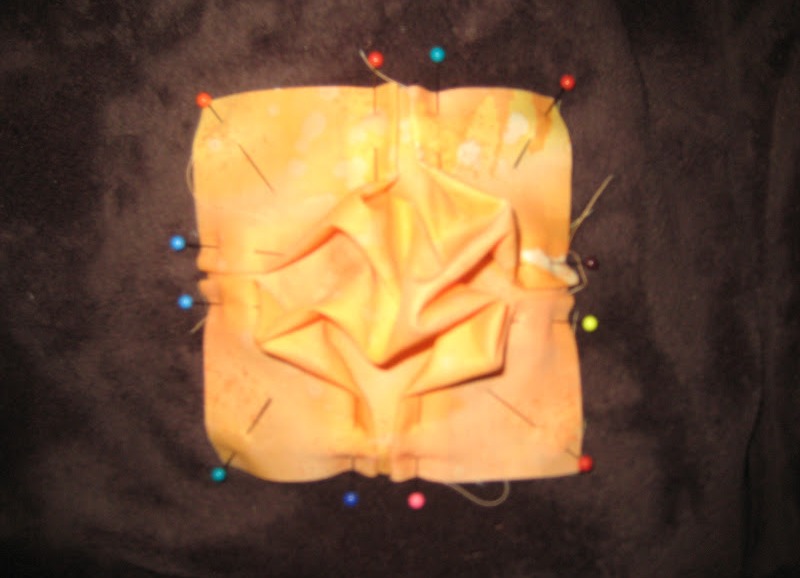
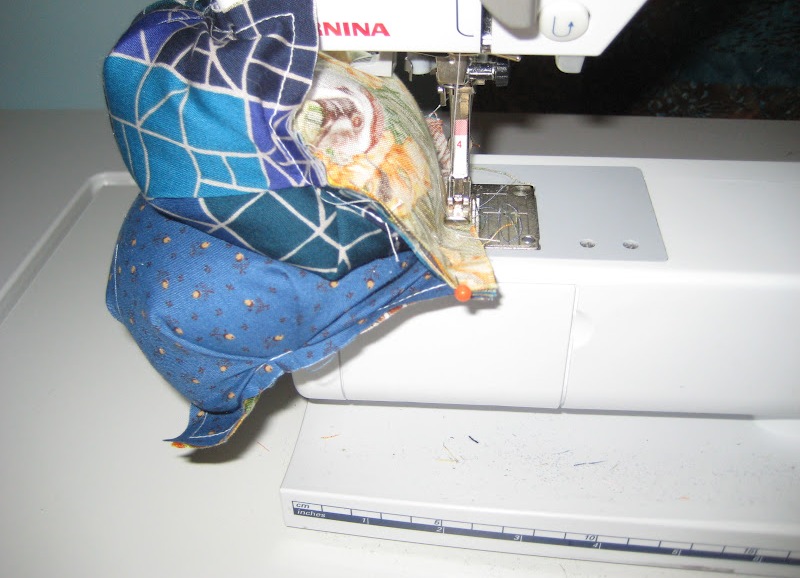
- We split a large square and small pins in the corners, then on each side we make 2 folds directed towards each other.
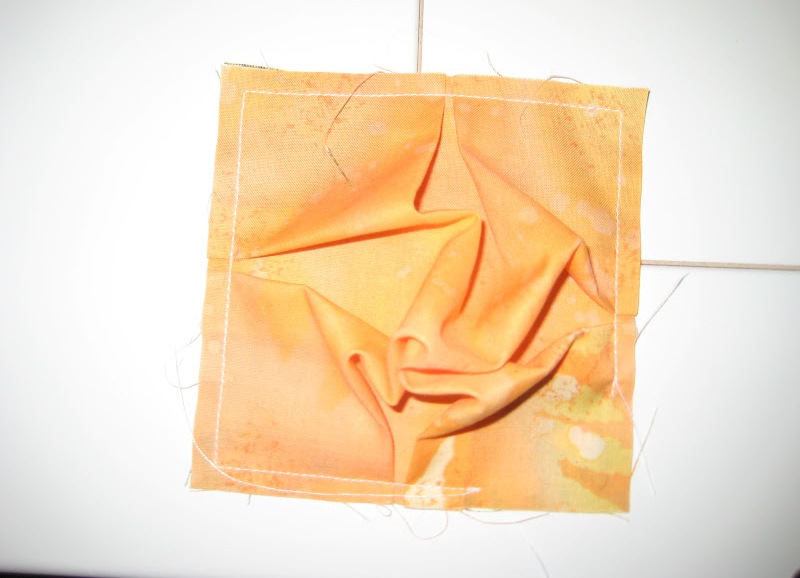
- We spend this workpiece around the perimeter, leaving a hole in the lower right corner.
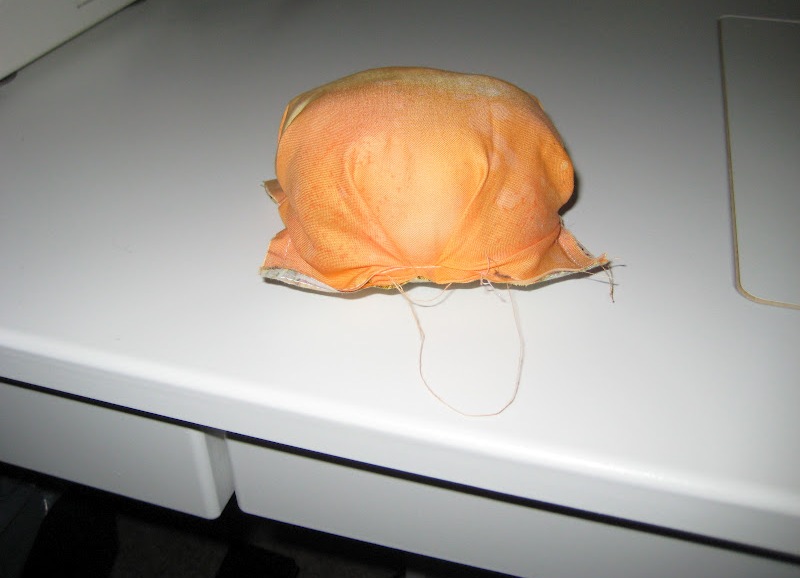
- We fill through this hole a square of sintepon and sew it. We do so with all the remaining 65 squares.
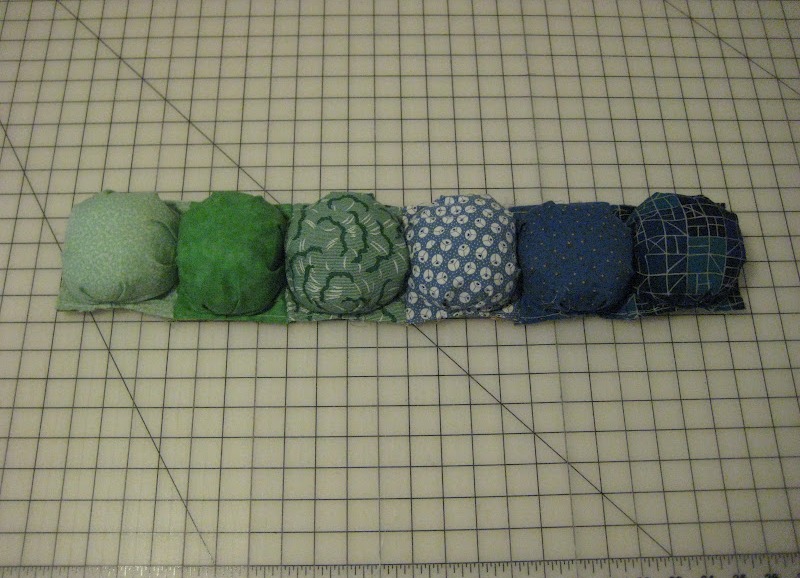
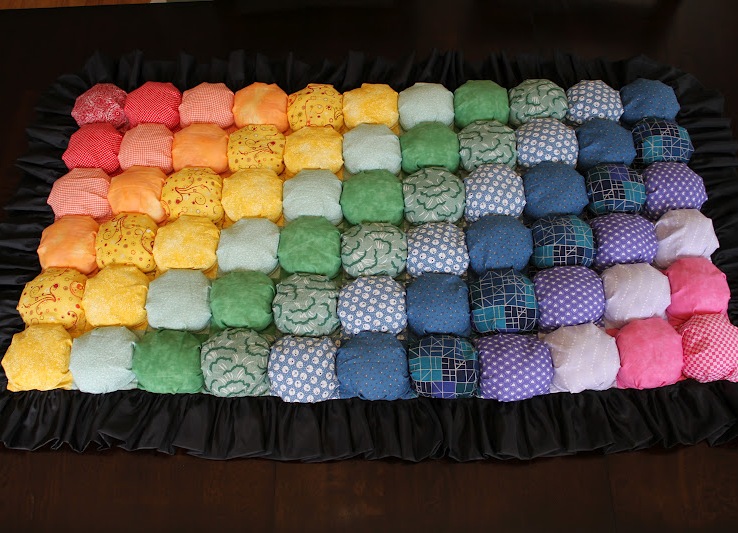
- We sew them together first into rows of 6 squares.
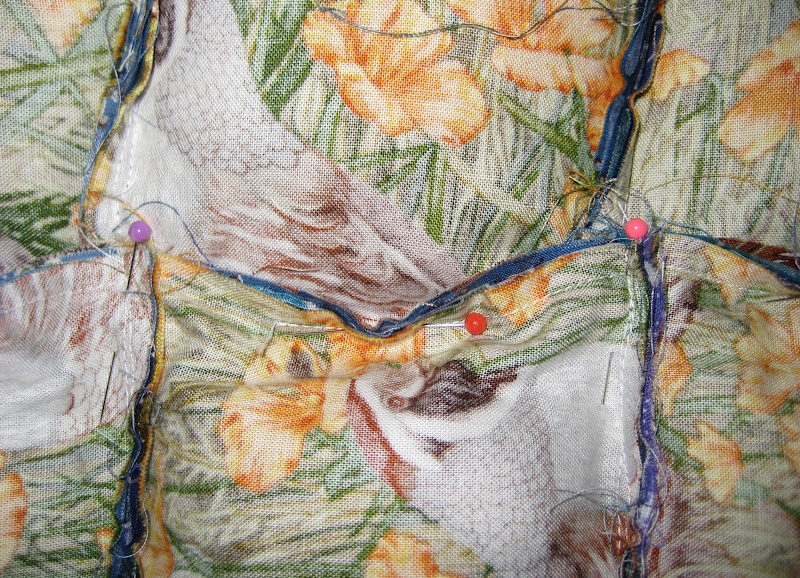
- After that, we fasten them with pins and sew everything together. In the end, you should get such a canvas.
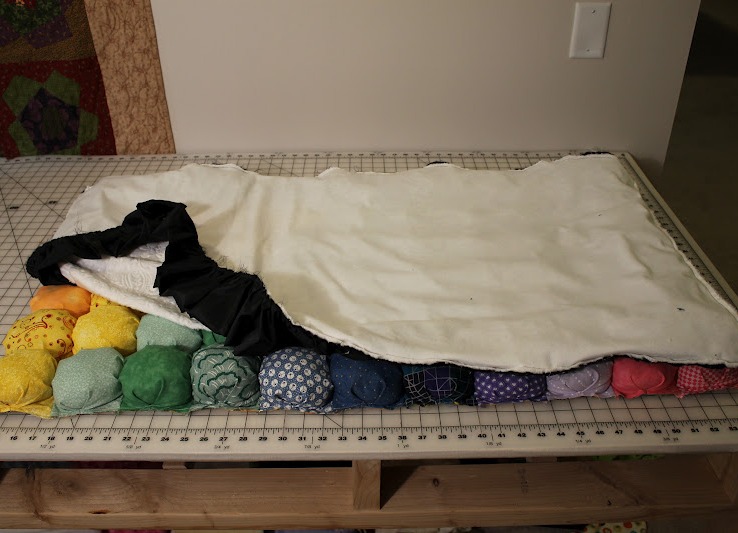
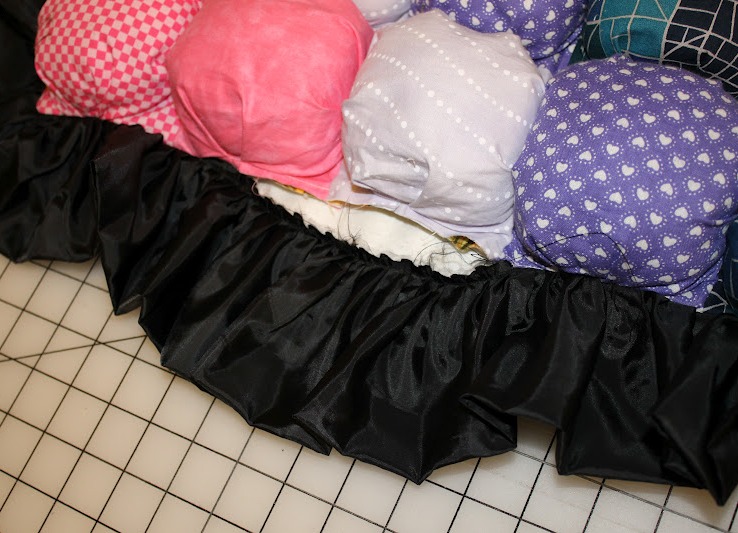
- We cut from the black silky fabric 6 stripes 20 cm wide. Fold them in half, we spread them from the side where the two edges, and then we make small creases along the entire length. The resulting wavy stripes are tied to the flannel or plush cut out by the size of our patchwork.
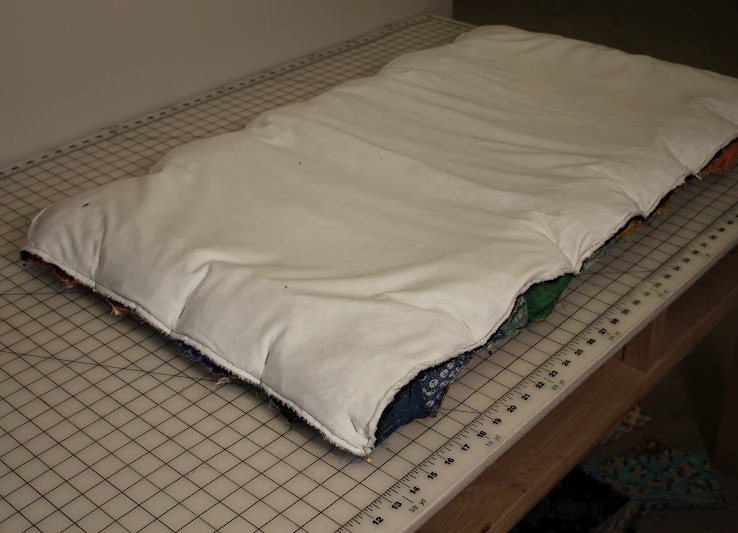
- We fold our colored canvas and plush piece to each other.
- We spend them around the edges, necessarily leaving a hole at least 30 cm.
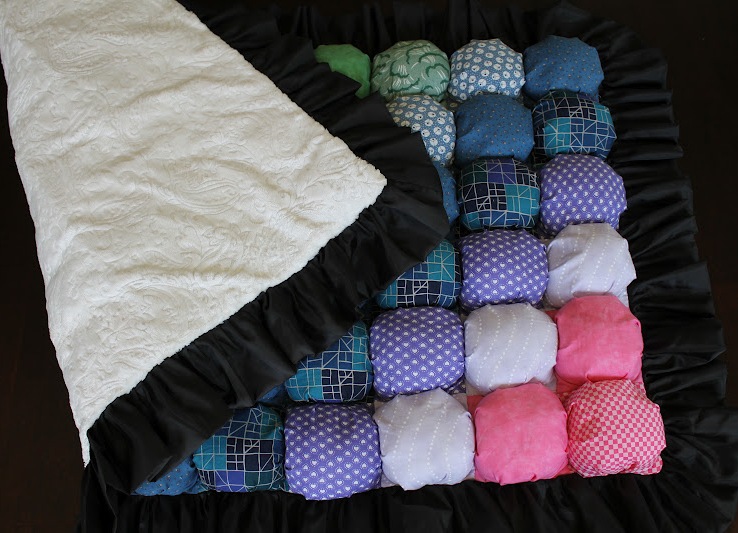
- Through the left hole we turn our blanket on the front side. After that, sew the hole manually
- A blanket in patchwork style is ready. As a result of this master class, we received a blanket on one side having bumps, and on the other - soft and smooth. It will be interesting to play on and pleasant to sleep. If desired, the interior of the nursery can also be supplemented with a patchwork pillow or rug.