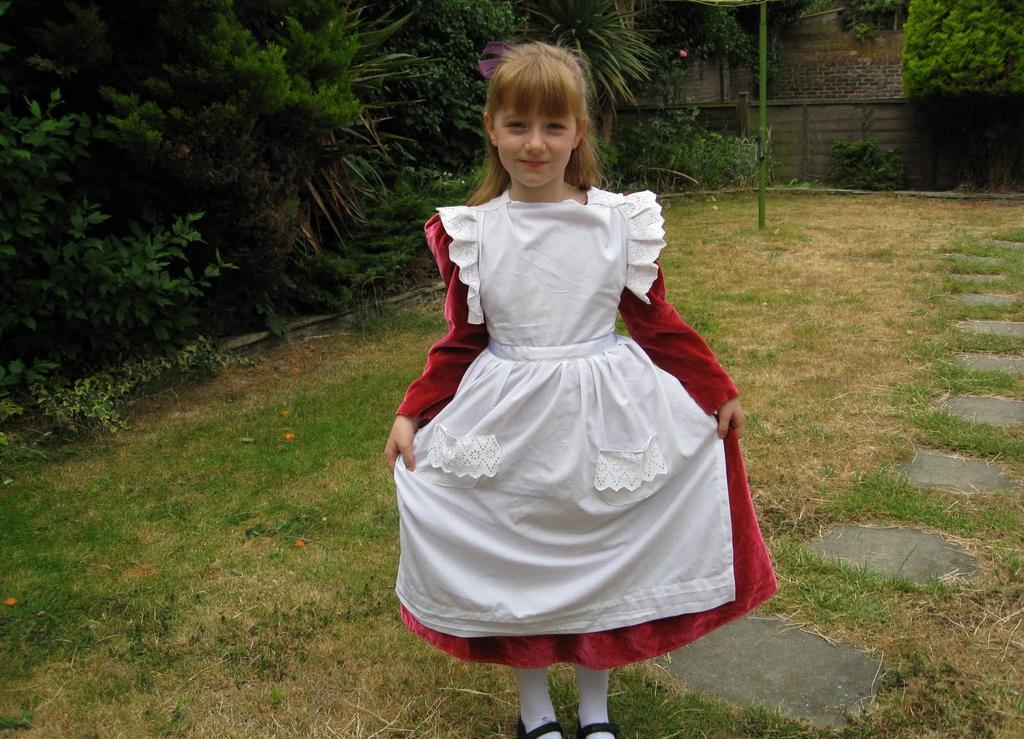
Now more often on the last call or graduation party in 11th grade, the girls come dressed in a school dress with an apron to be sewn, because they are no longer sold in stores. Of course, you can contact the atelier, where an experienced dressmaker will make such a form in a few days. But this is not the only option. It's enough just to sew them yourself.
From this article you will learn how to sew yourself a school apron .
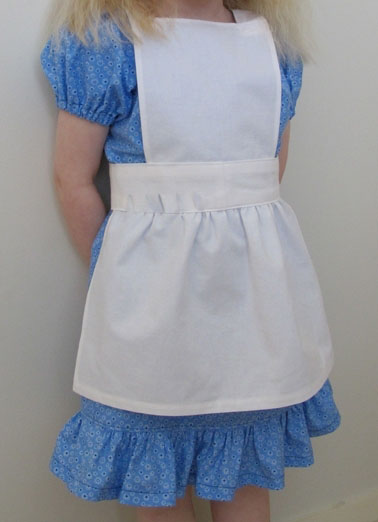
The apron has certain parts that are unchanged, even when changing the material used and the purpose. It:
- bib;
- skirt (lower part);
- straps;
- belt.
How to sew a school apron - a master class
It will take:
- pattern;
- dense white material;
- iron;
- sewing accessories.
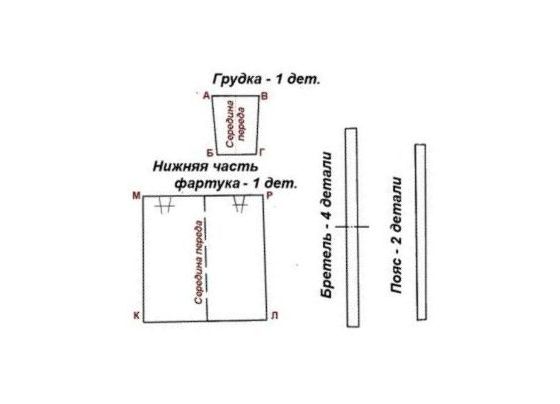
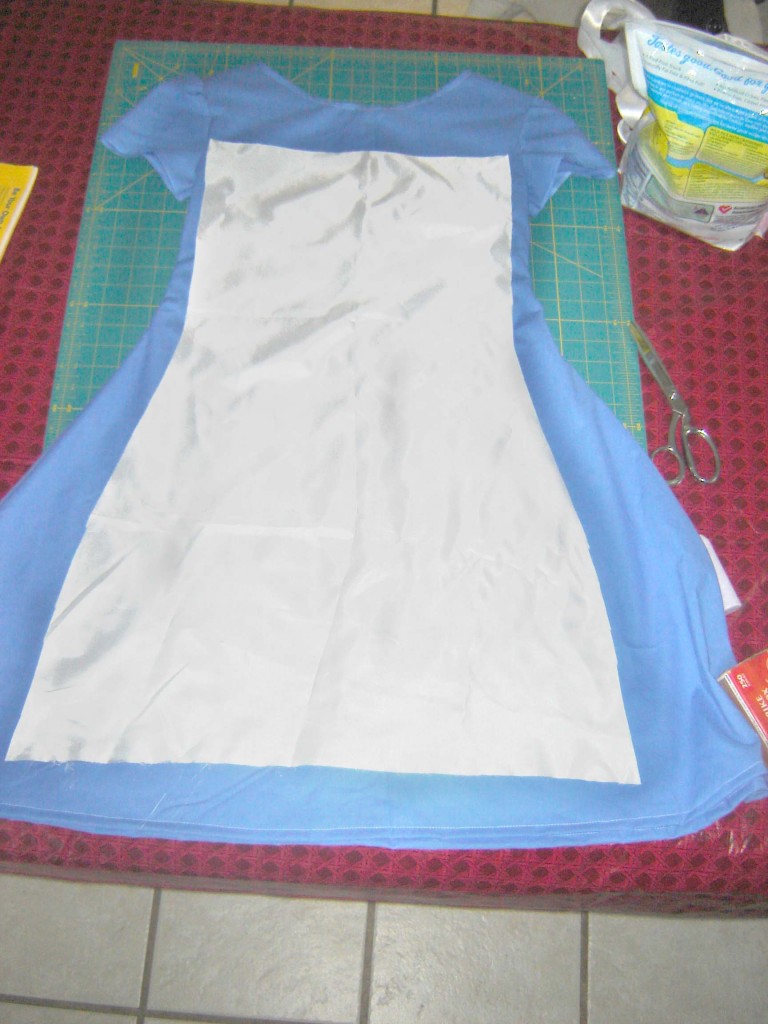
- We cut out all the details of the fabric from our fabric: breastplate -1 piece, bottom part - 1 piece, straps - 4 pcs, belt - 2 pcs. The size of all these elements depends only on your desire. It is recommended only to make the belt wider than the straps, and the length of the apron is 10 cm less than the length of the school dress.
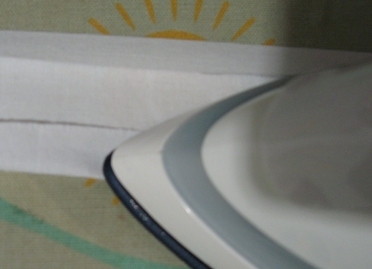
- First, you need to process the edges of the bottom and bib. To do this, we turn the fabric from all sides by 1 cm and squeeze it.
- Blanks of the belt must be folded from both sides and ironed. We glue both parts of the belt to the bottom edge of the breastplate. Arrange them so that the middle of the parts match.
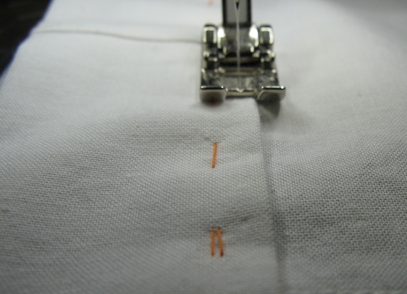
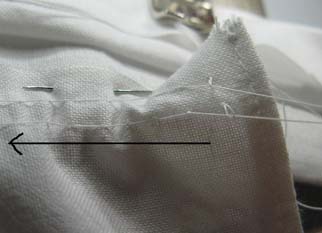
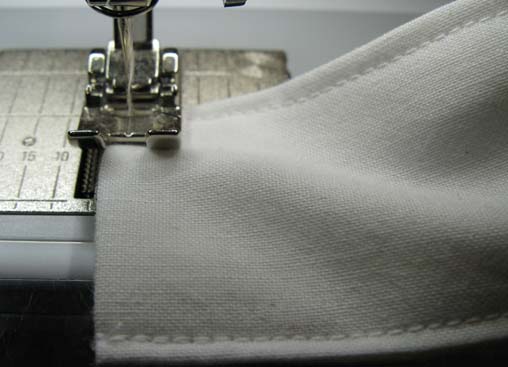
- We spend the details together on the top edge of the belt from beginning to end. We take the lower part of the apron. We turn the three sides of this part (except the top) twice by 1 cm. We spread them, retreating from the edge 5 mm. Along the not hemmed hem make 2 lines on the typewriter, choosing the largest size of the seam. In the end, the thread should not be hidden.
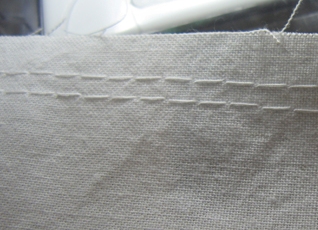
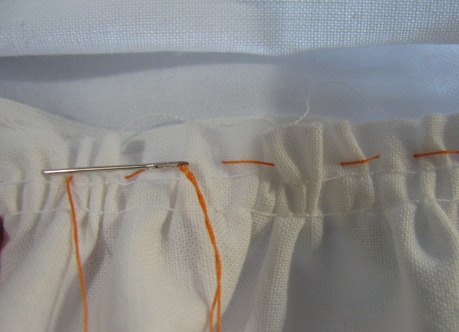
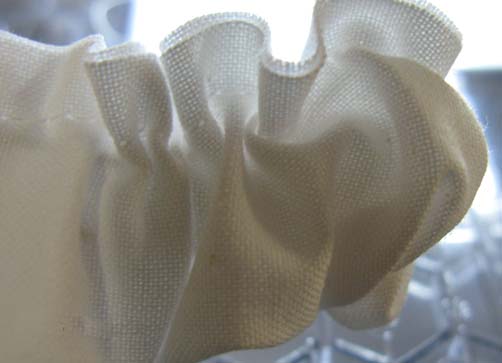
- Pulling on the protruding thread, we collect the top of the skirt. The folds should be spread evenly over the entire length. The collected skirt is labeled to the back of the belt sewn to the breastplate (which will be closer to the body), namely to its lower edge. Then we spend on the sewing machine and we remove the thread, which they were basting.
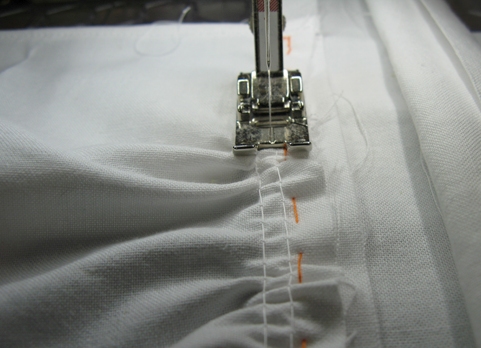
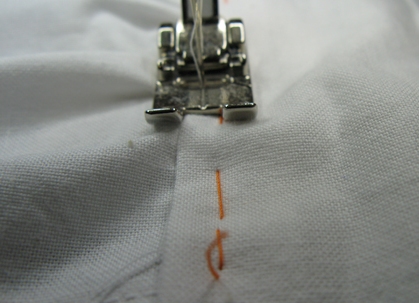
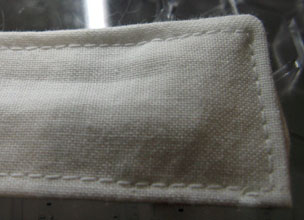
- We lower down the front part of the belt, closing the folds made on the bottom skirt of the product. First, we sweep all the parts together, and then we spend on the sewing machine. To make the belt look neat, short edges of it are first tucked, and then we squander.
| | |
| | |
| | |
| | |
We proceed to the implementation of a strapless apron.
- We put together two blank blanks with faces to each other. We sweep them, having retreated from the edge by 5-7 mm. We turn them on the front side and spread out along the edges, at a distance of 2-3 mm from the edge.
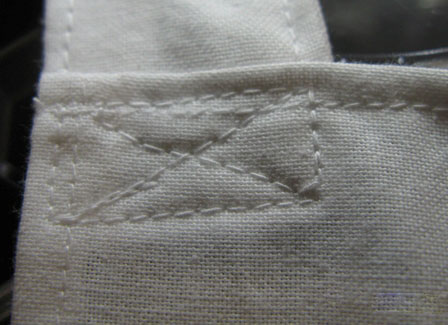
- We use straps to the upper corners of the breastplate. In order for them to hold tight, sew them better as shown in the photo.
| | |
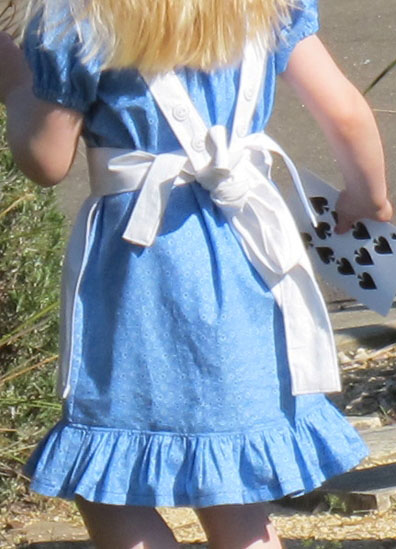
After fitting, the other end of the straps should be sewn with buttons and make holes in the belt so that they can be fixed there.
| | |
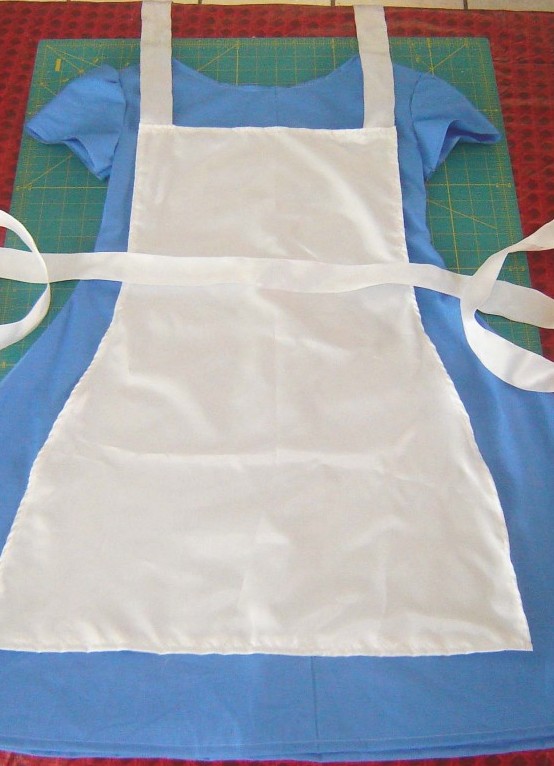
Our apron is ready.
| | |
You can also make the breastplate and the bottom part one whole, and then attach them straps and belt.
| | |
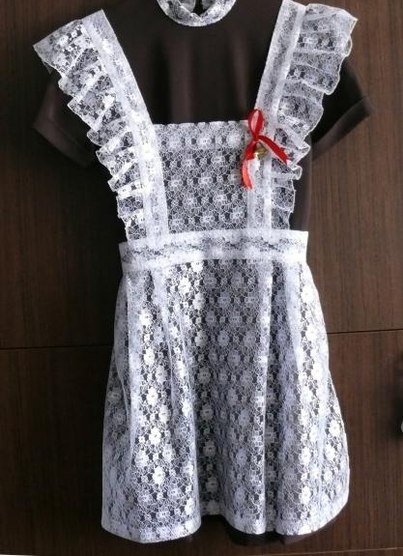
Any school apron can be decorated with frills, placing them along the strap or on the edge of the lower skirt. It is also very practical to complement this style of clothing with pockets. After all, they are very convenient to store money or even a phone.
If we sew the school apron on our own for the celebration, then it is better to choose transparent fabrics with embossed pattern for it, such as tulle. After all, against the background of a dark school dress, they look great. For all details, you can make a fringing of satin ribbons.
Whatever model of school apron you are not going to do, you must take into account that it should not be done too short or longer than the school uniform.