Do you remember the old joke about the forged fake Christmas toys that seem to be real, but do not bring joy? A win-win way to create an atmosphere of celebration and joy in the house is to make toys and jewelry yourself, putting all your soul into the process. Today's MC we will devote to how to do bulk snowflakes from paper.
How to make a big three-dimensional snowflake with your own hands
Let's consider step by step how to make a large three-dimensional snowflake in the technique of modular origami . For work we will need modules of blue, blue and white colors, and their number will depend on the desired size of the finished craft. In our case, we used 42 blue modules, 72 blue and 150 white.
Let's get to work:
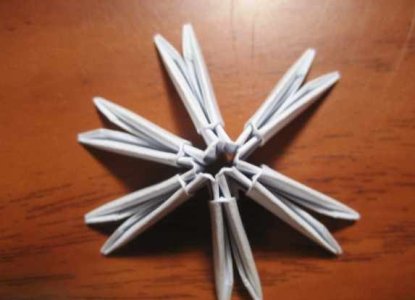
- We begin work from the central part of the future snowflake. For the first and second rows, we connect 6 modules of white each and close them in a ring.
- In the third row, the number of modules is doubled - 12 pieces.
- The fourth row also consists of 12 modules, but already of a blue color.
- In the fifth row, we increase the number of modules by a factor of two, and also go to the blue color. In total for the 5th row we need 24 modules of blue color.
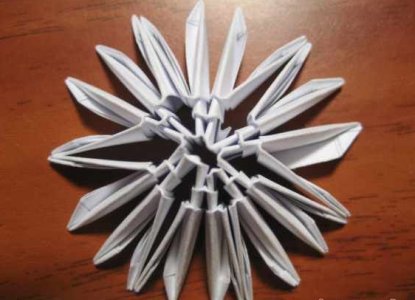
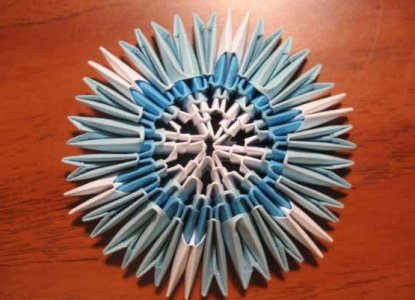
- In the sixth row also we will draw 24 modules: 6 white and 18 blue. String them in the following sequence: 1 white, 3 blue. In this case, white modules should be worn with a short side outwards.
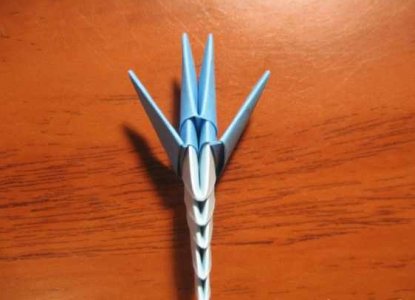
- We begin to form the rays of our snowflake. To do this, each section of the modules of blue color should be increased, stripping two rows of modules. In the first row there will be 2 modules, in the second row - 1. They must also be blue.
- Each of the white modules is also incremented by stripping two rows on top of one of the white modules.
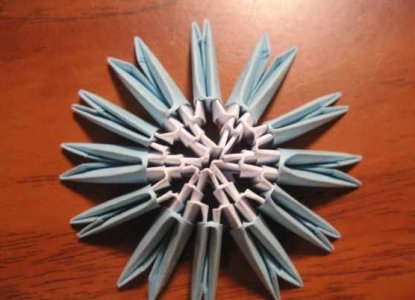
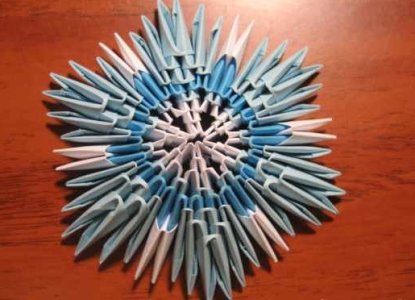
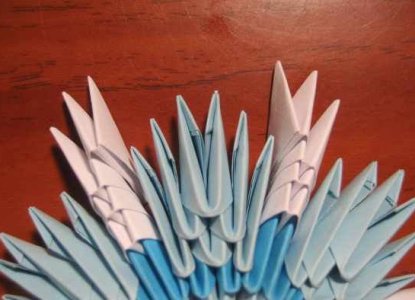
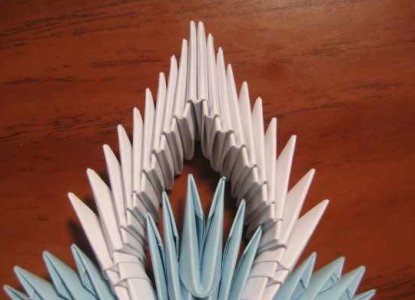
- Now you need to connect the rays of white with each other using arches. For each arch, we need 17 white modules. Modules for arches must be threaded one on the other with one pouch.
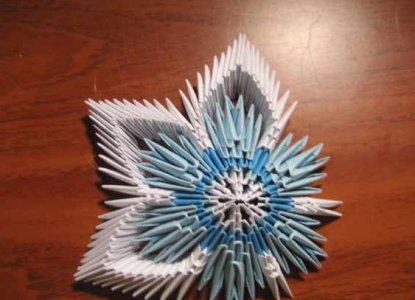
- Between the arches set the rays of blue. For each of them we connect 5 modules of blue color, and on the top we string 3 blue modules with a short side outwards.
| | |
| | |
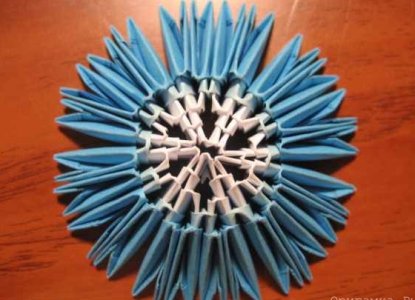
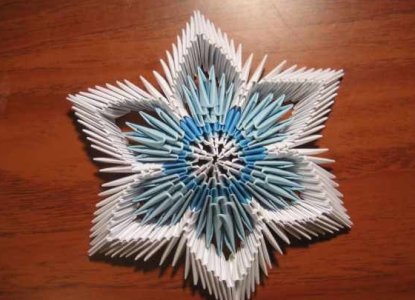
As a result, we get such a wonderful big snowflake.
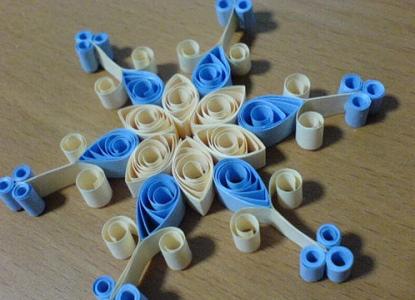
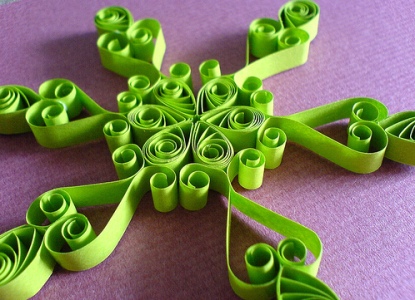
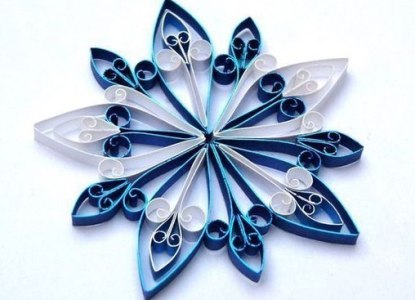
Volume snowflakes from paper in quilling technique
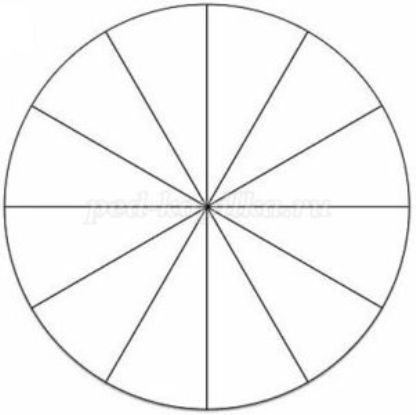
It is quite simple and interesting to create from paper bulk snowflakes in the quilling technique. For each of the volume quilling snowflakes, we need some number of basic elements and a pattern in the form of a circle, divided into sectors.
Screw from the paper a number of basic elements of quilling and place them on the template, pinning him with pins. We will connect the elements with the help of glue and leave until completely dry. As a result, we get such interesting and unusual snowflakes.
| | |
| | |
Snowflakes from paper
It is possible to make a three-dimensional snowflake with your own hands in the following simple way:
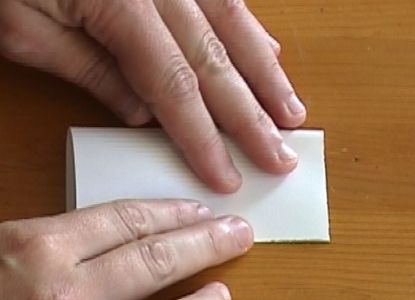
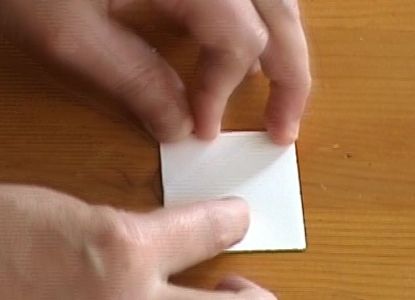
- Take a square sheet of paper with a side of 10 cm.
- Fold the sheet in half.
- Fold the sheet twice more and get a square with a side of 5 cm.
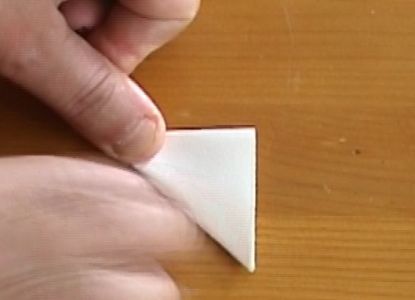
- The resulting square is folded into a triangle.
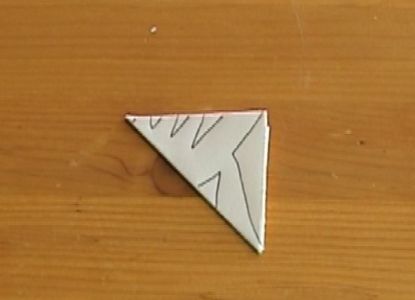
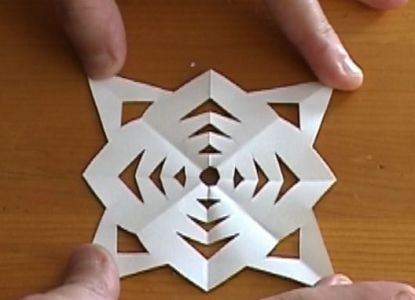
- We put on the triangle lines for cutting snowflakes.
- We make incisions along the lines.
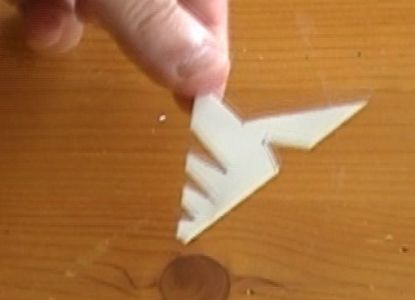
- As a result, we get here such a detail-a snowflake.
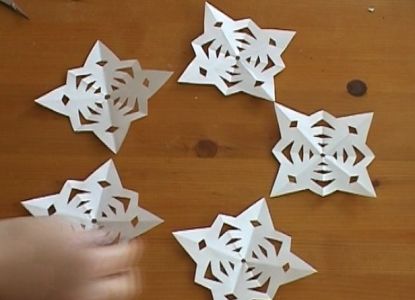
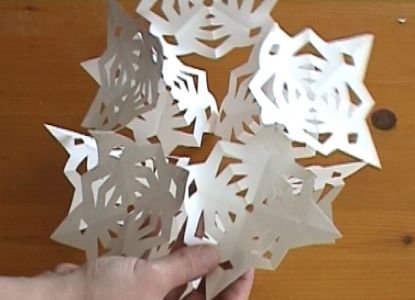
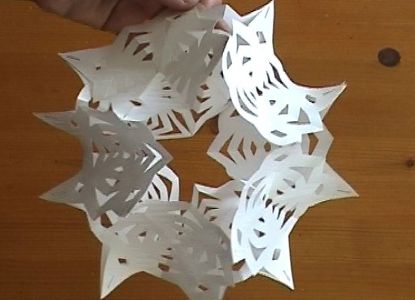
- We close in a circle 5 snowflakes, connecting them with corners.
- We fix the corners of snowflakes with a stapler.
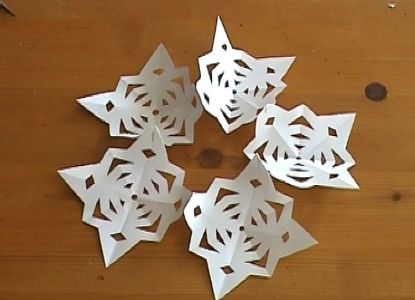
- Similarly, we make the second part of the craft.
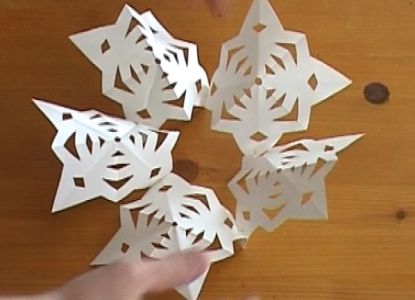
- We connect both parts of the craft with each other, knocking down the corners of the snowflakes in pairs using a stapler.
- We get here such an unusual volumetric snowflake made of paper.