Remember, in the early childhood, everyone bought seeds and poured them into small paper kulechki? It was terribly inconvenient when they unfolded, and make them strong only from the sellers of these same seeds. The most skillful made a glass of paper. They say it is not more difficult than a boat or an airplane. Well, let's try to consider step by step how to make a glass of paper.
Glass with your hands made of paper
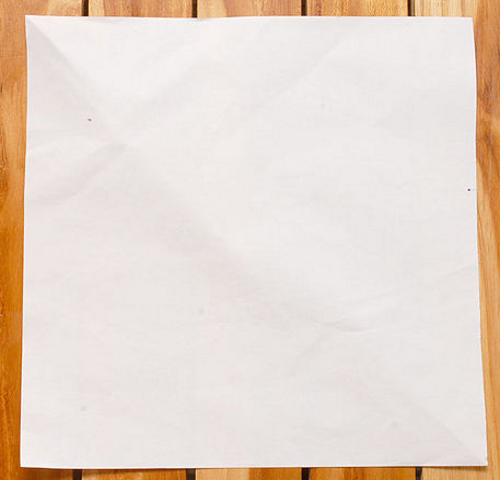
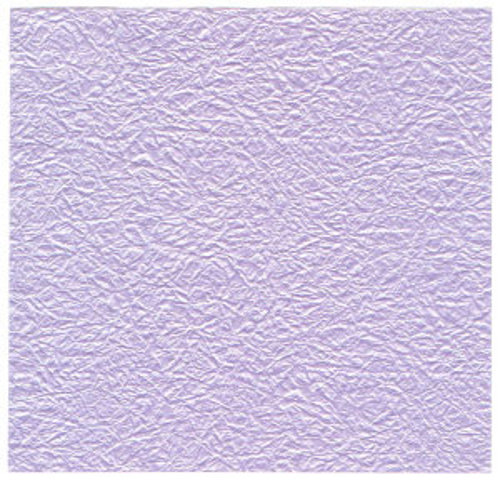
For this we need a square sheet of paper approximately 216x279 mm.
So, let's begin. This is the easiest and fastest option, because to make a glass of paper on this scheme can even a child:
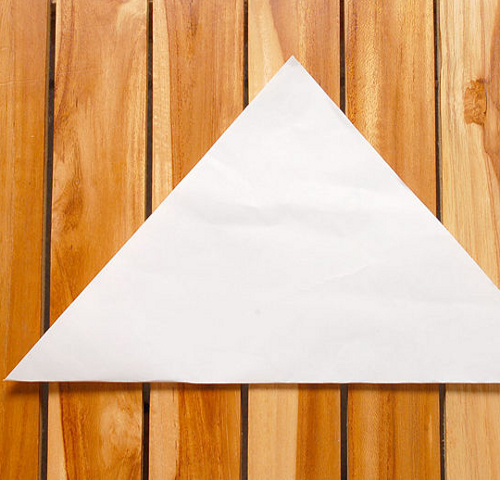
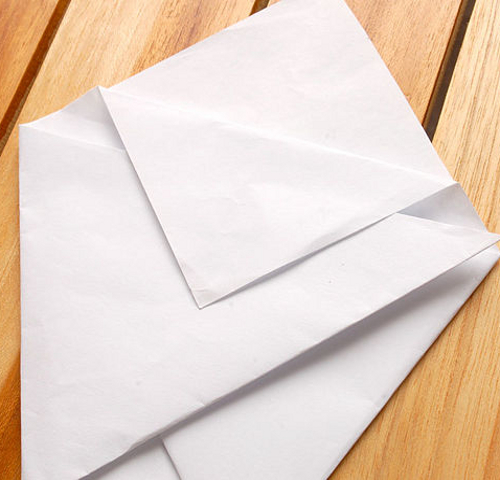
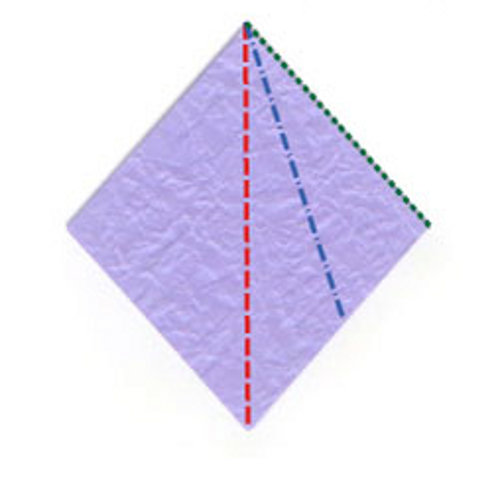
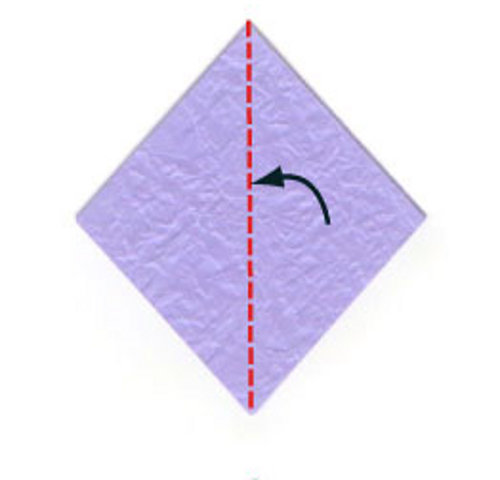
- Fold a piece of paper in half diagonally.
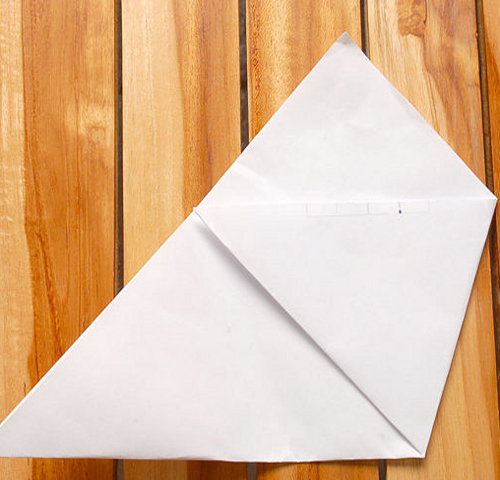
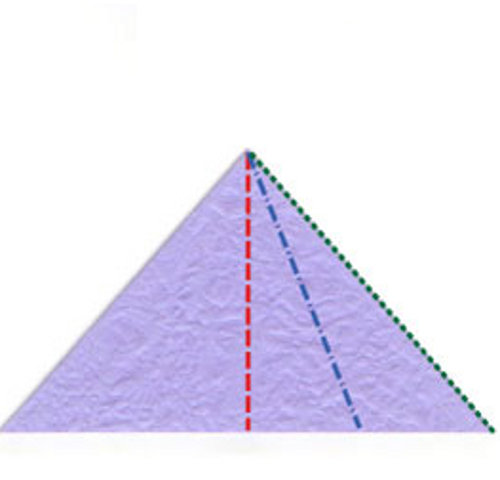
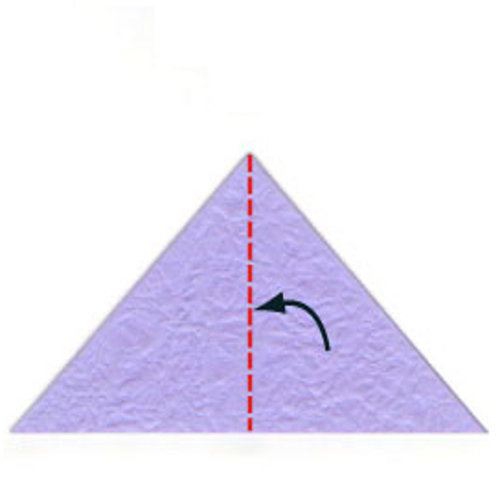
- And now the lower corners of the resulting triangle bend, as shown in the photo.
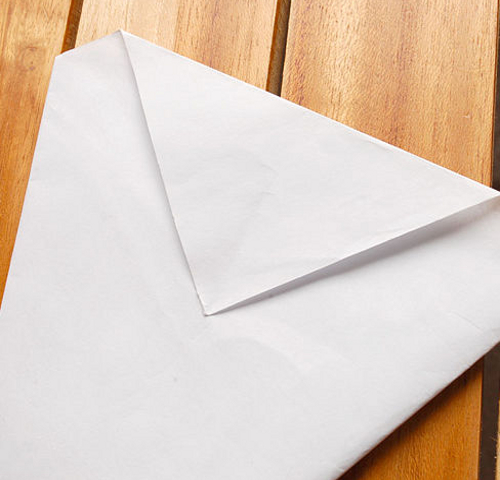
- At this stage instructions how to make a glass of paper, you get this picture.
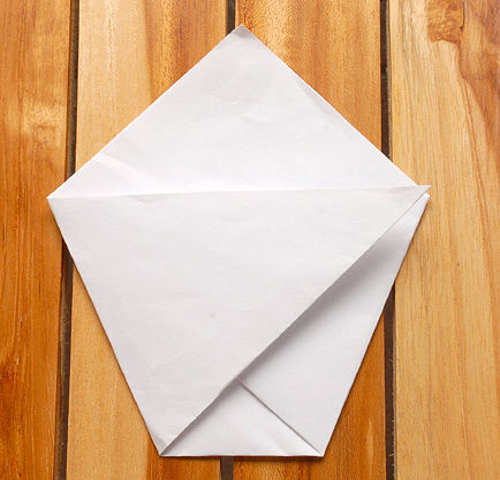
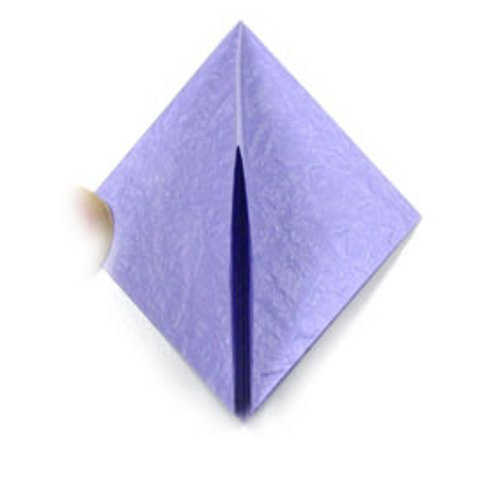
- We bend the upper corners. First, the first curve so that it covers the base of the glass, while leaving a small gap.
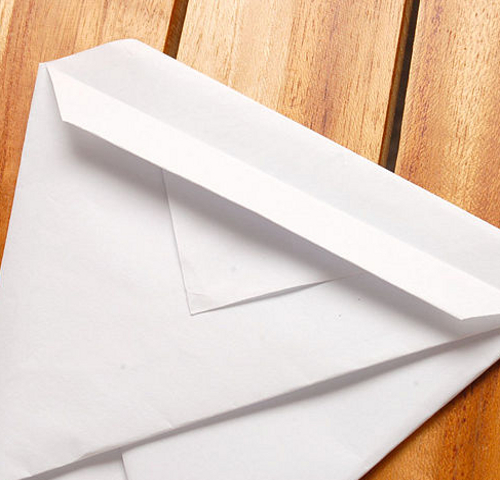
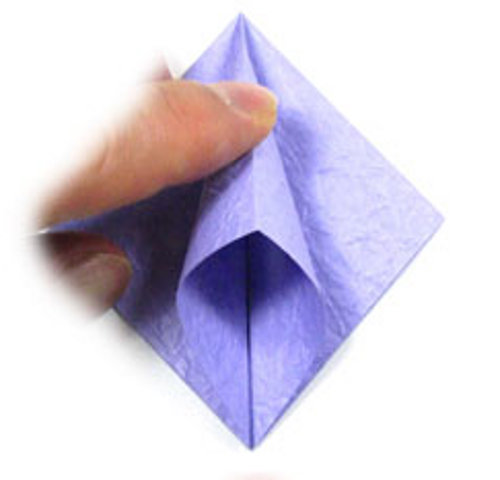
- We turn the workpiece and do the same.
- Again, turn on the front side and repeatedly bend the corner.
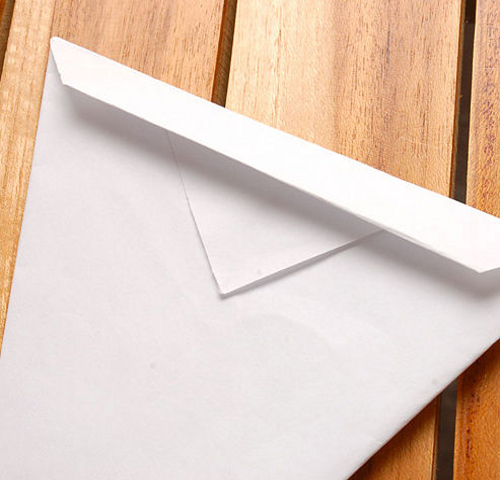
- Similarly, the second wall.
| | |
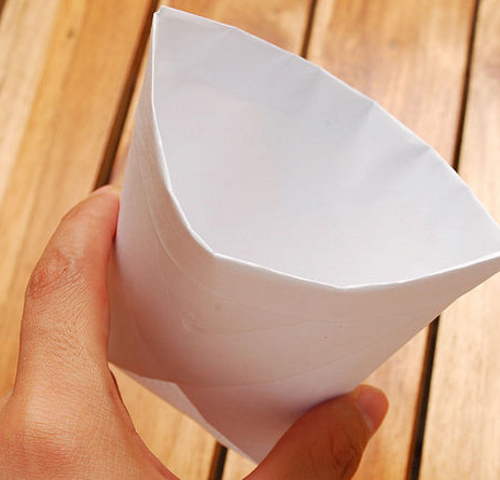
And here is actually a glass made with his own hands made of paper.
A glass of paper - origami
This is a more complex option and it will appeal to lovers of paper art origami. Most likely, the first time you will not get a smooth glass, but after a couple of attempts you will be able to put it exactly like the picture.
A blank for this option will also be a square piece of paper.
Our task is to make uniform creases to form the sides for the glass. The essence of this process is to divide the entire sheet into the same segments and get a smooth cup at the output:
- First markup.
- Then add the scheme.
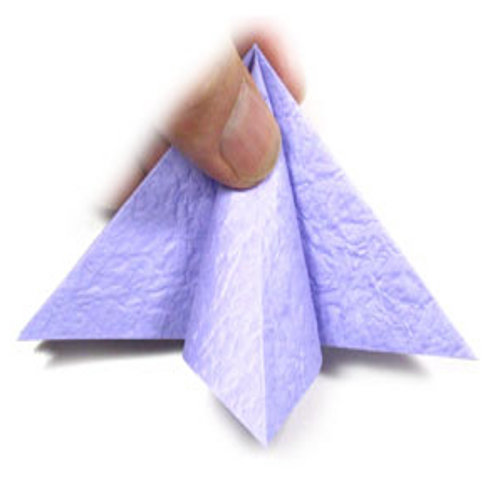
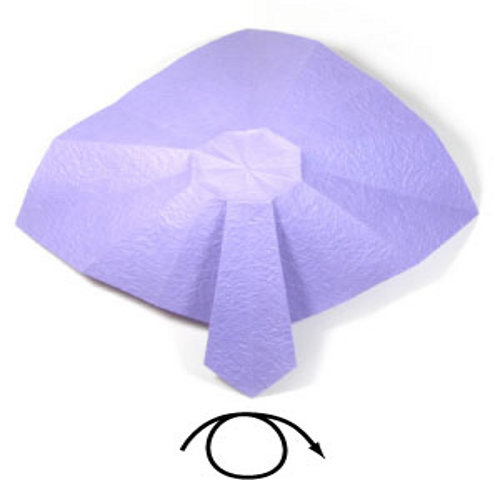
- Expand and proceed to the formation of a three-dimensional shape.
- You need to bend his tail a little.
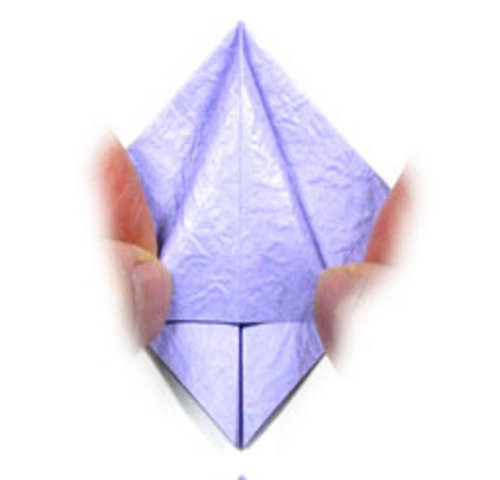
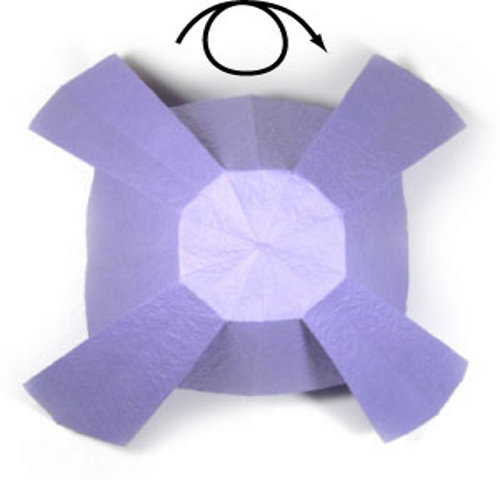
- And now again open the workpiece and get the bottom of the cup.
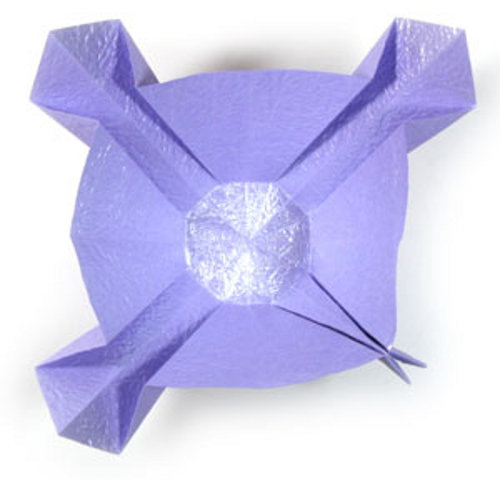
- We begin to form faces.
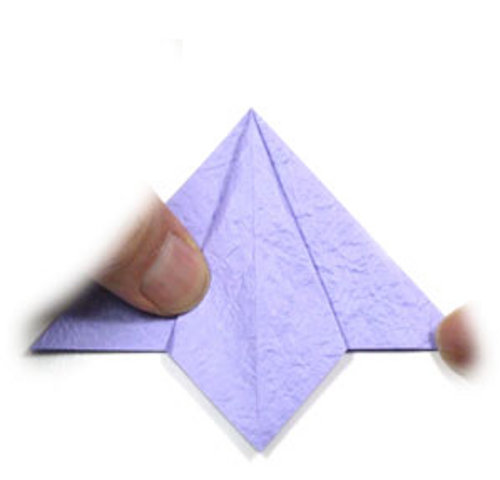
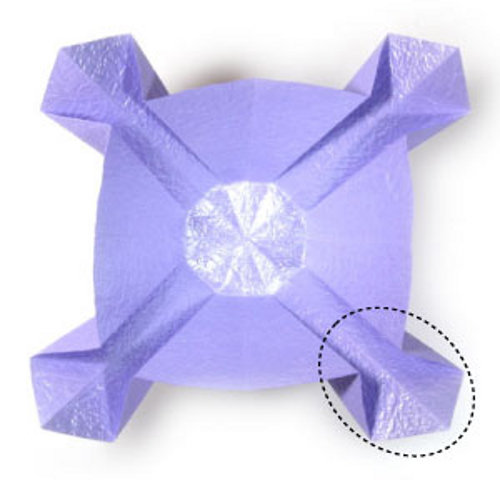
- We fold small valves.
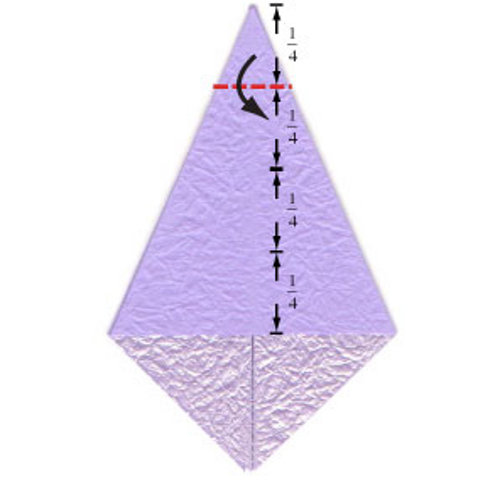
- The diagram shows the fold lines, where the red dotted lines go under the fold.
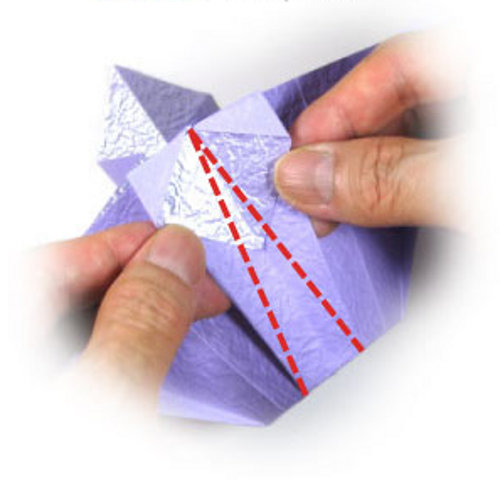
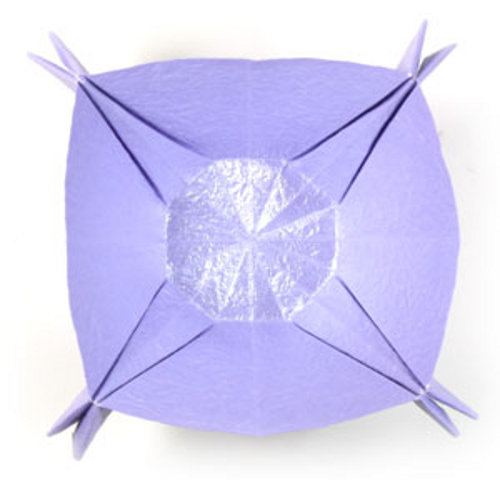
- Our glass is already beginning to loom.
- Bend the edge, as shown in the figure and fix the first valve.
- Below is shown how the blank looks at this stage.
| | | |
| | |
| | | |
| | | |
Here is a kulechek you get on the way out.
| | |
| | |
| | |
And here is a ready-made glass of paper. Original and seemingly very complex.
| | | |