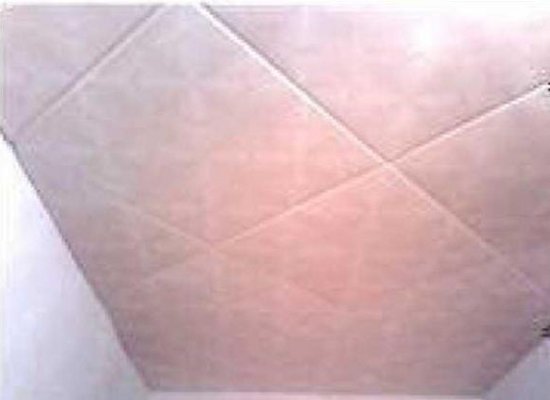
One of the most simple and universal options for finishing the ceiling today is the tile . It can be used in almost any room. This is a great way to decorate a very uneven ceiling, bring in the interior a touch of chic and originality.
Ceilings of this kind are convenient in that they are very light, have a relatively low cost and can be painted in any color. This makes the ceiling tile universal and popular among consumers.
Pasting of the ceiling with tiles is not a very complex process and if you want it you can master yourself. The main thing is to choose the right glue and quality materials. In this article, we will consider two methods of repairing the ceiling with tiles.
How to paste the tile on the ceiling with a diagonal method?
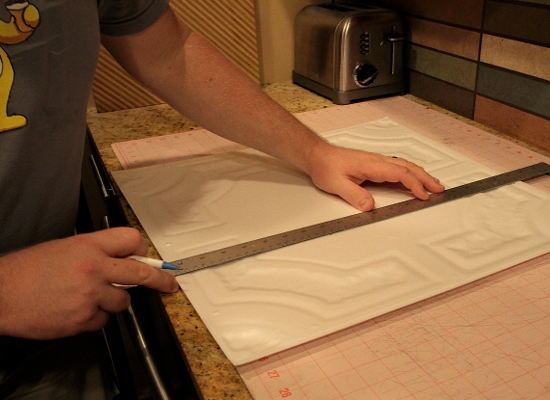
This method is suitable for simple tiles of standard sizes of 50x50 cm. For work, you will need a tape measure, a tile adhesive, a ruler with a sticker and a knife.
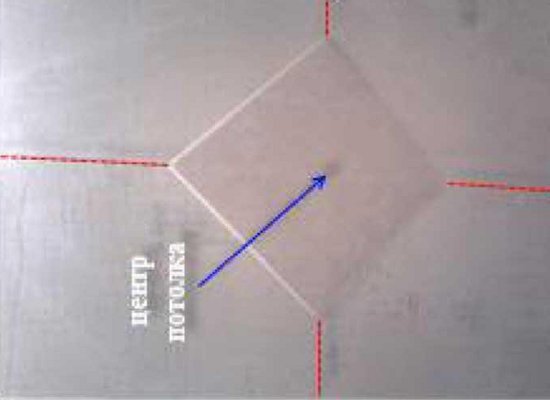
- To begin with, remove the whitewash and soil from the ceiling. Using the roulette we find the middle of the ceiling.
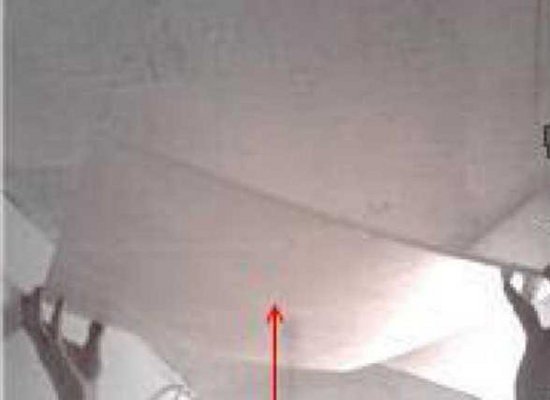
- Line out and fix the first tile, as shown in the photo.
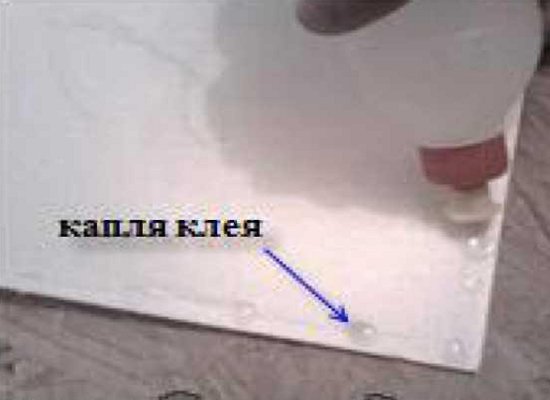
- The adhesive is applied at an interval of approximately 10 cm along the entire perimeter of the tile. We use special celluloid adhesive.
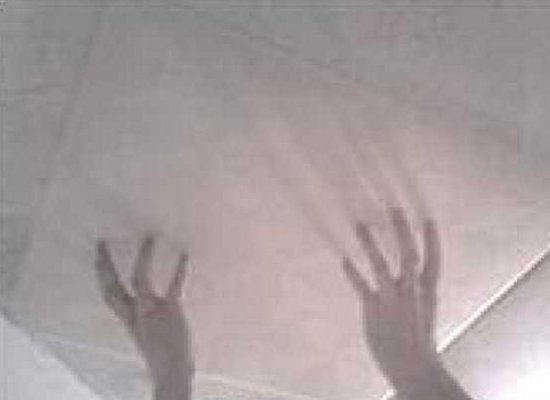
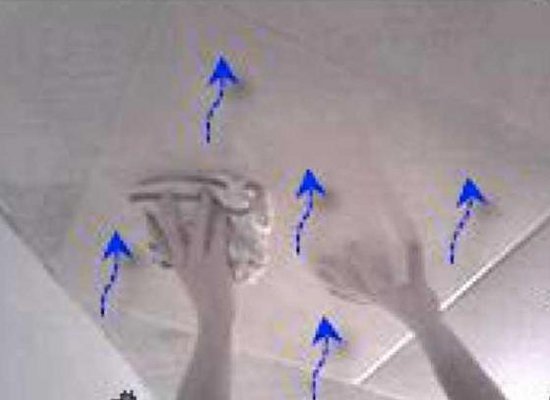
- Gently bring the tile to the ceiling and press it.
- Now we move the tiles up and down, tear off the threads of glue.
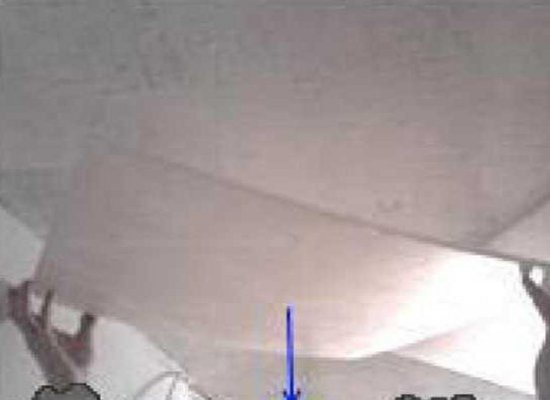
- Then we put the tile to the wall with the edge and wait for five minutes. During this time the glue will seize and it will be possible to return the tile to its place.
- Press it properly with a cloth to leave no marks or dents.
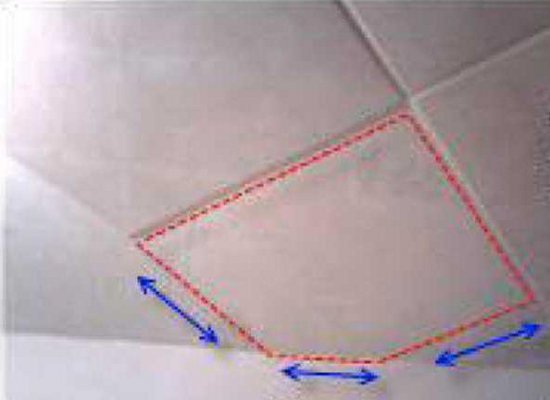
- In this way, the tiles are glued to the ceiling. Remember that there will be non-standard sites, where you will have to carefully measure each side.
- Corners or other small areas are covered with tile remnants.
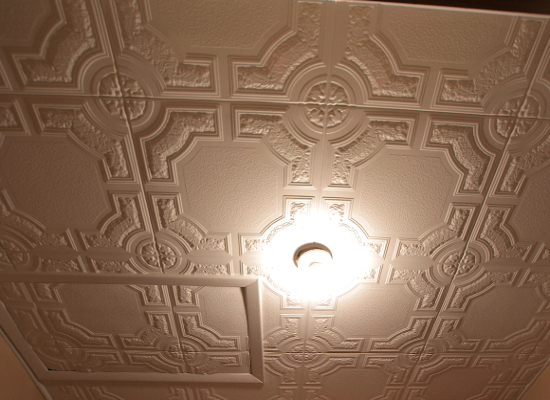
- This is the result of the work at the end.
How to glue a tile on the ceiling in a simple way?
A small room can be issued with a simplified method. We will move from the center (light source) to the walls. This is an easier way, because the tiles will be parallel to the walls. Consider how to glue the tile on the ceiling from the center to the periphery.
- Pre-delete all unnecessary.
- The author of the lesson suggests to glue the tile on the ceiling directly to the old finish, as this will not prevent a good result. But if you have uneven flows and want to make repairs for a long time, it is better to clean the surface.
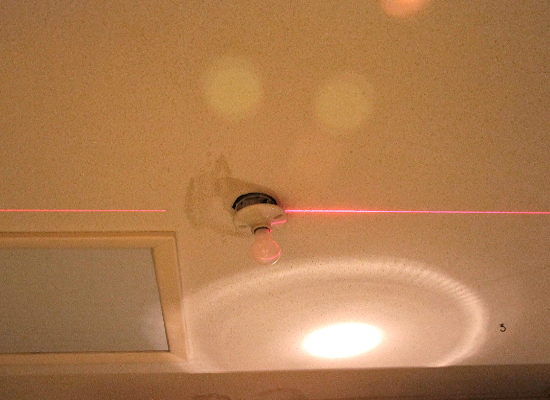
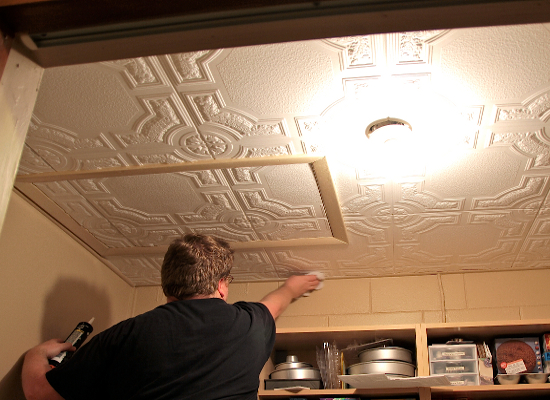
- We begin the work from the place where the chandelier is located.
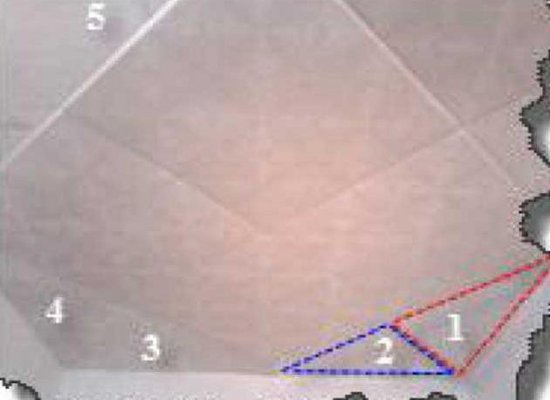
- Using a tape measure or a laser level, we find the middle of the stream.
- We schedule it and start work from the center.
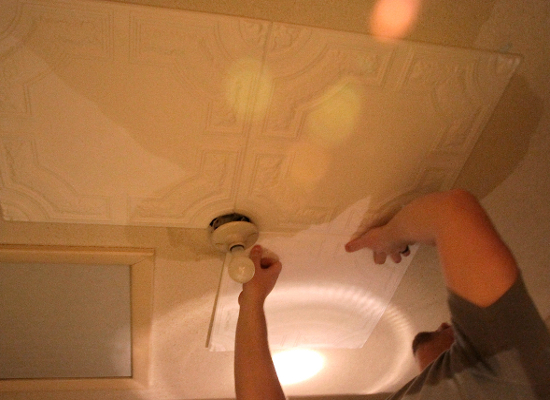
- Cut out the circular hole for the lamp. To do this, just add the tiles on the floor and draw a circle.
- Pasting of the ceiling with tiles in this case is radically different from the first method. We apply glue along the perimeter of the tile and into the center.
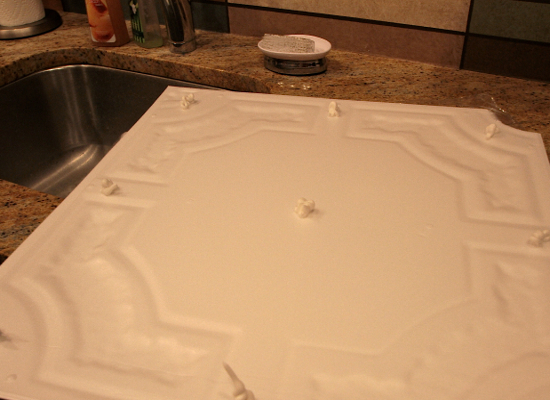
- First we fix all the whole tiles, then go to places with non-standard sizes.
- To finish the ceiling with tiles in such places, we will use a ruler and a knife. We carefully measure each size. Then cut the desired piece on the table with a knife.
- Before applying the glue, put the workpiece in the right place and make sure that it is really perfect.
- Also, it's worthwhile to work and check carefully that there are no marks left on the cuts from the marker or pencil.
- After work it is necessary to work out a little bit joints with a sealant. The fact is that all the tiles are not perfectly even and there may be gaps between the edges. After all the joints have been worked out, you can start painting the ceiling.
- The paint should be water-based. You can apply it after all the joints have dried completely and the tile is in place.