Today, no one will for sure say when the unusual technique of waxing wax - encausticism was born. But since those far times, she has repeatedly experienced periods of oblivion to return to the wave of popularity. Looking at encaustic paintings it is difficult to believe that to create all this beauty it took so little: an iron, wax pencils and a creative mood.
The basic techniques of how to draw wax with iron, we will open at the reception of our master class on encaustic for beginners.
Let's get to work:
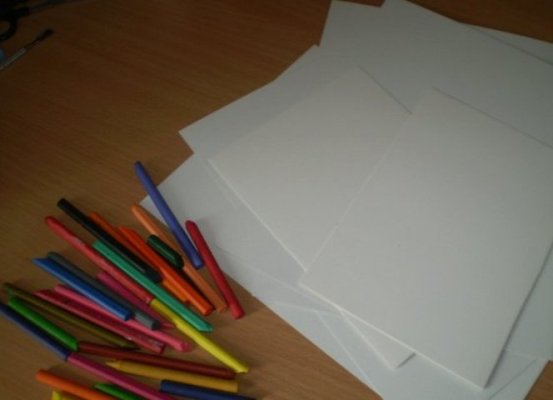
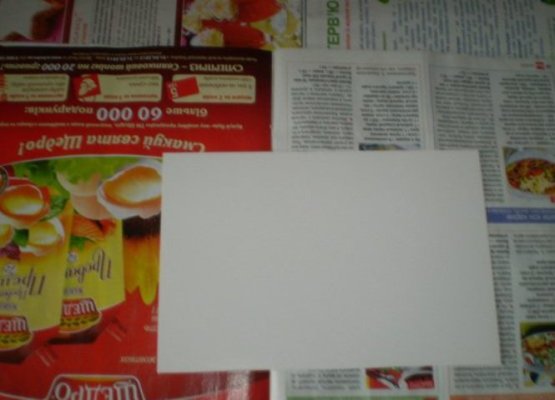
- First of all, prepare the wax pencils. It is not necessary that they are branded, the main thing is that they are well melted. The more colors there are in your pencil palette, the brighter and more interesting the pictures will be. And we will draw them on dense glossy paper. For the first steps it will be enough to take half of the usual office sheet or A5 sheet.
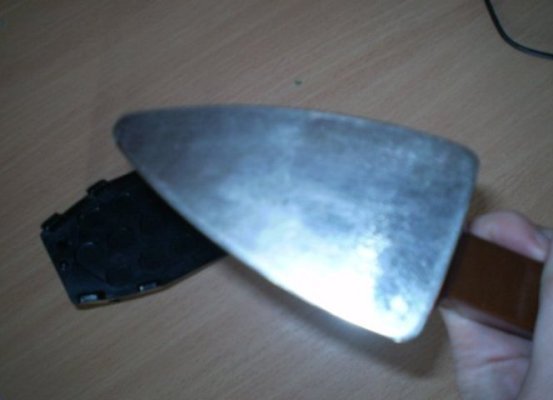
- We can not do without an iron - the simplest, without a steamer and holes on the sole. For complex products, several irons of different sizes may be required, but one small one will suffice for a start.
- Before starting work, it is essential to lay a table with a thick layer of newspapers or other paper to protect it from drops of melted wax and hot iron.
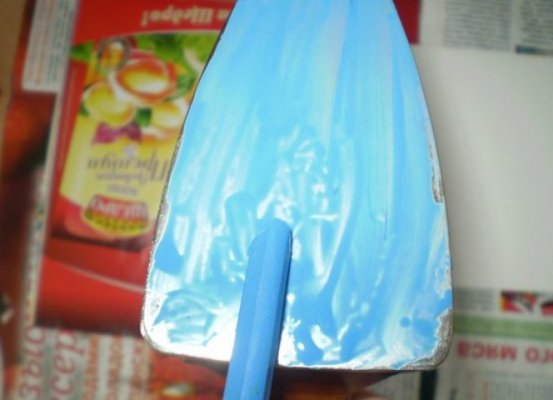
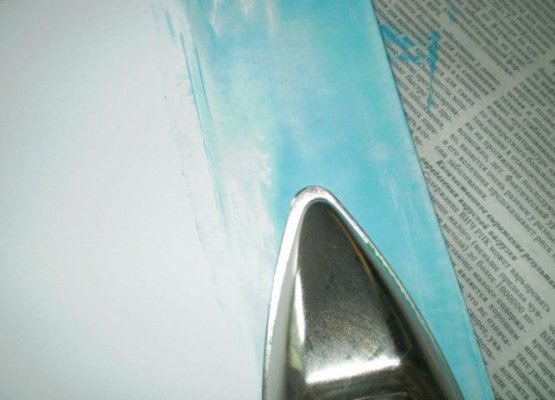
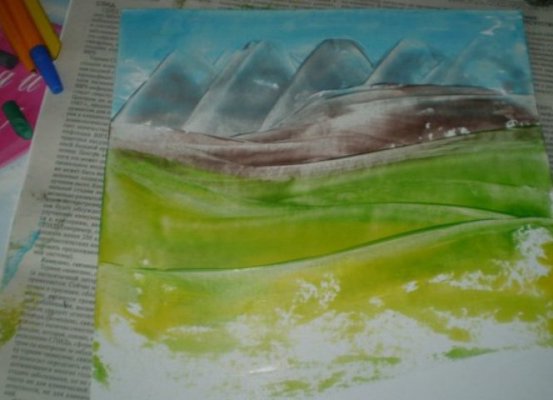
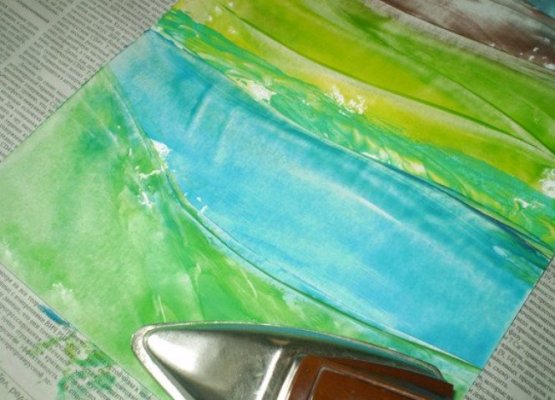
- We will paint a landscape with mountains, plains and a lake. And we'll start drawing it from the highest point - the blue sky. For him, we melted a pencil of blue on the surface of the iron.
- For greater realism, we dilute the blue of the sky with whitish clouds.
- We put the iron on the cardboard and smoothen wax with light movements from side to side.
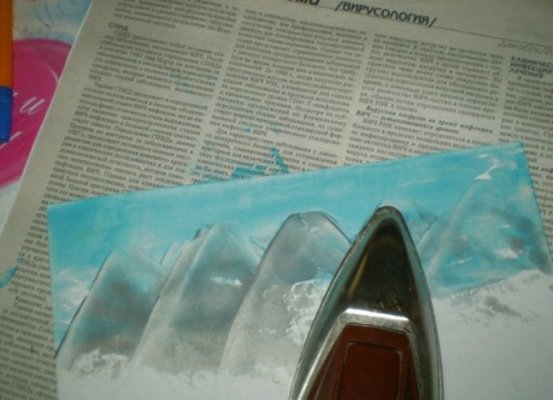
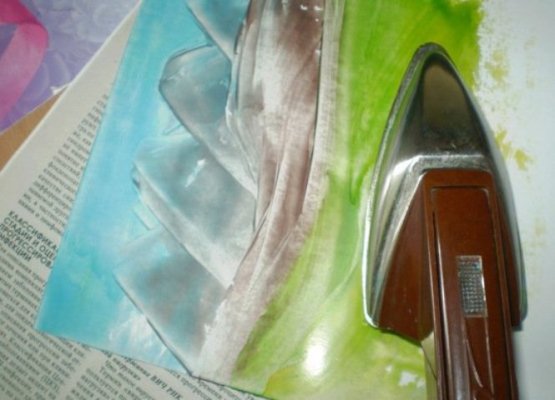
- Mountain peaks depicted with a pencil of gray, melting it on the spout of iron.
- Leave the picture of the mountain.
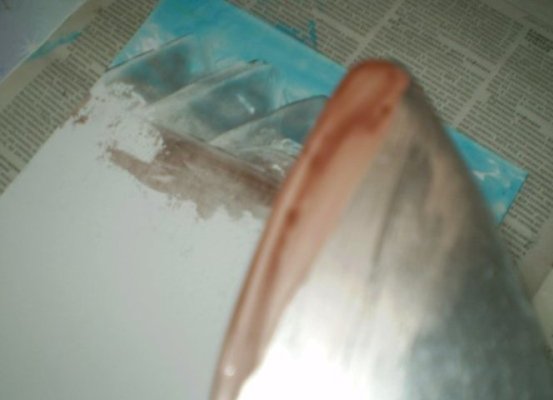
- For the mountain plateau we need a brown pencil, which we melted along one of the edges of the iron.
- Drawing the plateau we will also be movements from side to side.
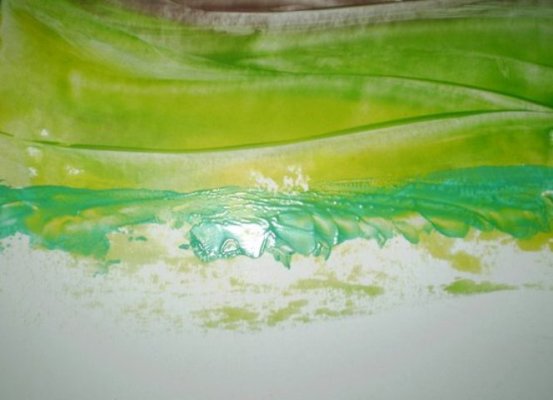
- The next step in the picture will be a meadow. For him, of course, we use a green pencil.
- To achieve color transitions, you can simultaneously melt the pencils of different shades.
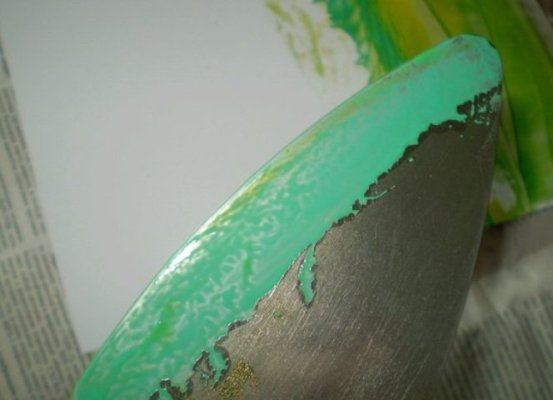
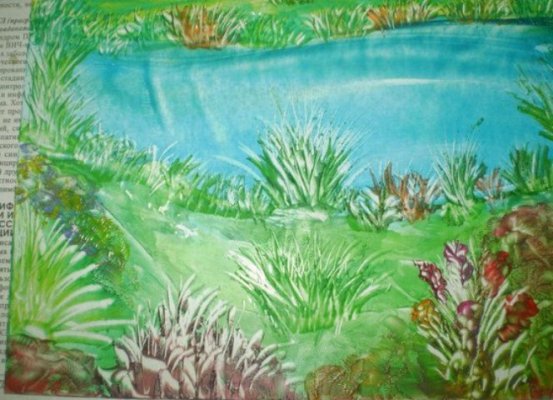
- For vegetation along the banks of the reservoir, let's take a pencil of saturated green color.
- We'll put the wax up and down.
- Below we draw a pond and finish the picture with herbs.
- It's time to draw details. For them, we will melt the pencils on the nozzle of the iron and apply the wax with writing movements.
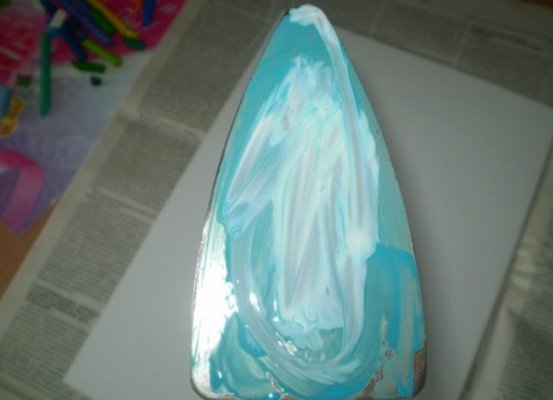
- After drawing the details, our picture will now look like this:
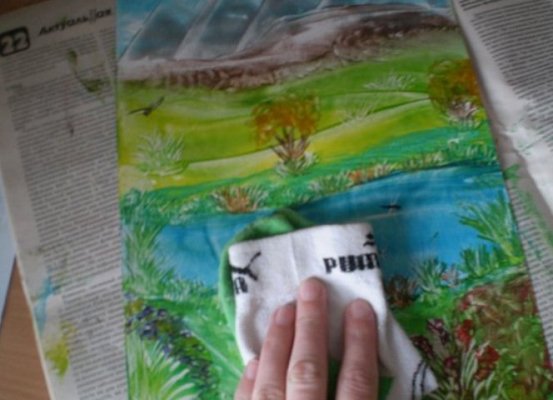
- The final step is polishing. We will wipe the picture with a soft dense cloth to give it a shine. As you can see, it is not difficult to create paintings from improvised materials .