It is unlikely that there will be someone who would remain indifferent to the white birch tree. This amazing tree causes different associations - someone has a feeling of tenderness, someone has sadness, those who are far from their native land - a sense of nostalgia, but everyone who has seen this tree one day will fall in love with it forever. Well, let's try to reproduce the masterpiece created by nature in our work - we will be engaged in weaving the birch beads with our own hands.
Bead from beads for beginners
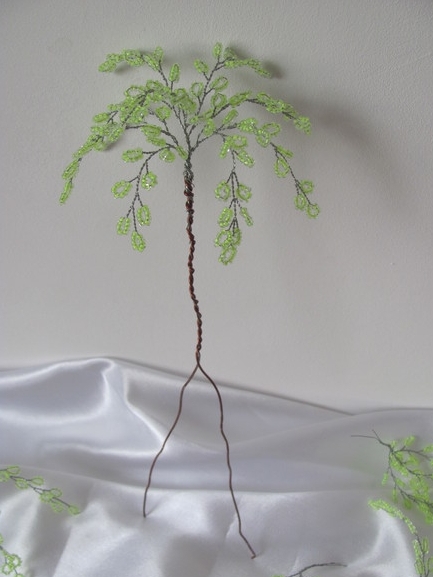
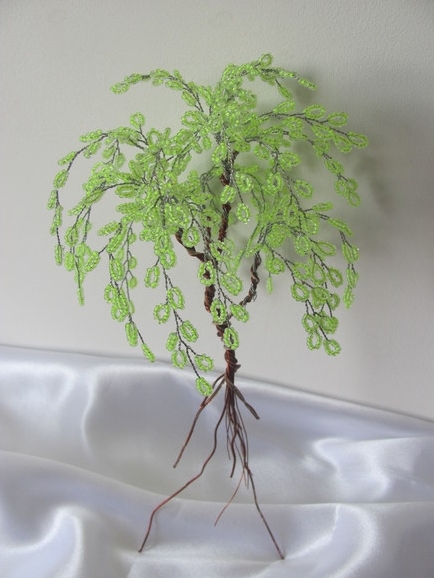
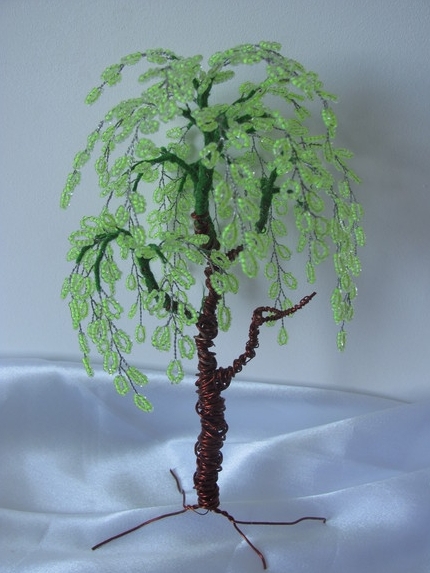
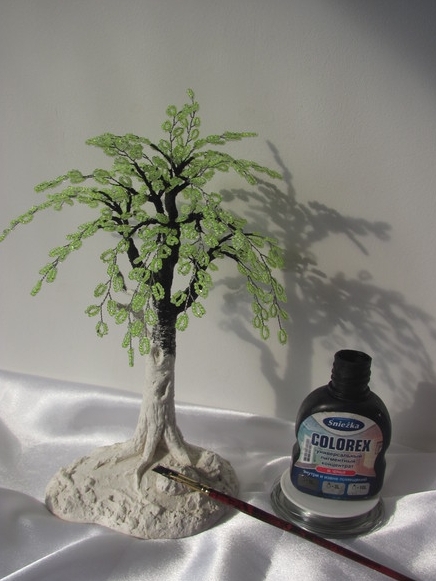
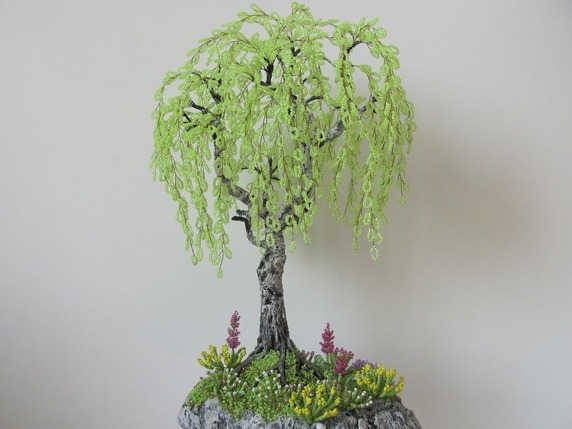
In the master class we will consider the weaving of a bright summer birch with beads 25 cm high. If you want to make a bigger tree, prepare just more materials, the weaving scheme will remain the same.
So, to make a birch from beads for beginners, we need this:
- bright light green small beads of the same size;
- wire for beadwork;
- copper wire for weaving a birch trunk from beads;
- thread of a mulina green;
- PVA glue;
- piece of plasterboard for stand;
- primer;
- gypsum or putty;
- paint is black and white;
- beads for decoration - green, pink, yellow.
Having prepared everything we need, we can start work.
How to make a birch from beads?
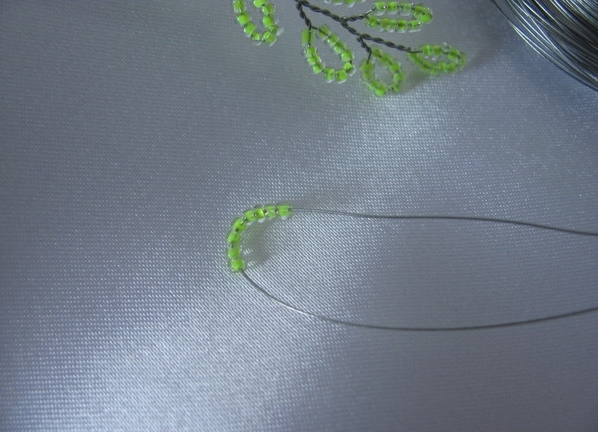
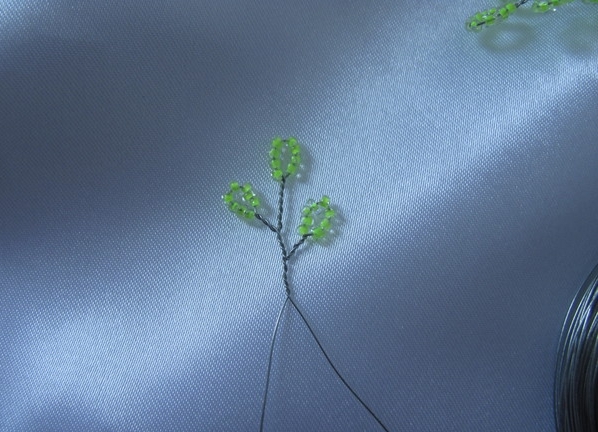
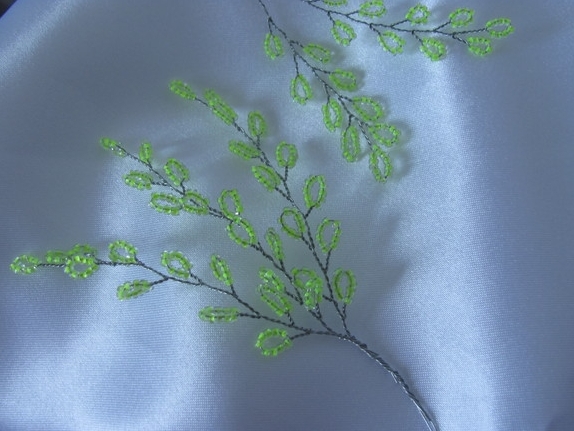
- Let's start work with weaving of beads branches of birch. To do this, we need cuts of wire length from 25 to 40 cm, depending on the size of the desired branch, and to make the tree look realistic, the branches should not be the same. So, take a wire cut length of 40 cm and type 8 beads on it.
- Twist the beads in a loop.
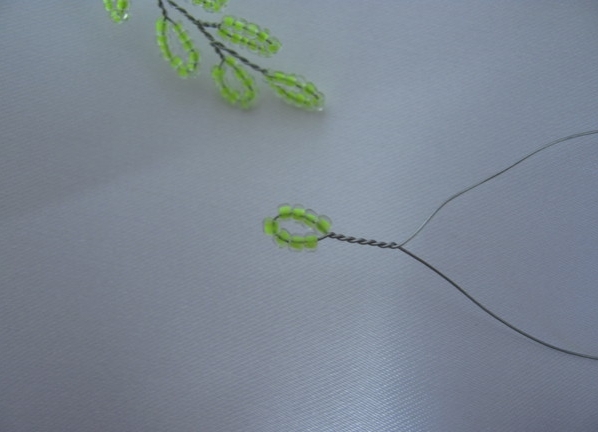
- Further on one of the ends again we type 8 beads.
- We twist it into the loop, then connect it to the second end.
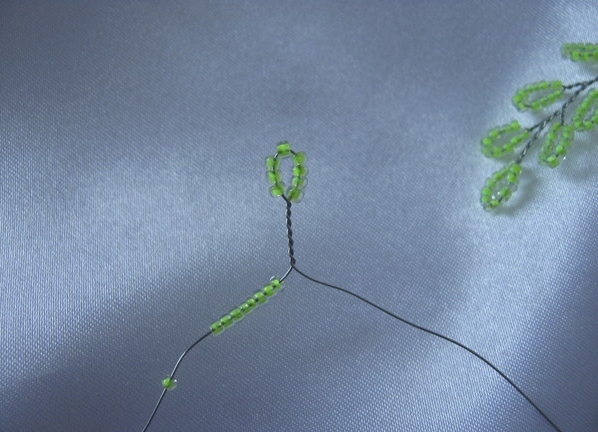
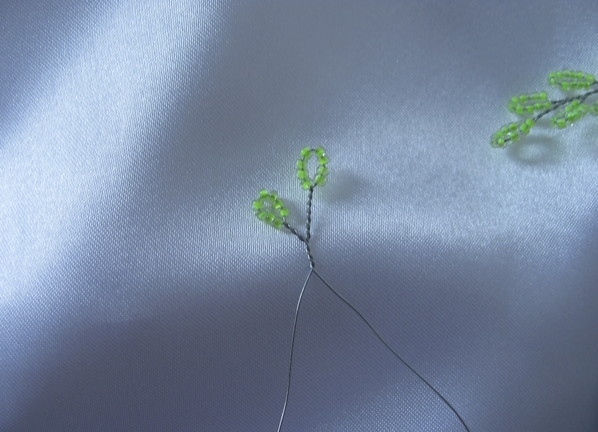
- Now do the same at the second end of the wire cut.
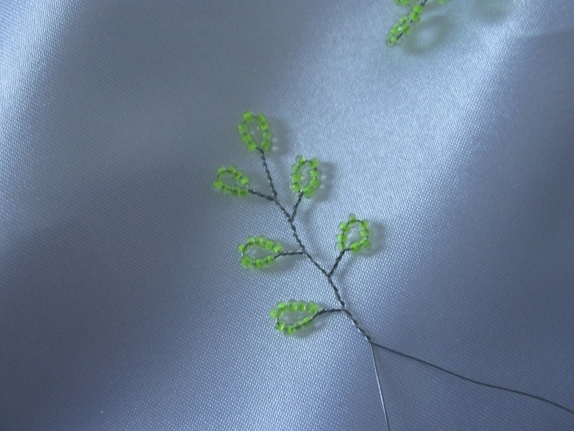
- And so continue until we reach the desired number of leaves, or until the length of the wire is near the end.
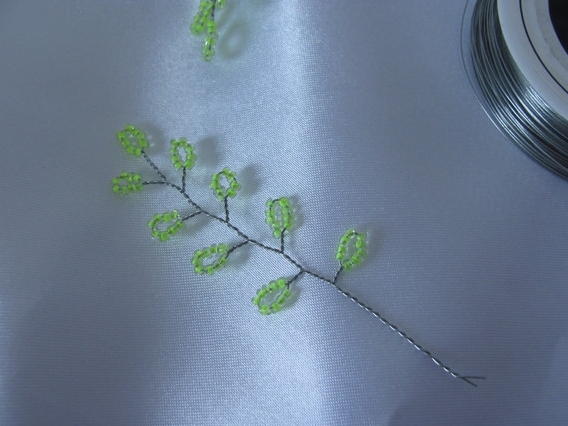
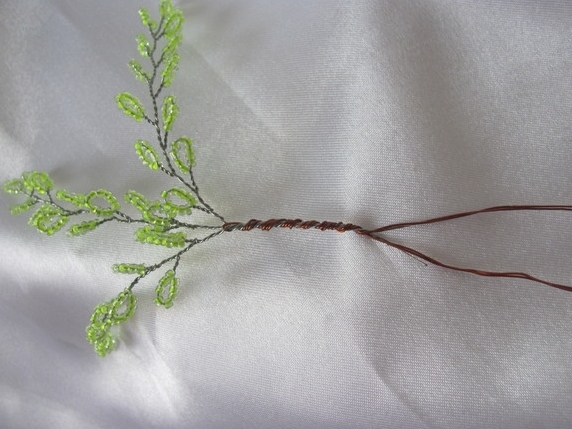
- After making the right amount of leaves on the branches, twist the cuts of the wire and lay the branch aside.
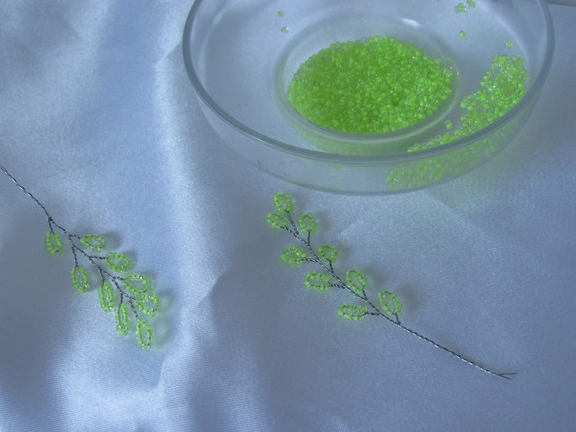
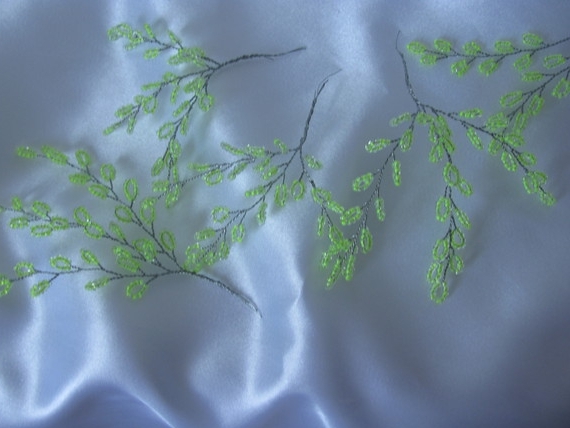
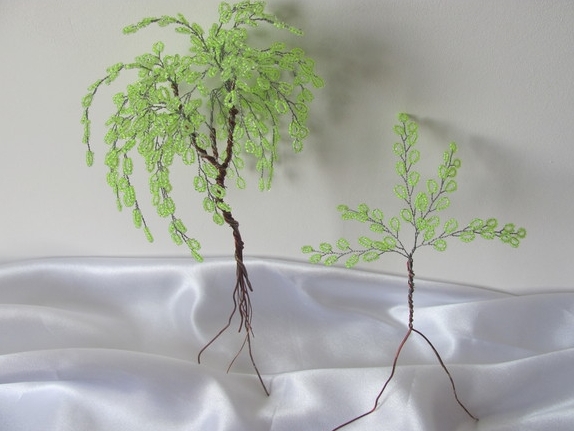
- Next, we rub the next twig, etc. In the master class, we made a bead from the beads, consisting of 33 branches (their number should be a multiple of three, this is a necessary condition), but if you have the opportunity to do more, it's better not to regret time, the birch will come out lush and realistic.
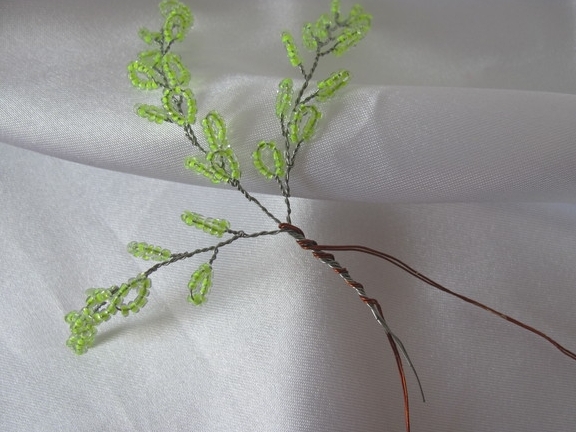
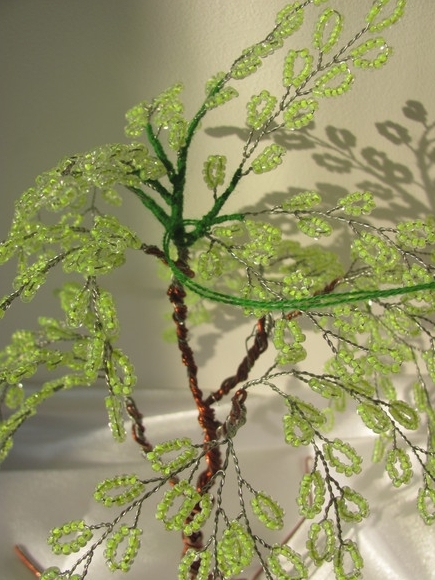
- When all the branches are ready, we take them three and twist together.
- Now take three triple twigs and also twist together, forming larger branches.
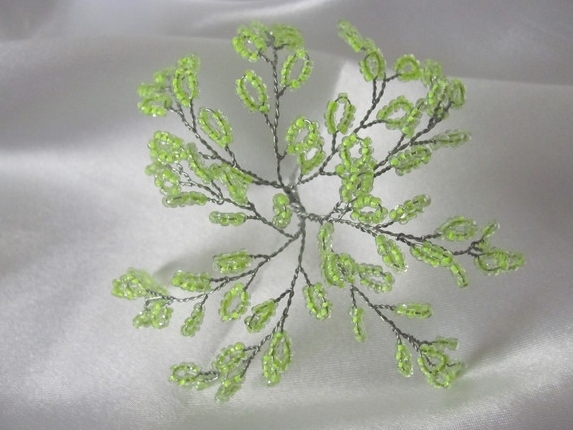
- First of all, we made this top for our birch bead.
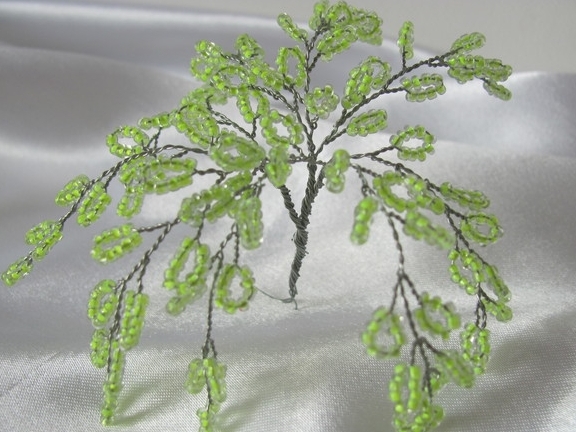
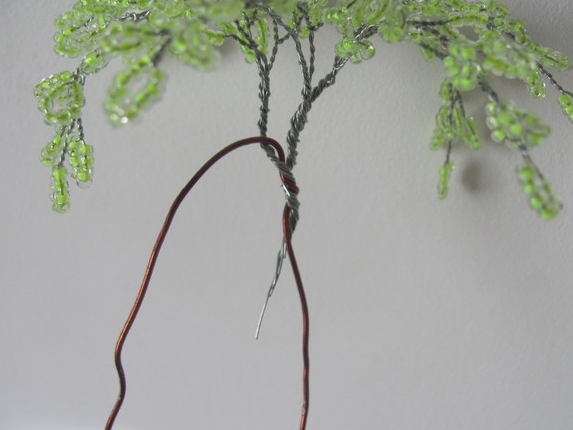
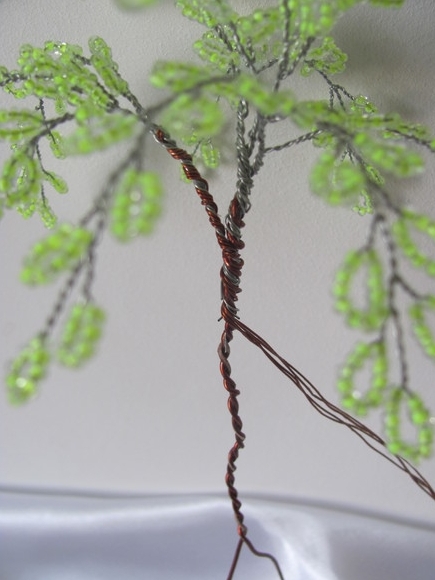
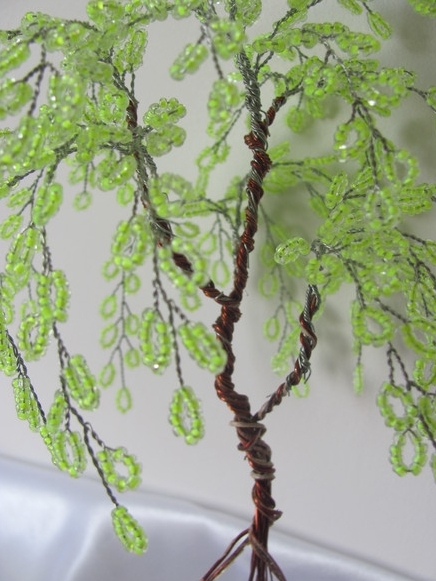
- Now we need a cut of a thicker copper wire. Fold it in half and weave to the ends of the wire branches.
- Carefully twist it along and get the foundation for the birch trunk.
- Now take one of the remaining triple twigs and we weave to it a piece of copper wire.
- And gently drag it to the trunk of the birch. We try to attach it as close as possible to the top, so that the tree will turn out to be quite magnificent, without the "bald patches".
- Form another top of three triple twigs.
- The resulting second tip is attached to the trunk just below the first one.
- Now let's make a twig of five small thin branches.
- Attach it to the trunk slightly below the previous branches.
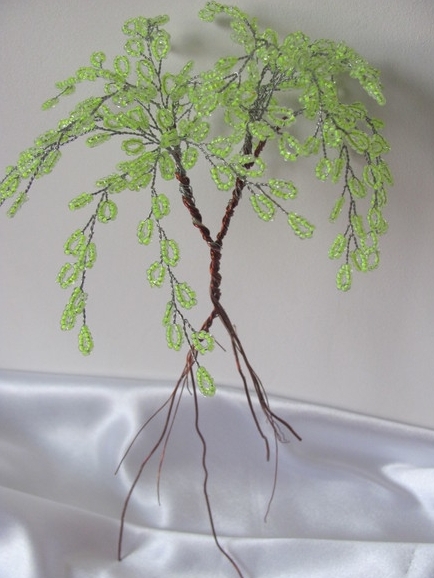
- Thus we continue to collect and fasten all the remaining branches, and on this the weaving of the basis for the birch-bead is over.
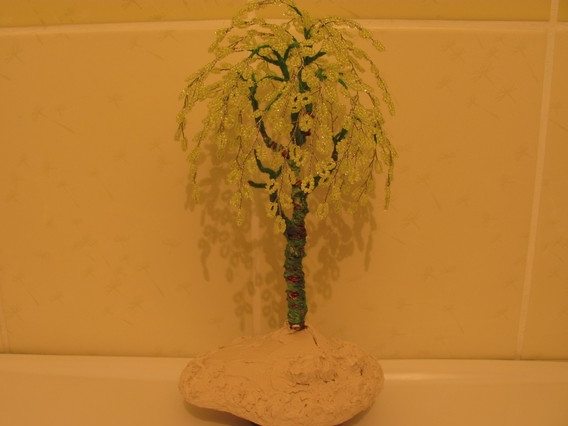
- Next, we will need a string of green mulina. Gently lubricate the PVA glue with the wire of the branches of the tree and tightly wrap them with threads.
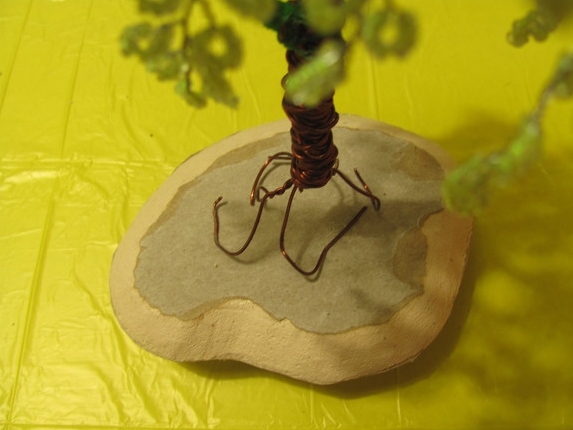
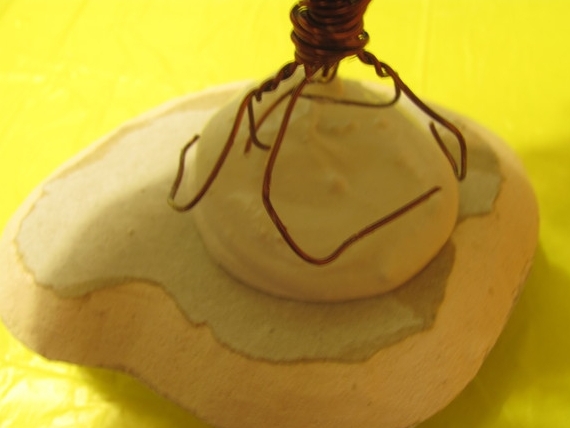
- Now we are going to stand for birch from beads. To do this, we cut out of the plasterboard the shape we need and carefully weighed it.
- Let's try a tree on a stand.
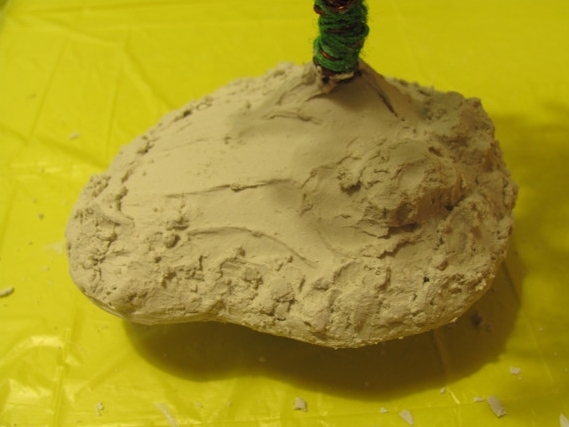
- Now put a plaster or putty on the stand.
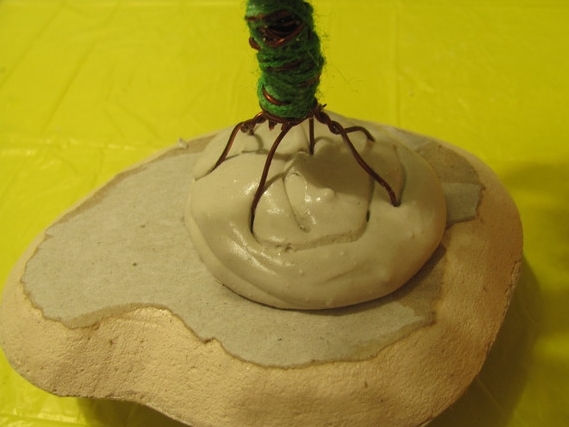
- Next, carefully and evenly plant the roots of the tree in the putty.
- Then finish the top of the podstavochki putty or gypsum.
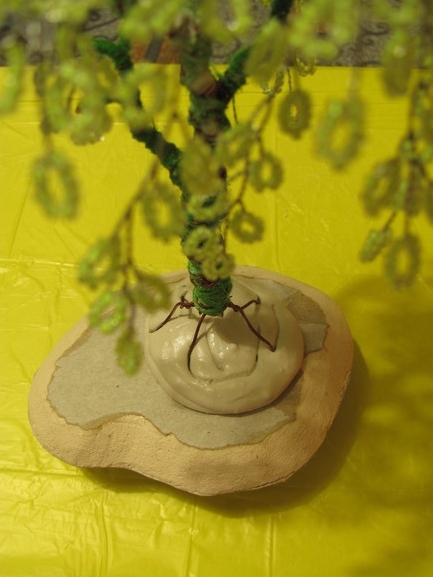
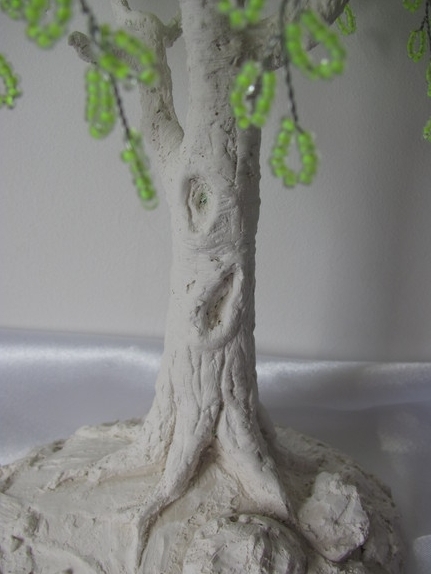
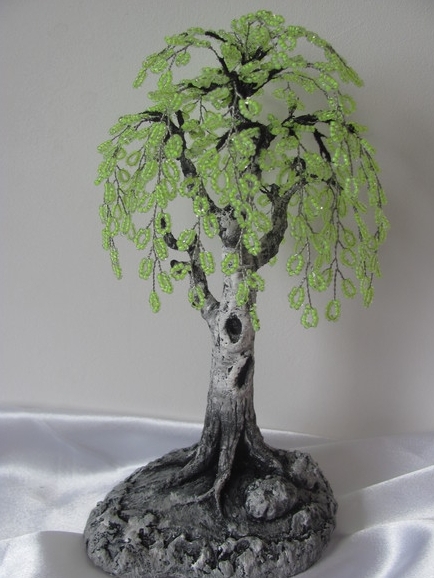
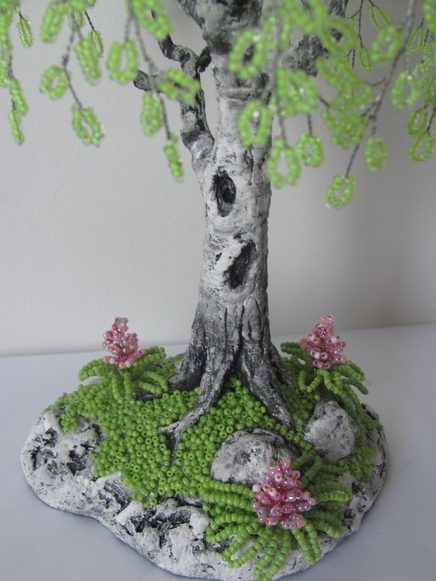
- Here we finally gathered a birch from the beads, it remains to refine the trunk and decorate the tree.
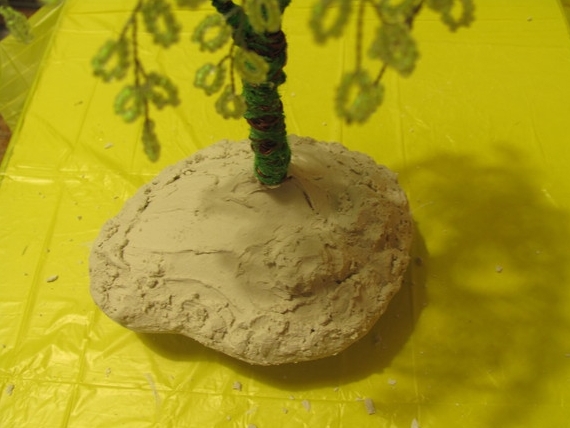
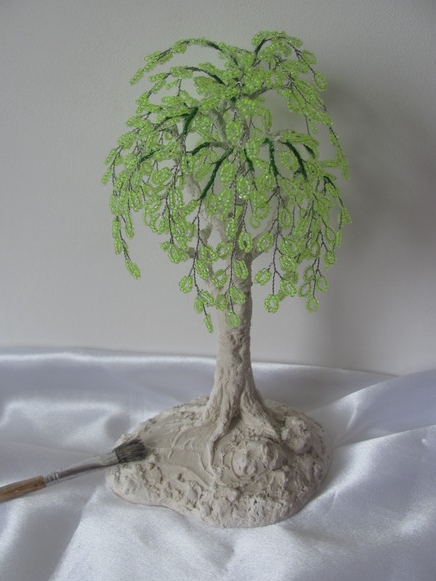
- Now make a solution of gypsum with glue PVA in proportions of 1: 1 and add a little water. From the resulting material, we form the tree trunk.
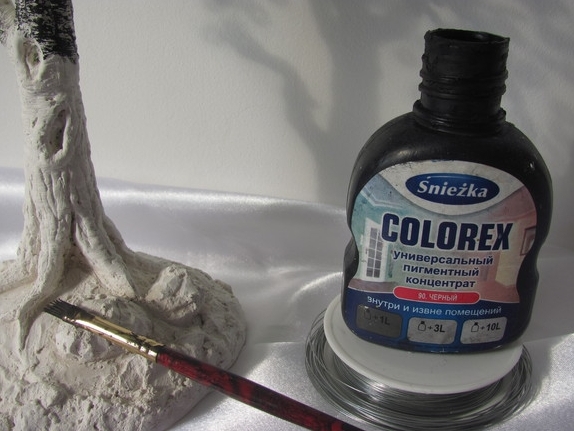
- Then we wait until the solution has dried, then we take the black paint and apply it in a thin layer on the trunk of the birch.
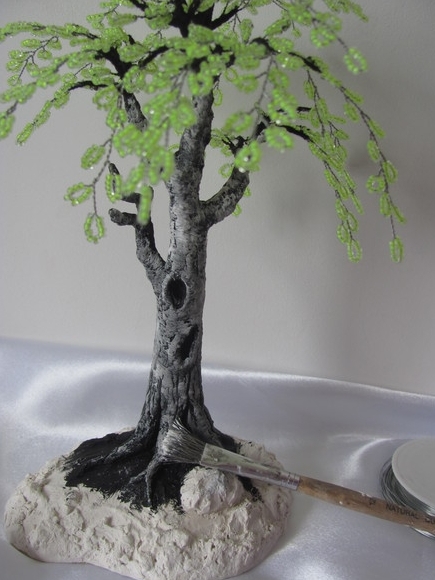
- After that, a thin layer of white paint.
- We get here such a realistic game of colors.
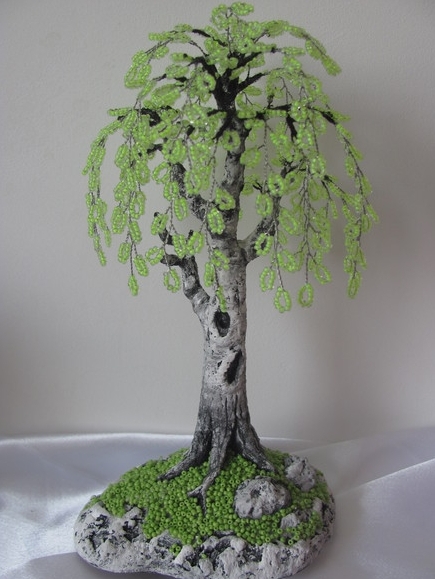
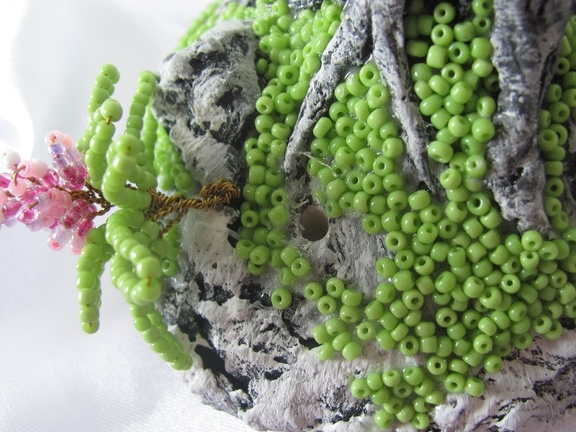
- After drying the paint, apply a thin layer of glue and sprinkle the stand with green beads, making a clearing.
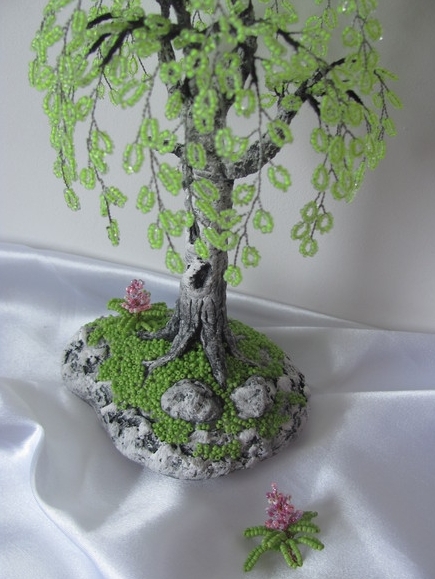
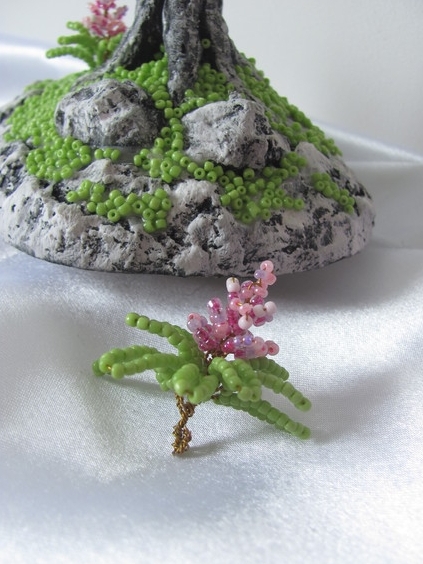
- Now let's do the flowers. We will sew colorful flowers from beads.
- Leave the flower stalk-spine to fix it to the stand.
- We will sweep a thin drill with a hole in the stand, pour in the glue and plant our flower.
- So we plant all the flowers.
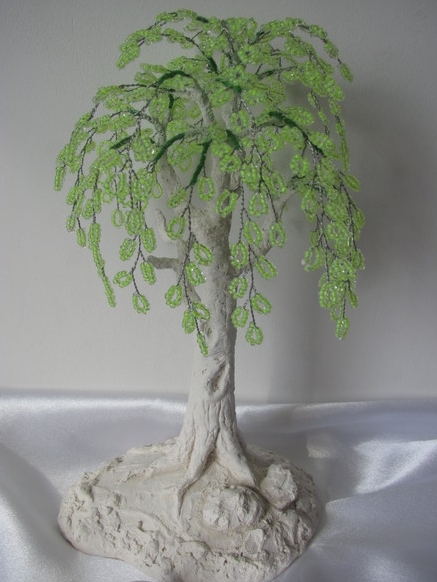
Now our birch, woven from beads with our own hands, is ready!
To decorate it, you can make several more types of flowers and grass. We enjoy the result of our work.
And after finishing the birch, you can weave other beautiful beavers from beads:
rowan , sakura and lilac .