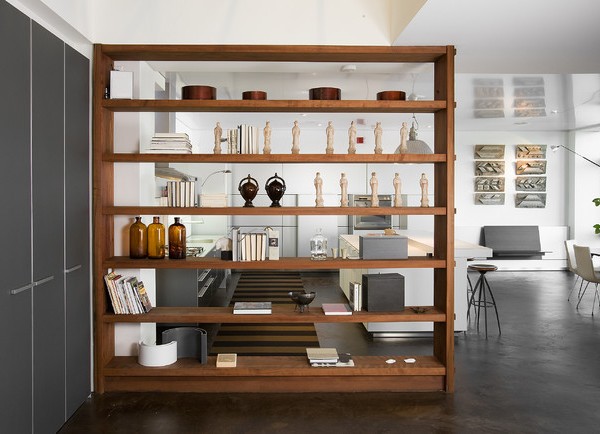
The rack is a convenient device with a large number of shelves, which allows storing and placing a lot of small things that are necessary for us daily. Shelves perfectly fit in the interior of the kitchen, children's room, living room, and, if you have an utility room, for example, a pantry or a garage , there racks are simply irreplaceable. We will tell you how to make racks for the house with your own hands.
Preparatory stage
First, you need to decide where your shelf will be and how it will look. For example, there are racks with shelves in full length or with a cellular structure. You can also find open shelves and those in which part of the shelves or all shelves are completely closed by the door, that is, racks. Do not forget about the angular structures. After you have decided on the design you need to calculate from what you will make a rack: wood, metal or a combination of both. Here, in the first place, you need to build on where this future piece of furniture will be located. After solving all these questions, the exact length, height and width of the future rack are determined and, based on the calculations, the required quantity of materials is purchased, and also the missing tools are purchased. In our master class, we will proceed from the fact that the rack will have shelves in full length and be made of wood.
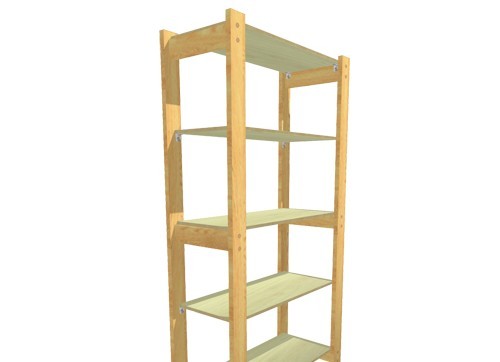
Straight shelving with your own hands
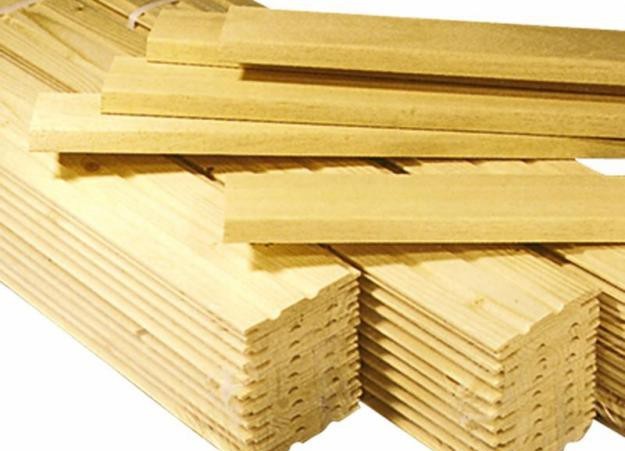
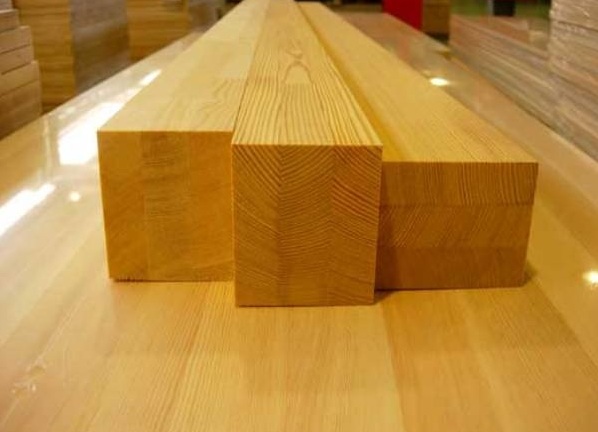
- We need wooden beams and boards.
- After purchasing the necessary materials (most suitable for the longevity, characteristics and convenience of work for the shelves of pine wood), they need to be sawn to the parts of the required length.
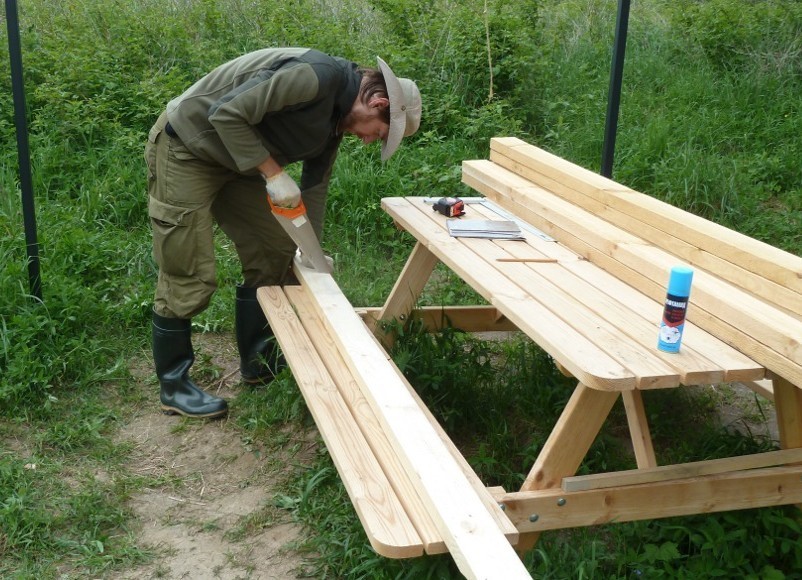
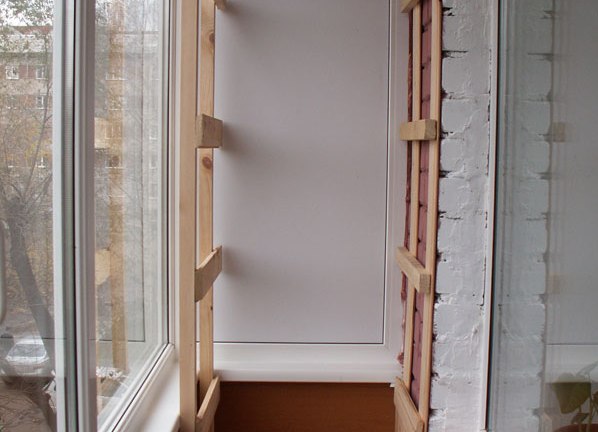
- Next, we mount the racks of our rack: they will represent a frame with two vertical stands - legs of the future rack and several transverse - their number is determined by the number of future shelves. We fasten the parts together with self-tapping screws. With a small length of the rack, there will be enough two racks, and if it is long enough, into the whole wall, add a few more supports for better strength of the structure.
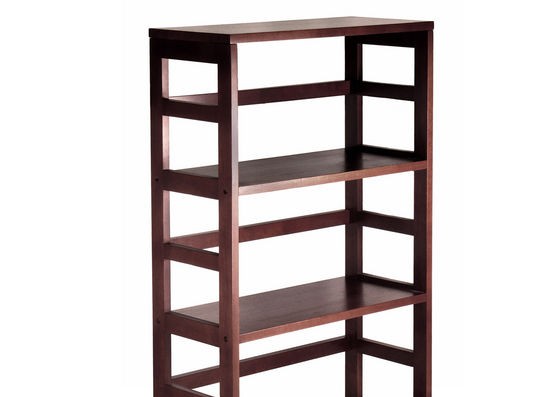
- After our racks are ready we make their fastening with each other. For this we lay a board between two racks. We tightly adjust it to vertical supports (for this purpose a special notch is made on the board) and fixed with screws.
- Close to the first lay the rest of the board, getting the shelves of the future rack. Also fix them with screws.
- We grind the tree. The rack is ready for painting, varnishing or decorating.
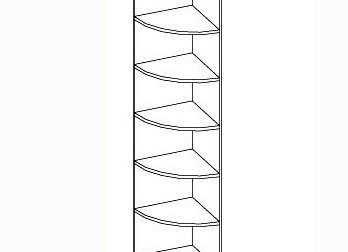
Corner shelving with your own hands
- We also purchase the necessary number of bars and boards and produce sawing.
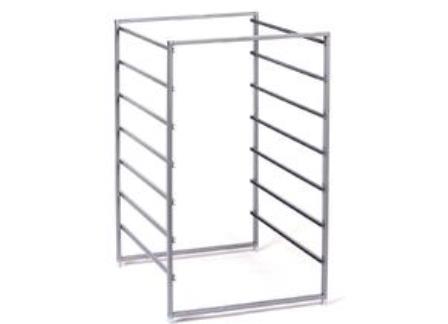
- We mount the racks in the following way: those that will be placed along the edges are done by the example of installing a direct rack.
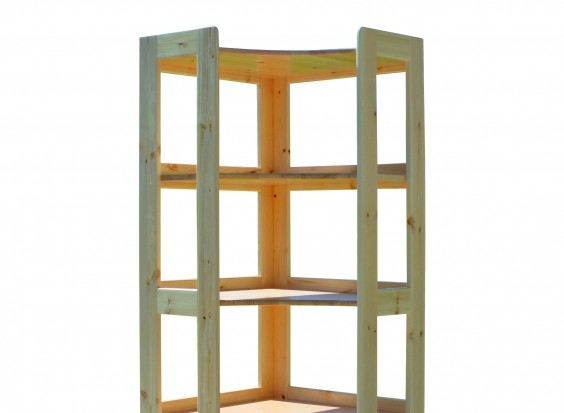
- The stance that will be in the corner is made with only one vertical support and rails for the shelves. This allows you to make a rack with an open angle, which simplifies its use and allows you to place additional things.
- We collect the shelf shelves. We tighten all the details tightly with screws. This is especially important in the place of installation of the corner piece, since the absence of a vertical rail should not reduce the stability of the entire structure.
- Grind the resulting rack to make it look more neat and beautiful.
After polishing the shelf is ready for use, but to give it a more interesting look, you can cover it with varnish, paint it in the required color. You can decorate racks and shelf shelves in the technique of decoupage or use a variety of textiles for decorating the shelves. For example, in some places to place fabric or cardboard boxes for storing small things, and in some places cover the shelves with beautiful napkins.