More and more popular is the decoration of various things with their own hands in the technique of decoupage, but for beginner needlewomen should choose the most simple items for decoration.
Before you begin to work, beginner masters, you should familiarize yourself with what must necessarily have with you to create a decoupage. Then they need to learn the technique of working on different surfaces and then you can start creating.
In this article, you will get acquainted with the master classes on the implementation of decoupage for beginners, where step-by-step is painted what should be done.
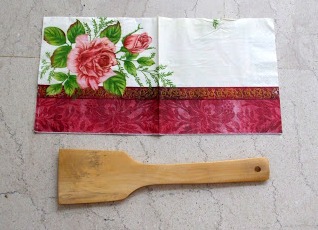
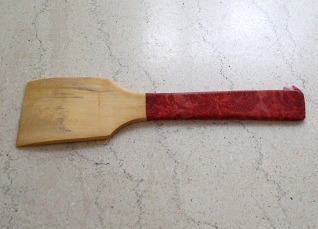
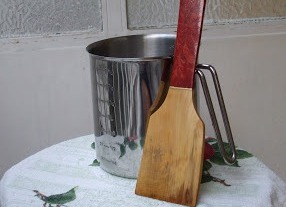
Master class №1: decoupage on a tree for beginners
It will take:
- wooden spatula;
- three-layer colored napkin;
- PVA glue;
- varnish on wood;
- brushes.
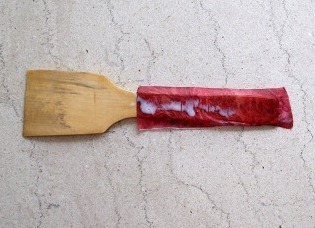
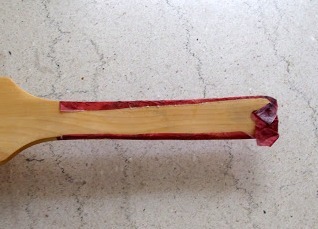
- From the chosen napkin, cut out the colored part so that it covers completely the front side of the scapula. Separate the white layers from it.
- Apply the colored layer to the front side of the wooden product and apply PVA glue to the top with a brush. It is necessary to spread the paper so that there are no bubbles with air under it. To do this, straighten the napkin from the middle to the edges. Superfluous wrap on the wrong side.
- After the glued napkin dries, remove excess paper carefully from the wrong side.
- Cut out the second part from the colored part and glue it to the wrong side in the same way as described in paragraph 2.
- After the glue has completely dried, the workpiece should be opened with varnish 2 times.
| | |
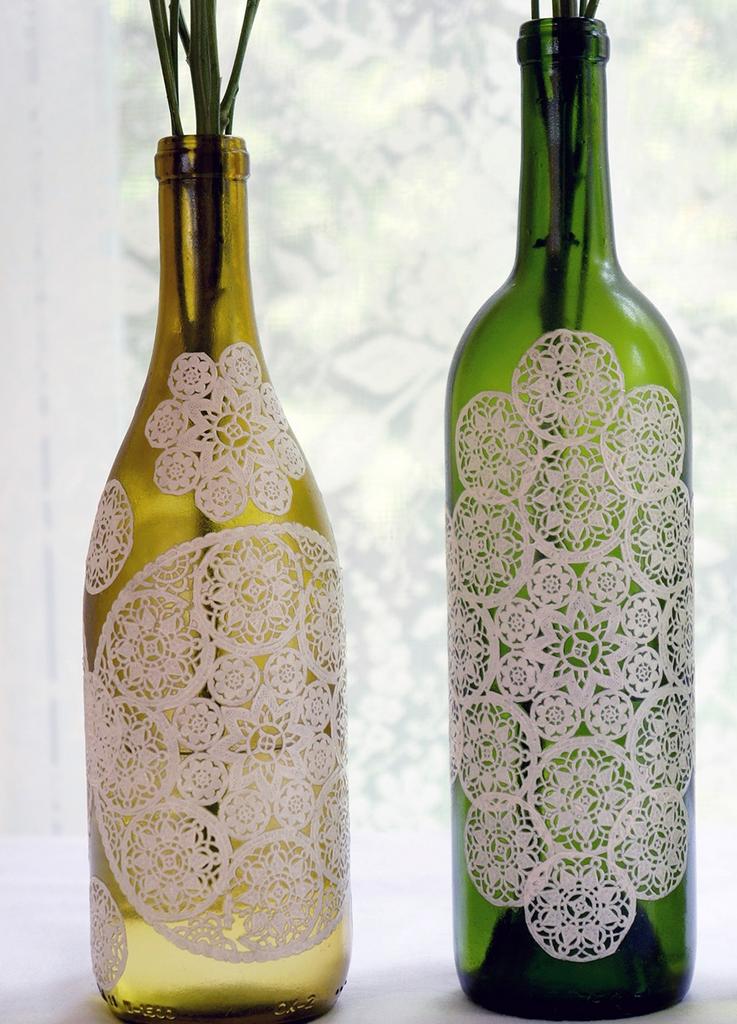
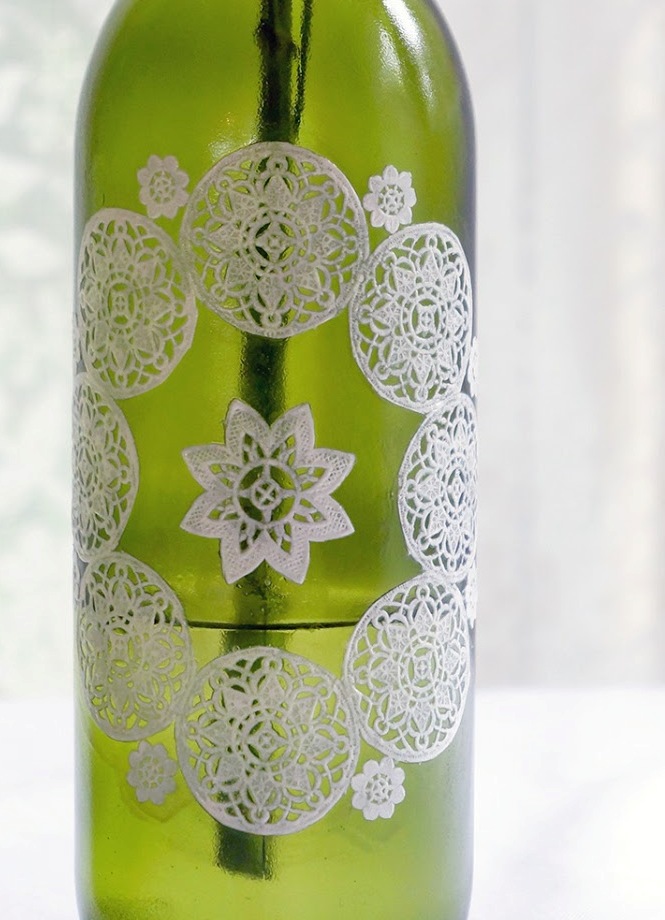
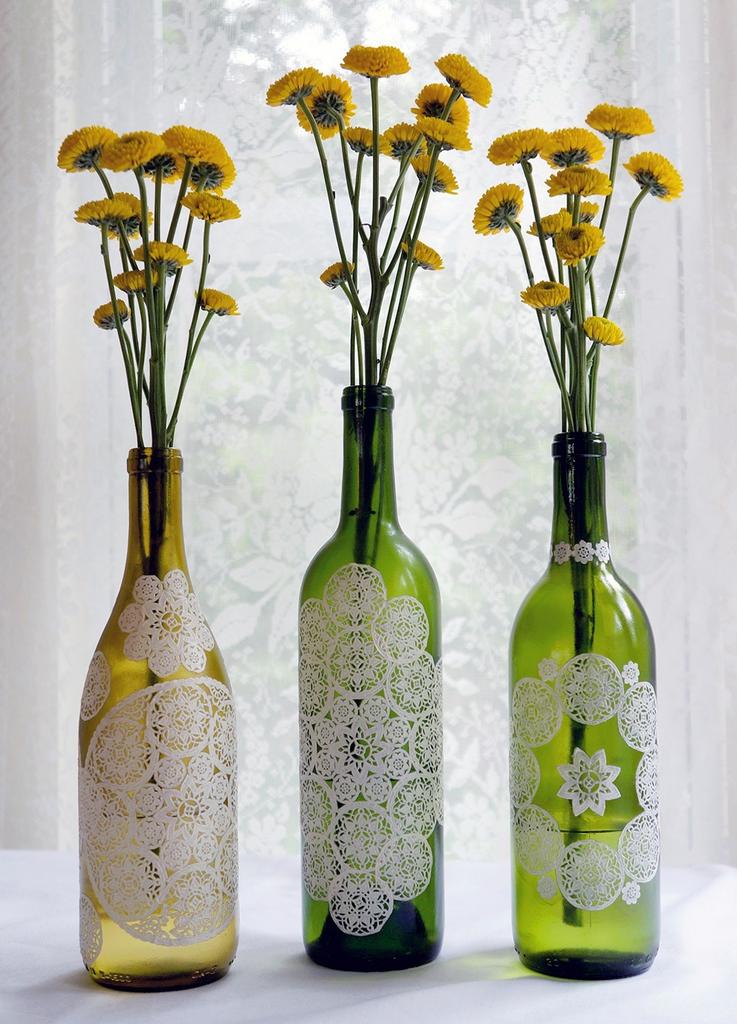
For beginners, the technique of decoupage on glass, bottles or plates is also suitable.
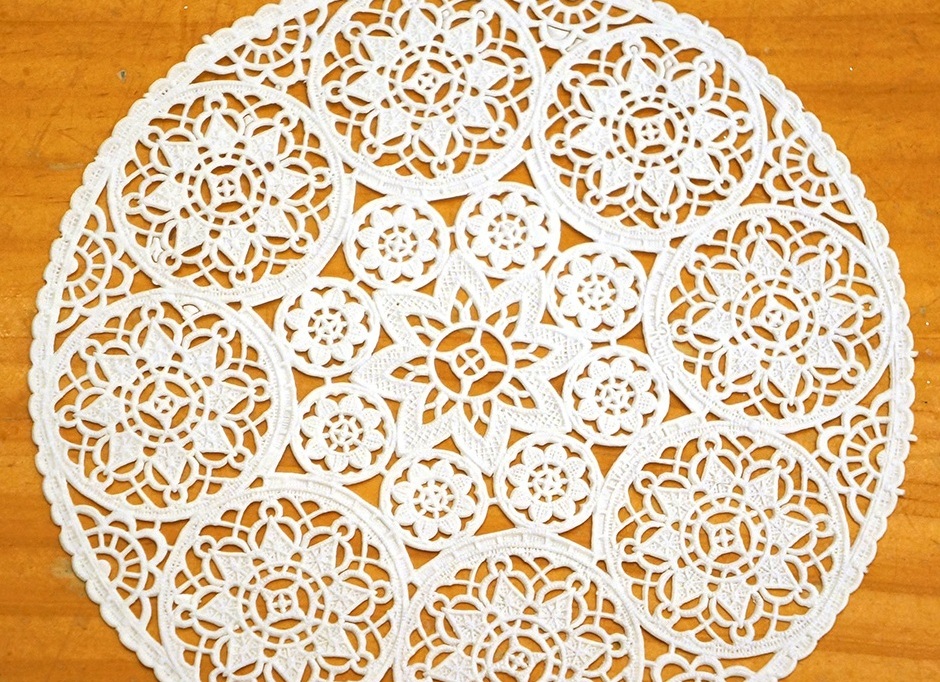
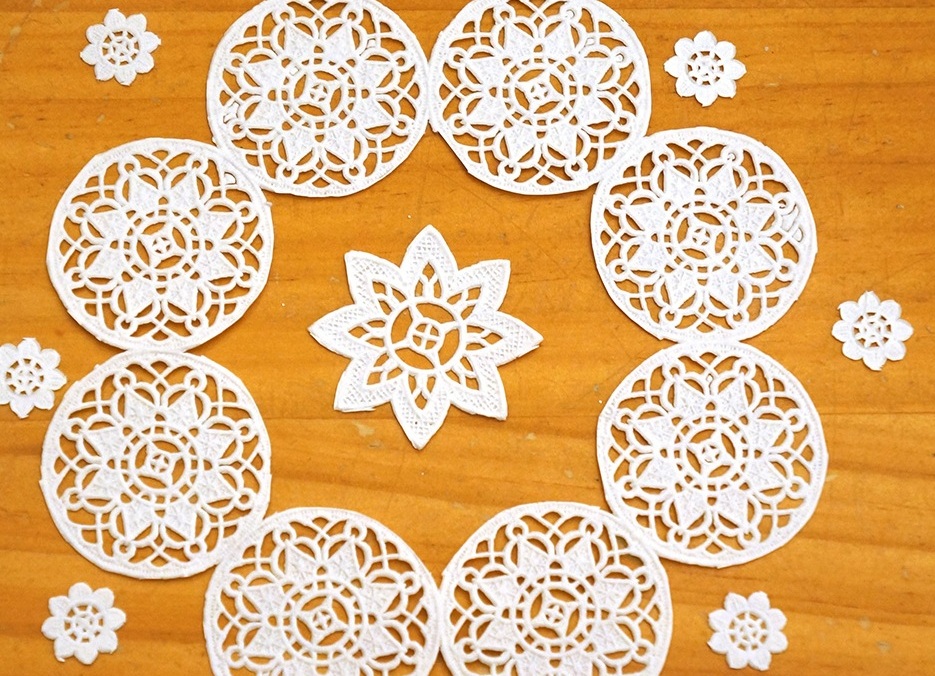
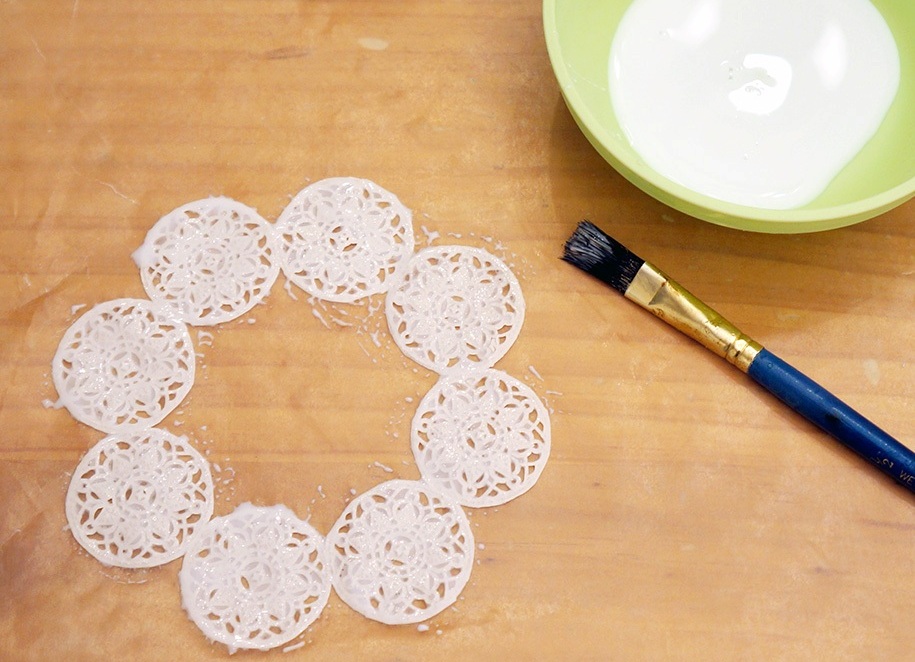
Master-class number 2: decoupage bottles
It will take:
- white openwork napkins;
- bottles;
- scissors;
- PVA glue;
- acrylic colorless in aerosol;
- alcohol;
- brush, scissors.
- Washed bottles are well wiped with alcohol to degrease the surface.
- We cut the whole napkins into the elements necessary for the creation of the conceived drawing.
- Apply a brush a thin layer of glue on the wrong side of the napkin. It is better not to take a lot of PVA, otherwise the paper will get wet and break when it is lifted.
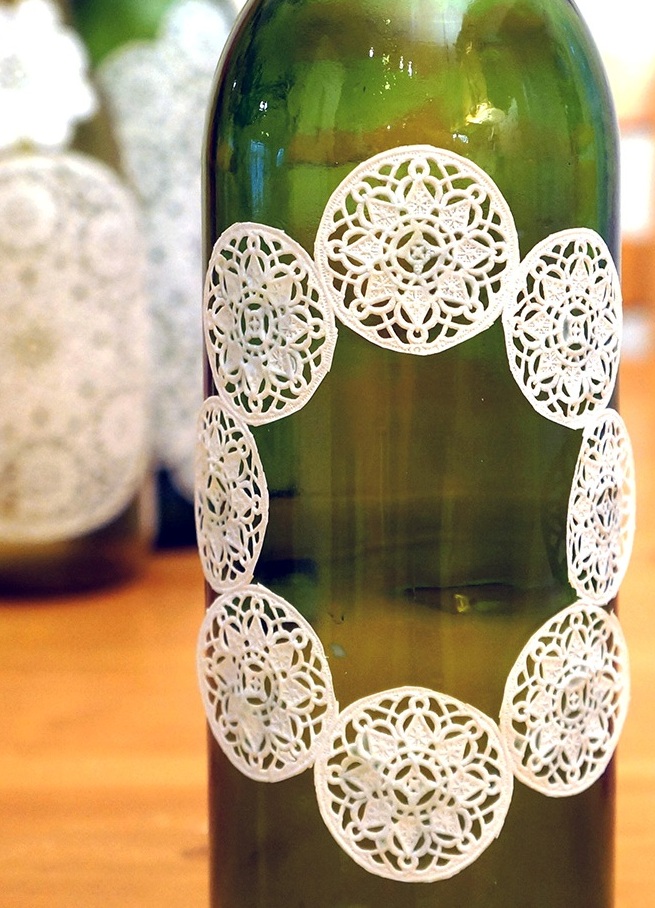
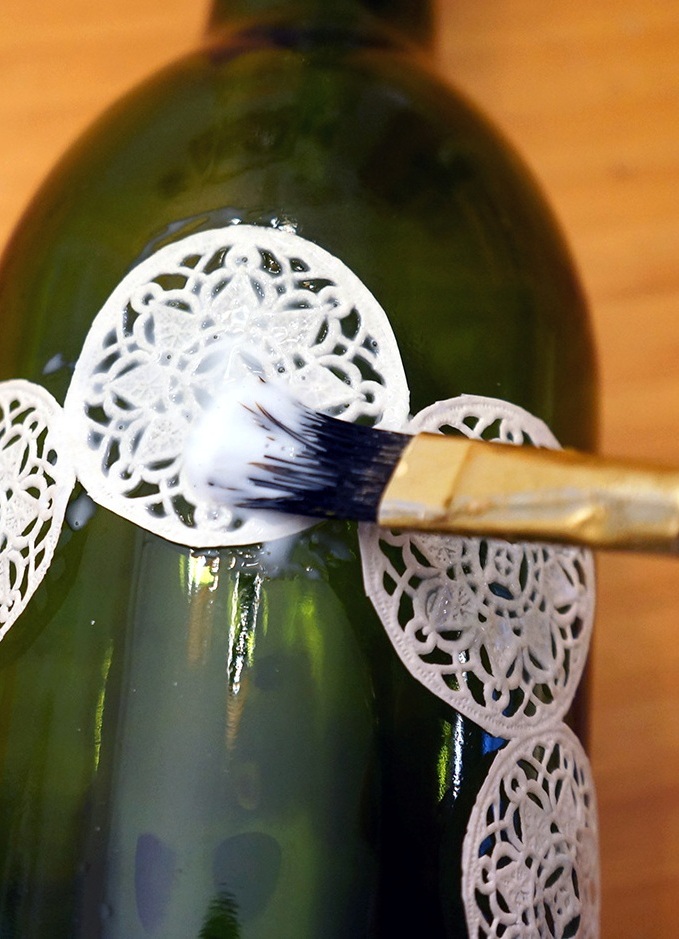
- Apply to the bottle, placing immediately in the place where you need it.
- From above, we apply a good layer of glue with a brush. We give him a good-you-dry and smear again.
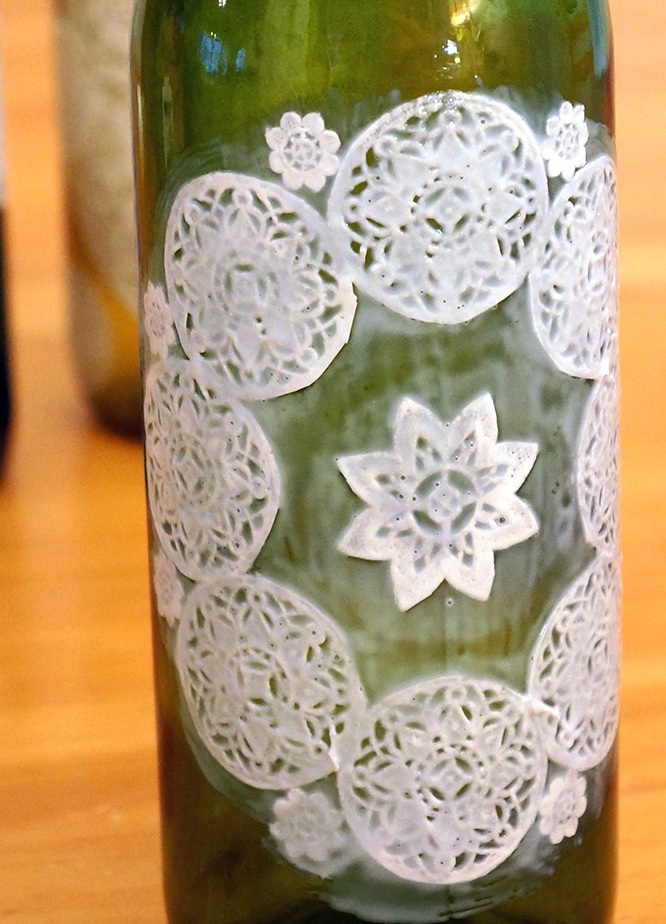
- After the second adhesive layer has dried, apply 2 layers of acrylic paint to the surface of the bottle where the pattern is located.
| | |
| | |
Thanks to the acrylic layer, such bottles can be used as vases, because neither glue nor napkins on them are wet with water.
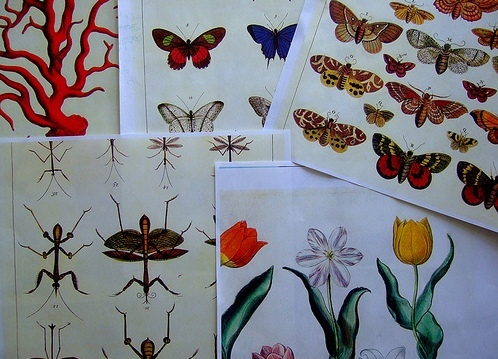
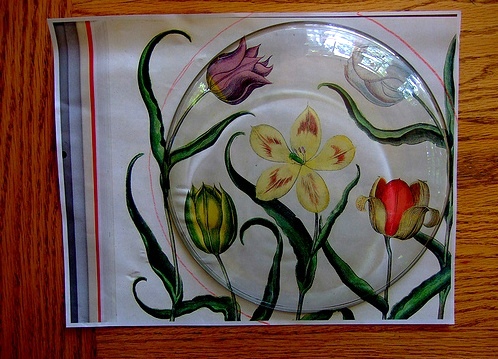
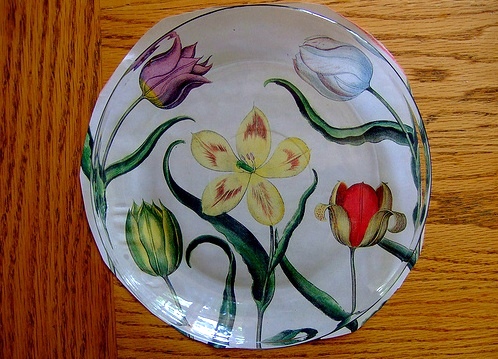
Master-class number 3: decoupage plates
It will take:
- transparent glass plate;
- A drawing printed on a sheet of white paper, or a sheet of a non-glossy newspaper or magazine;
- PVA glue;
- alcohol;
- brush;
- varnish or any other sealant;
- container with water.
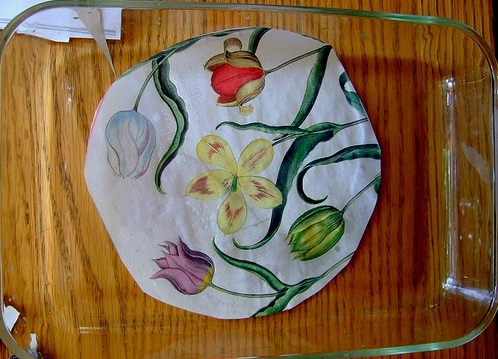
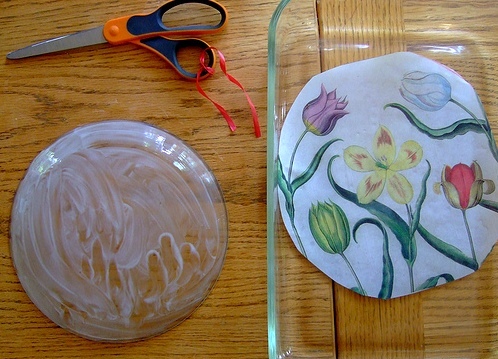
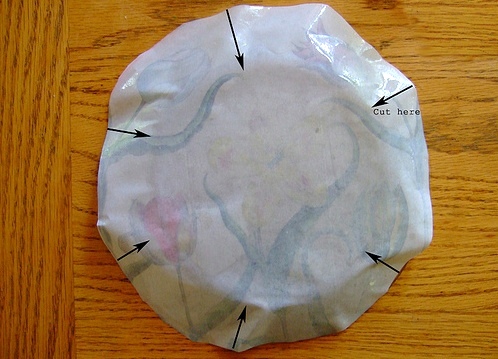
- We take a sheet with the drawing you like and circle the edges of the plate on it. Must retreat 5-7 mm.
- Cut out a circle on the drawn line.
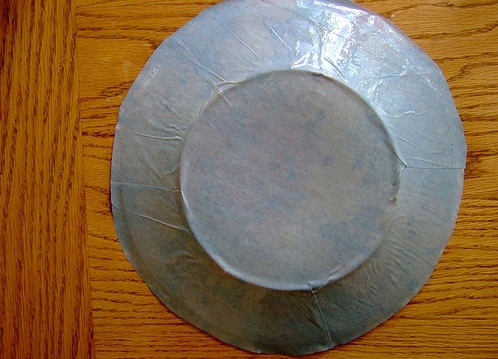
- We lower the cut circle into the water, for about 30-40 seconds, and this time we turn the plate and spread a thick layer of PVA glue on its bottom and sides.
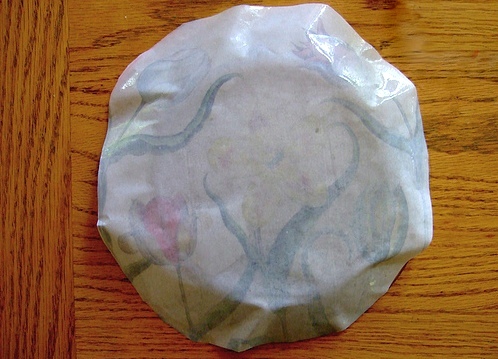
- Draw a piece of paper to the plate, and, starting from the middle, smooth to the sides. It is very important that no bubbles remain with the air. To be smoothed out better, the hands should be moistened with either water or glue.
- In order to glue the sides, it is necessary to make incisions (5-6 pieces) around the whole circumference, evenly placing them.
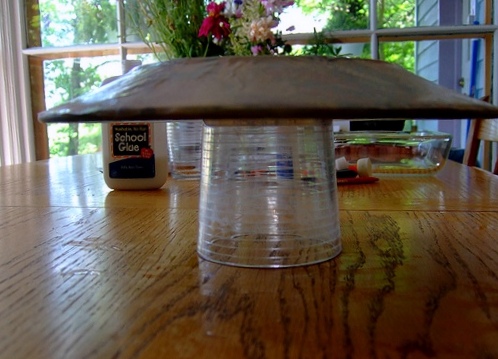
- Crop the excess paper around the edges, and then, well missed, glued to the plate. We put it on a glass and let it dry. Depending on the weather, this process takes several hours.
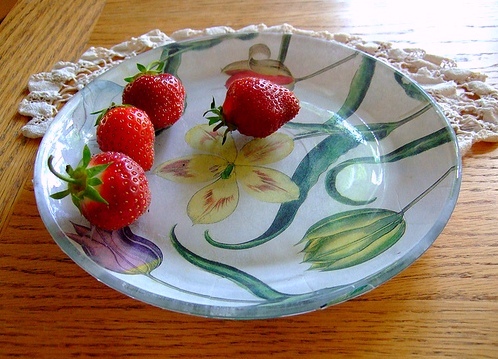
- Cover the paper with 2 layers of sealant. Our decorative plate is ready.
| | |
| | |
| | |