Decoupage in French means "carving". It means a technique that consists of cutting images of leather, wood, cloth, napkins, which are subsequently pasted for decoration to dishes, furniture, textiles and any other surface. We already offered you master classes on decoupage of housekeeper , casket , Easter eggs , now we offer to decorate the bottle.
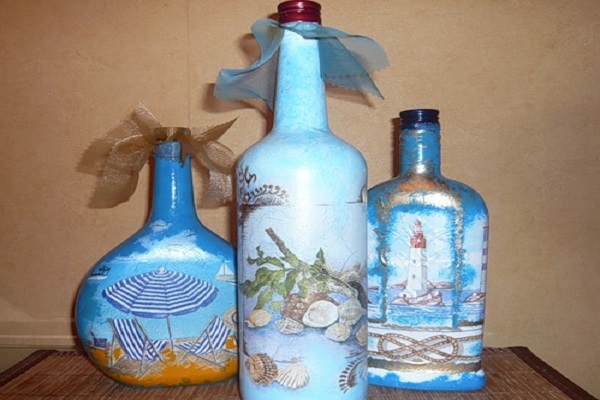
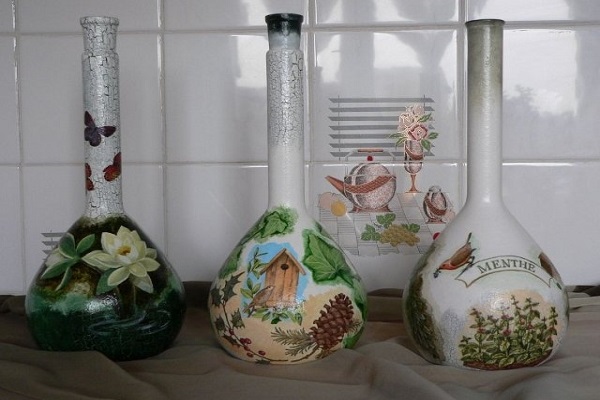
One of the favorite items of masters of decoupage is a bottle. For decoration, absolutely any bottle is suitable: from olive oil, alcohol products, etc.
Decoration of bottles with napkins is a fascinating process that requires patience and perseverance in gluing bottles.
What do you need for decoupage bottles?
To create a masterpiece of "napkin technique" using bottles you will need to prepare the following materials:
- glass bottle with a flat surface without bumps;
- Special cards for decoupage, cuttings from magazines, three-layer napkins;
- means for removing fat from the glass surface (solvent, alcohol, acetone);
- acrylic paints for priming and coloring surfaces;
- adhesive PVA or decoupage glue;
- synthetic brushes of different thickness;
- acrylic lacquer;
- additional details for decorating: rhinestones, beads, stickers;
- krakljurnyj a varnish - for creation of effect of olden time;
- nail scissors;
- Painting tape;
- a piece of foam rubber of small size;
- disposable plates intended for the dilution of paint;
- rags;
- sandpaper.
Before decoupling on a bottle, you need to prepare not only the necessary material for work, but also a workplace so that the decoration of bottles with napkins can be made for a long time and do not feel fatigued. Dekupazh it is necessary to work on a large table, where it will be convenient to place the required tools and items. The room should be well lit and ventilated, because during the decoration of the bottle the decoupage technique uses special means, characterized by a sharp odor.
Decoupage of bottles with napkins with their own hands: a master class for beginners
After the necessary material is prepared, you can proceed directly to the decoration of the bottle:
- We take a glass bottle and prepare it for decoration: we remove stickers, we clean the surface with sandpaper. Alternatively, you can soak the bottle in soapy water.
- Degrease the surface with alcohol, acetone or any other alcohol-containing product.
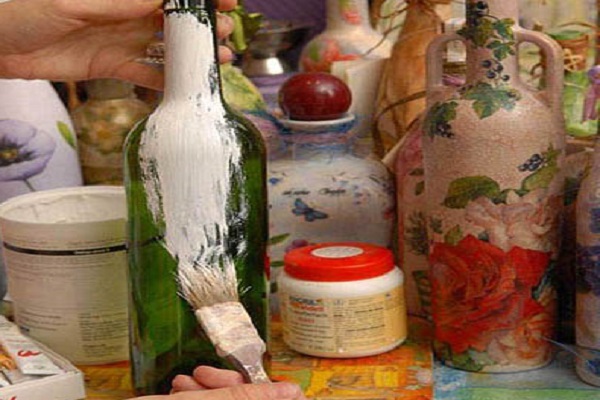
- We cover it with a primer, which will serve as a substrate for the next layer.
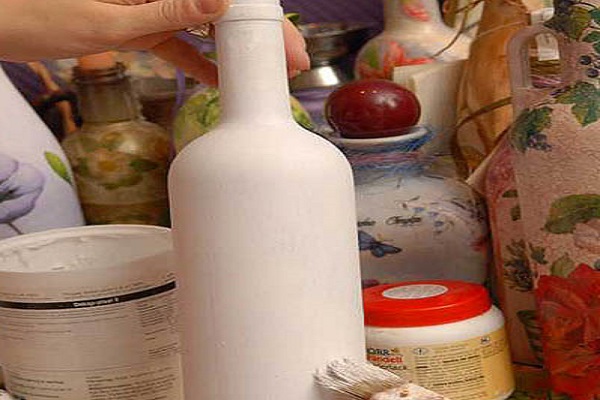
- Make the second layer of acrylic paint. To do this, take a disposable plate, pour in it the paint of the desired color. Consistency should be similar to sour cream. If the paint is too thick, then you can add a small amount of water. Particular attention should be given to the color of the substrate: it should be lighter than the background color of the used napkin. We let the second layer dry.
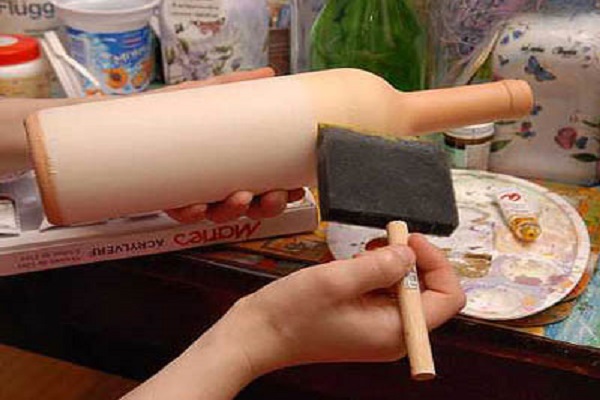
- Next, we darken the main background with acrylic paints. In this case, you can not paint the entire bottle, but only some parts, for example, the neck. For the application of paint, it is more convenient to use a foam sponge.
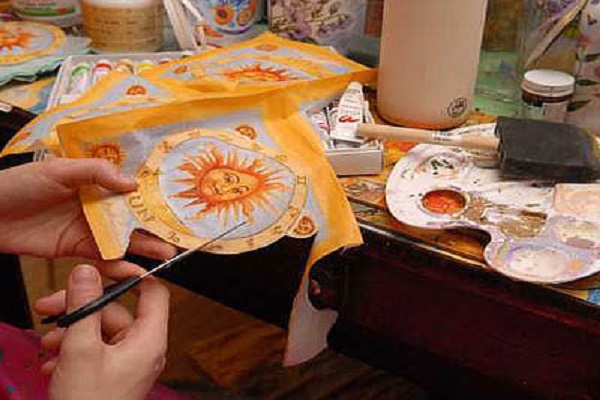
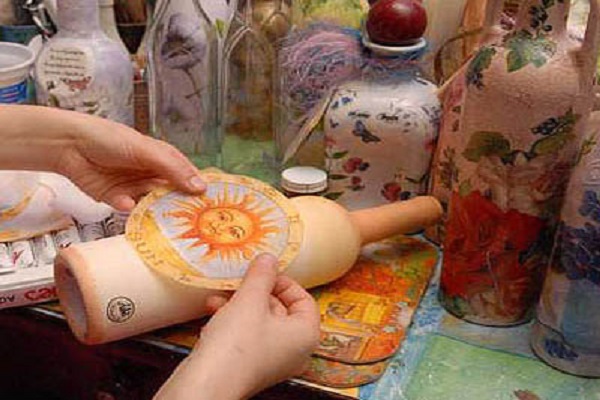
- From three-layer napkins we cut out with the help of manicure scissors the pictures chosen in advance. For decoupage, only the top layer of the napkin is needed, which is glued onto the bottle.
- We apply glue to the bottle in the location of the picture.
- We put a napkin on the bottle and start brushing it over the napkin in order to remove all irregularities and bubbles. It is important to carefully and slowly spread the image with a brush, since the glued tissue is thin enough and can easily tear.
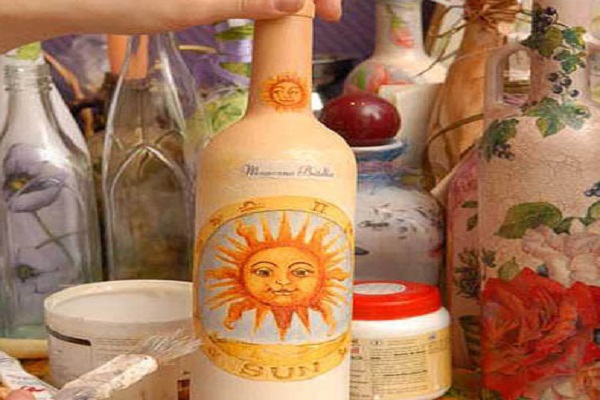
- After all the pictures are glued, you need to re-apply glue on top to fix the result.
- The next layer is an acrylic lacquer that will help protect the image on the bottle. If you apply three layers of varnish, then the bottle can be used actively in everyday life (wash, wipe, etc.).
| | |
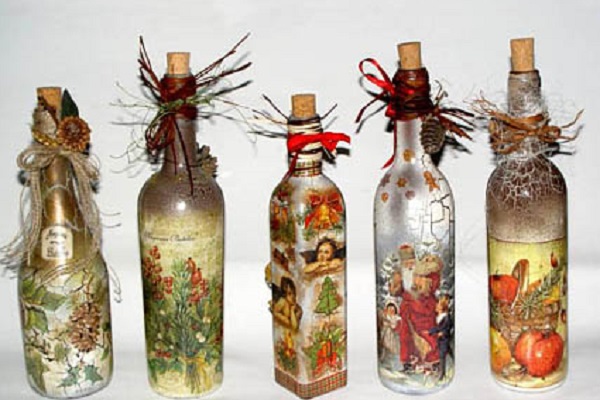
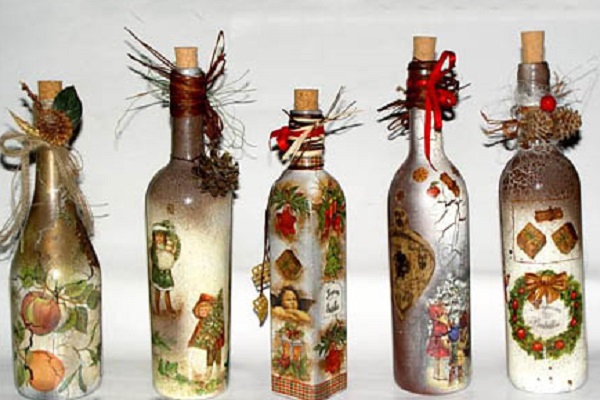
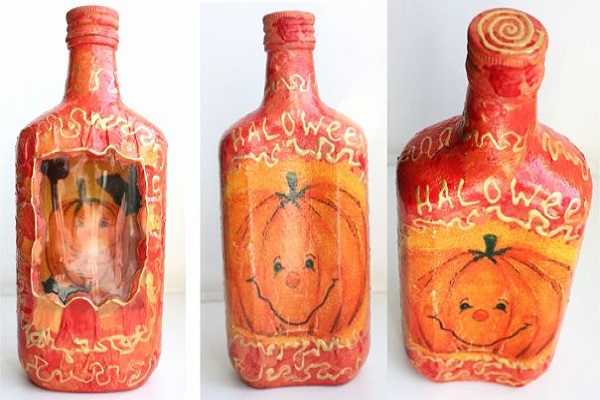
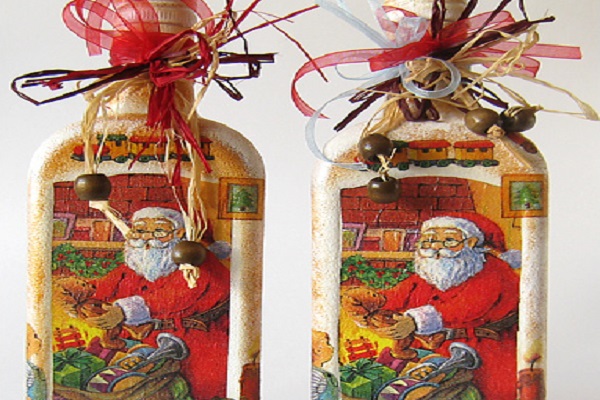
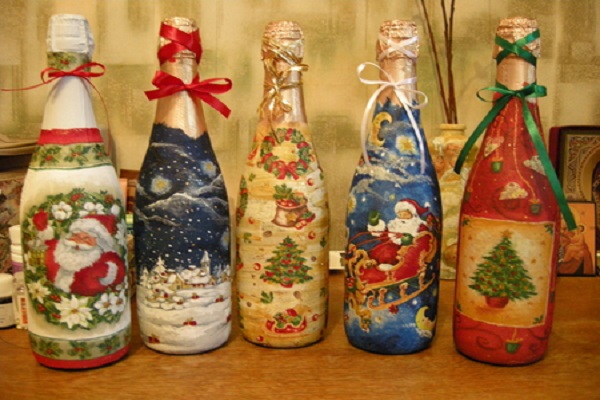
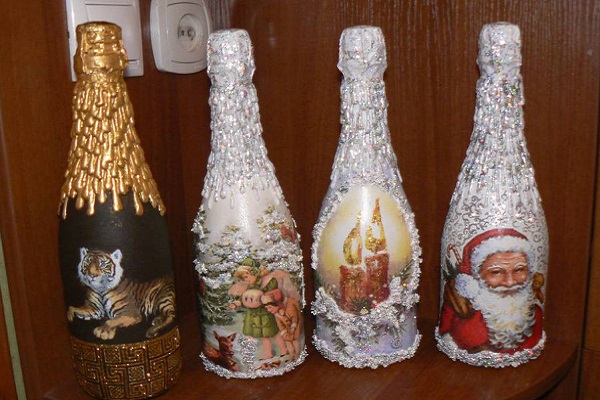
In order to understand how to decorate a bottle with napkins, no special skills are required. It's enough to be neat during gluing the napkin onto the bottle. Such a creative work can serve as an ornament not only as a decoration, but also as a gift for a holiday. At the same time, you can decorate the bottle in accordance with the theme of the holiday, for example, on New Year's Eve, for Family Day and any other holiday.
| | | |
| | | |
| | | |