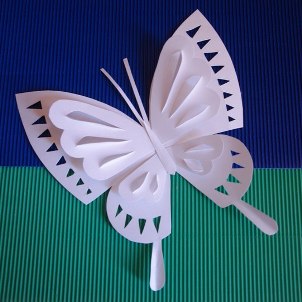
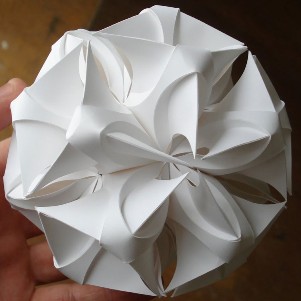
It is known that paper is the most universal and accessible material, from which one can create anything for himself with his own hands. The methods of working with paper are incredible. One of them is paper-plastic. This is the name of the art of artistic modeling on the plane of three-dimensional compositions or three-dimensional sculptures, which are created due to the high plasticity of the paper, that is, easy to remember the shape. This, by the way, is not something new, but something that moms or a kindergarten teacher teaches at home. These are voluminous crafts of paper-plastic, created in the form of flowers, trees, fish, animals, birds, fruits, packages, architectural and geometric elements.
Techniques in the technique of paper-plastic are many: gluing, cutting-cutting, die cutting, folding, creasing, folding, stiffeners. Quite a kind of paper-plastic are quilling and origami.
We recommend you to try your hand at making crafts in the technique of paper-plastic for beginners. This is not difficult, but fascinating.
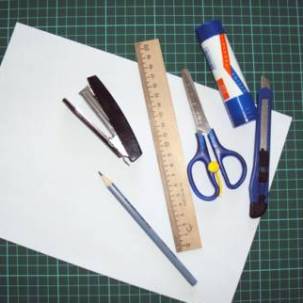
Bumagoplastics with own hands: the necessary materials
For work, prepare what usually is in every house, namely:
- ordinary paper;
- pencil;
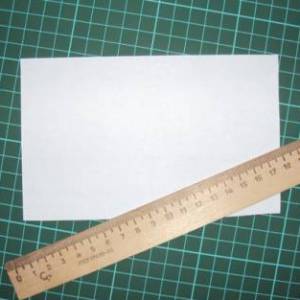
- ruler;
- scissors;
- stationery knife;
- a stapler;
- glue.
Бумагопластика: мастер-класс
So, if all of the above is available to you, you can start creating crafts. For beginners, we propose to make flowers in the technique of paper-plastic. It uses a few traditional techniques, but for beginners, and this is quite enough. A bouquet of flowers offered for making is easy to do both for an adult and for a child.
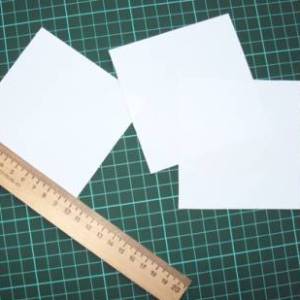
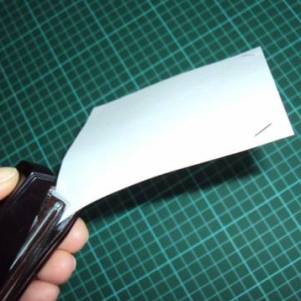
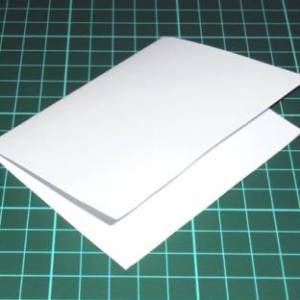
- From the paper, we cut out three identical squares with a side of 10 cm. This is the first technique of paper-plastic - cutting, that is, cutting out pieces of paper from a certain shape.
- We fasten them together with a stapler in the corners.
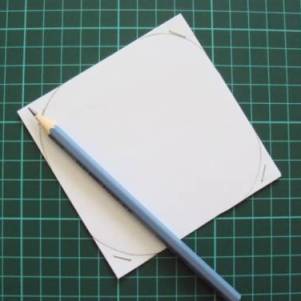
- On the top square with a pencil round the corners, and then start to represent a spiral.
- Pay attention to the fact that the distance between the coils is at least 2 cm.
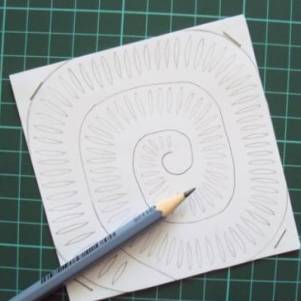
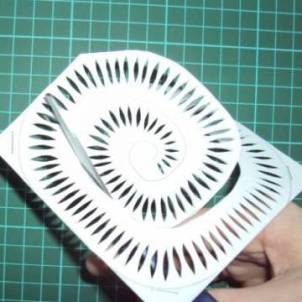
- After that, along the whole surface of the spiral, draw with pencil the elongated elements, which in the future will need to be cut out.
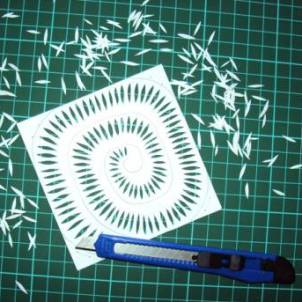
- And here is the second method of paper-plastic - die cutting, which consists in giving the paper blanks a special shape due to different sizes and slots. In this case, with a stationery knife we cut out in squares all the elongated elements drawn with a pencil.
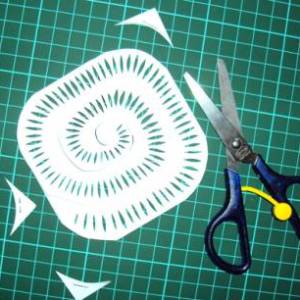
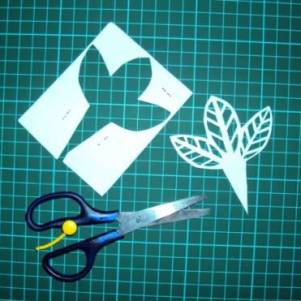
- After that, we cut the squares along the lines of the spiral and necessarily cut the corners.
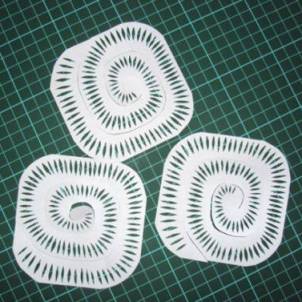
- As a result, we will get three absolutely identical blanks.
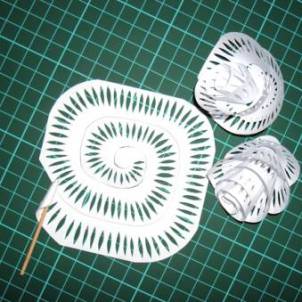
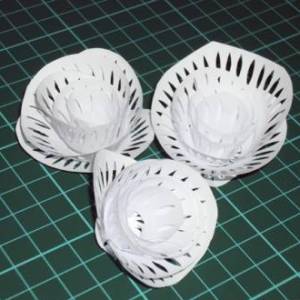
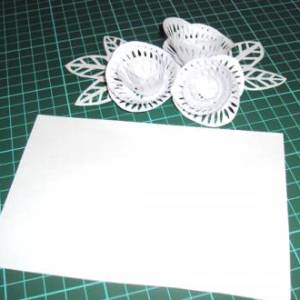
- From these figures with a toothpick or skewers you need to make three roses. To do this, a spiral is carefully wound around the end of the toothpick, beginning with the outer edge.
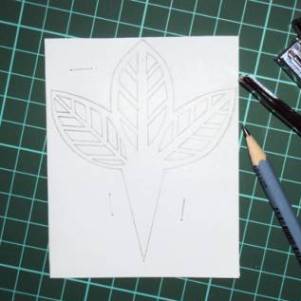
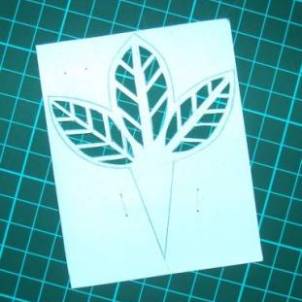
- Now let's make leaflets for flowers. From the paper you need to cut a rectangle with sides 10 and 16 cm. The figure is folded along the long side in half.
- On the upper side, you should draw a shamrock. Then, in the folded paper, fasten the stapler so that it does not affect the pattern.
- We start to cut out the leaves. With a stationery knife, we highlight the veins, and cut out the pattern along the contour with scissors.
- When the flowers and leaves are ready, it remains only to create a base for the bouquet. Cut out a rectangle with sides 9cm and 16cm.
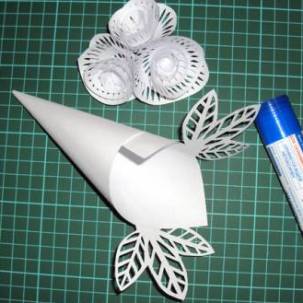
- We apply the method of folding-wrap the paper in the horn. Then we use glueing - joining with the glue of the edges of the horn.
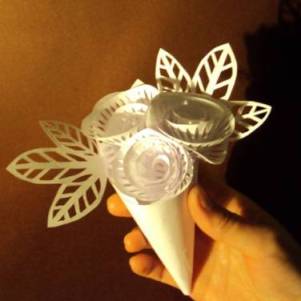
- At the edges of the horn, attach the leaves, and in the middle place paper flowers.
It's so exciting to spend time working in the technique of paper-plastic, and as a result to create a cute bouquet for mom or another close person.