A small handbag, which can easily fit in your hands, looks stylish and is often set as an alternative to an ordinary bag. Clutches today are made of a variety of materials. There are everyday models of leatherette or genuine leather, use even textiles and weaving. If you want to save and get a really unique leather clutch, do it yourself.
Clutch made of leather: master class
If you are "friends" with the ruler and can lay the simplest machine line, then you can make a clutch with your own hands from the skin. For work we will need:
- cut leather or leatherette;
- snake:
- thread;
- sewing machine;
- a piece of paper or paper tape.
Before you sew a clutch of leather, you need to determine its size. We cut the cut of the material in half and fasten the zipper from above. The length of the zipper and the width of the clutch should be the same. If you have not found the suitable length of the snake, you can always buy it for a meter with a small margin. Now go to the simple instructions how you can sew a clutch of leather.
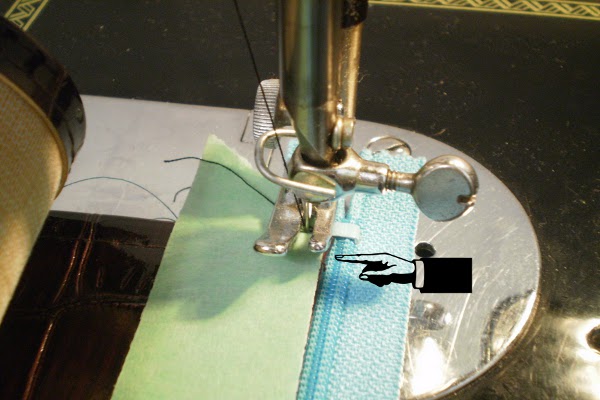
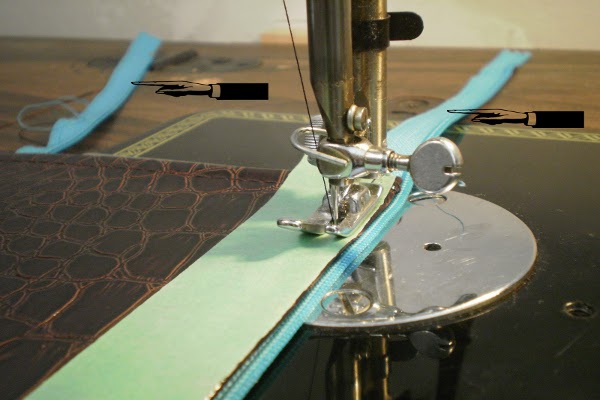
- The most important point is to make the "right" line. If the material has a varnish coating, then it will be difficult to lay it, since the machine's foot will not slide over the surface. To do this, use a paper tape or a piece of paper. Pre-bend the edges on the sides.
- If you want to attach your label, then you need to do this at the beginning of the work while bending the edges.
- We fix the tape to the edge of the future clutch.
- Now we sew a clutch made of leather: lay a line directly on top of paper or paper tape.
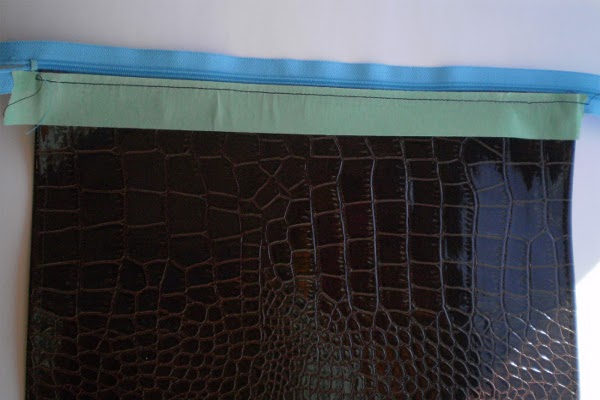
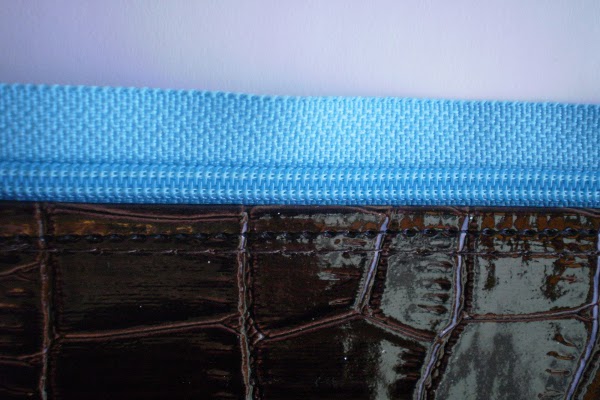
- This is what the blank looks like.
- Now gently separate the lower and upper parts of the tape. This way you will get a seam very similar to the factory seam.
- This is how the clutch will look with its own hands from the skin at this stage.
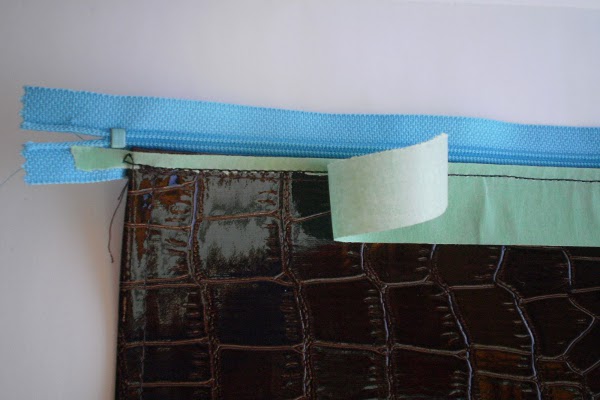
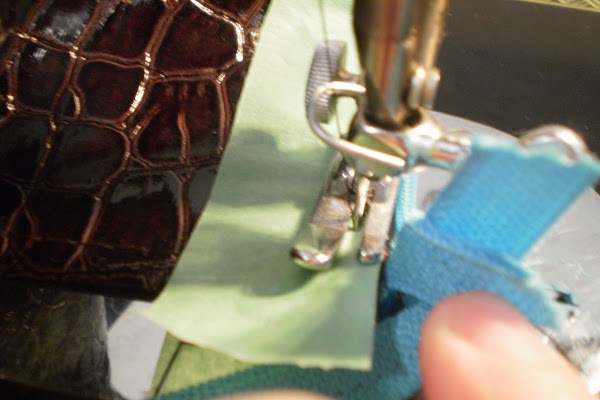
- Do the same with the second edge of the handbag. For the convenience of lightning unfasten.
- The most difficult stage of manufacturing a leather clutch with your own hands is the last centimeter of the line. To ensure that the slider does not interfere with laying it to the end, stop the machine, carefully remove the needle and zip. Next, trace the rest of the line.
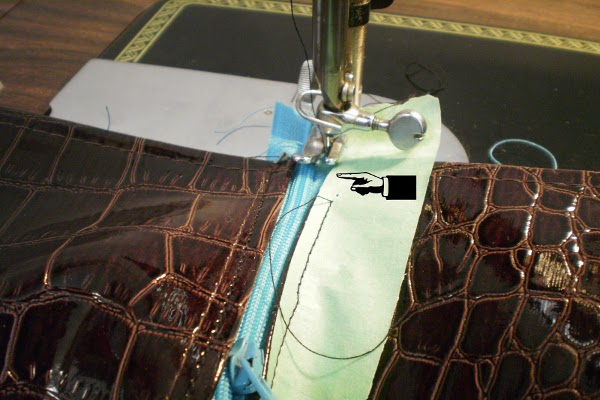
- Then we turn the product on the wrong side. Preliminarily glue the edges of the paper tape.
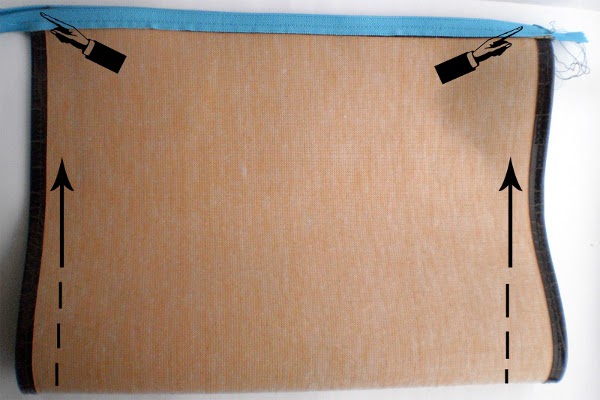
- Now lay the side seams. After the lightning is fully fixed, you can remove excess length.
- In the end, this is such a wonderful clutch! You can make it in a couple of hours and no one will be exactly like that!
| | |