In many flats of old buildings, you can find small niches that used to be used as storage pavilions and other similar "treasures." Currently, these nooks are taken away under the clothes, making them built-in wardrobes. We offer two of the simplest versions of how to make such a built-in closet yourself.
Manufacture of built-in cabinets from scratch
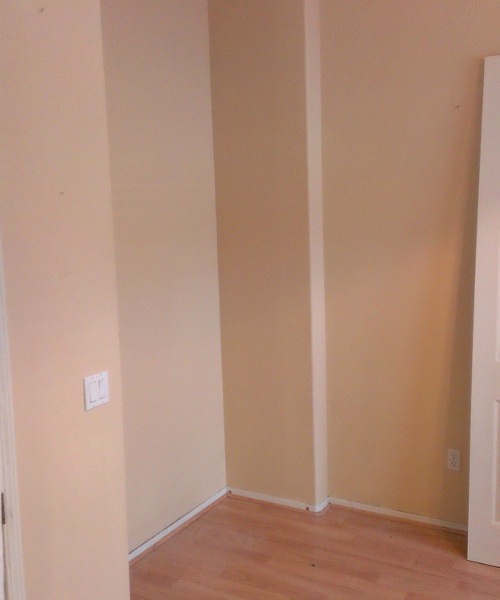
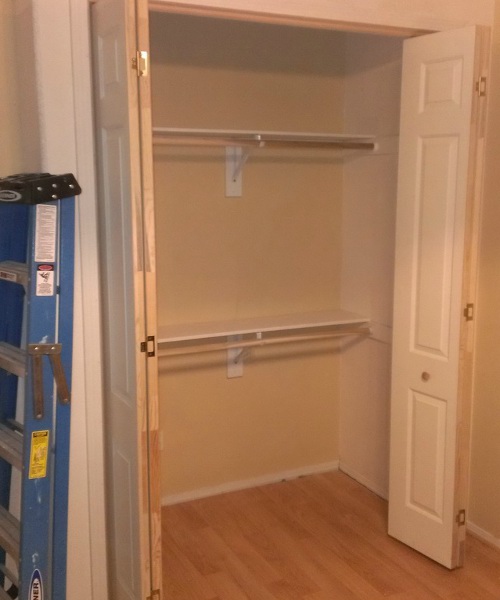
So, in your apartment there is just such a secluded corner that is empty and can become quite useful.
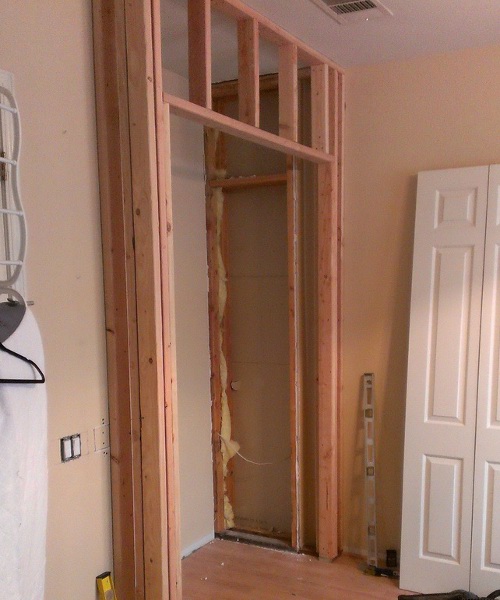
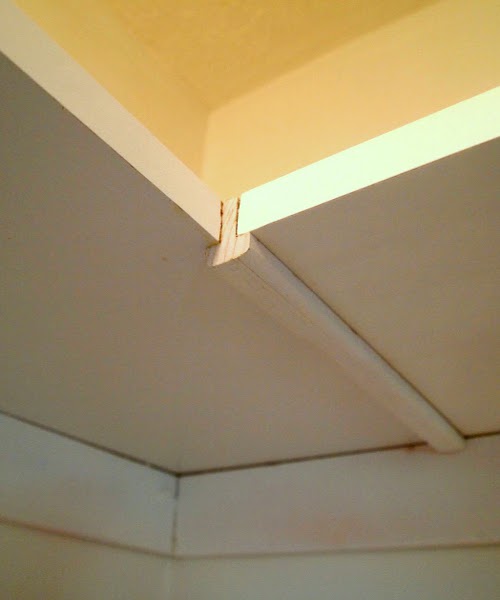
- Here is our workplace. The groove is perfect for closet type cabinets or with any other sliding systems.
- For the manufacture of built-in cabinets use a conventional bar. It can be seen in the photo that the whole structure was slightly moved forward. This is necessary so that you can beautifully sew all the plasterboard and fasten the doors.
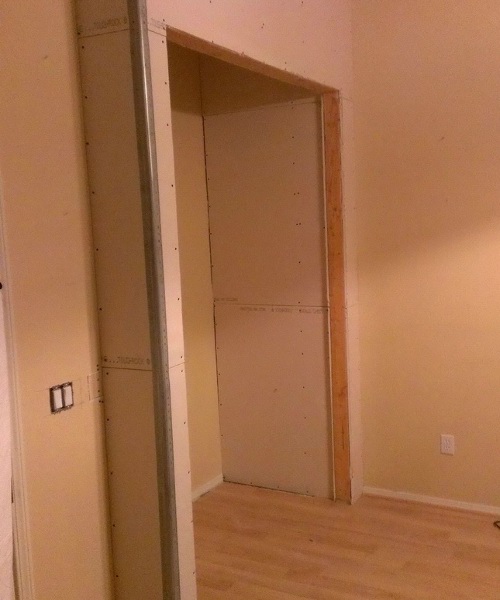
- The entire framework of the beam is sewed with sheets of plasterboard. Quite enough of the most delicate usual. Sewing will be both outside and inside so that you can then nail the shelves.
- It remains only to expose and lock the doors, then install the clypeus. The finished framework is decorated with decorative plaster or any other materials selected for the entire room.
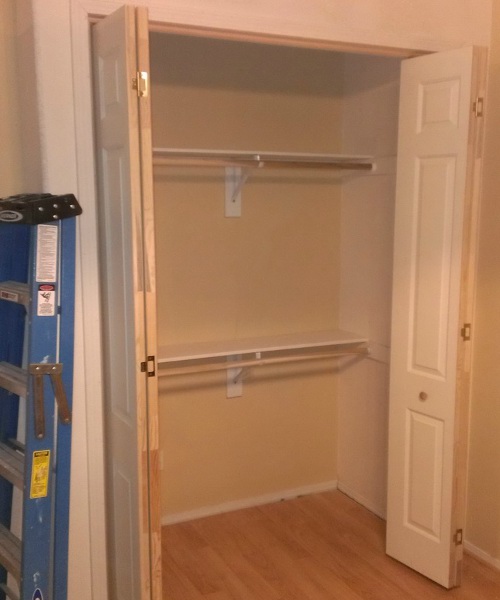
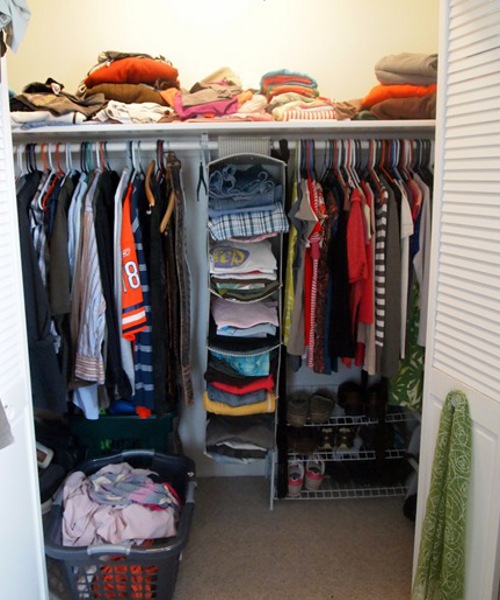
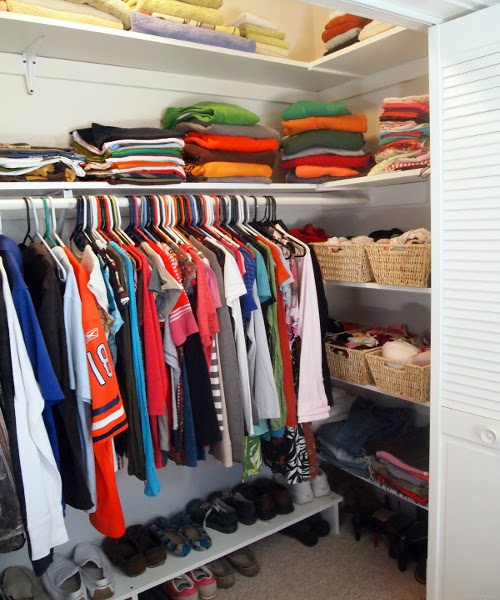
- Here is such a built-in closet, made by own hands, appeared in the room. It is quite roomy and compact at the same time.
Built-in closet: rationalize the content
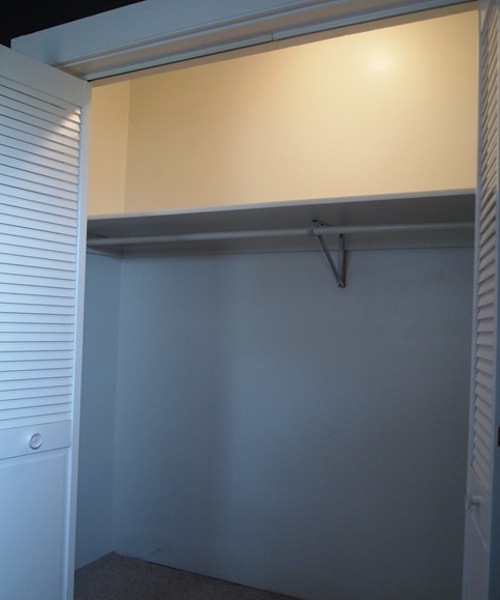
Suppose you already have a similar closet, but its filling is not very convenient or the place in it is empty. In this case, you can slightly modify the design and make it more functional.
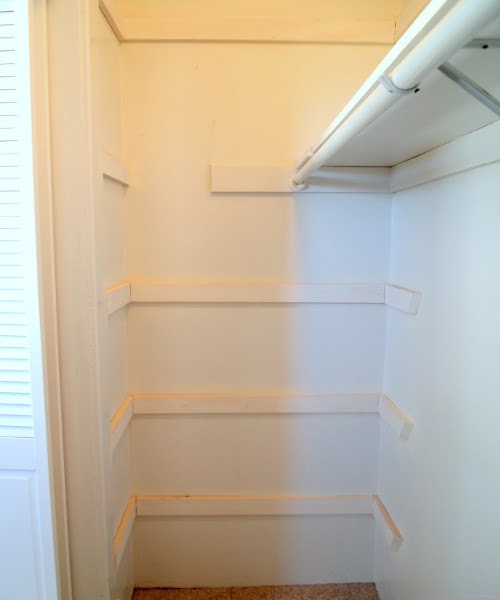
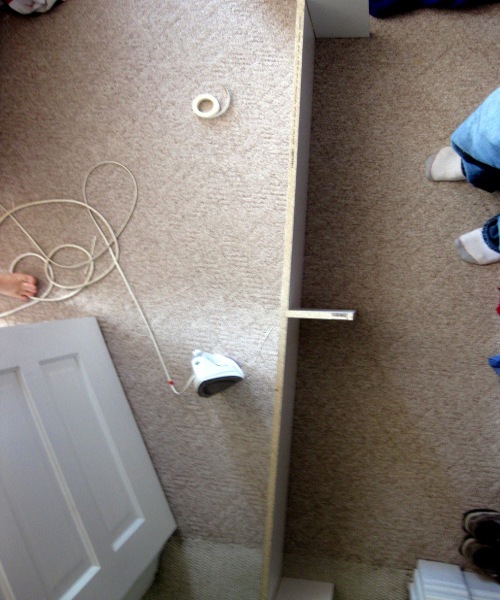
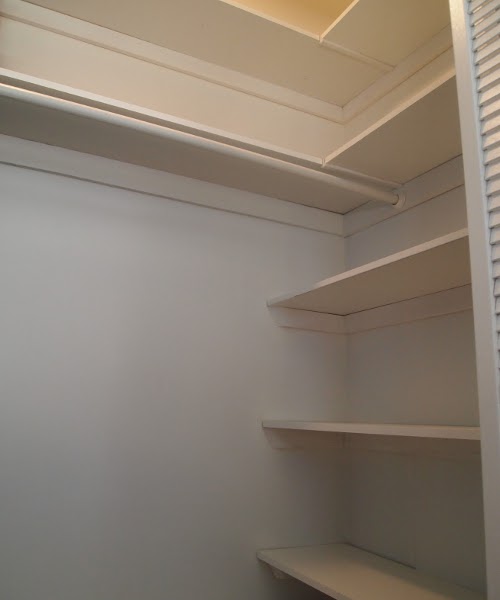
- Before making a built-in closet, completely empty it and begin the preparatory work.
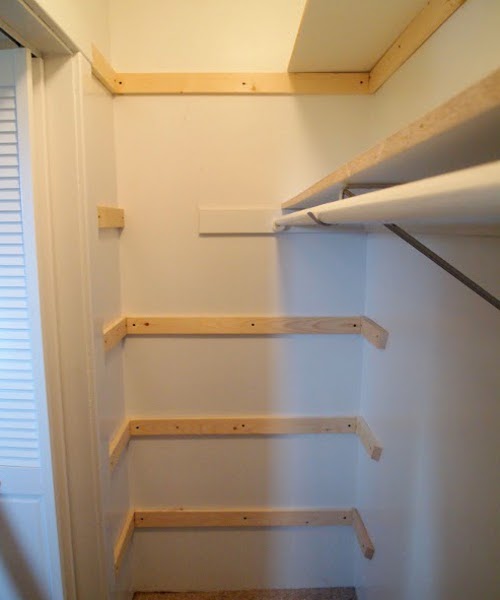
- In our case, almost all the upper space is empty. It makes sense to supplement the cabinet with shelves or other structures.
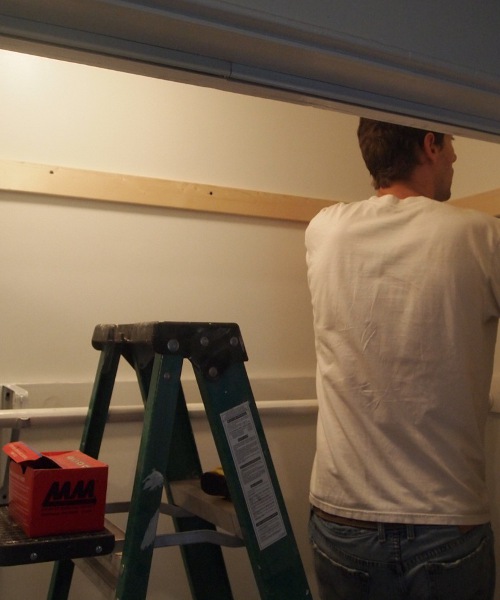
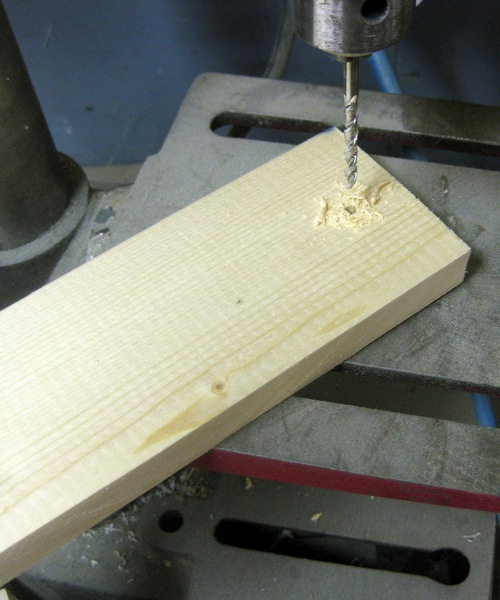
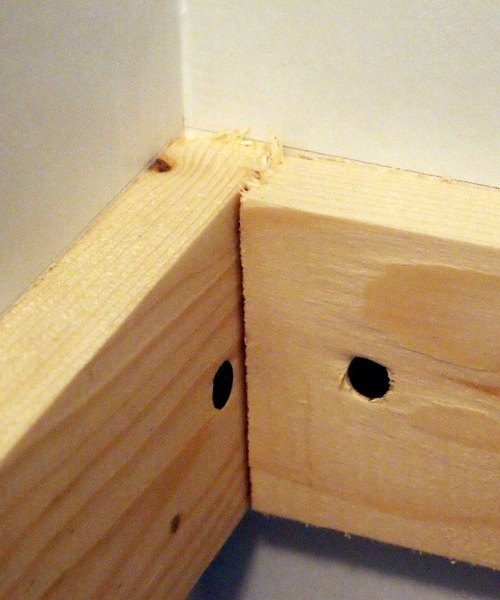
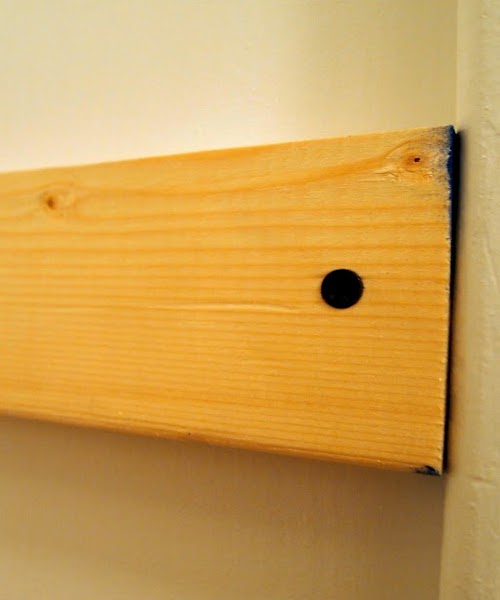
- Along the perimeter of nailing boards. Important point: when you do this part of the work, always drill a hole a little less than necessary and then re-drill in place. This will prevent the split of the boards into two parts. Applies to holes located at the ends of the boards.
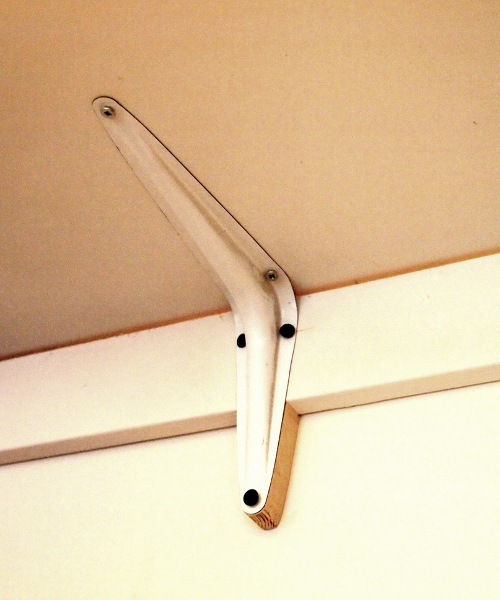
- So, the foundation was nailed. In the corners of the structure is as follows.
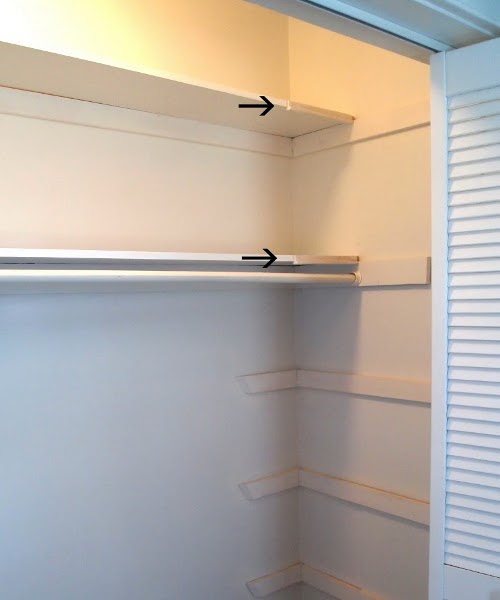
- With the top shelf figured out. Now we will improve the side parts of the cabinet in a similar way. There, we nail the same board for the foundation of the shelves.
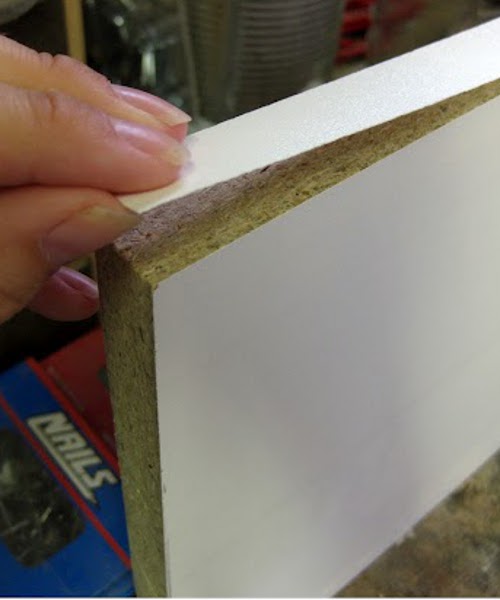
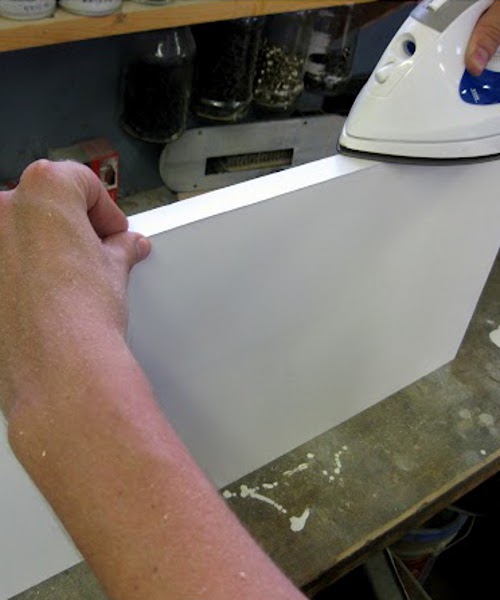
- The basis for the new filling of the built-in closet with your own hands is ready. We will be engaged in the regiments themselves. We will make them from laminated chipboard. Using special glue and iron, we process the ends.
- The difference, as they say, on the face.
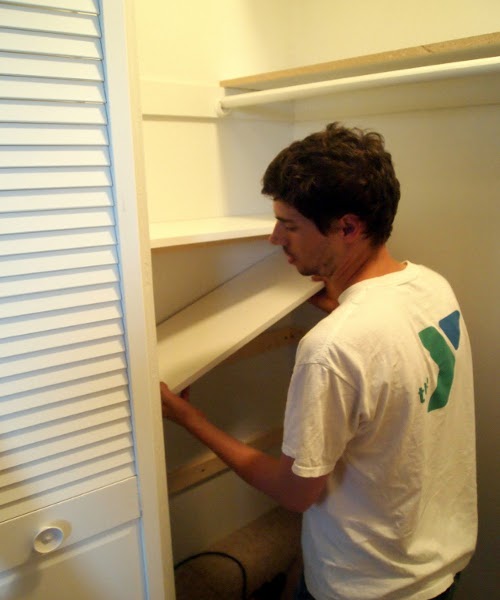
- We try our shelves in a new place.
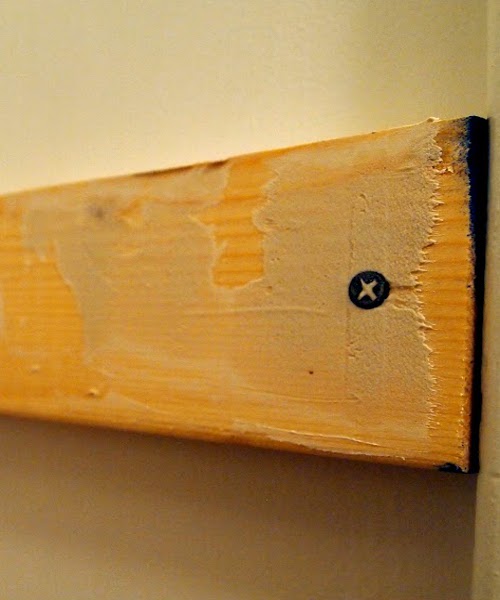
- To ensure that the entire structure looked neat, all of our bases under the shelves can be plastered and sanded. Then the surface will become completely smooth and after staining the appearance will be presentable.
- With the side rails figured out. Let's return now at the top.
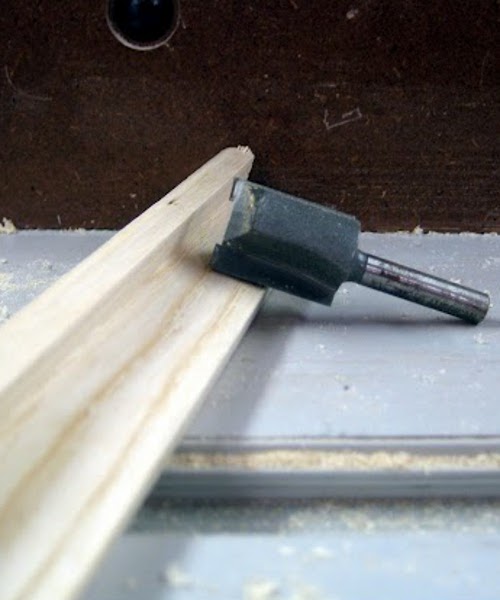
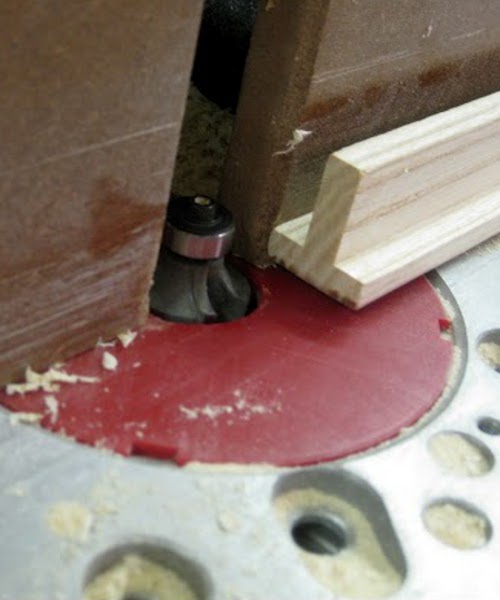
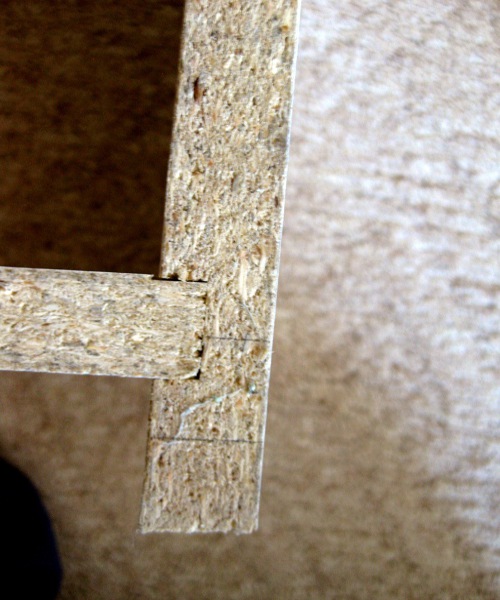
- On the machine, we need to cut (and maybe buy similar finished structures) T-shaped part. We need it to connect the two parts of the shelf. Its length is equal to the width of the shelf.
- We install the first part of the shelf, then we nail our T-piece to it.
- Now fix the second part of the shelf. This is how the connection looks.
- The shelf is long and will store a lot of things, so the center is reinforced with a metal corner.
- Since our content has become more rational and the upper shelves have appeared, it is quite logical that we will need something to get to them. From the remnants of the boards of chipboard we construct a simple bench.
- It's just so easy to make a built-in closet with your hands much more roomy and practical.