Weaving from the rubber has everywhere taken both adults and children. The secret of them is that this type of activity is very accessible handicraft and the products are original and beautiful. But in order to become a real pro in this business, you need to start from the very beginning.
While weaving our first products, we gradually "stuff our hand" and soon we can move from bracelets to more complex accessories and even wardrobe items. Let's try to understand this technique with the example of the simplest bracelets made of rubber bands for beginners.
Bracelet made of rubber bands - a master class for beginners
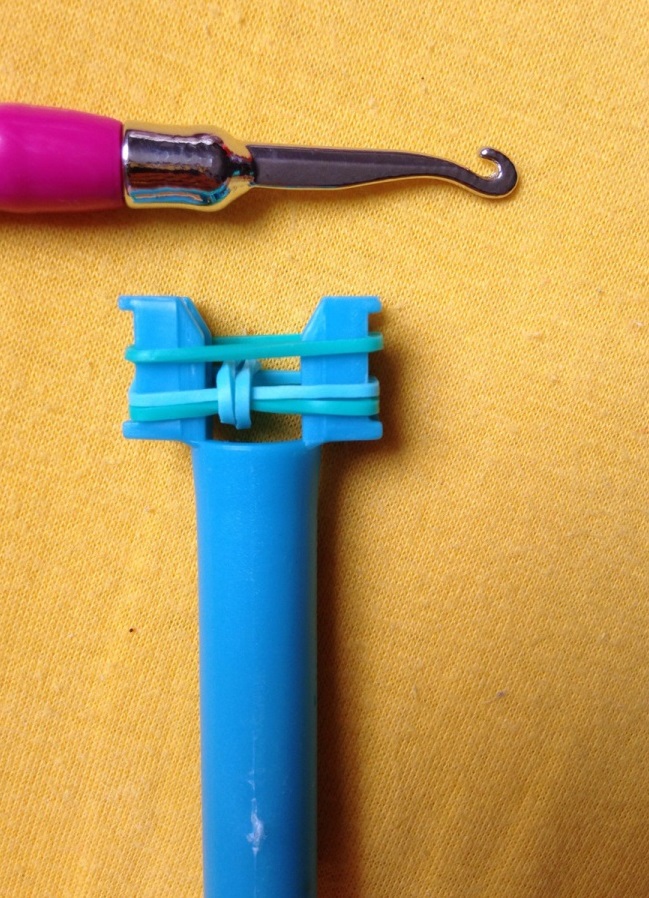
If you do not know how to begin to weave a bracelet of rubber bands, then we will help you in this. For the work you will need the gums themselves of two similar in color shades and simple stitches, similar to the fork that comes complete with rubber bands. Many craftsmen weave on the fingers or fork , but it is most convenient with the help of a plastic slingshot.
Performance:
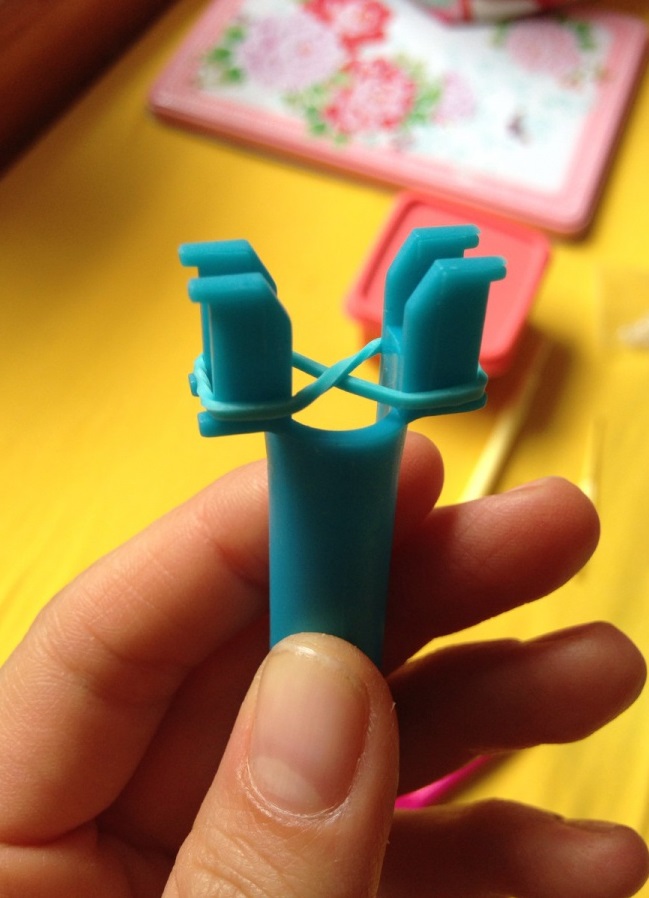
- The first gum is wound with an eight, and the next we take in turn different colors.
- The next rubber of another shade is dressed just like that without torsion.
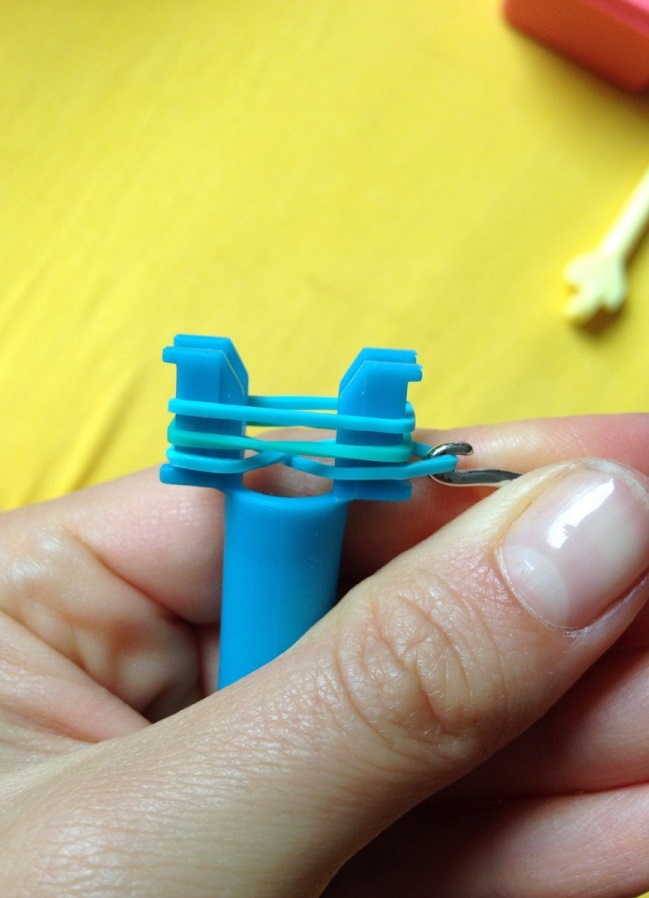
- The third one will be the same color as the first one, but it should also not be dressed in a figure-eight, but exactly.
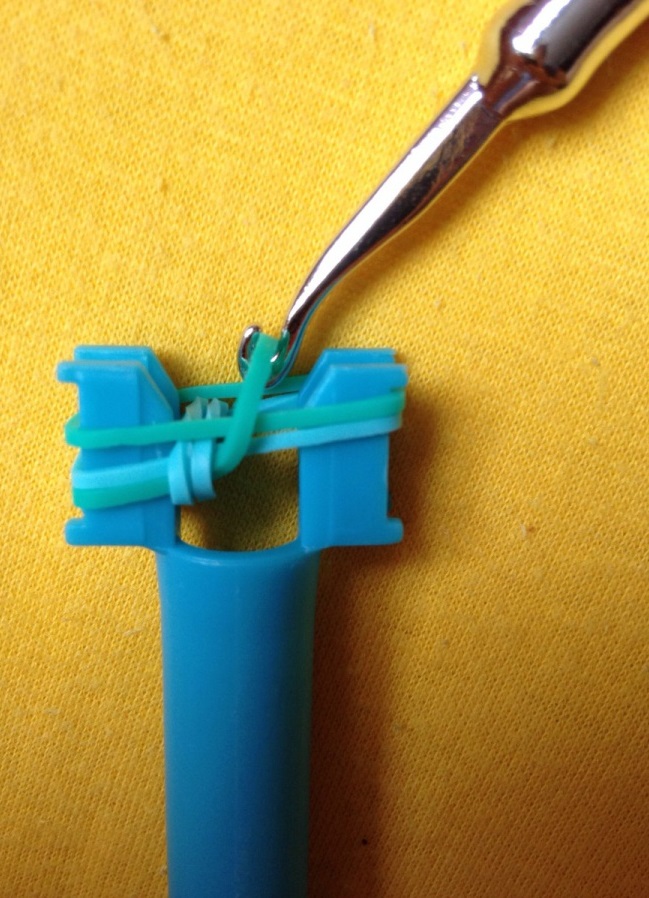
- Now we need a hook. It can be plastic or metal - it's not so important for beginners when we learn to weave bracelets from rubber bands. We crochet the bottom rubber and pull it a little.
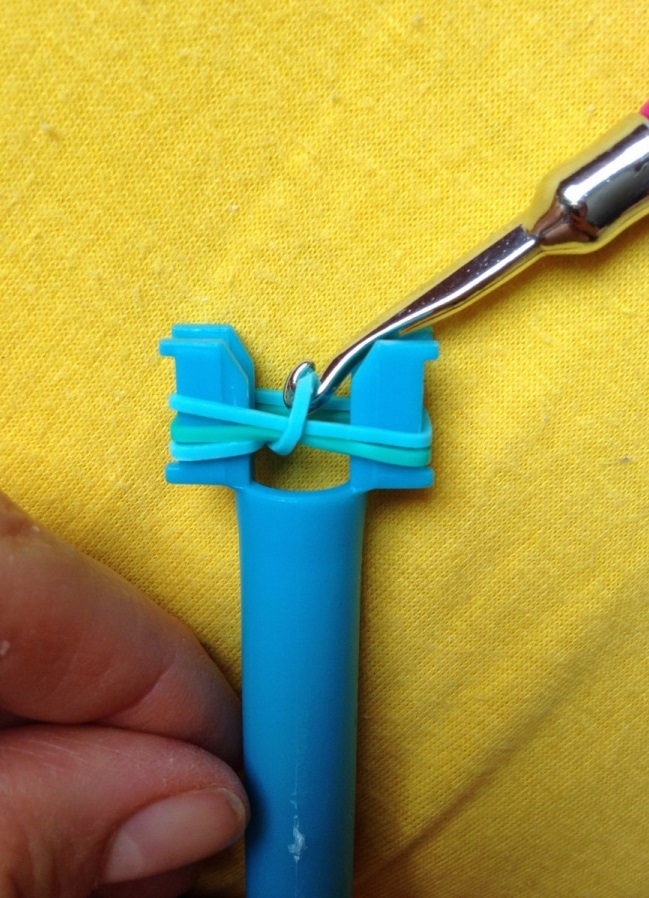
- Now we throw it through the projection of the slingshot to the middle and take out the hook.
- The same maneuver is done on the other hand - first we hook up the lower elastic band, and then we throw it upward, to the already existing one.
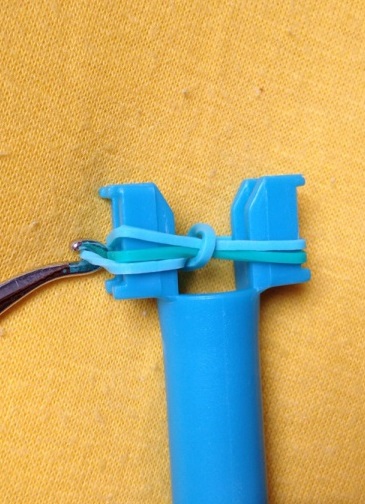
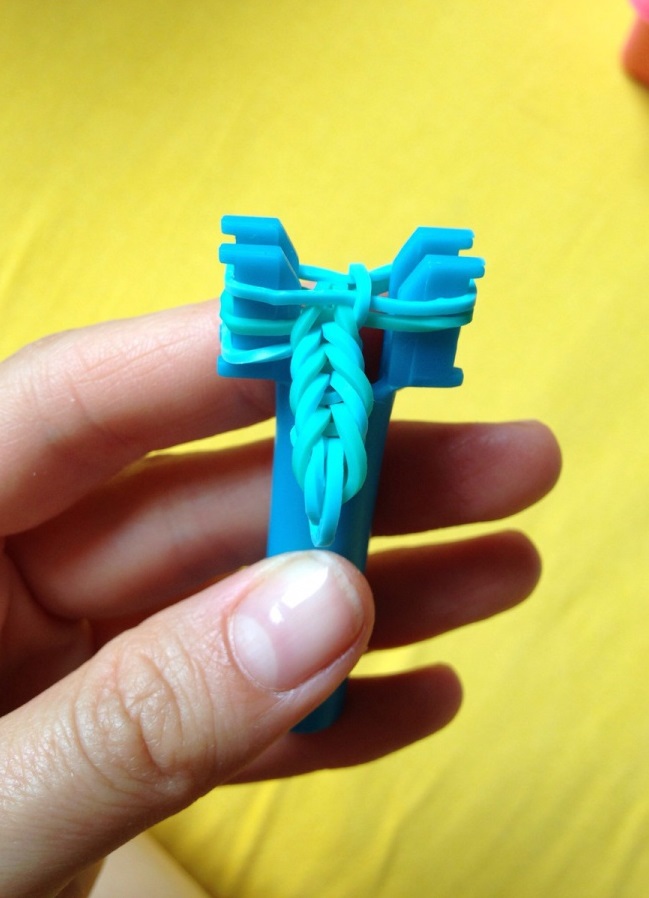
- Again, we put the rubber on smoothly without torsion.
- And now we start again in the same order - we lower the elastic band from one side and start it in the middle. And we do the same on the other side.
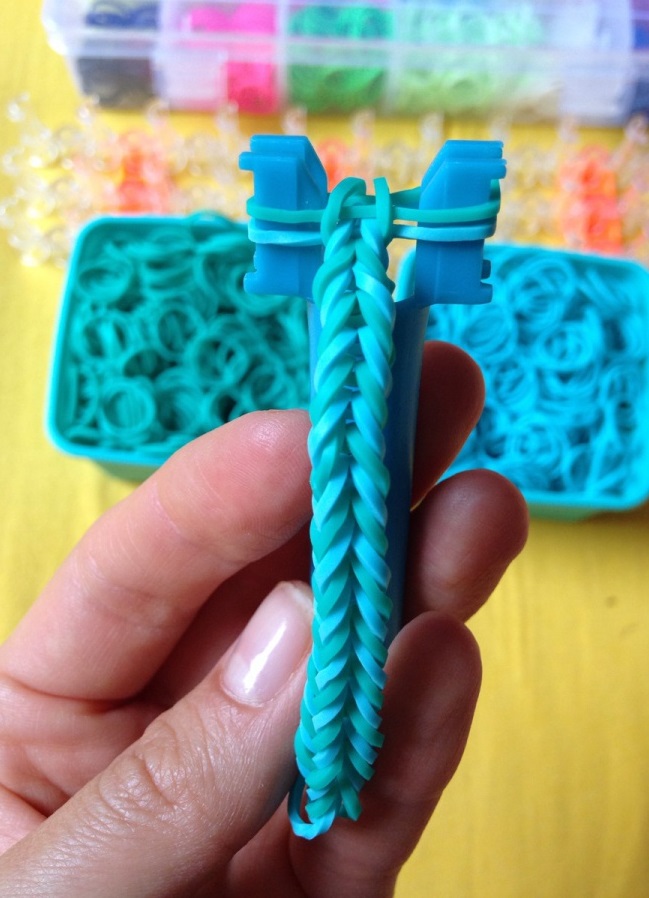
- Gradually putting on the elastic bands one by one, we get here is such a Christmas tree.
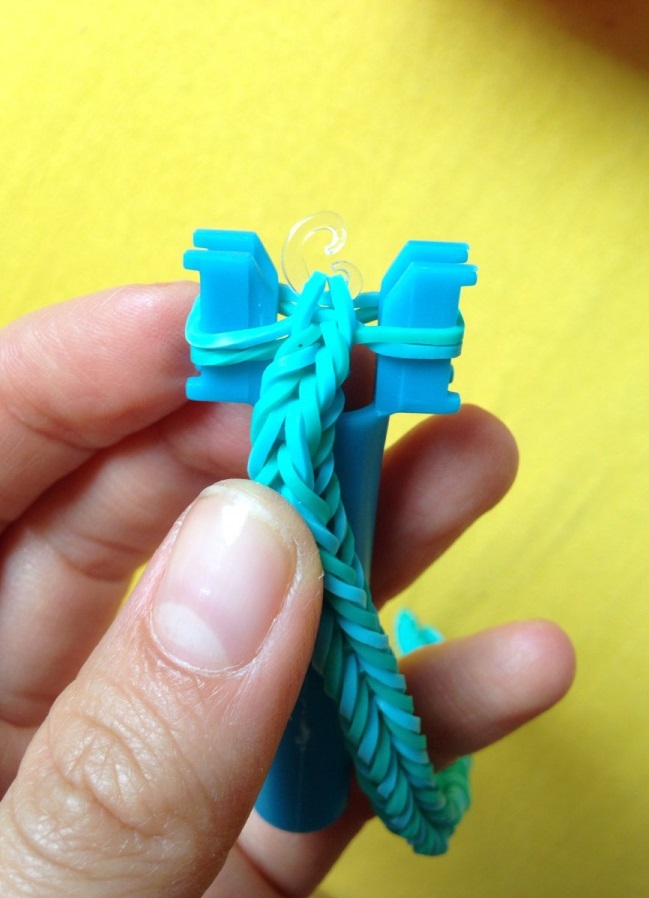
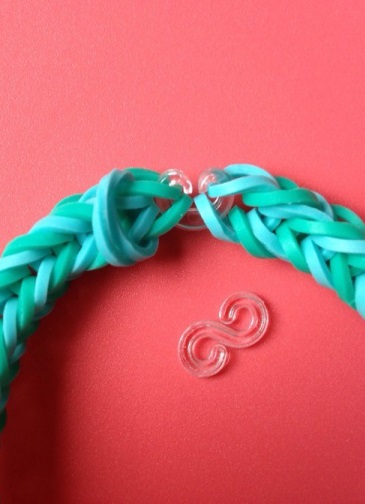
- When the bracelet has reached the required length, it is necessary to raise two elastics inside the machine and put plastic fasteners in them.
- That's about like a bracelet is obtained when we take it off.
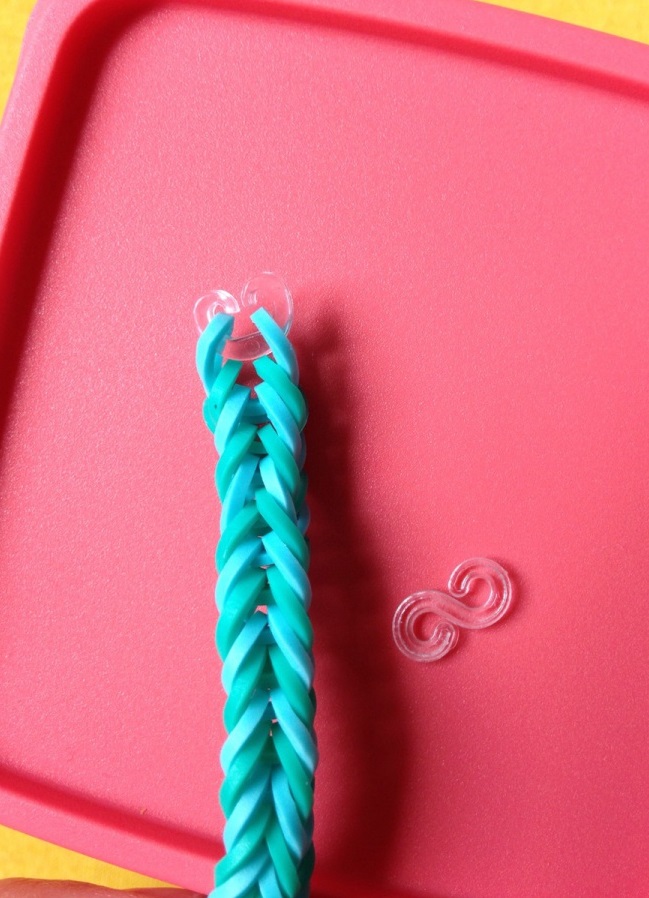
- Now we will need two plastic fastening hooks again.
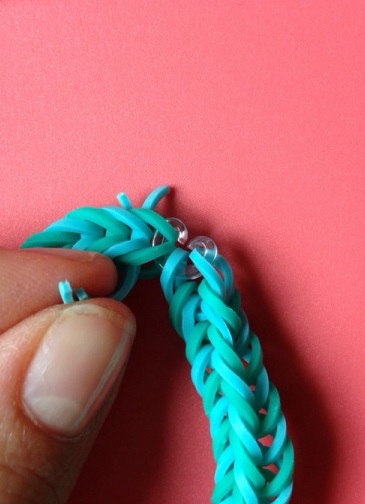
- Having removed the bracelet from the slingshot on both sides, carefully, so that the product does not come loose, we put on the one and the second side of the hook.
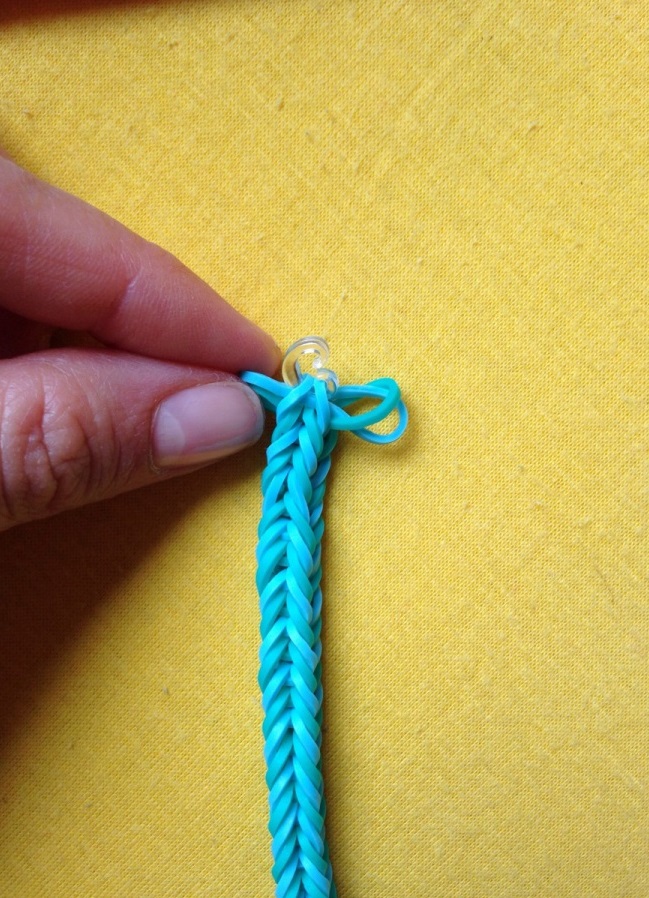
- But we still have a couple of tails to remove.
- Now we find a normal pair of loops, to which you can attach a hook, similar to the dollar.
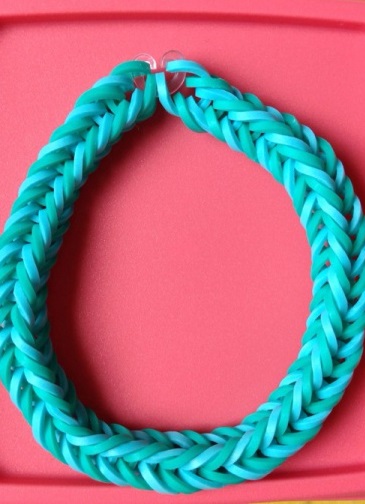
- There was also an unnecessary pair of gum.
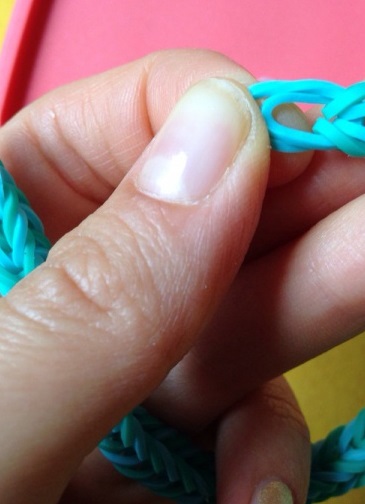
- Superfluous protruding rubber bands are cut and pulled out.
- Now we connect the whole bracelet and that's what we have to end up with.
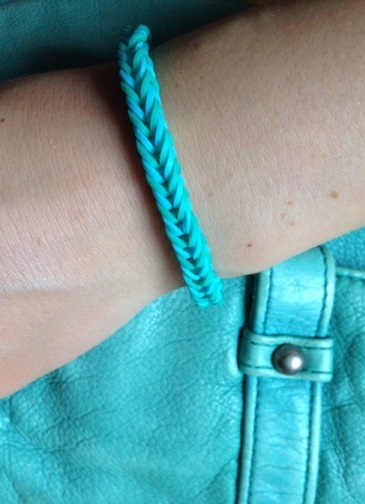
- Here such original fur-tree now can decorate your wrist and will be pertinent and actual in any situation, especially at youth. Such a bracelet can be contrasting to clothes, but it should correspond with the color range of such accessories as a handbag or shoes.
As can be seen from the master class for beginners, in braiding bracelets made of rubber bands there is nothing difficult, especially when step by step explains every action. Just need concentration and attention, as however, and in any other form of needlework and creativity.
If there is an opportunity to purchase a large set together with several kinds of machine tools for weaving and a huge choice of colors, then this will be a great incentive to learn how to quickly weave all kinds of bracelets and rings. Wear them and love girls, and boys, not only here, but also abroad, from where, incidentally, this infatuation has come.