The eruption of the volcano - the spectacle is extraordinary and fascinating. Today, we have the opportunity to see this riot of nature in archival footage, which can easily be found on the World Wide Web. To be present at this spectacle is live is problematic, and it is unsafe. But there is a wonderful alternative to videotaping and risky activities - to make a mock-up of the volcano with your own hands. Undoubtedly, until this is true, it will be very far, but nevertheless, a visual demonstration of the principle of the volcano's work will not leave indifferent little researchers.
In addition, the child will be useful to attract and to the very process of production, because the joint creativity is the best possible and brings together the establishment of trust in the family. And if your student presents his own model of the volcano in school, for example, on a thematic lesson in geography, it will not go unnoticed among classmates and teachers.
So, about the feasibility of all found out, it remains only to understand how to make a mock-up of the volcano with your own hands? At first glance, the task is very difficult, because it seems that it is necessary to acquire some special materials and reagents. And indeed, in stores you can buy a ready-made set for creativity with gypsum, paints and detailed instructions how to make a volcano at home. But you can try to create a model and without special preparations, almost from improvised materials.
We bring to your attention several ideas about what and how to make a volcano.
How to make a volcano of plasticine and building mixture?
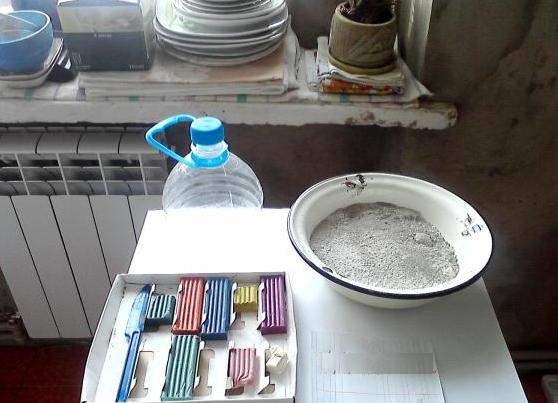
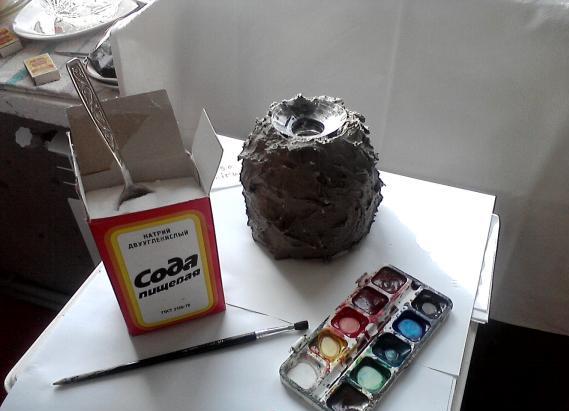
We will need:
- plastic eggplant from under the water;
- building mixture, for example, plaster;
- plasticine;
- watercolor paints;
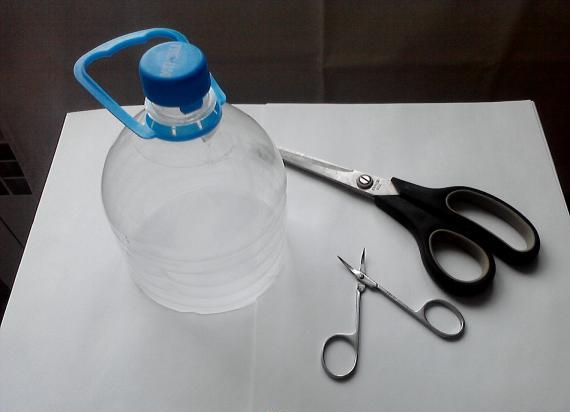
- scissors;
- baking soda;
- table vinegar.
Progress:
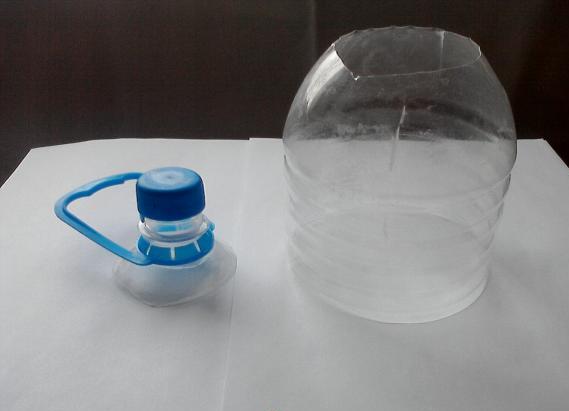
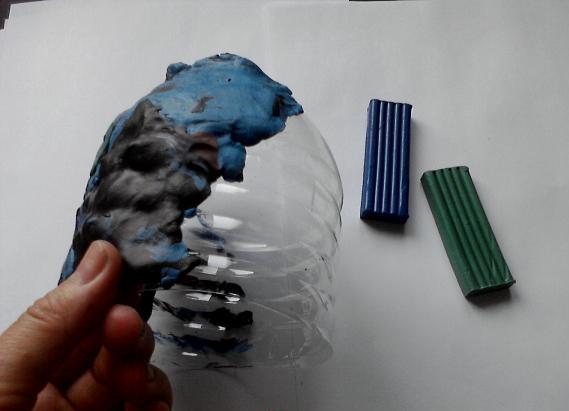
- Cut off the top of the bottle - about a third.
- The bottom part of the bottle is no longer needed, but from the top you need to gently cut the neck, leaving a small gap.
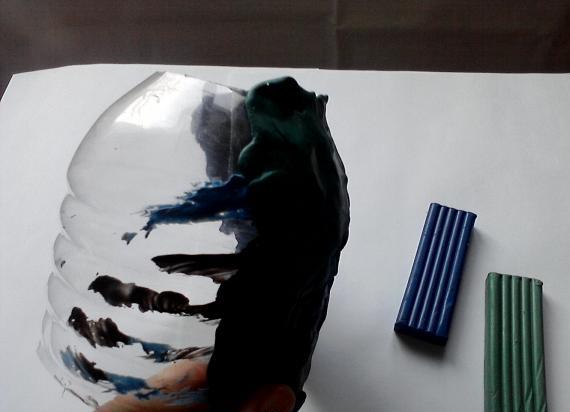
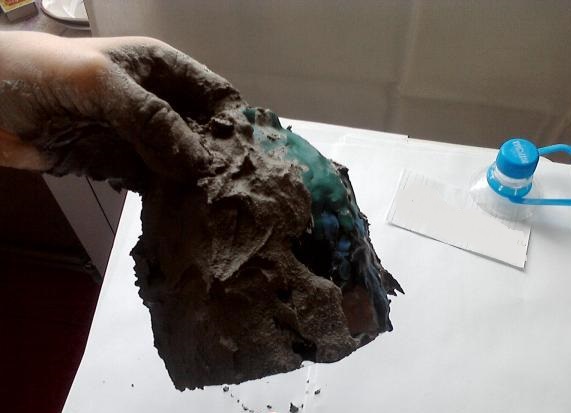
- The trimmed part is coated with plasticine, giving it the desired shape of a future volcano.
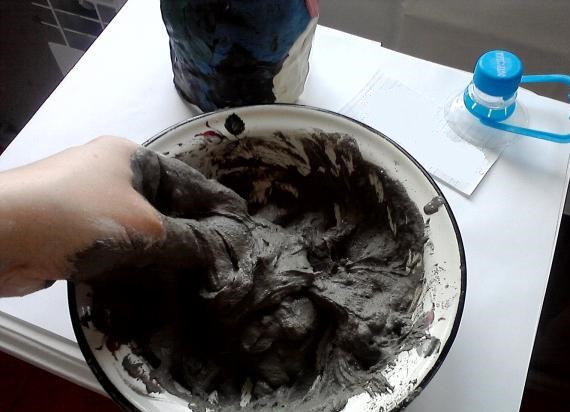
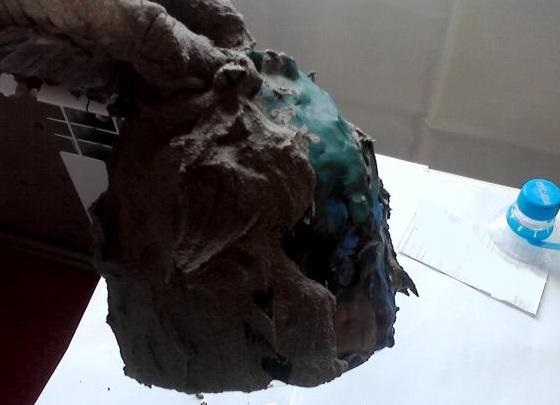
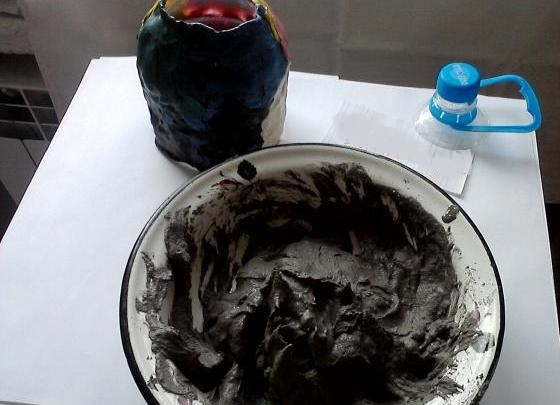
- On the plasticine substrate, we apply a building mixture previously diluted in water.
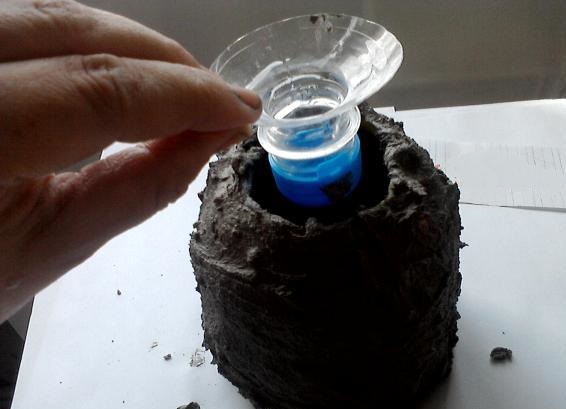
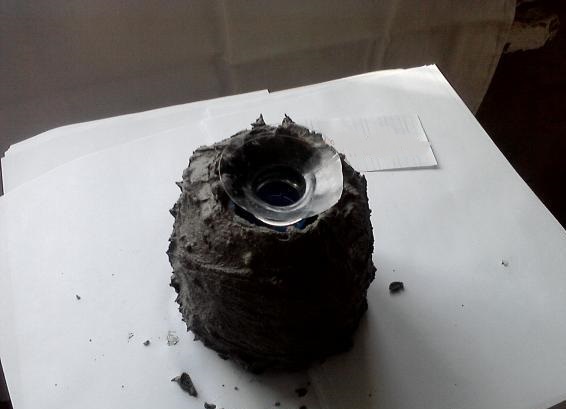
- In the "muzzle of the volcano", smeared with a mixture, insert the inverted neck from the bottle, carefully carefully wrapping the lid on it.
- We leave the construction in a warm dry place until the mixture dries completely.
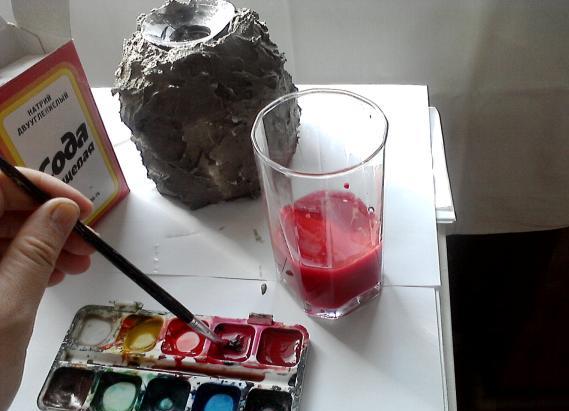
- In the meantime, we are preparing to demonstrate the eruption of the volcano with the help of watercolors, vinegar and baking soda.
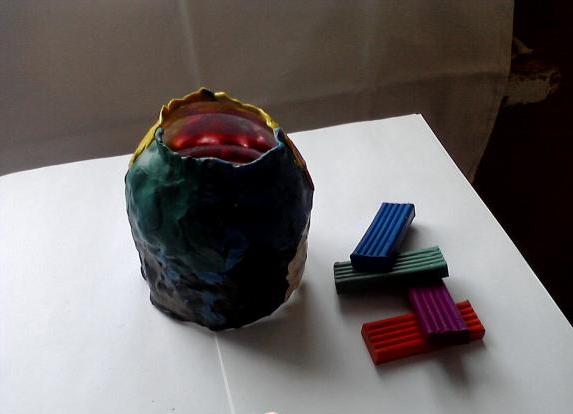
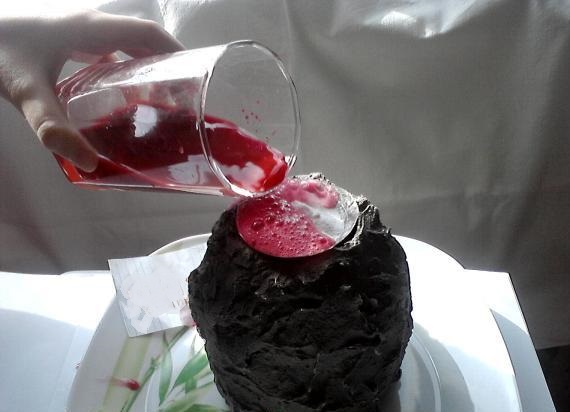
- Using a brush, paint the vinegar in red.
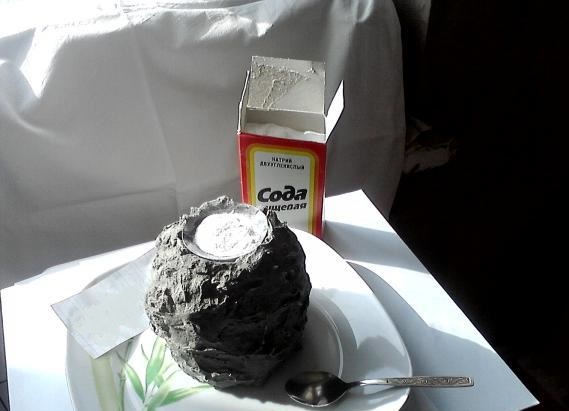
- Dry the volcano in a bowl or a plate, and in the "crater" we put 2 tablespoons of soda.
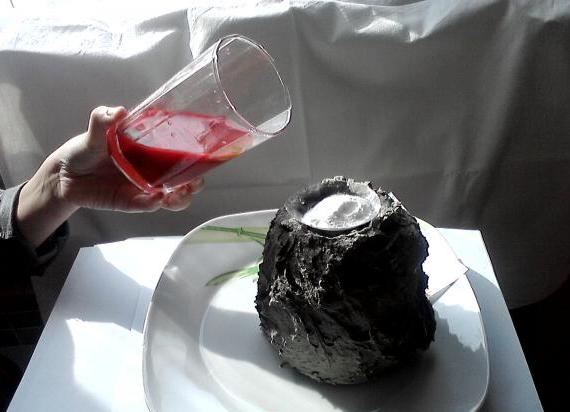
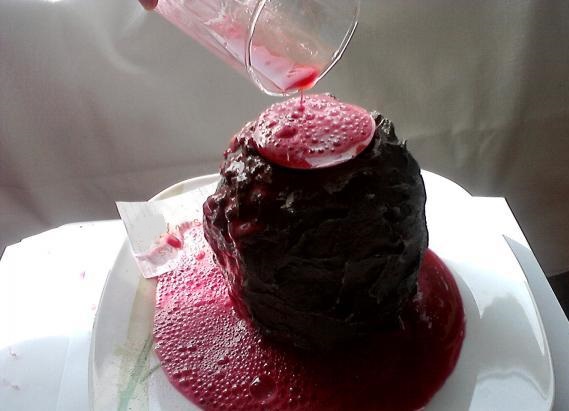
- Slowly pour the colored vinegar into the soda.
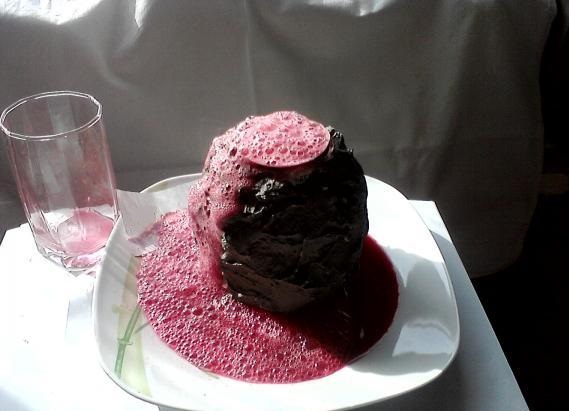
- We observe an eruption of a volcano made by hand from plasticine and a building compound.
| | | |
| | |
| | |
| | |
| | |
Pulp-mache volcano
We need:
- plastic bottle;
- cardboard;
- paper tape;
- old newspapers, cut into strips;
- water;
- flour;
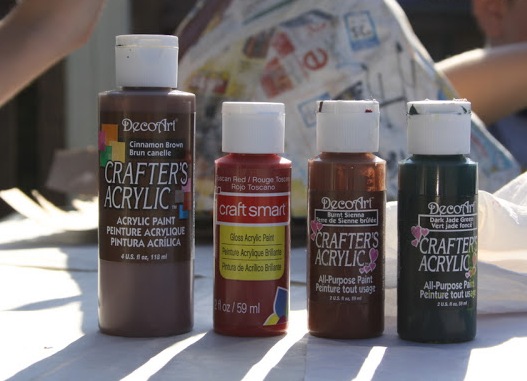
- acrylic paints;
- brushes.
Progress:
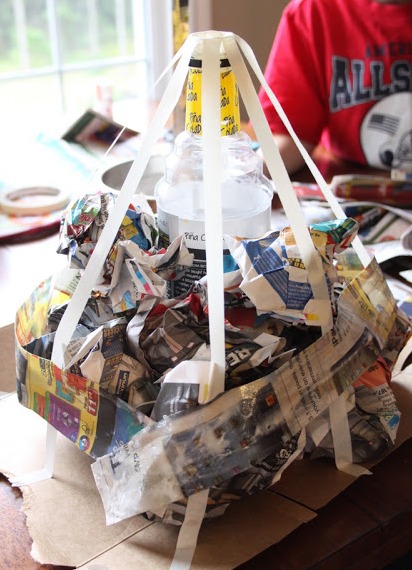
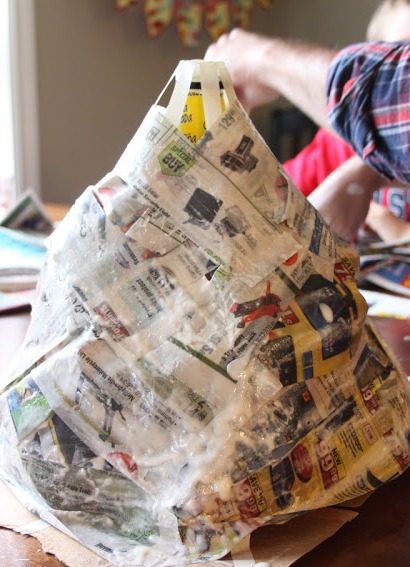
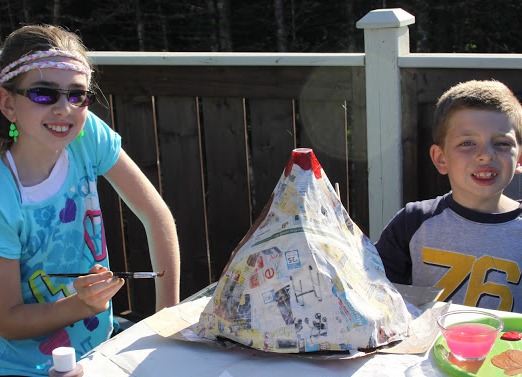
- We make a base for our volcano. We glue the bottle to the cardboard, from the neck to the base we glue the strips of adhesive tape so that they form a cone. To them, horizontally, we glue the pages of newspapers.
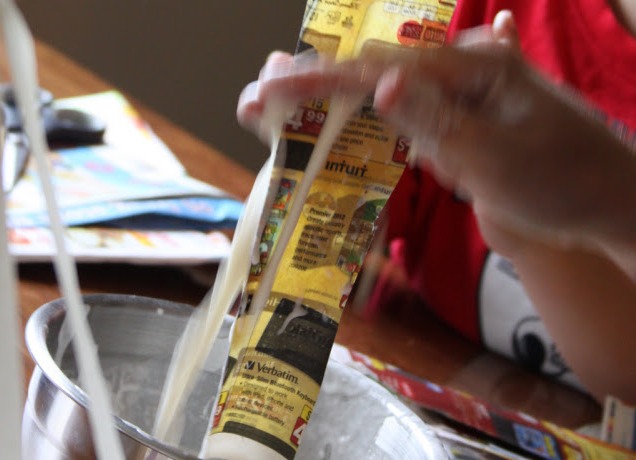
- Cook the paste, mixing one part of the flour and two parts of the water. We begin to smear them with strips of newspapers and stick them to the base of the volcano.
- Gradually, we close the whole base with stripes of newspapers, giving it a shape.
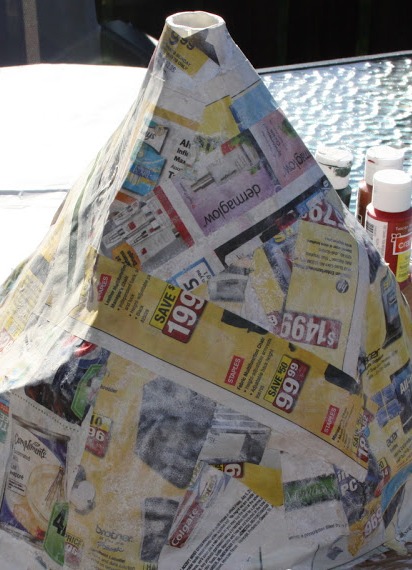
- We leave the prepared volcano to dryness.
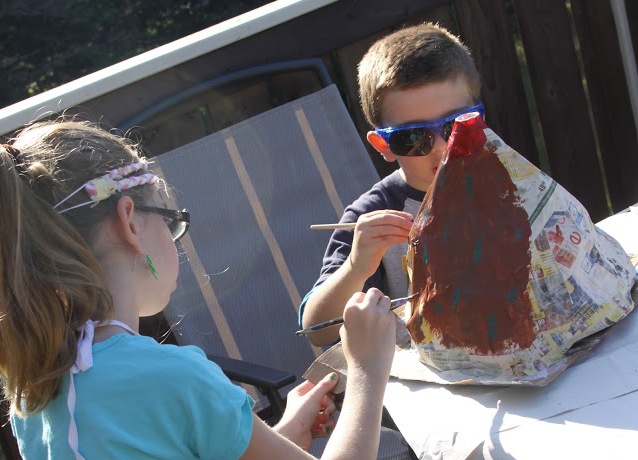
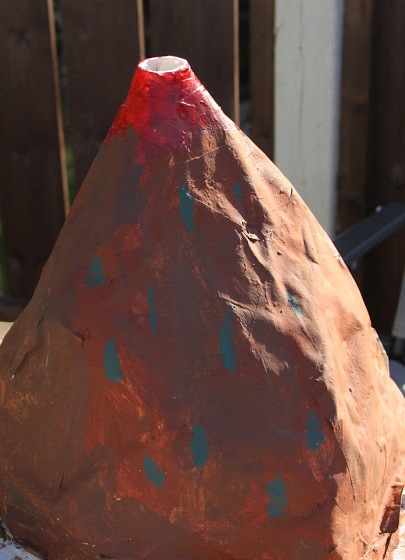
- We proceed to staining. This part of the procedure can be safely entrusted to children.
- Let's dry the painted volcano.
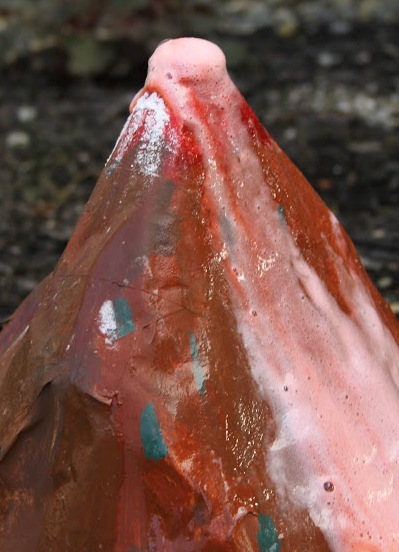
- Fill the bottle with warm water with the addition of a couple drops of liquid for washing dishes, then add two spoons of soda from above. After pouring into this mixture of vinegar and observe the eruption.
- In vinegar, you can also add a dye.
| | |
| | | |
Such a volcano can be made to a thematic exhibition of crafts on the theme "Nature" or "Earth . "