Sliding and transforming furniture is now indispensable, because it is much more functional and practical than the standard one. In particular, this refers to the table. In small urban flats spacious kitchen is rare, if not to say luxury. To buy ready-made tables is not a problem, but here the cost of quality furniture is somewhat high. It is much more profitable to purchase separately accessories and material, and then build a sliding table with your own hands.
How to make a sliding table?
So, first you need to decide on the shape and type of the folding mechanism. Also, before making the sliding table, four sheets of laminated chipboard or MDF should be prepared.
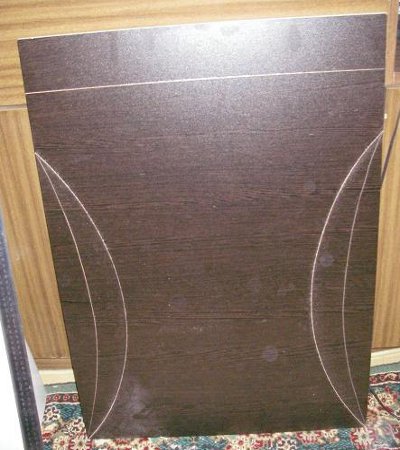
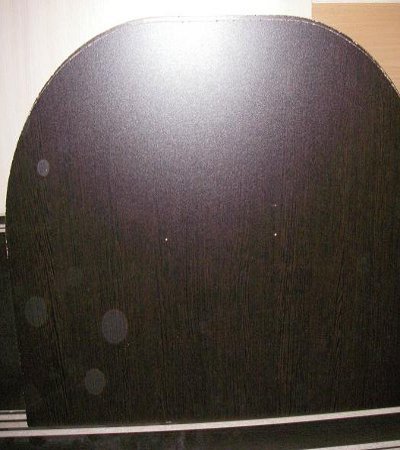
- Directly on one of the sheets we draw the desired shape of the sides for the base.
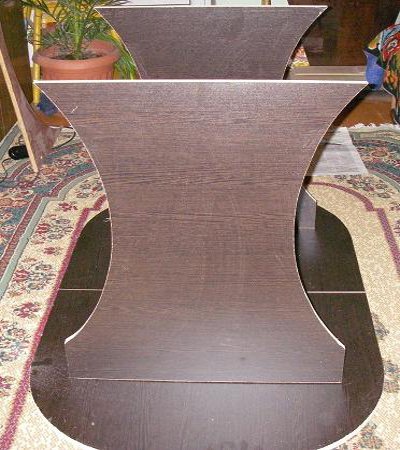
- Next, we put everything on a horizontal surface and cut it out. For these purposes, an electric jigsaw perfectly suits.
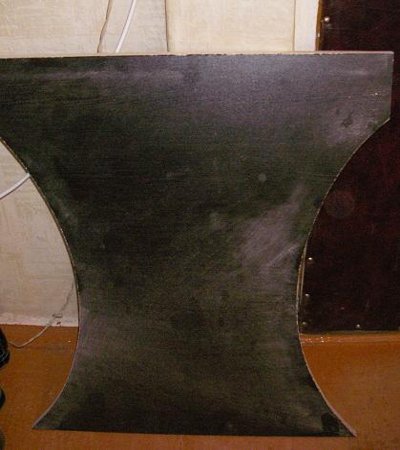
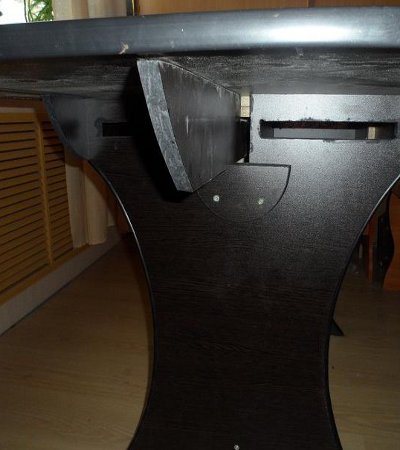
- As a result, it was possible to make a blank for the legs or sides of a sliding table made by one's own hands.
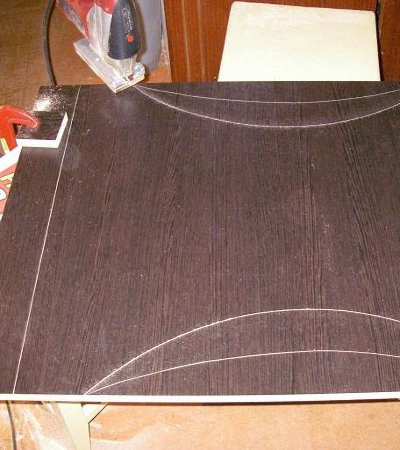
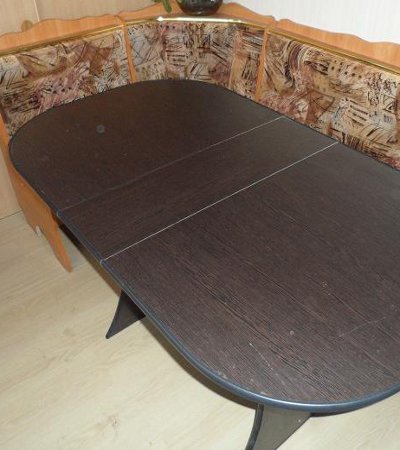
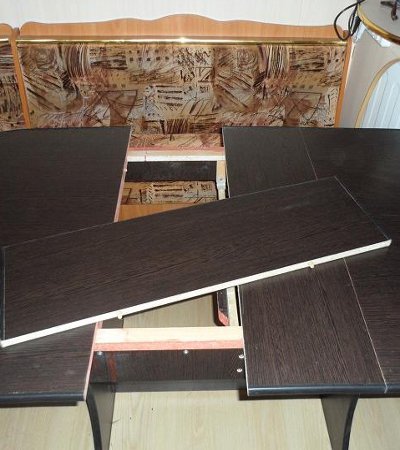
- Similarly, we cut out the details for the countertop . In our version it is a model with an insert in the middle. And therefore the countertop itself consists of two halves, forming an oval shape, and a rectangular insert.
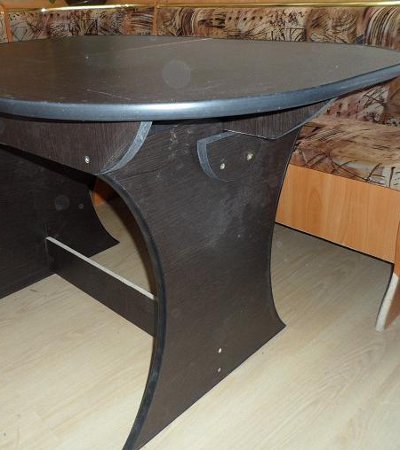
- Then we begin to assemble the structure. To make the sliding table mechanism by our own hands, we need small skids on which the table tops will move. Here the design is no different from ready-made in stores.
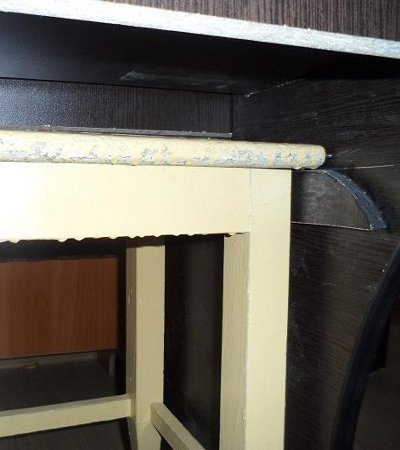
- Be sure to work the ends with a liquid to protect them from moisture and attach a protective PVC edge.
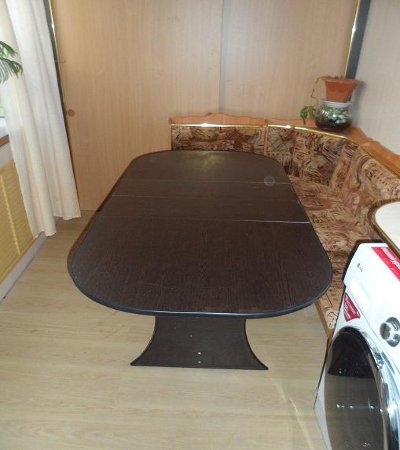
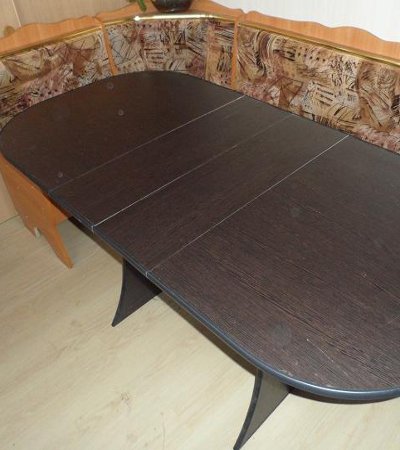
- It turned out a fairly spacious sliding table, made by own hands. In our version of inserts will be two, which allows you to increase the table area by almost one and a half times.
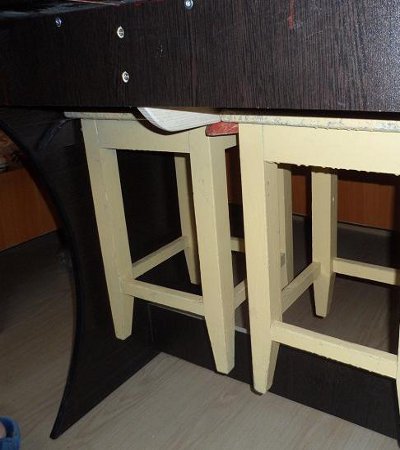
- Also in the construction there are fastenings under the stools. After work, you can paint everything with acrylic paint to remove marks of scratches, and apply a layer of varnish.
| | |
| | |
| | |
| | | |