The huge advantage of plastic is that it is easy to work with, it does not require any specific tools, and it is not a problem to buy the plastic products you need. As for installing a plastic window sill with your own hands, then there should be no problems at all.
Correct installation of a plastic window sill
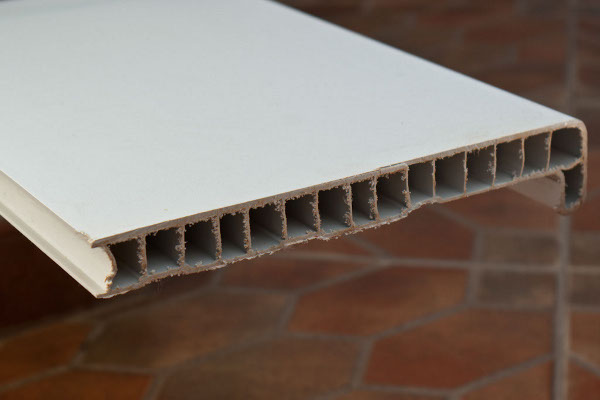
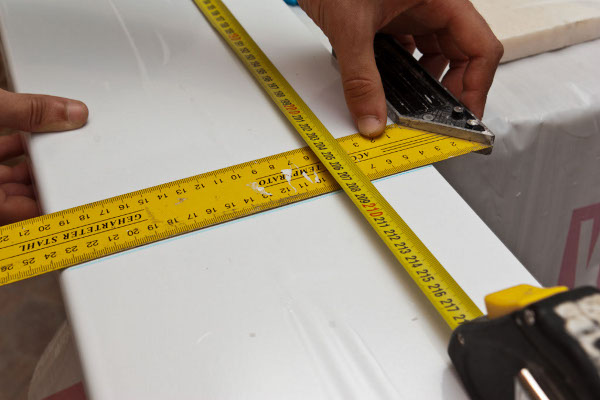
- The installation of the window sill under the plastic window begins with the purchase of the desired material. First you measure the desired length, determine the width. Then go with your measurements to the manufacturer. Some firms offer ready-made standard models, others will cut directly on the spot the length you need.
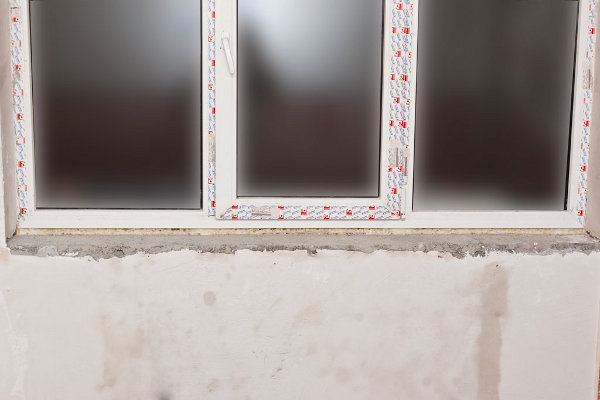
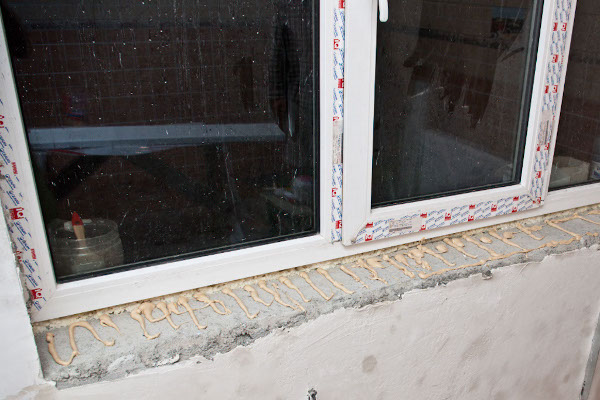
- The next stage of installing the plastic window sill is surface preparation. It must be thoroughly cleaned from dust and dirt, completely dry and ready for application of glue.
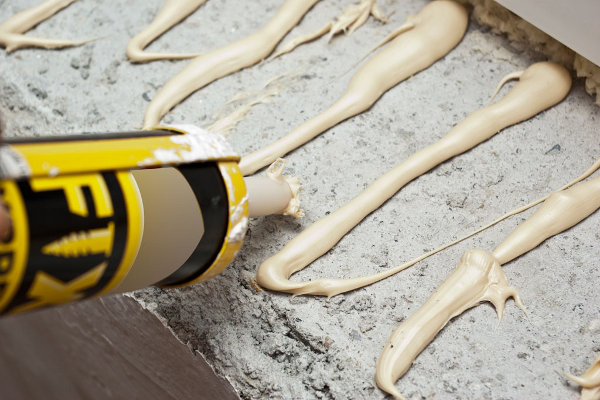
- Next, apply glue strips at a distance of about two to three centimeters. It is important to apply it not only profusely, but evenly, so that the entire sill was fixed qualitatively.
- It is also important to consider when installing the window sill under the plastic window the correct location of the strips: if applied along the length, the glue can not dry out well and fix the plastic.
- Customize our workpiece to the desired size.
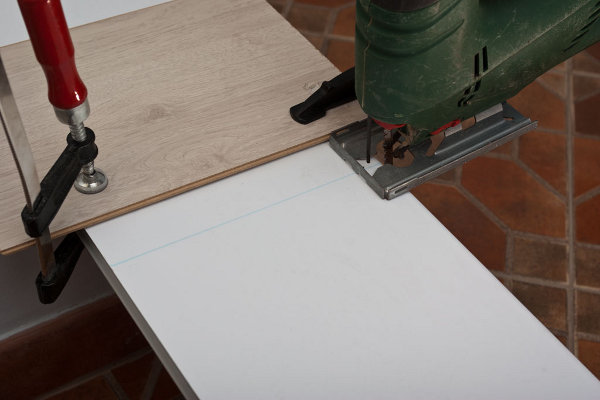
- For proper installation of the plastic window sill with your own hands it is important to make a correct cut: fix the clamps of the jigsaw, it allows you to make a neat cut.
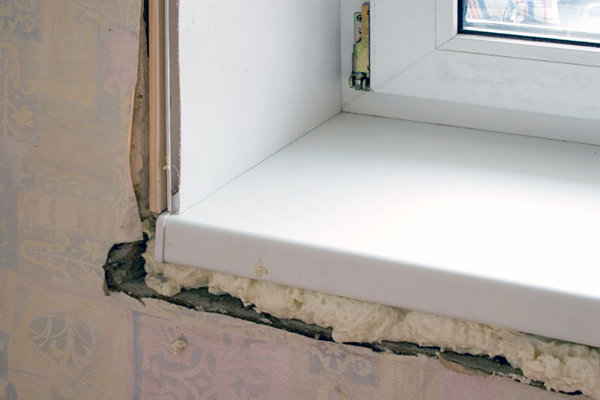
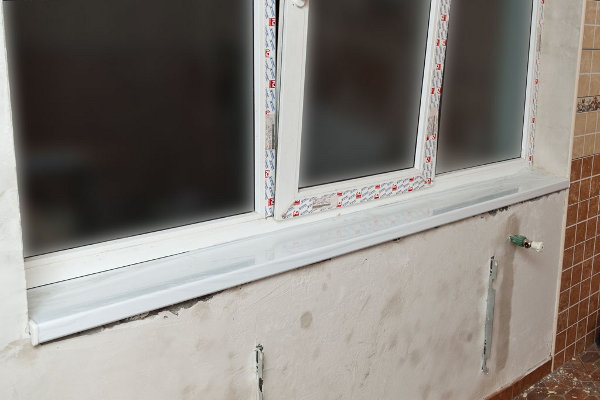
- We install the window sill on the prepared place. Carefully align the position of the corners. Next, put the level, check the horizontal position.
- Now you need to press the window sill evenly along the entire length. To do this, you can use a load of several identical bottles of water. Press it for at least five minutes.
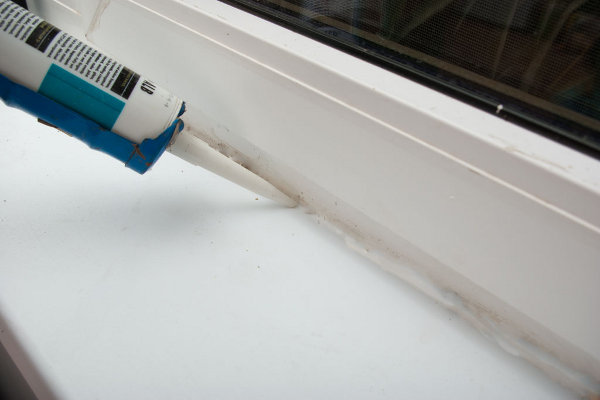
- The place of docking we work through the sealant and the installation of the plastic window sill is completed.