Real needlewomen store needles in a beautiful bed. There are many original types of beds: a safe needle bed, a professional needle bed, a bracelet and a classical needle bed. If you do not have this thing at all, we suggest you do it yourself.
Hat- needle with your own hands : the necessary materials and tools
To make such an original bed you will need:
- CD or sheet of cardboard;
- a box of processed cheese or a small can;
- cut fabric;
- wool or sintepon;
- needle with thread;
- scissors;
- glue gun;
- decorative elements: tulle, ribbons, artificial flowers.
Needle-hat: master class
So, let's start creating a needle-hat:
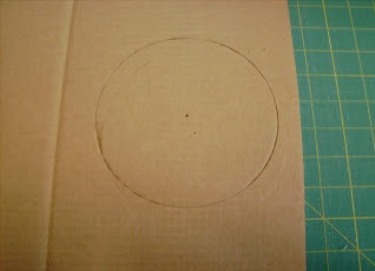
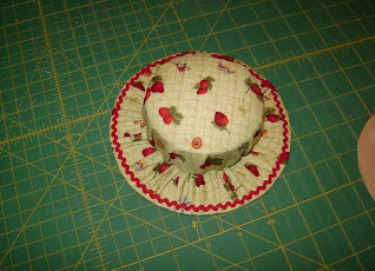
- On a sheet of thick cardboard, draw a circular circle with a radius of 5-6 cm and cut it out. If you have an unnecessary disk, use it.
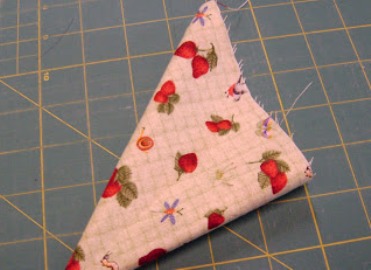
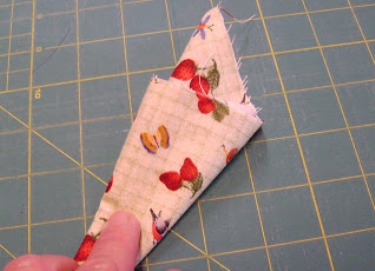
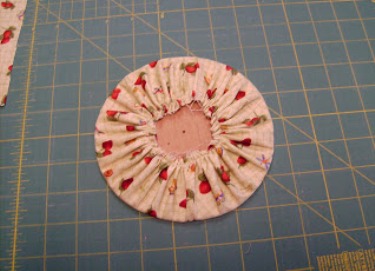
- Cut a square with a side of 25 cm from the fabric. Fold the fabric into a triangle as in the photo and cut off the protruding lower part.
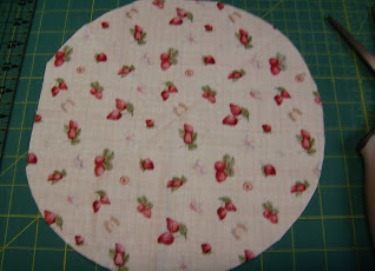
- Opening the fabric, you get a circle.
- Along the perimeter of the circle, make a needle and thread with the needle "forward the needle". At the end of the work, leave the needle in the fabric. Then put a circle in the center and tighten the thread so that the fabric completely covered the workpiece.
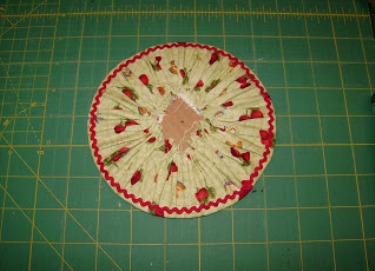
- Decorate the edges of the circle with a rim from the tape: treat it on a sewing machine or carefully attach it with glue.
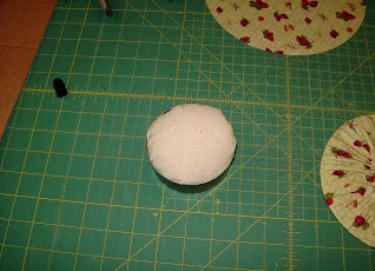
- Fill the box from the cream cheese or tin can with cotton wool and from above hide the lining under a small cut of fabric.
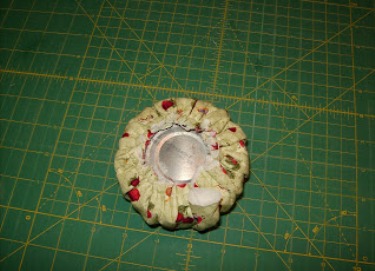
- Cover the jar with a cloth in the same way as when decorating a cardboard circle.
- It remains only to glue the upper part of the cap and the floor together with glue.
| | |
It turned out cute, but not enough, because we need a beautiful needle bed with our own hands. Therefore, tie a ribbon with a ribbon, decorate with artificial flowers and hang with fat.
Also learn how to create a needle-dummy .