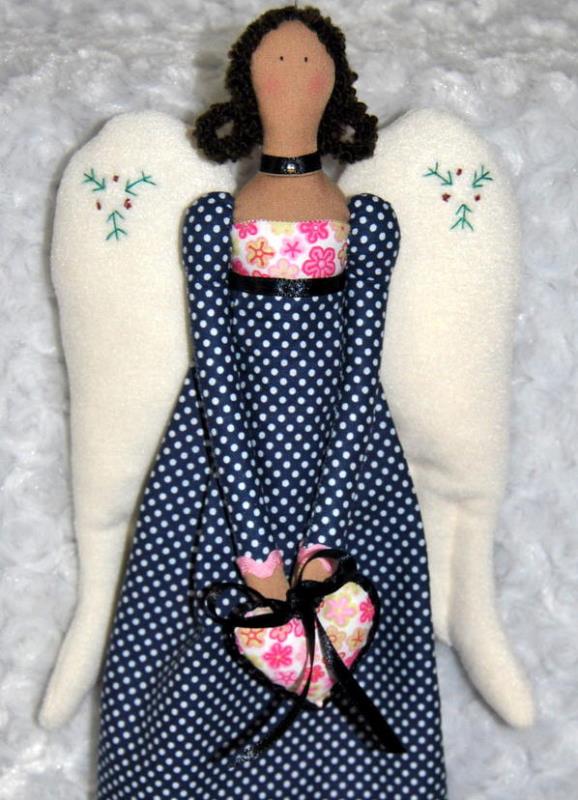
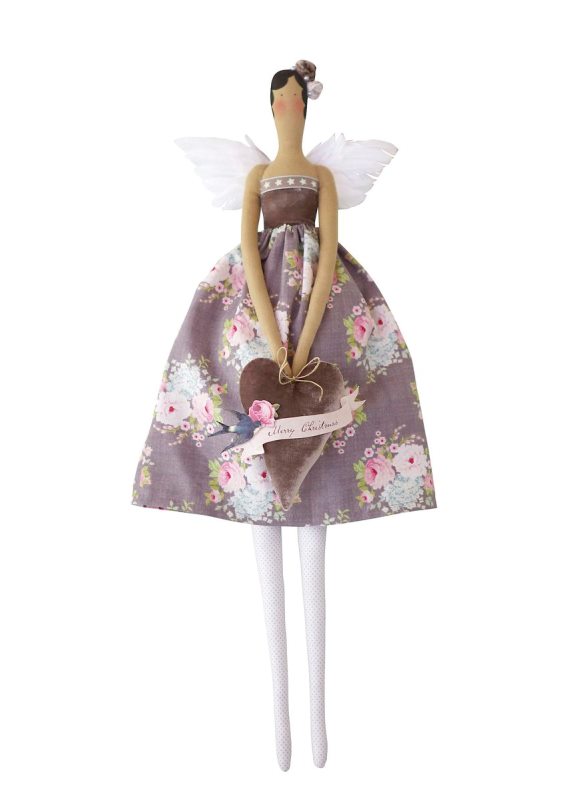
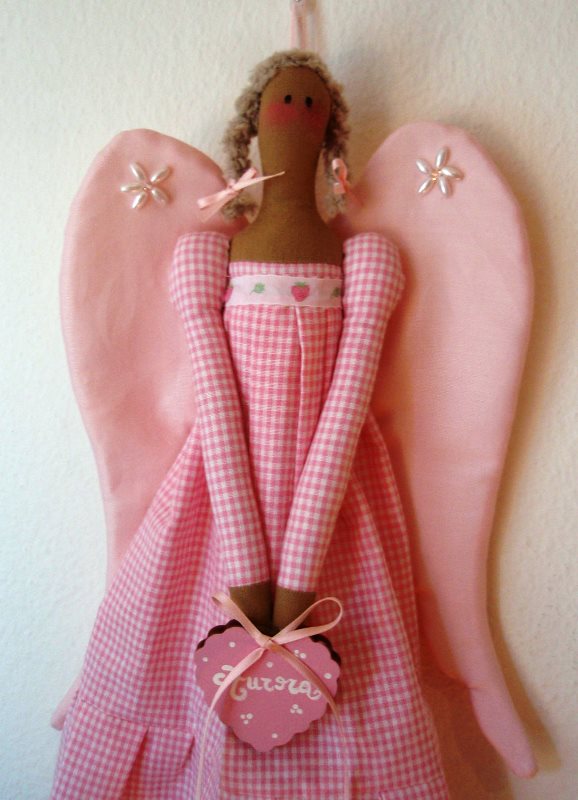
In order to sew a cute doll Tilda does not need special skills or the highest skill. In this master class we will tell you how to sew a tilde of a vintage angel.
Necessary materials
For some famous models of Tilda dolls, ready-made sets with all necessary materials, detailed instructions and patterns are sold. Therefore, we recommend that you purchase the "Tilda Vintage Angel" set if you want to make an original doll. However, you can cope with yourself, using similar fabrics.
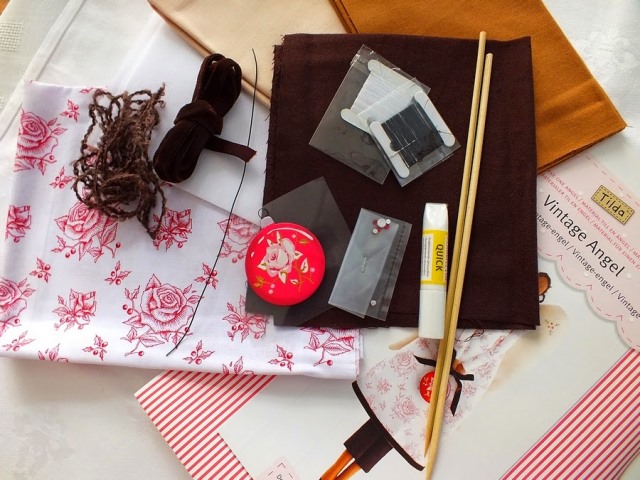
If you are interested in how to make Tilda yourself, then prepare the following materials:
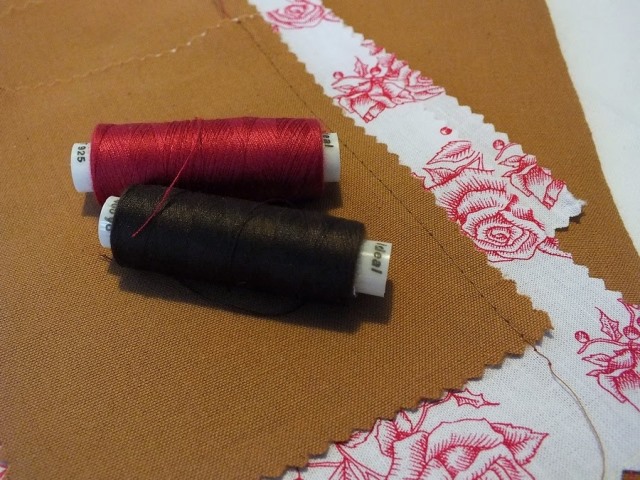
- fabric of corporal color;
- Fabric beige for wings;
- flizelin - an adhesive base for wings;
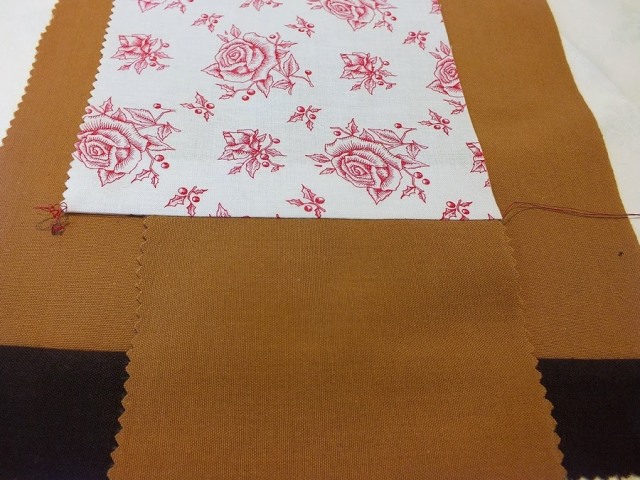
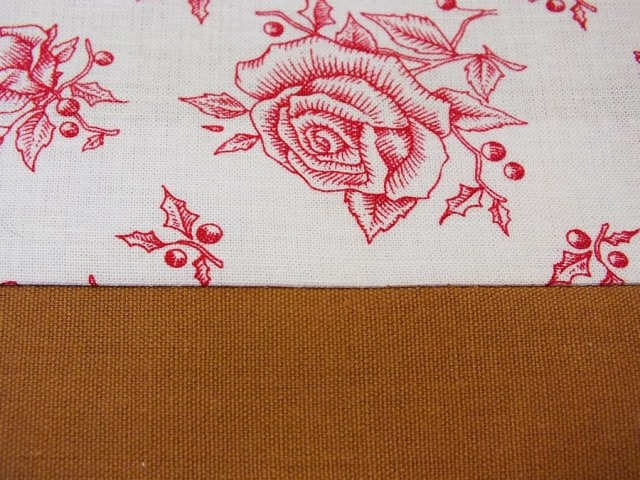
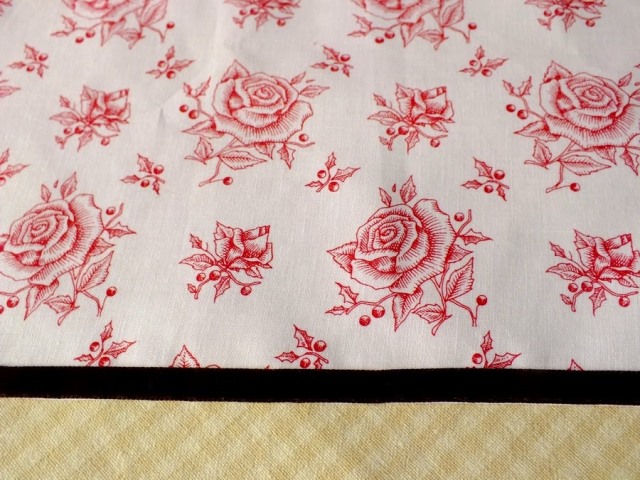
- fabric with floral print for the dress;
- Dark fabric for pants and shoes;
- sintepon;
- a ribbon made of velvet;
- rhinestones;
- thread for hair (mohair or mulina);
- a small fur-tree toy;
- glue;
- wire;
- pins;
- wooden stick.
Instructions
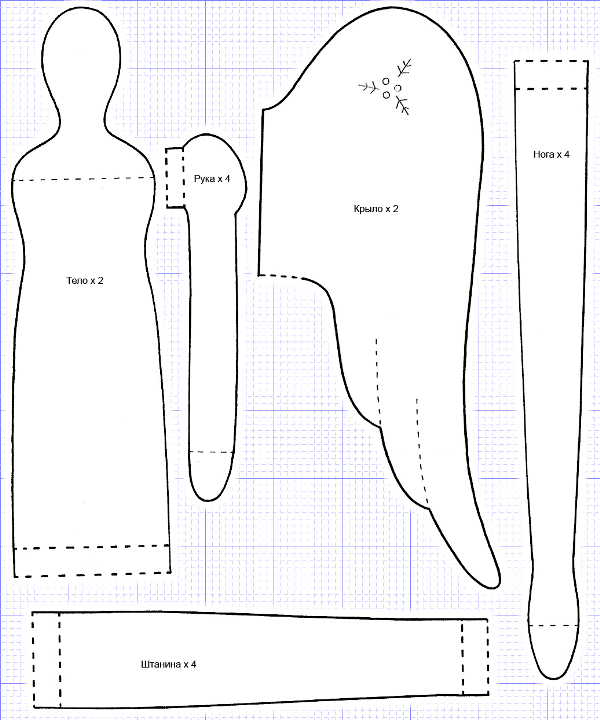
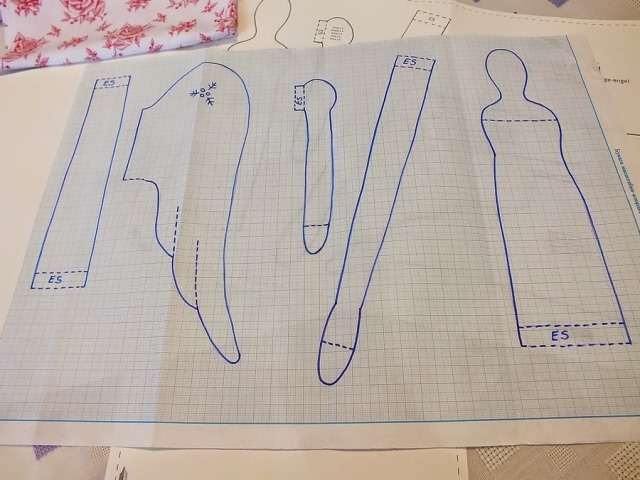
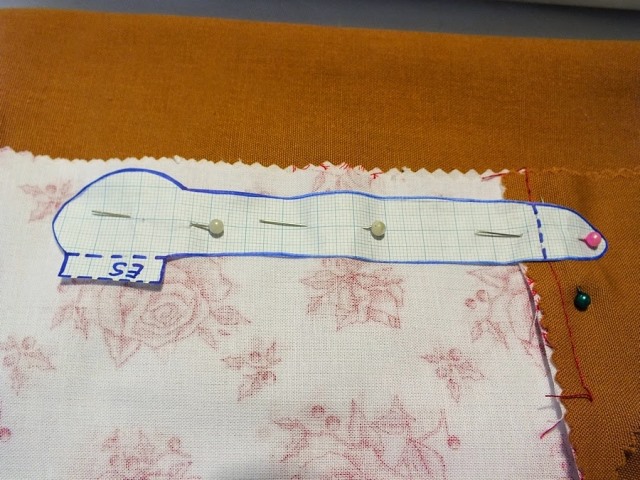
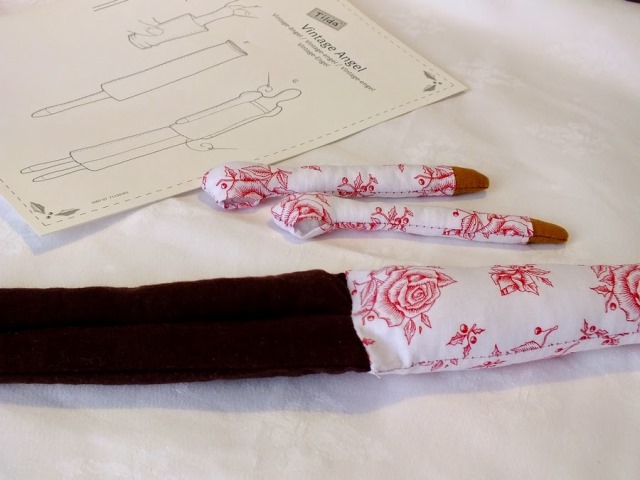
- Translate the Tilde pattern of the vintage angel onto a sheet of paper of millimeter and cut out.
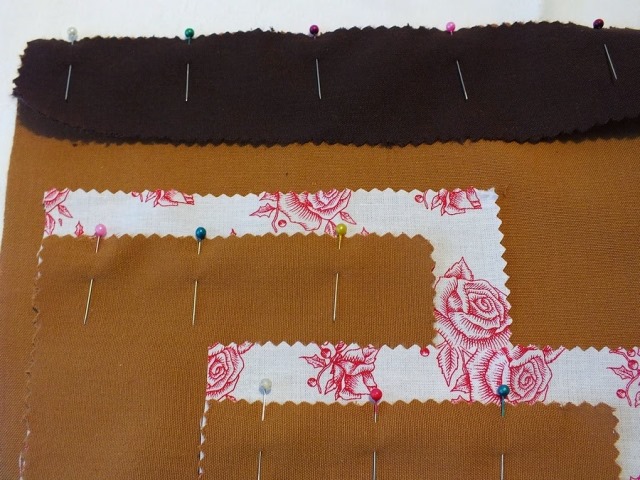
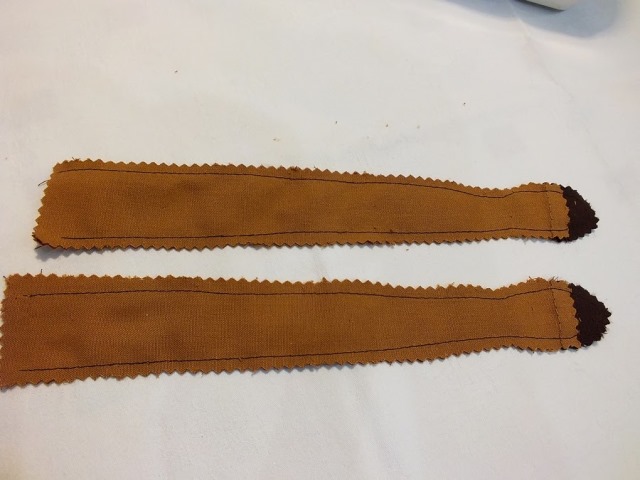
- Prepare the fabric. Sew together the material for the body, hands and feet.
- Cut out the workpiece from the fabric.
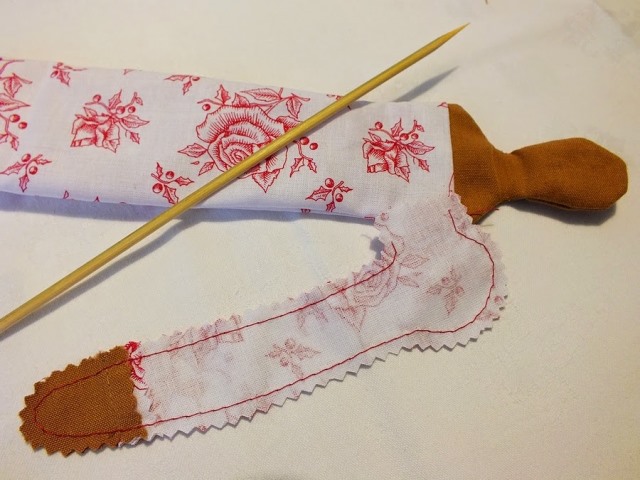
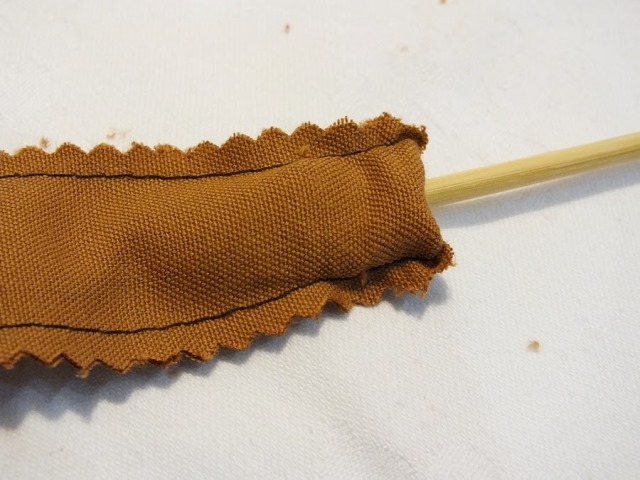
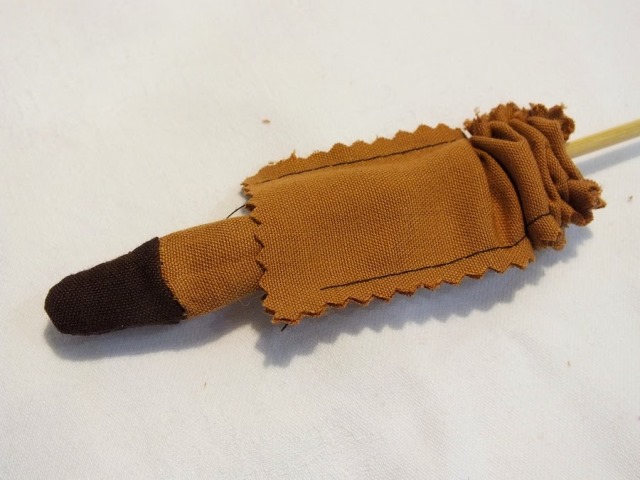
- Sew the parts together and unscrew them with a wooden stick.
- Fill the details with a sintepon.
- Sew on panties legs.
- Sew all the details together.
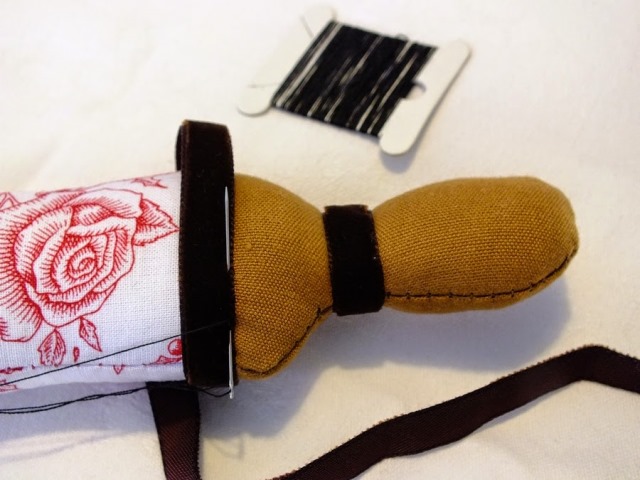
- Before sewing together the hands and torso of the Tilda-Angel doll, wash the decorative velvet ribbon.
- Then sew your hands.
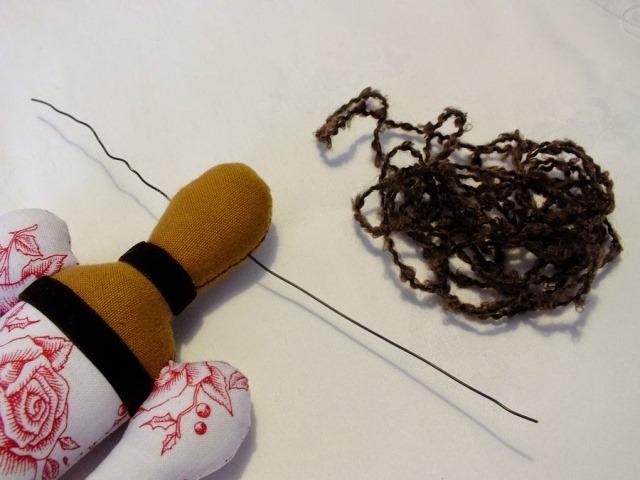
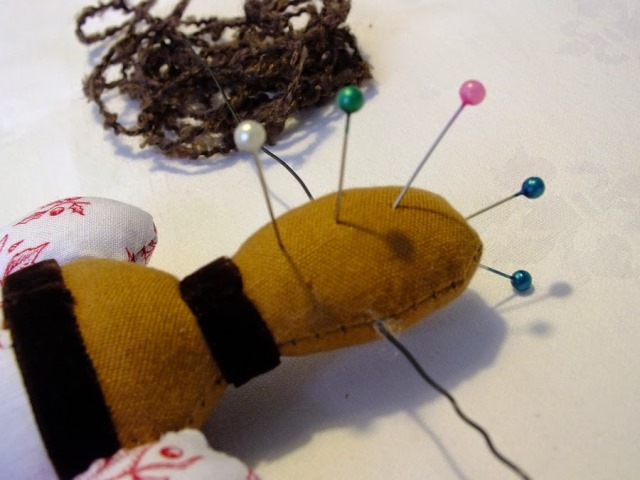
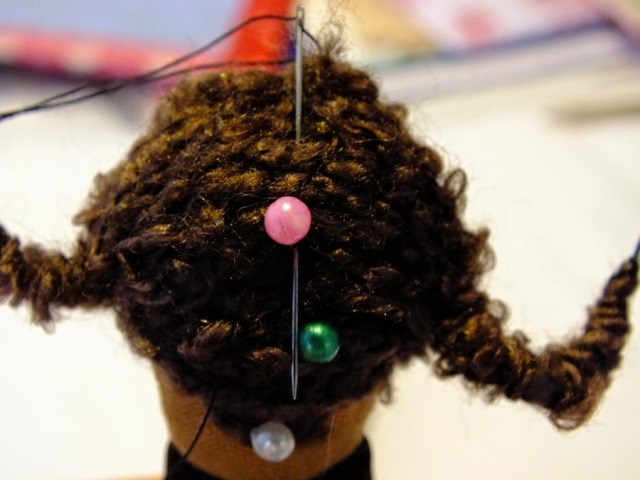
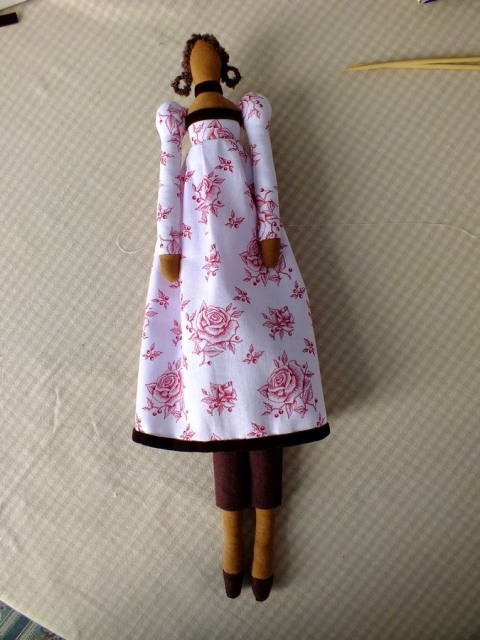
- To attach the hair, place the wire at the level of the ears, and the pins on the line of the parting. Wrap the entire surface of the head with the thread, and screw the tips to the protruding piece of wire.
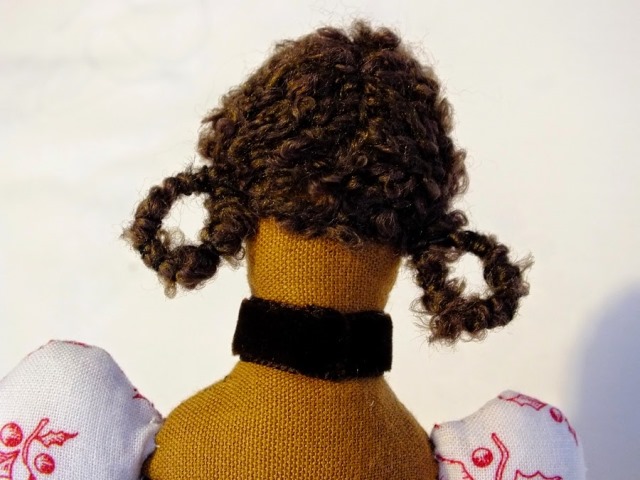
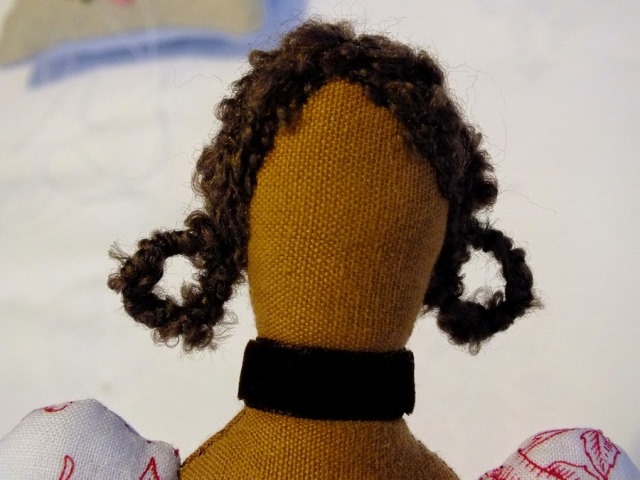
- Sew the hair on the parting, and twist the ends of the wires into the "steering wheel", creating Tilde's hair with your own hands, as shown in the photo of the master class.
- Sew the hem to the dress.
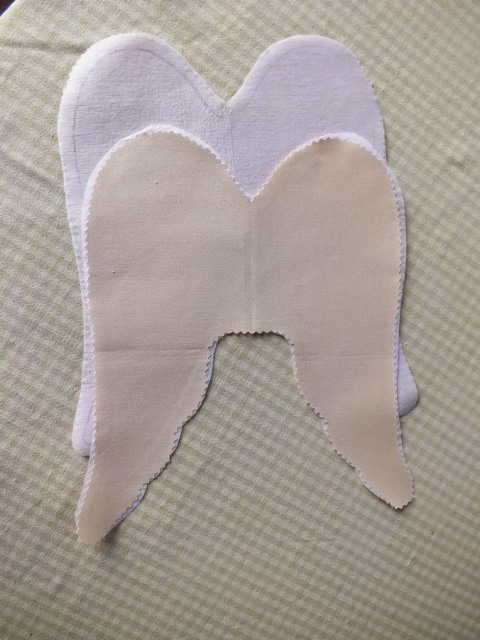
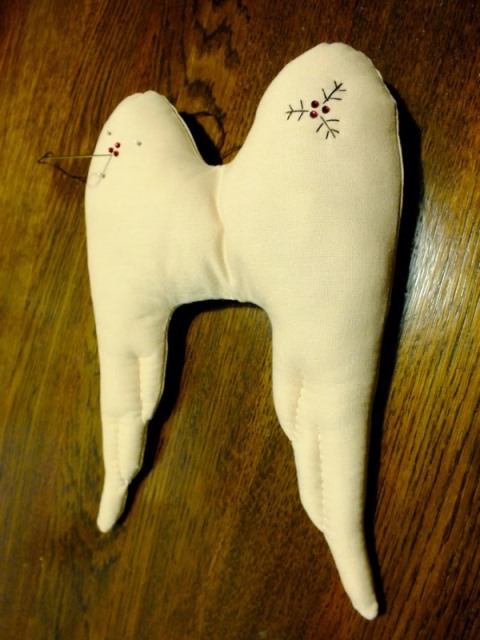
- Cut out and sew together details for the wings and decorate them with decorative embroidery.
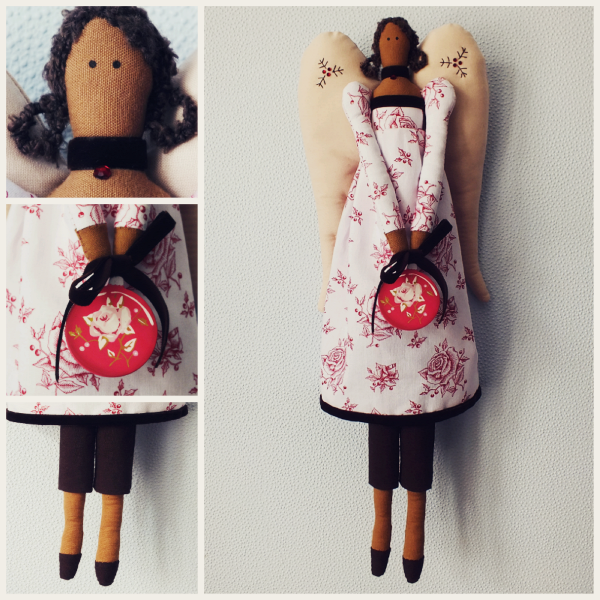
- Sew the wings on our angel's back and add the missing accessories. The doll of Tilda is ready!
| | |
| | |
| | |
| | | |
| | | |
| | | |
| | | |
| | |
| | | |